Run an authenticated scan
An authenticated scan exercises your API with valid credentials, so it reaches the endpoints where the highest-impact vulnerabilities live — broken authorization, BOLA, and privilege escalation. It requires an authentication profile on the application; set one up first in Configure authentication. Run it alongside the unauthenticated scan to cover both sides of the auth boundary.
Navigate to URL
Open your browser and visit: https://<your-tenant>.apisecapps.com
Visit the application
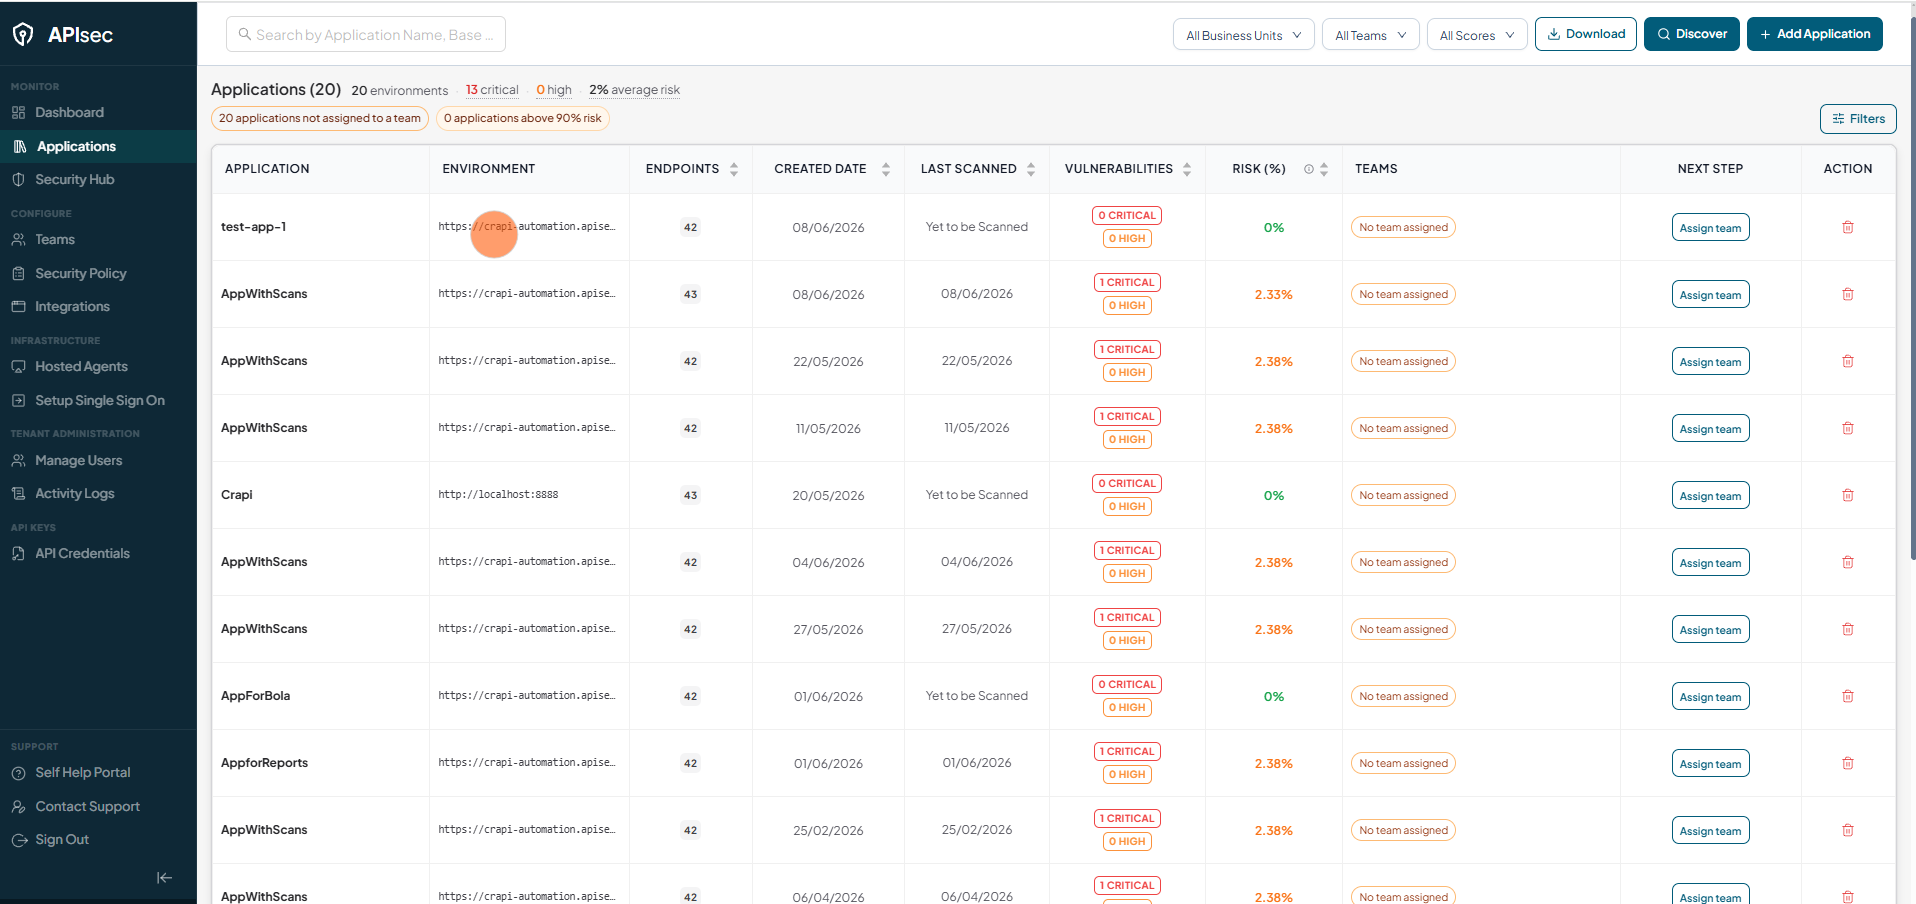
- Click the required application.
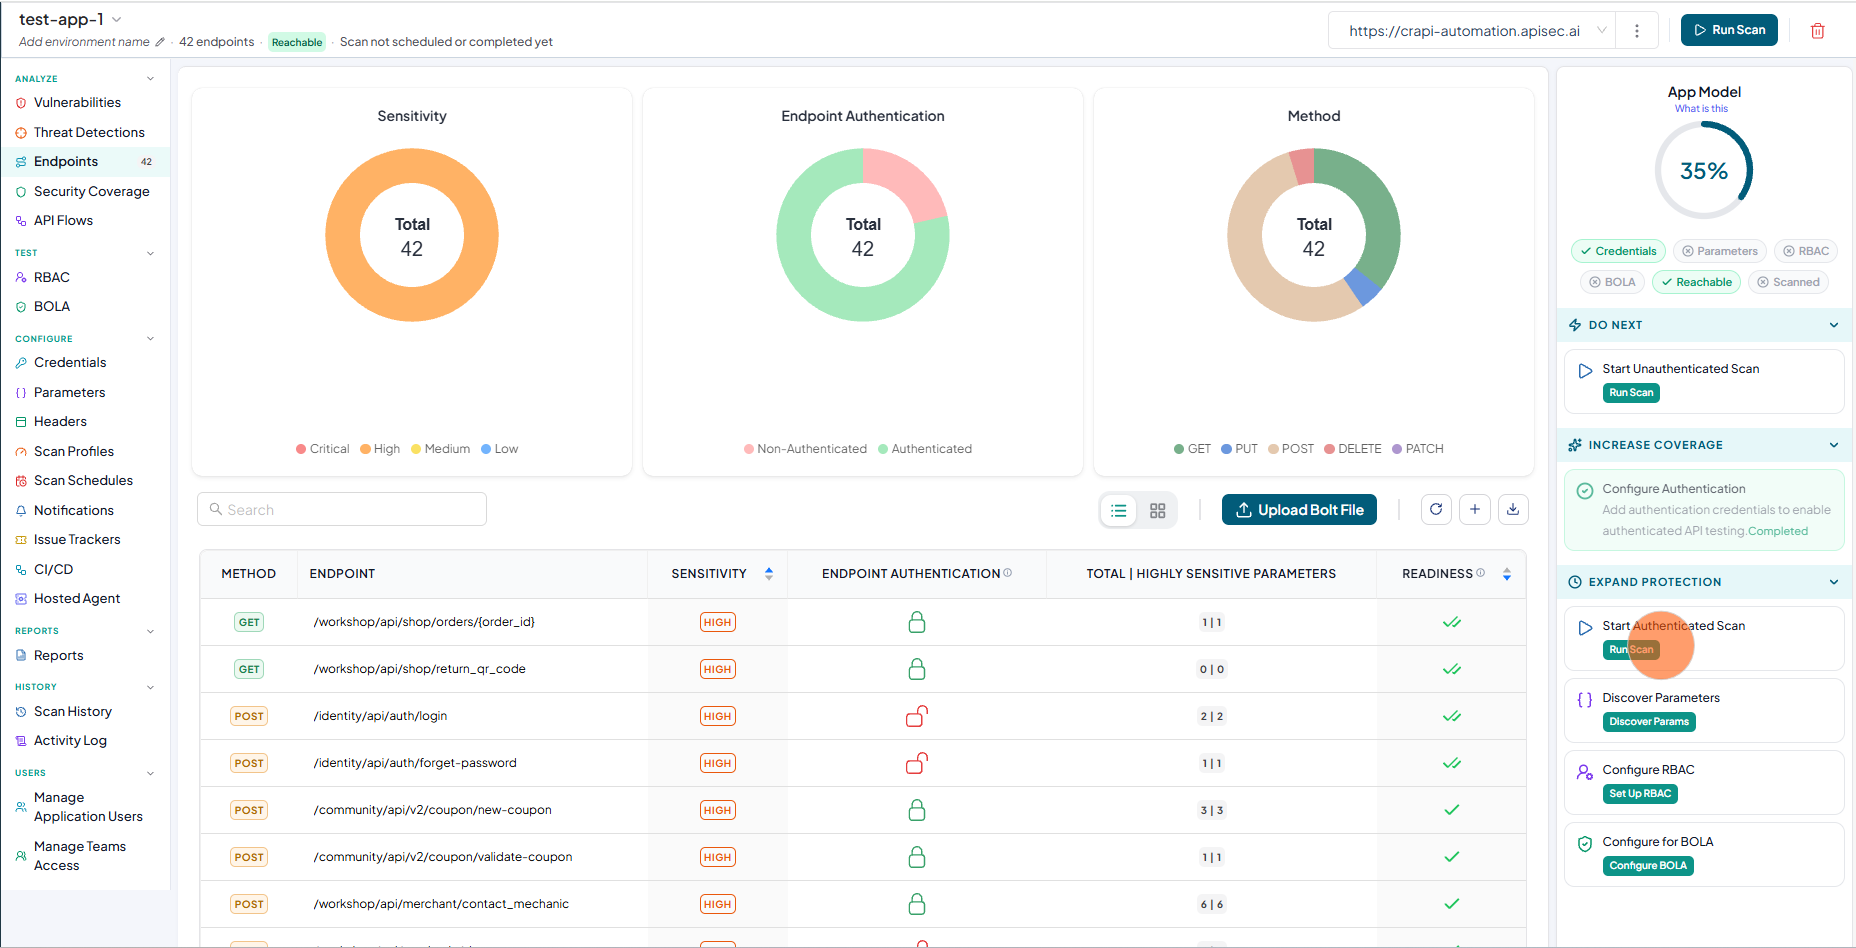
Start an Authenticated Scan
There are two ways to start the scan.
- If authentication is already configured, click Run Scan in the Start Authenticated Scan section of the App Model.
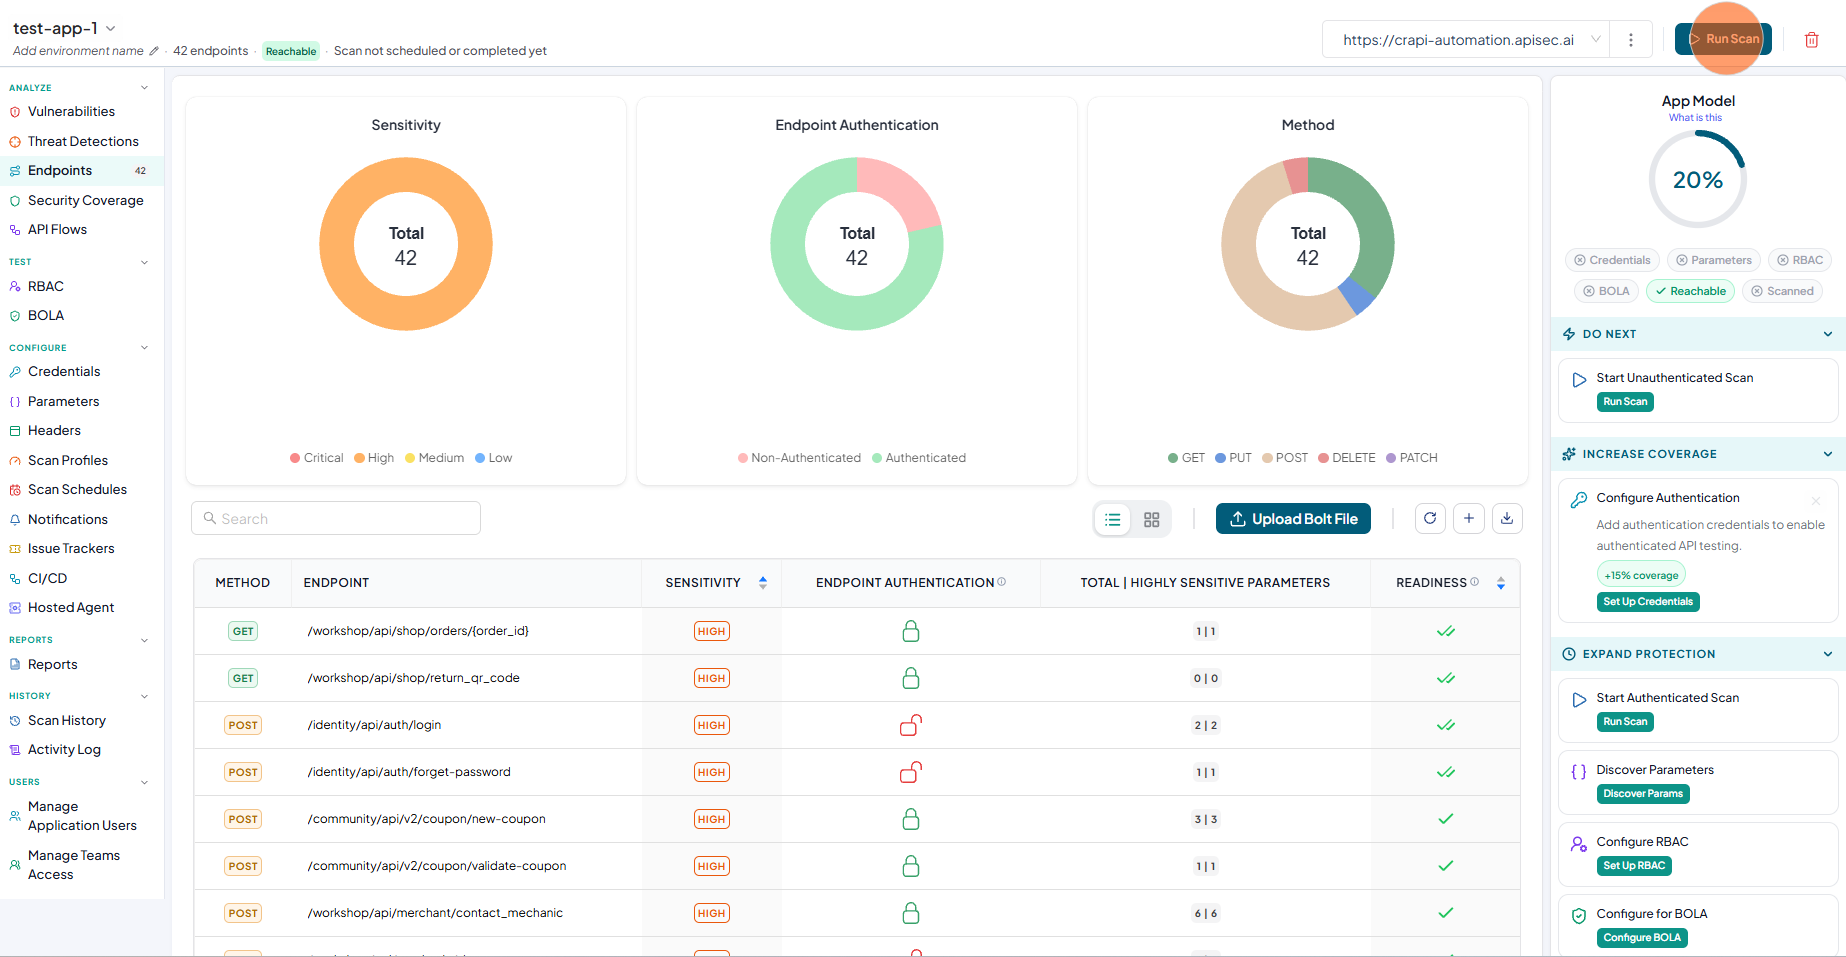
- (Or) From Application Details page, Click on Run Scan
Confirm the Scan Scope
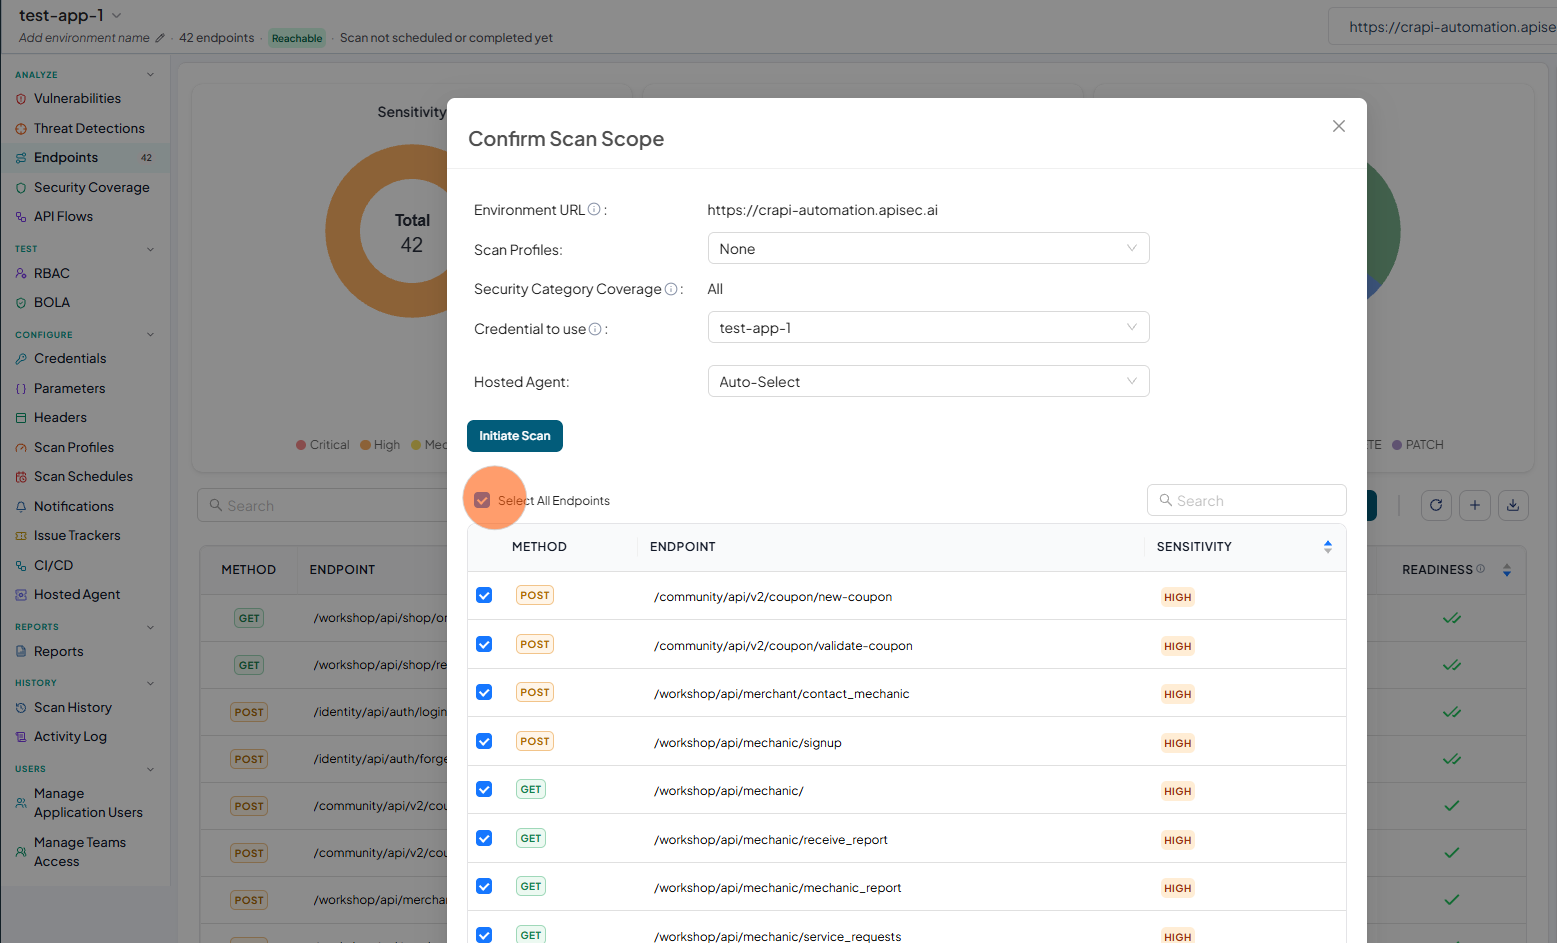
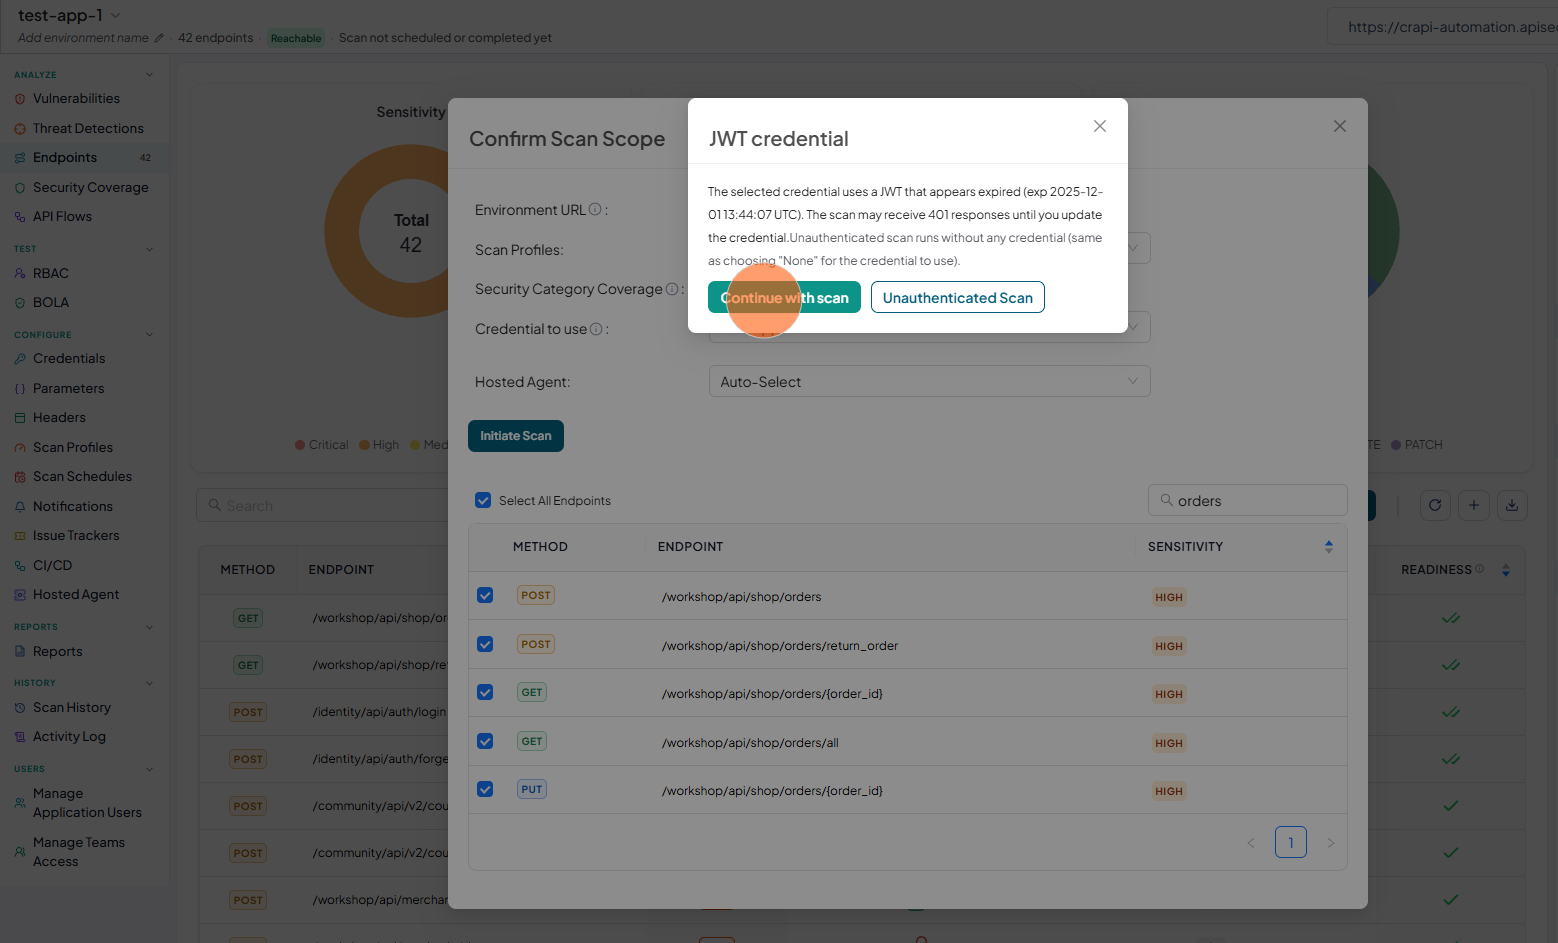
By default every endpoint is selected. To narrow the scan to specific endpoints — the example below scans only the "Orders" APIs — filter the selection first:
-
Clear the Select All Endpoints checkbox to deselect every endpoint
-
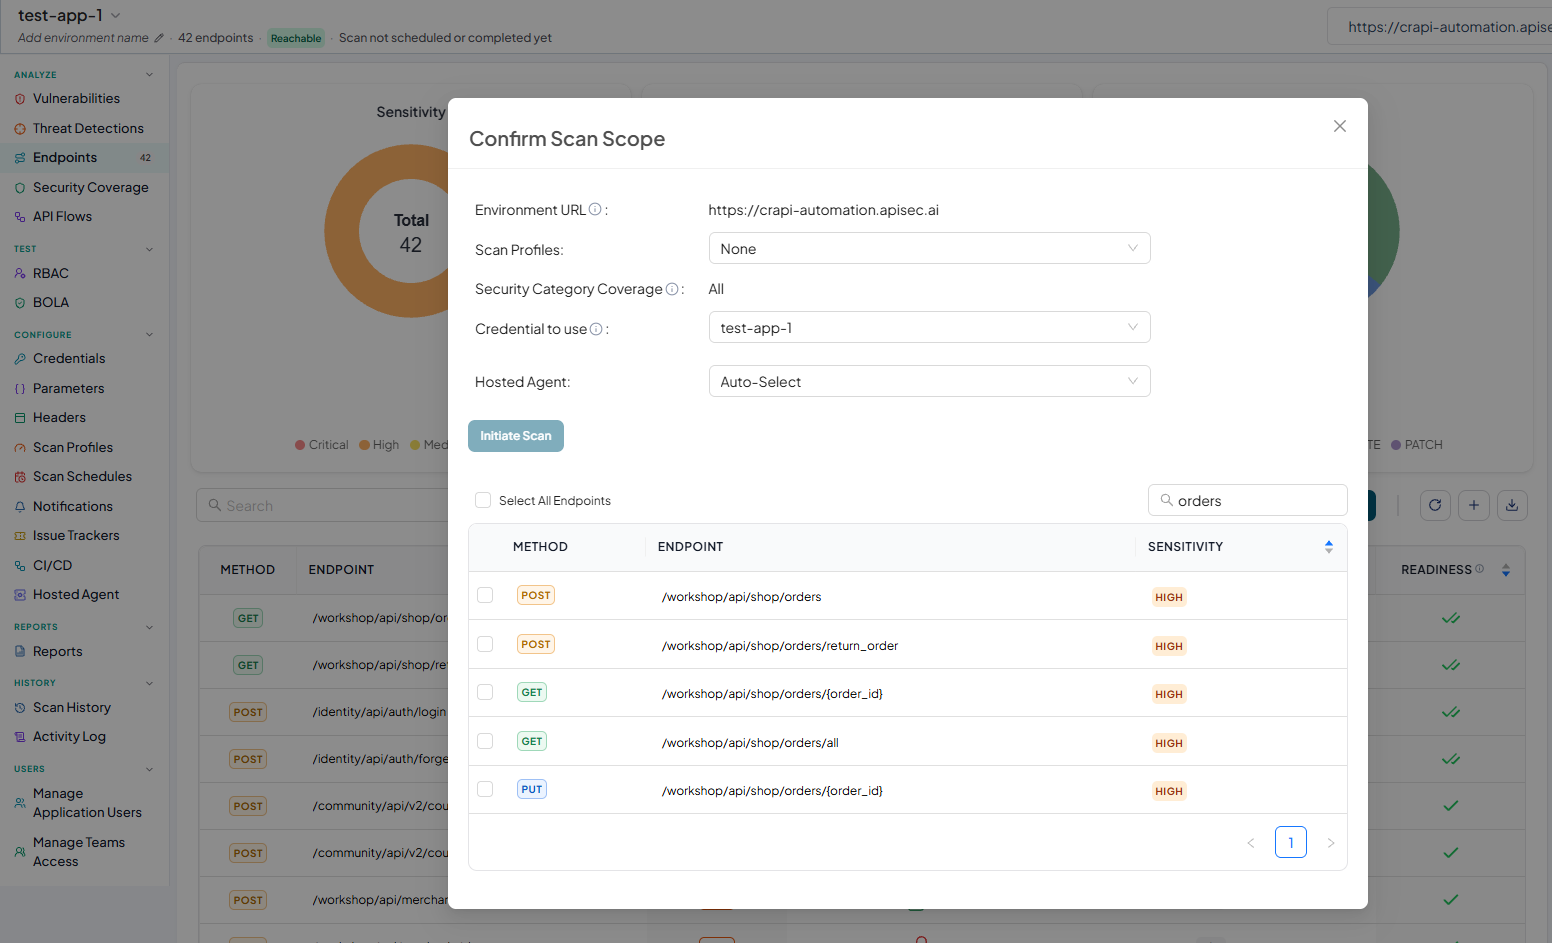
Type "Orders" in the Search field
-
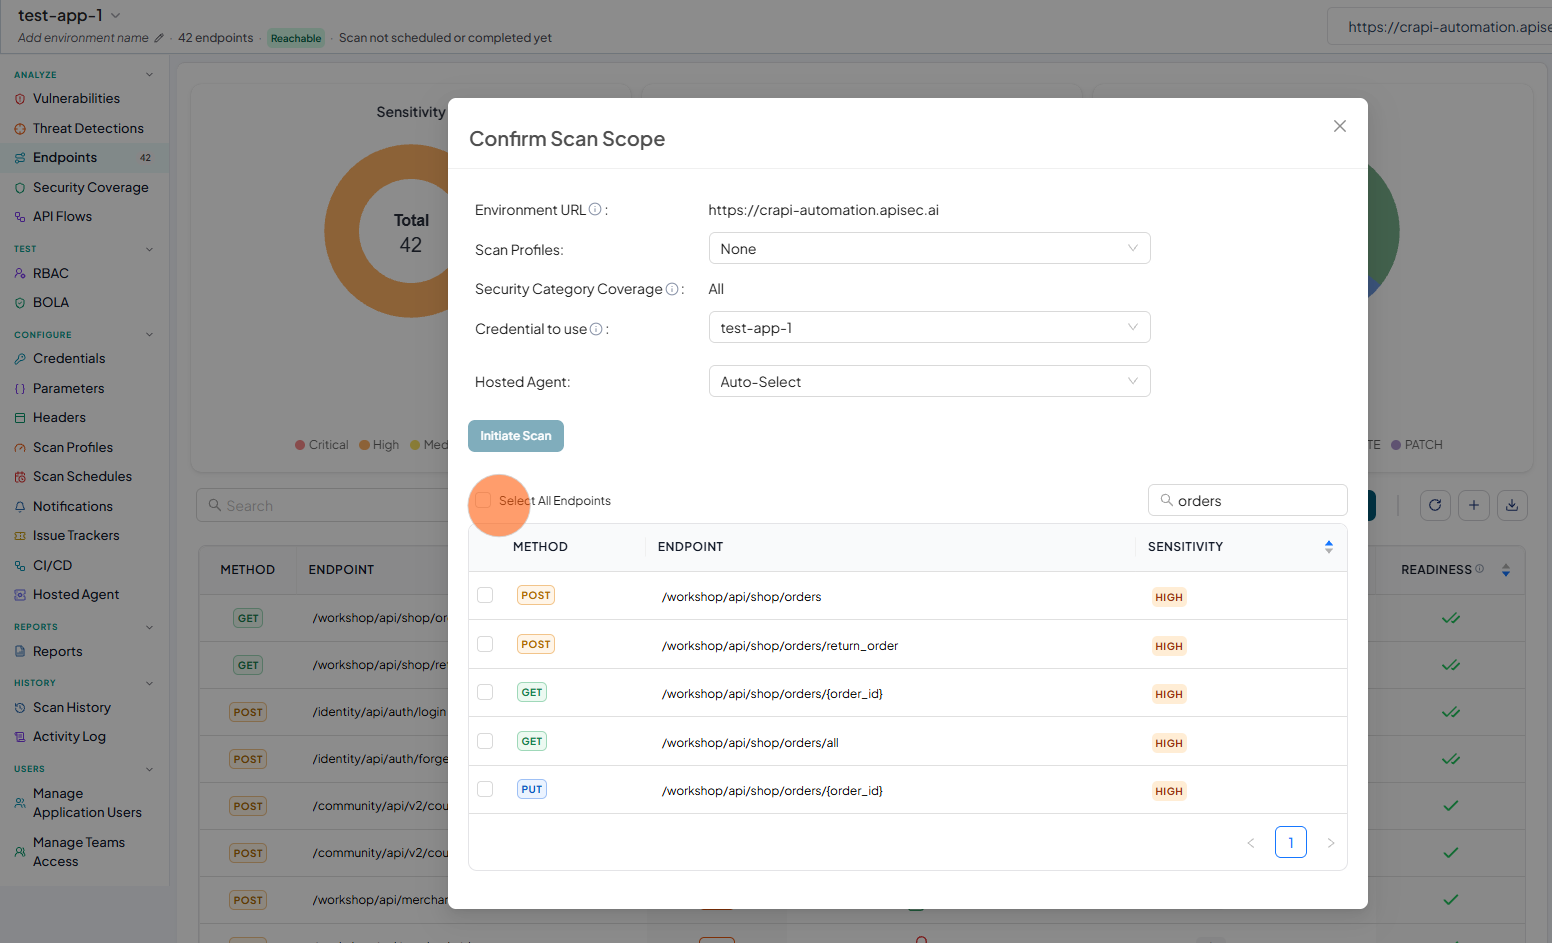
Select the Select All Endpoints checkbox to select every endpoint matching the search
Select the credential and start the scan
-
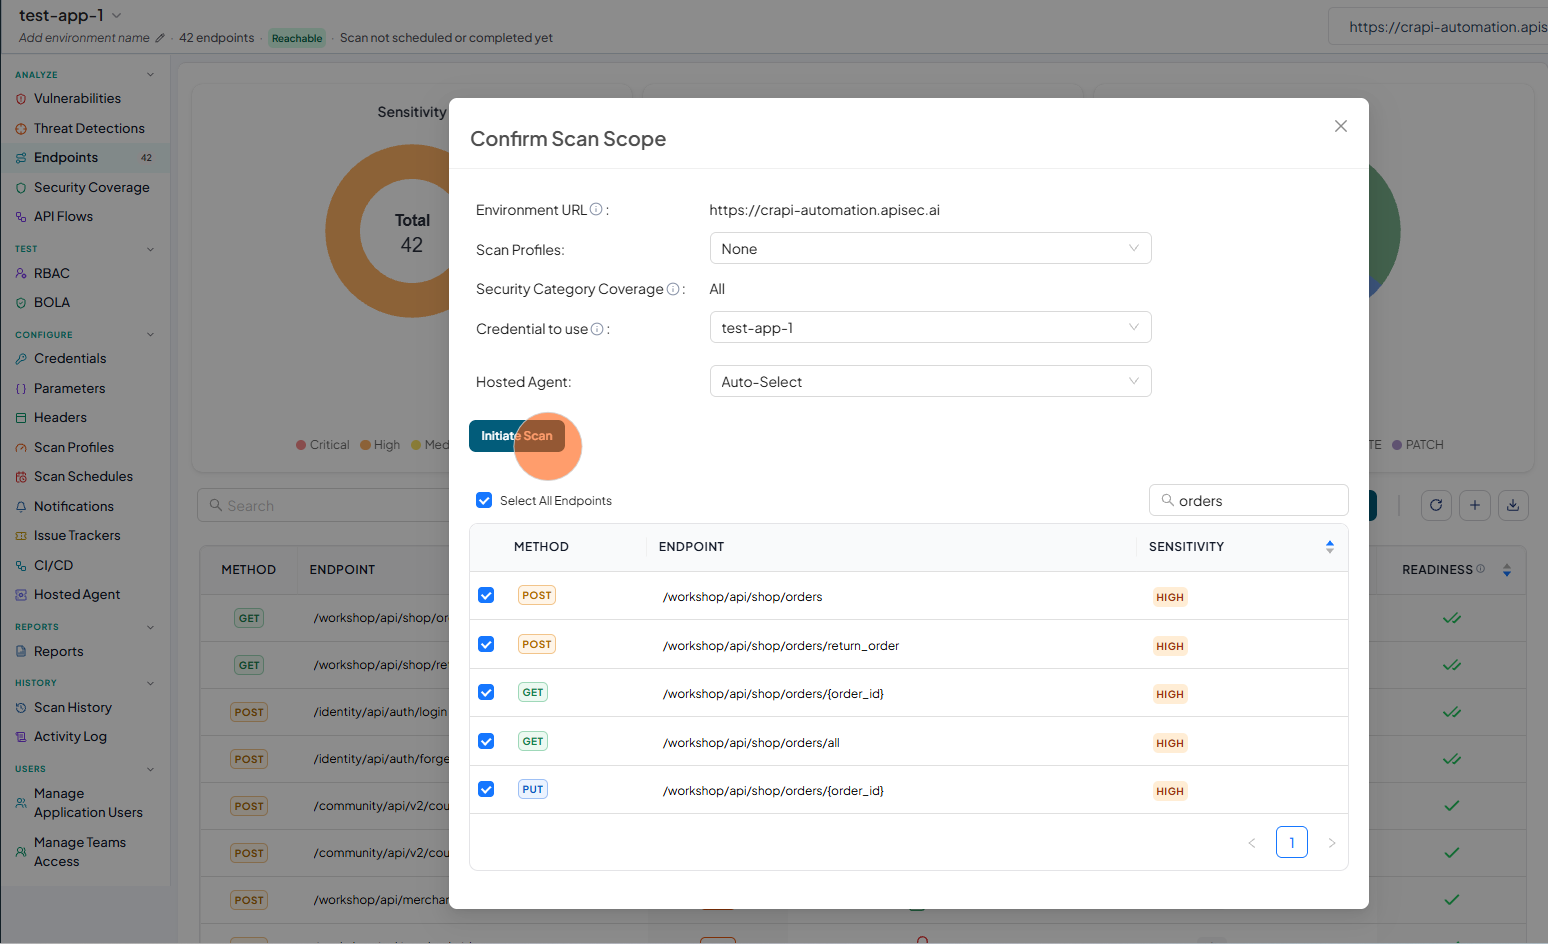
Under Credential to Use, select an authentication profile from the dropdown. The options are the authentication profiles created in Configure authentication.
-
Click Initiate Scan
-
If the selected authentication credential has expired, choose whether to continue with an authenticated scan or proceed with an unauthenticated scan.
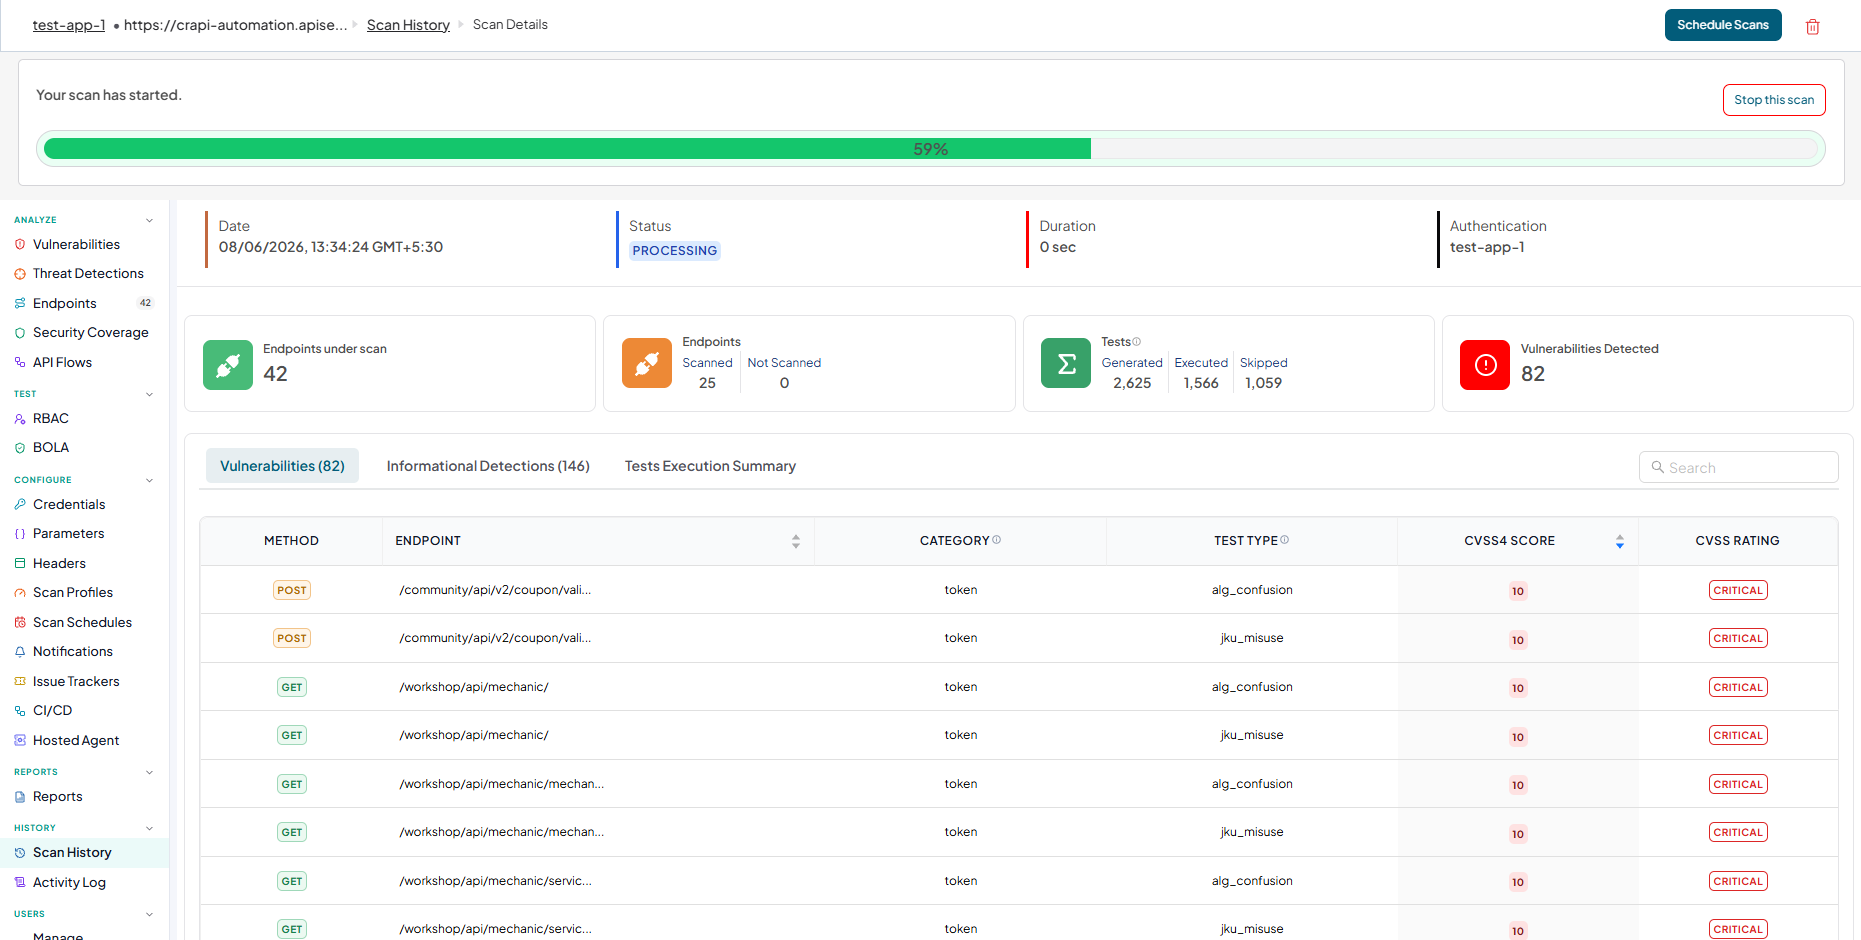
Confirm the Scan has started
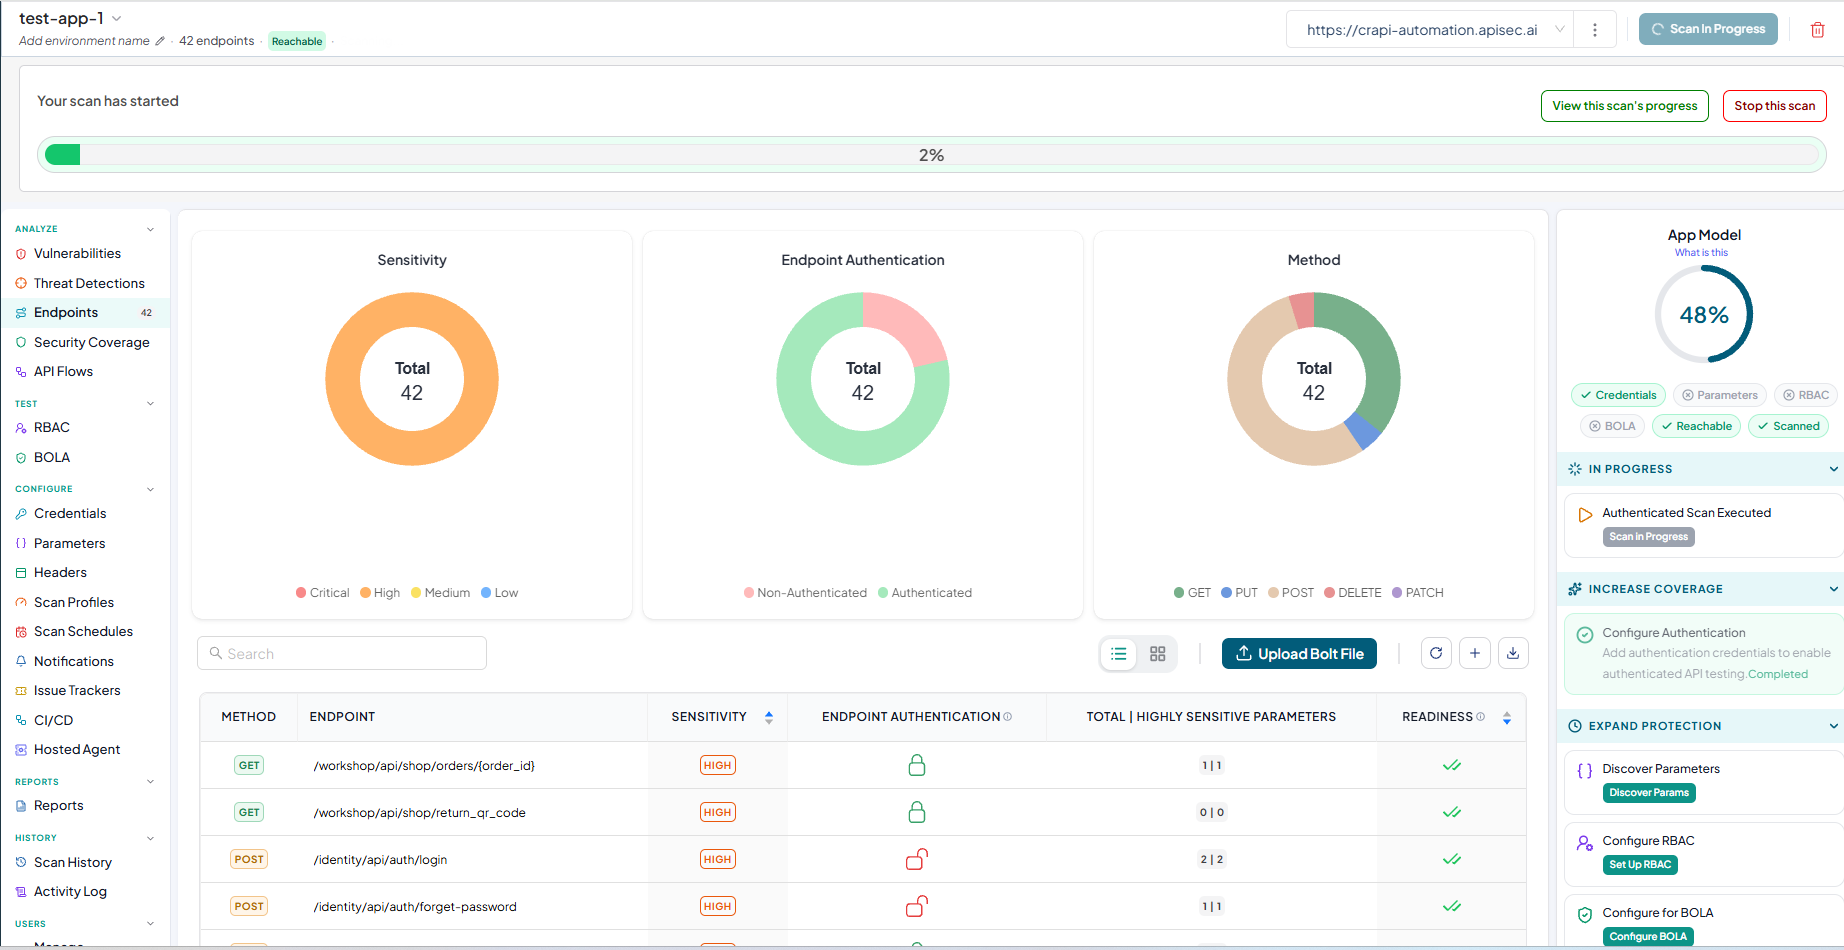
- The scan progress bar appears next to the application name
Review scan progress and results
-
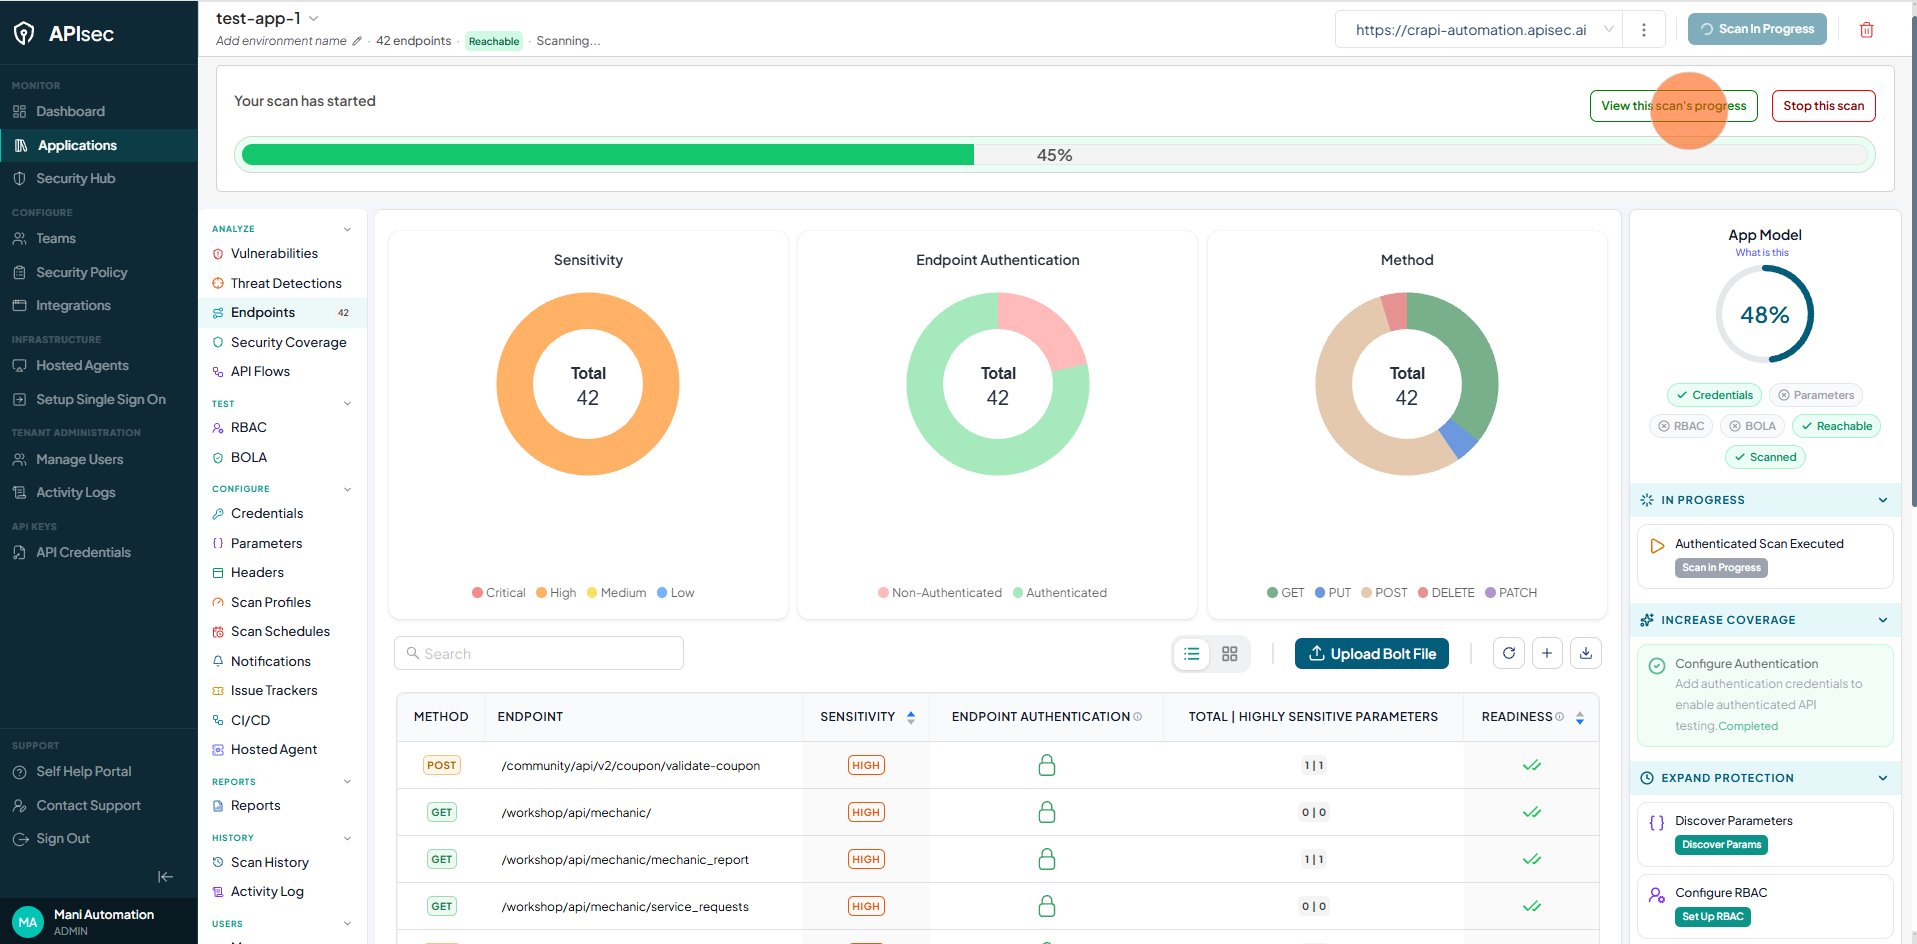
Click View this scan's progress
-
Review the Scan Results