Teams
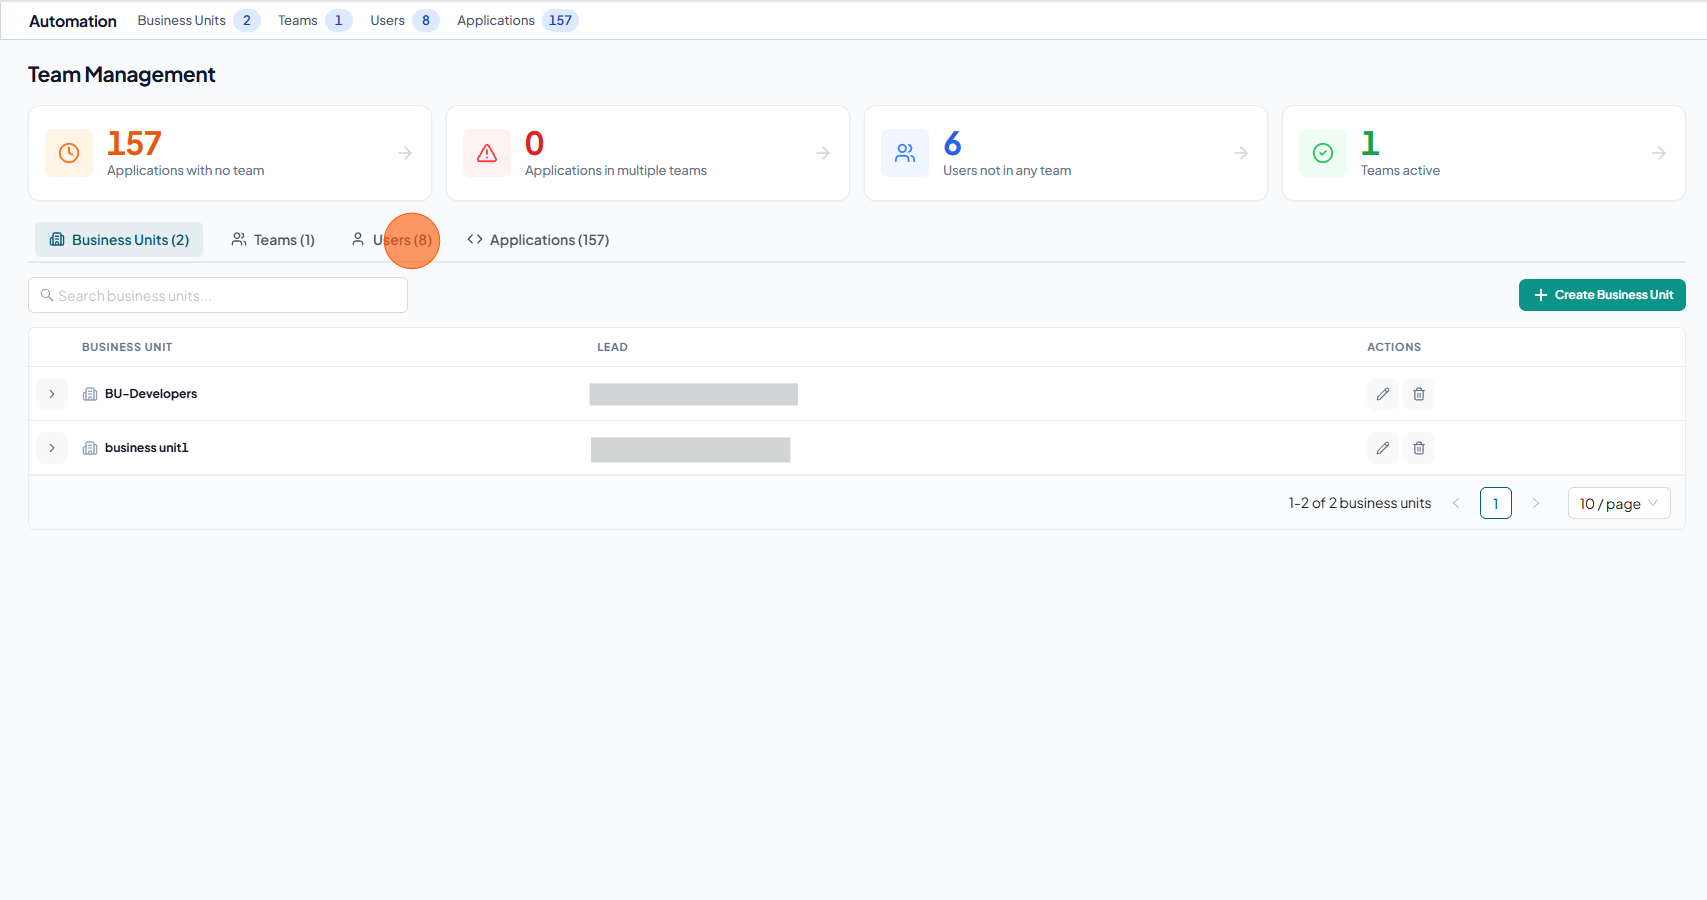
The Team Management page provides a centralized view to organize and manage the organizational structure, including Business Units, Teams, Users, and Applications.
This page enables:
- Identification of unassigned or misconfigured resources
- Maintenance of clear team ownership
- Efficient management of business units and teams
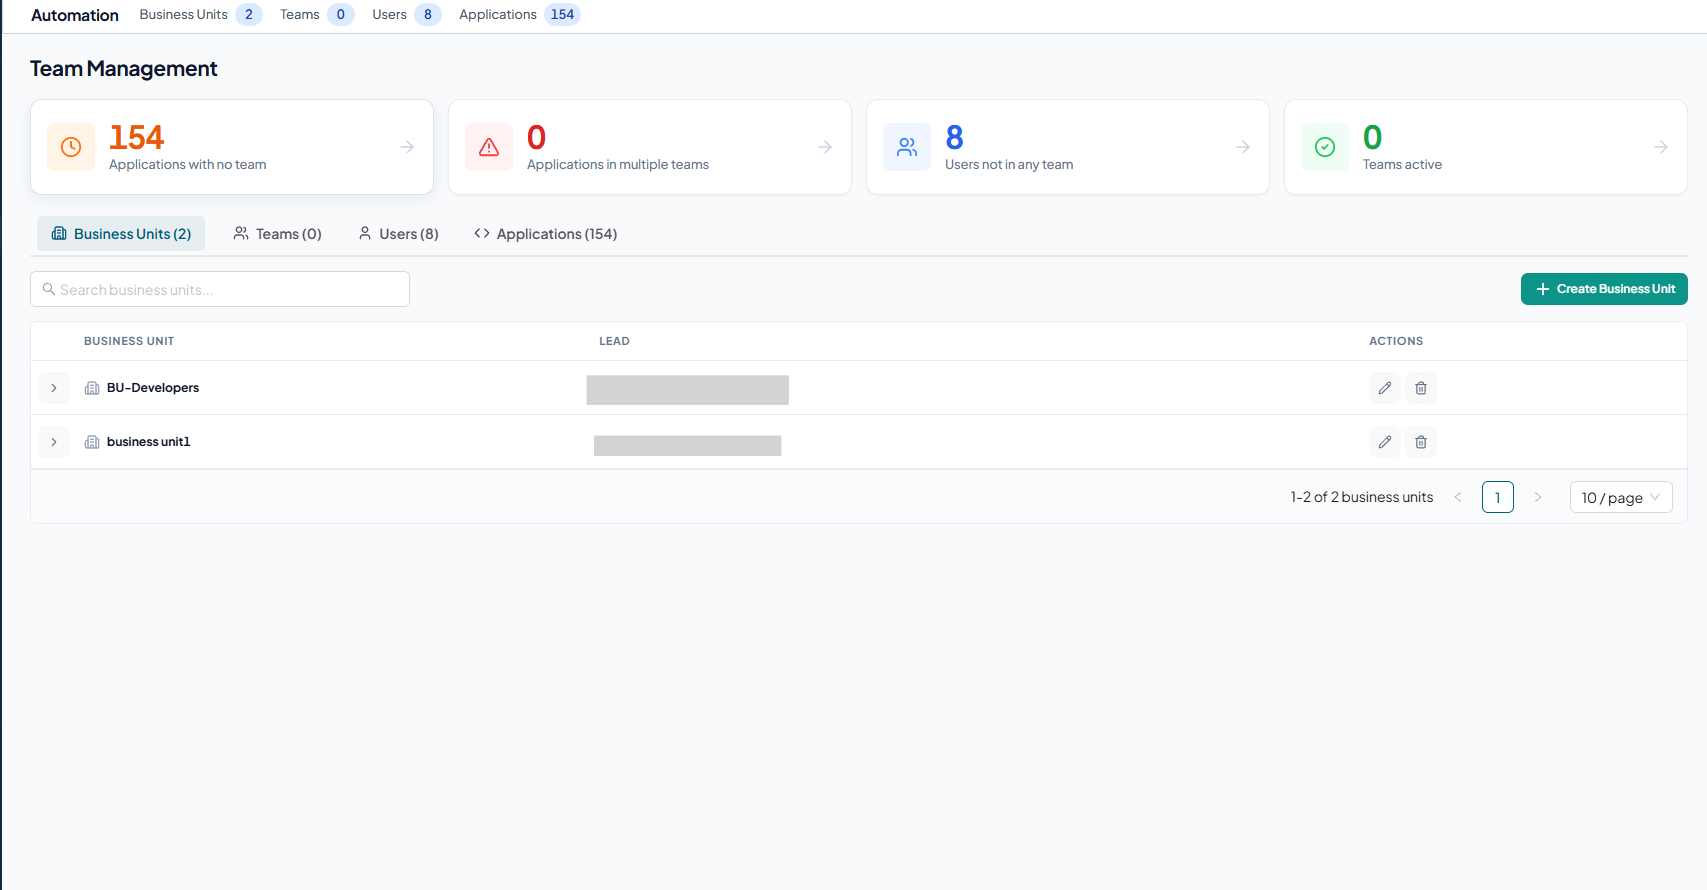
OverView
-
Applications with no team — Number of applications not assigned to any team
-
Applications in multiple teams — Number of applications assigned to more than one team
-
Users not in any team — Number of users not assigned to any team
-
Teams active — Total number of active teams
-
Business Units — Displays all business units and their assigned leads
-
Teams — Displays teams and their associated members and applications
-
Users — Displays users and their team assignments
-
Applications — Displays applications and their associated teams
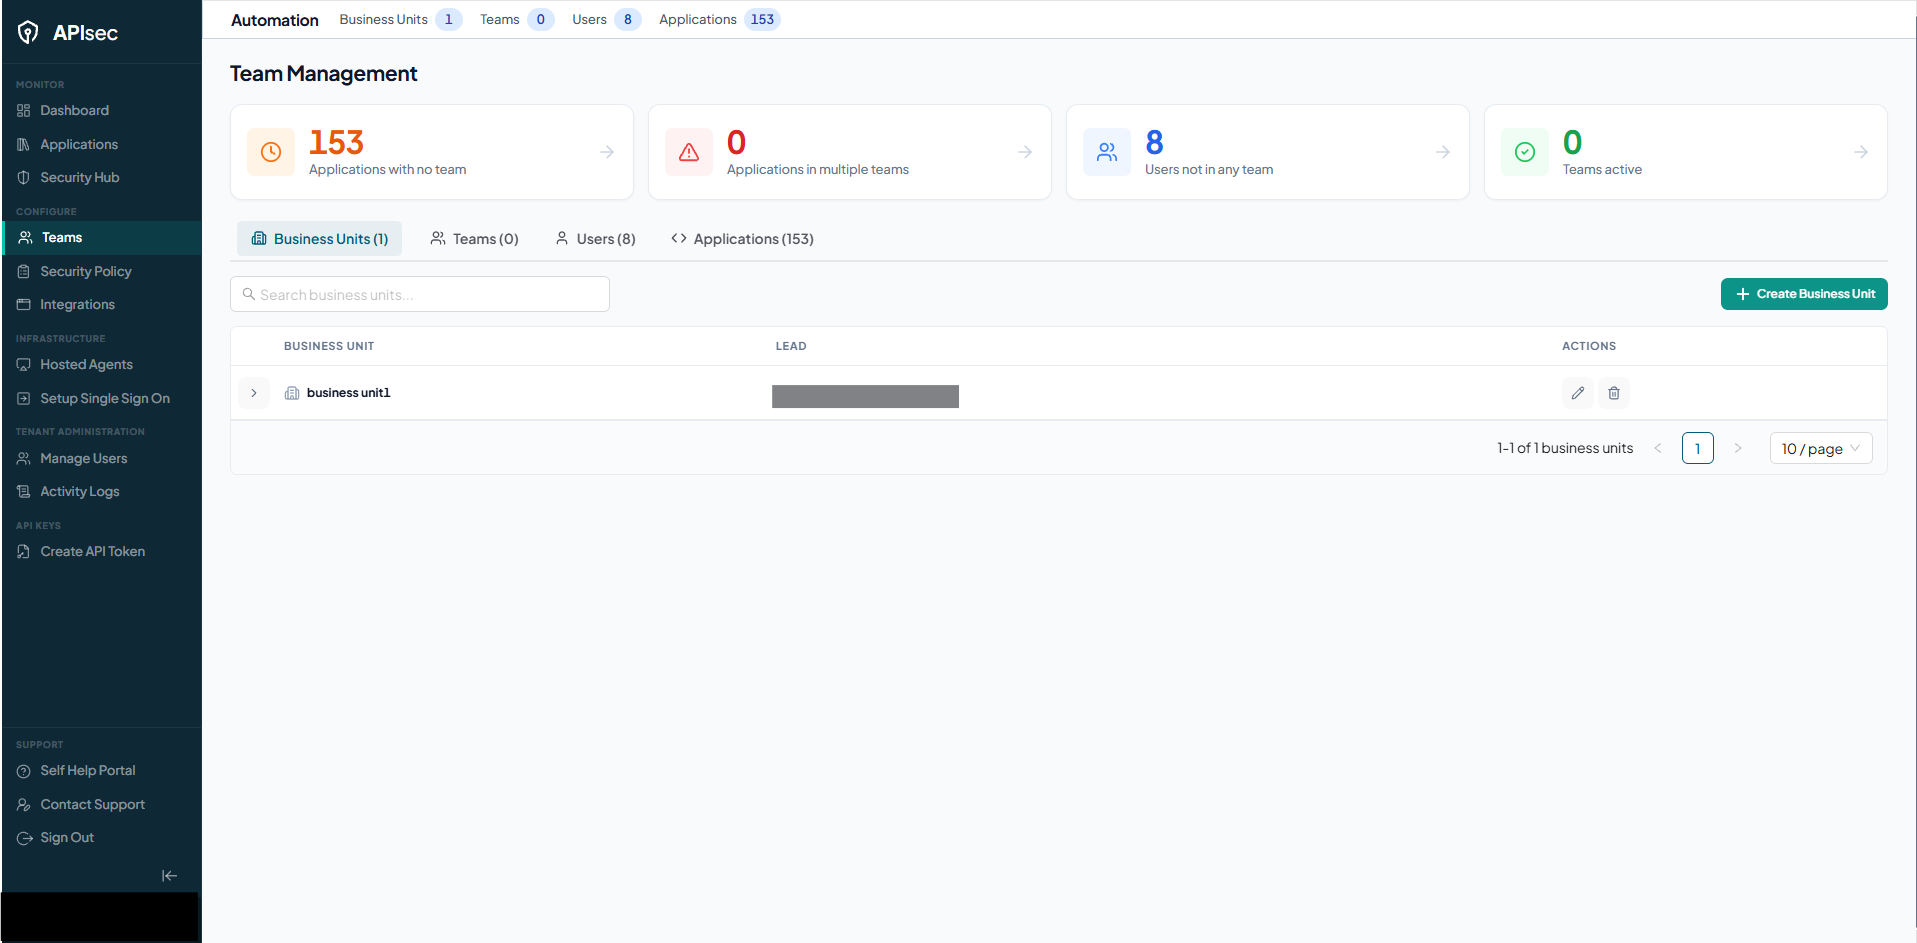
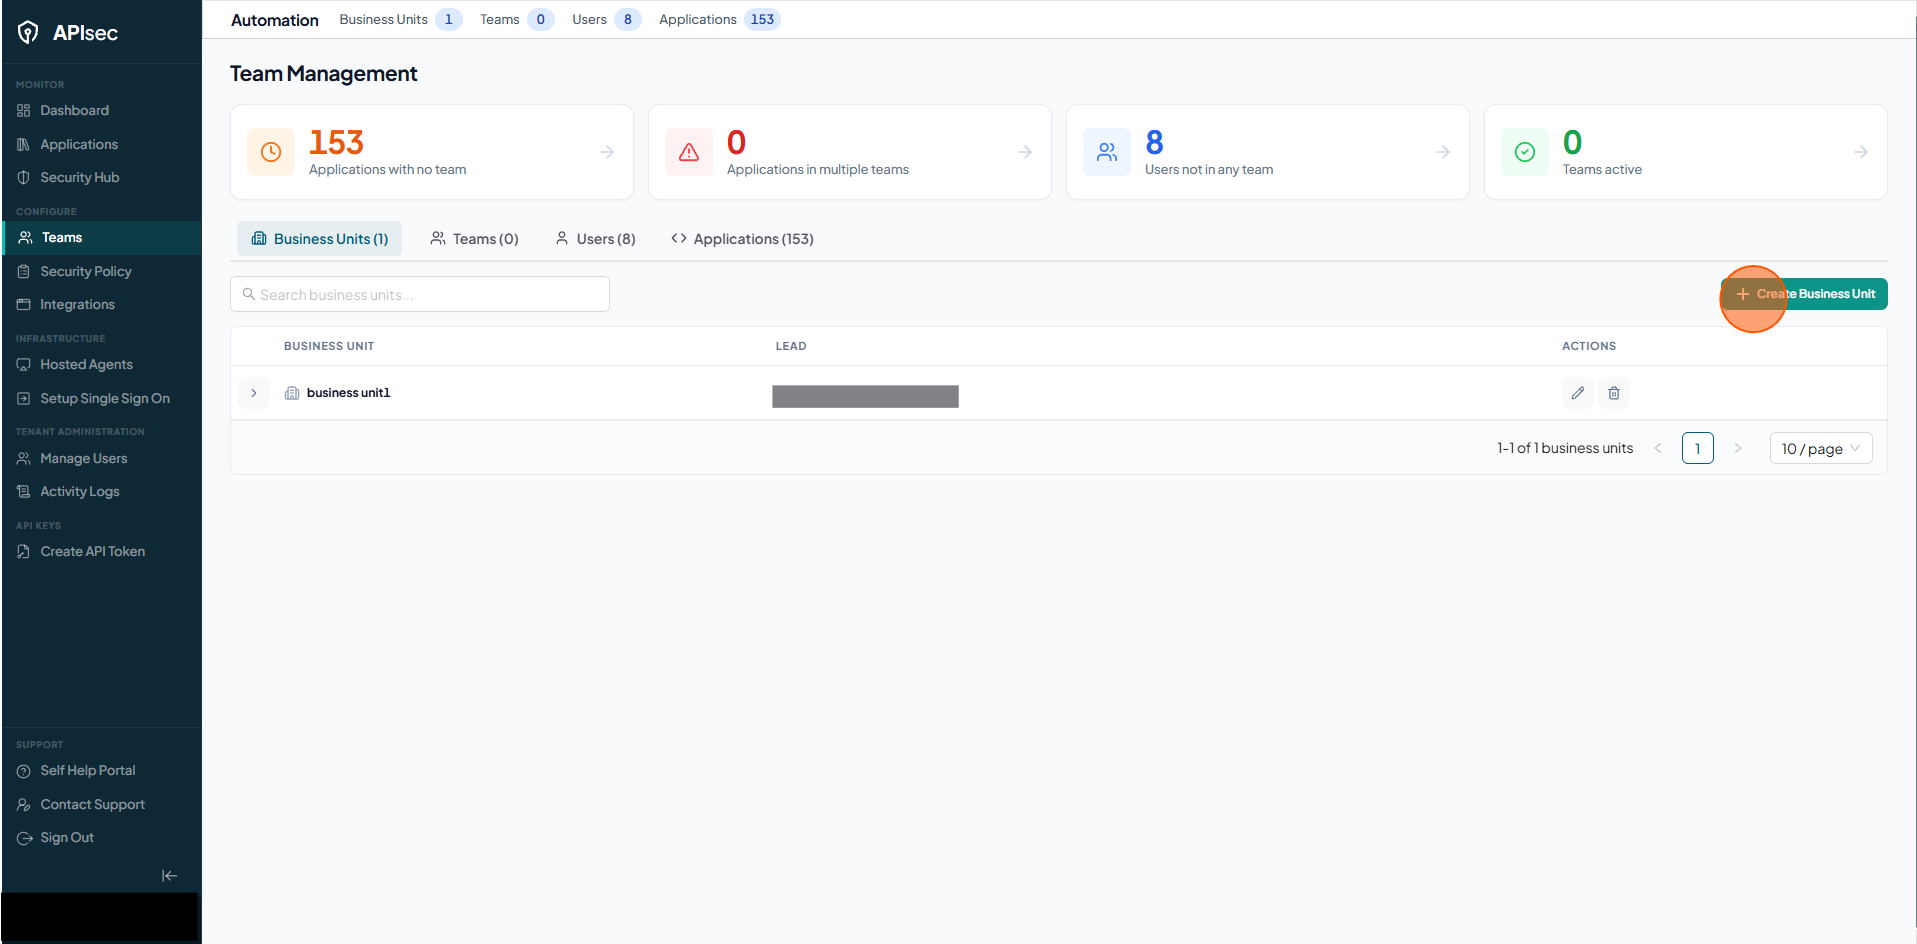
Business Units
Create Business Unit
-
Open your browser and visit: https://<your-tenant>.apisecapps.com
-
Click on Teams from Side Navigation
-
Click on Create Business Unit
-
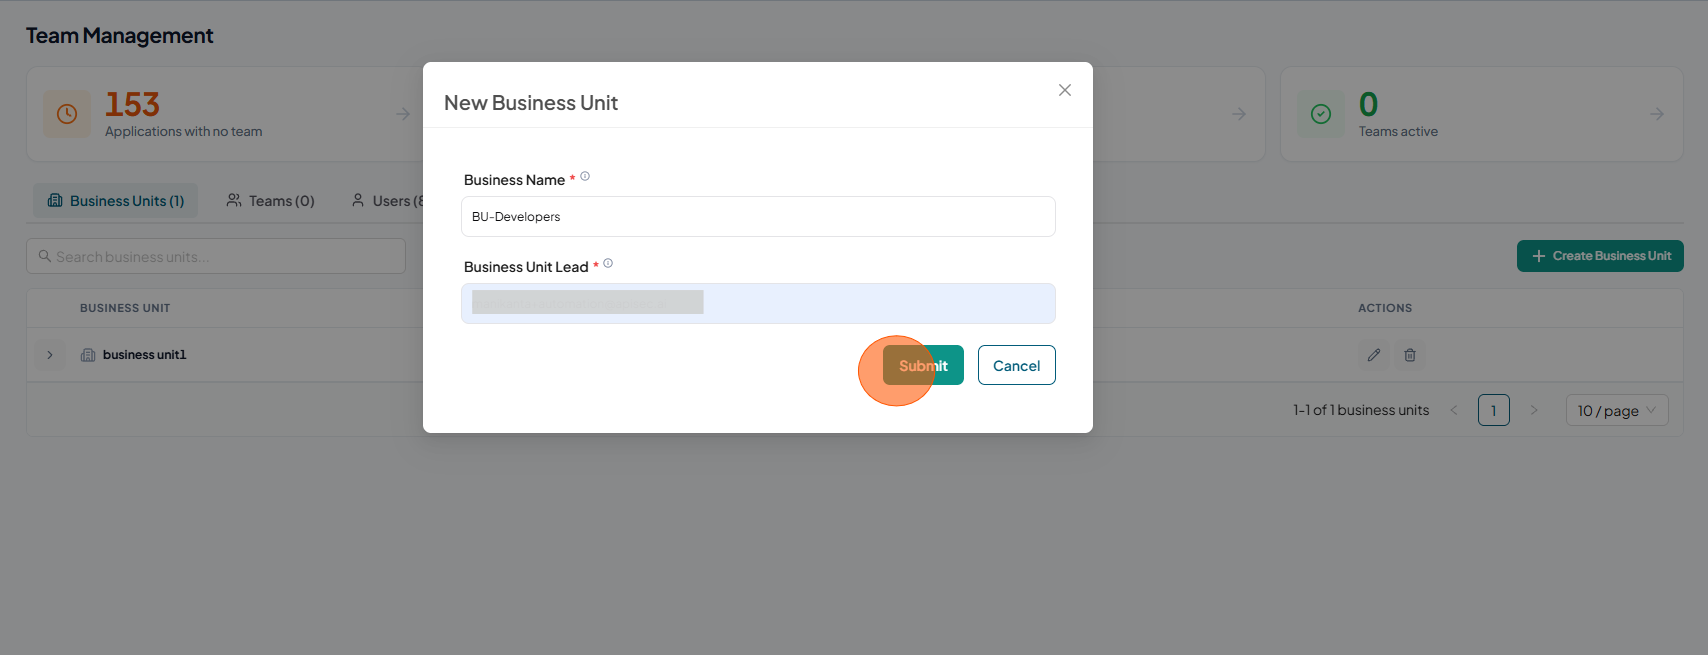
Now you will see a form for creating "New Business Unit". In this form
-
Business Name – Enter name for your business unit.
-
Business Unit Lead – Enter the email address of the Business Unit lead.
-
And finally click on the Submit button.
-
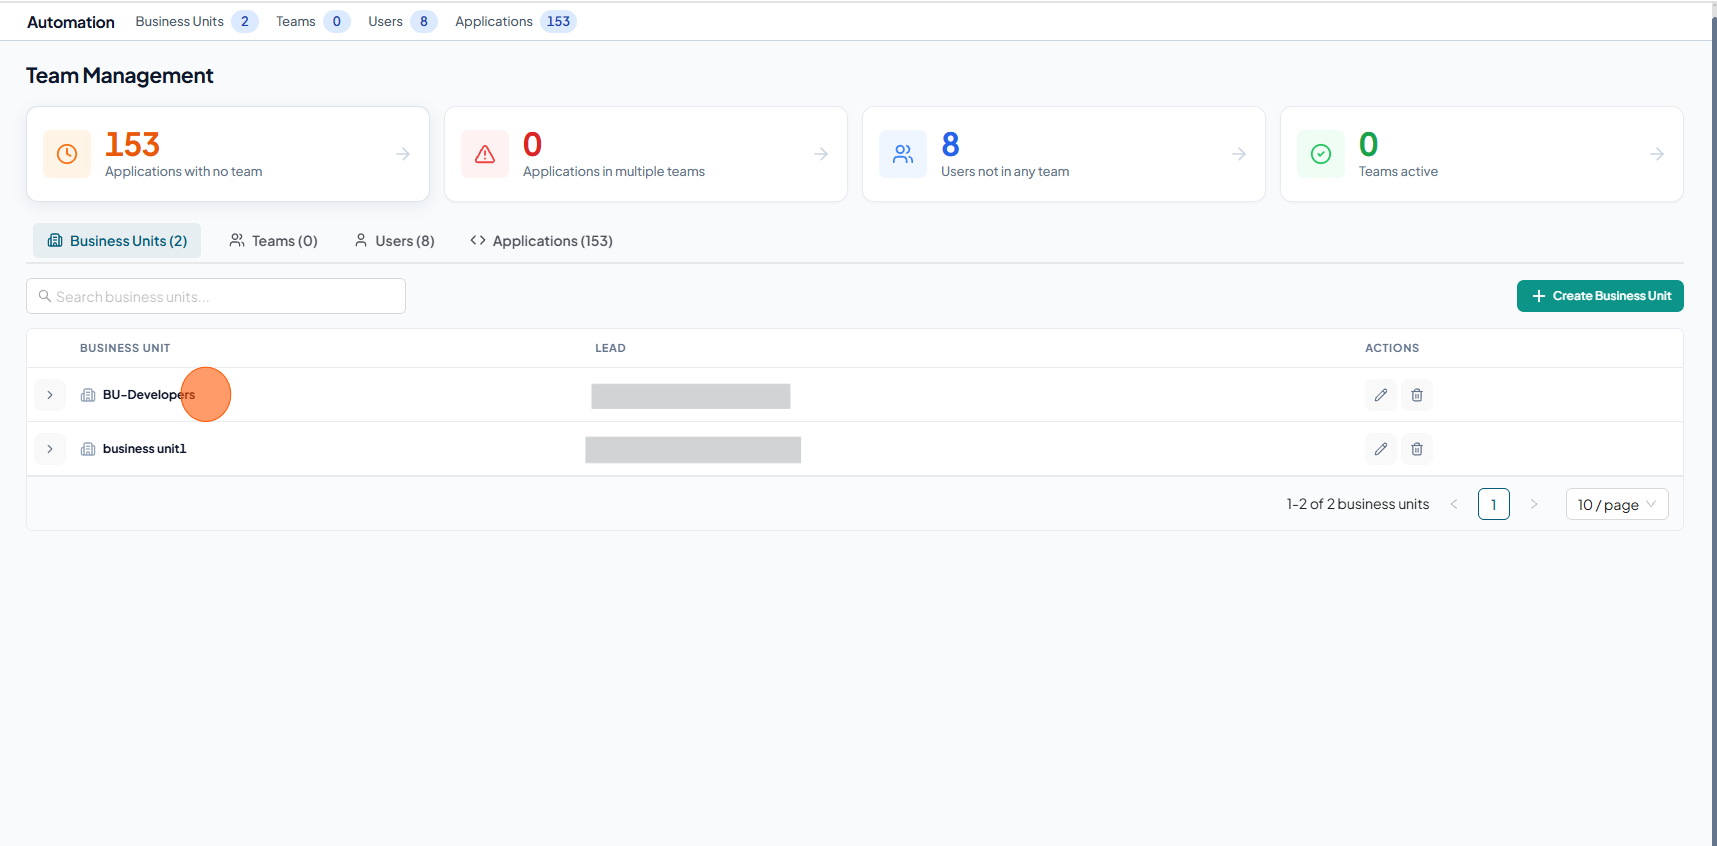
Now you can see the new business unit.
-
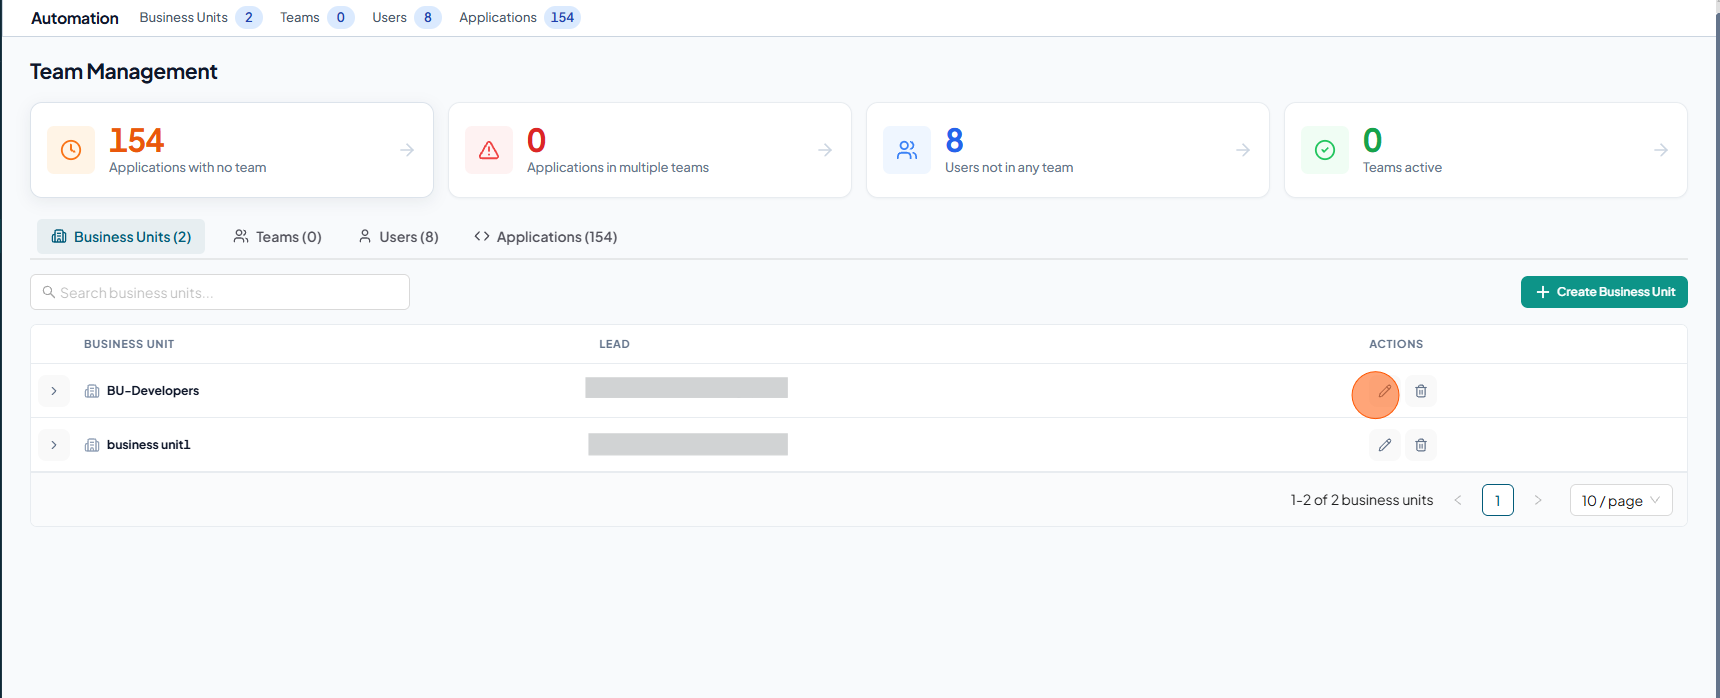
Edit Business Unit
-
Click the edit icon (pencil) for the corresponding business unit.
-
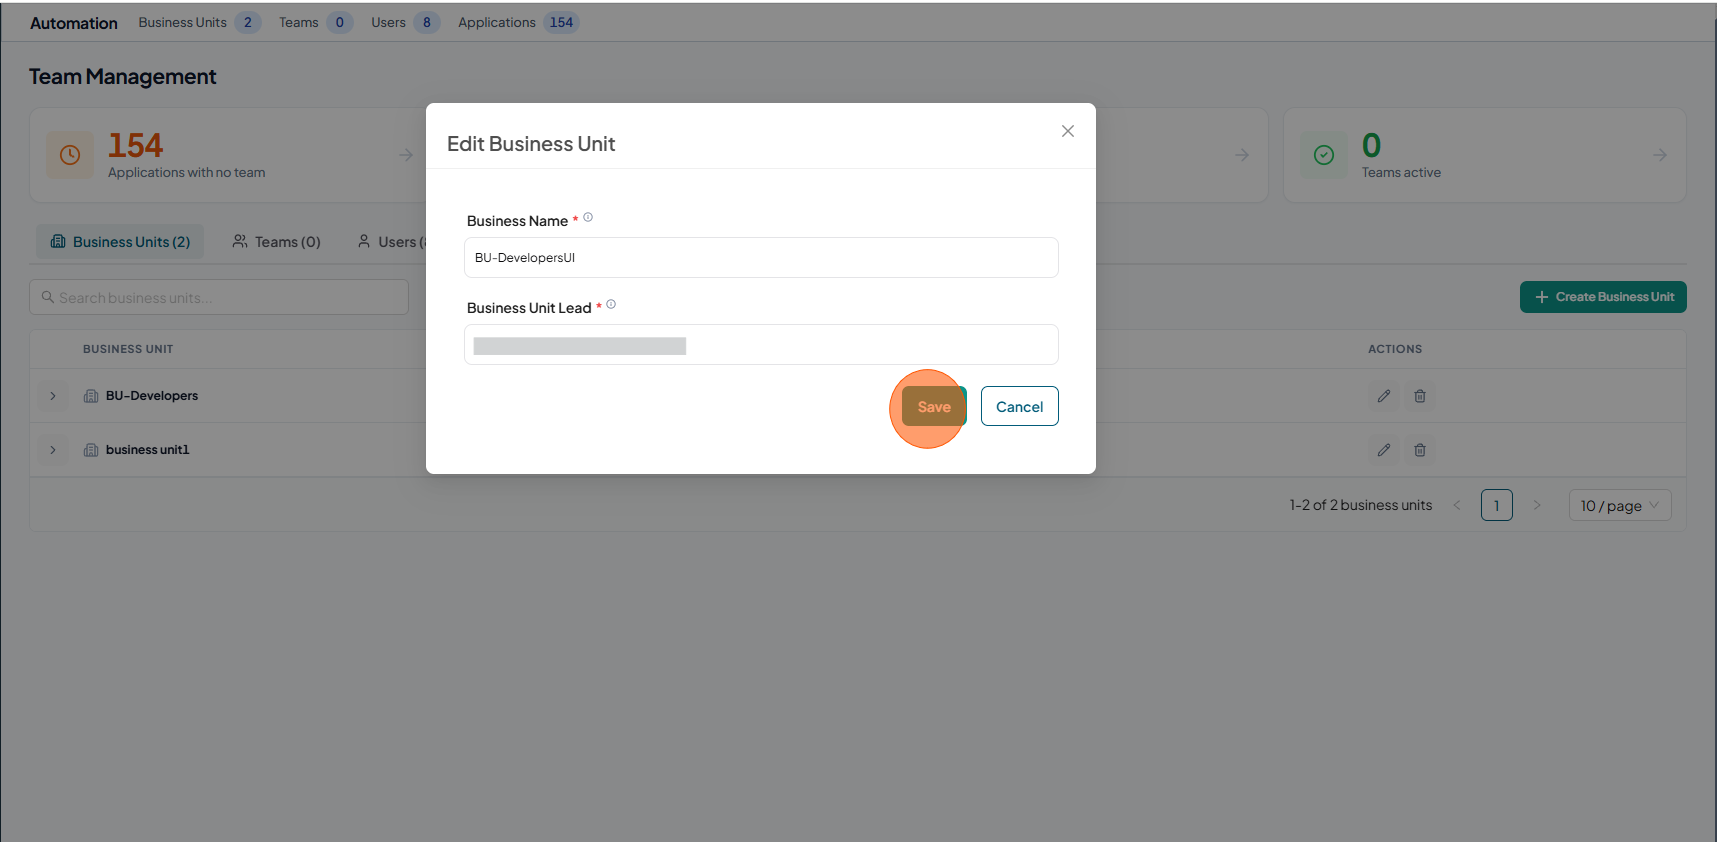
In the Edit Business Unit form, update the required fields and Click Save.
-
Now you can see the new business unit.
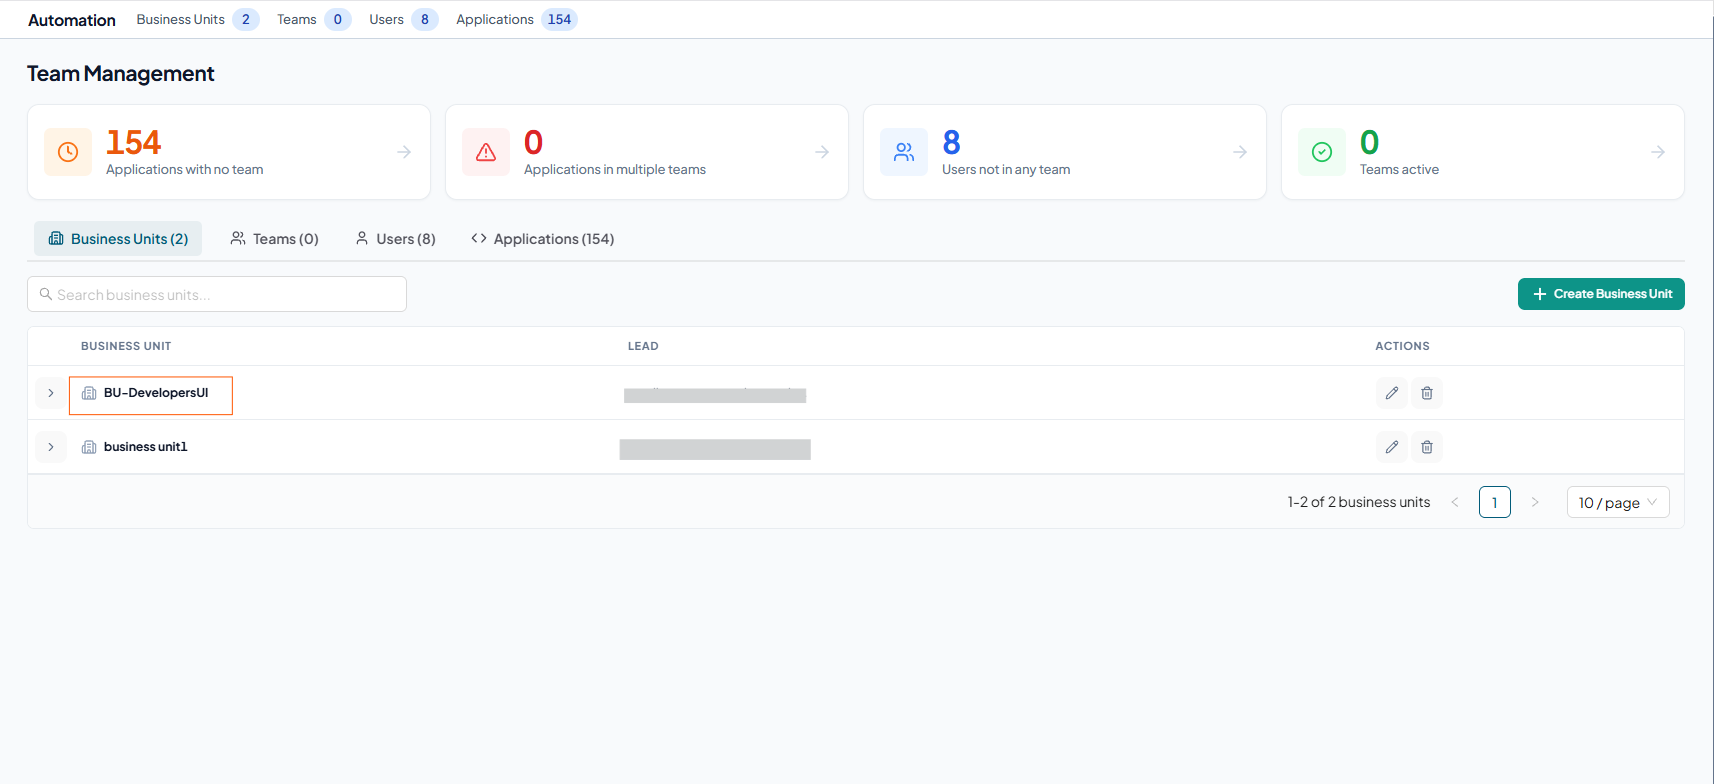
Delete Business Unit
-
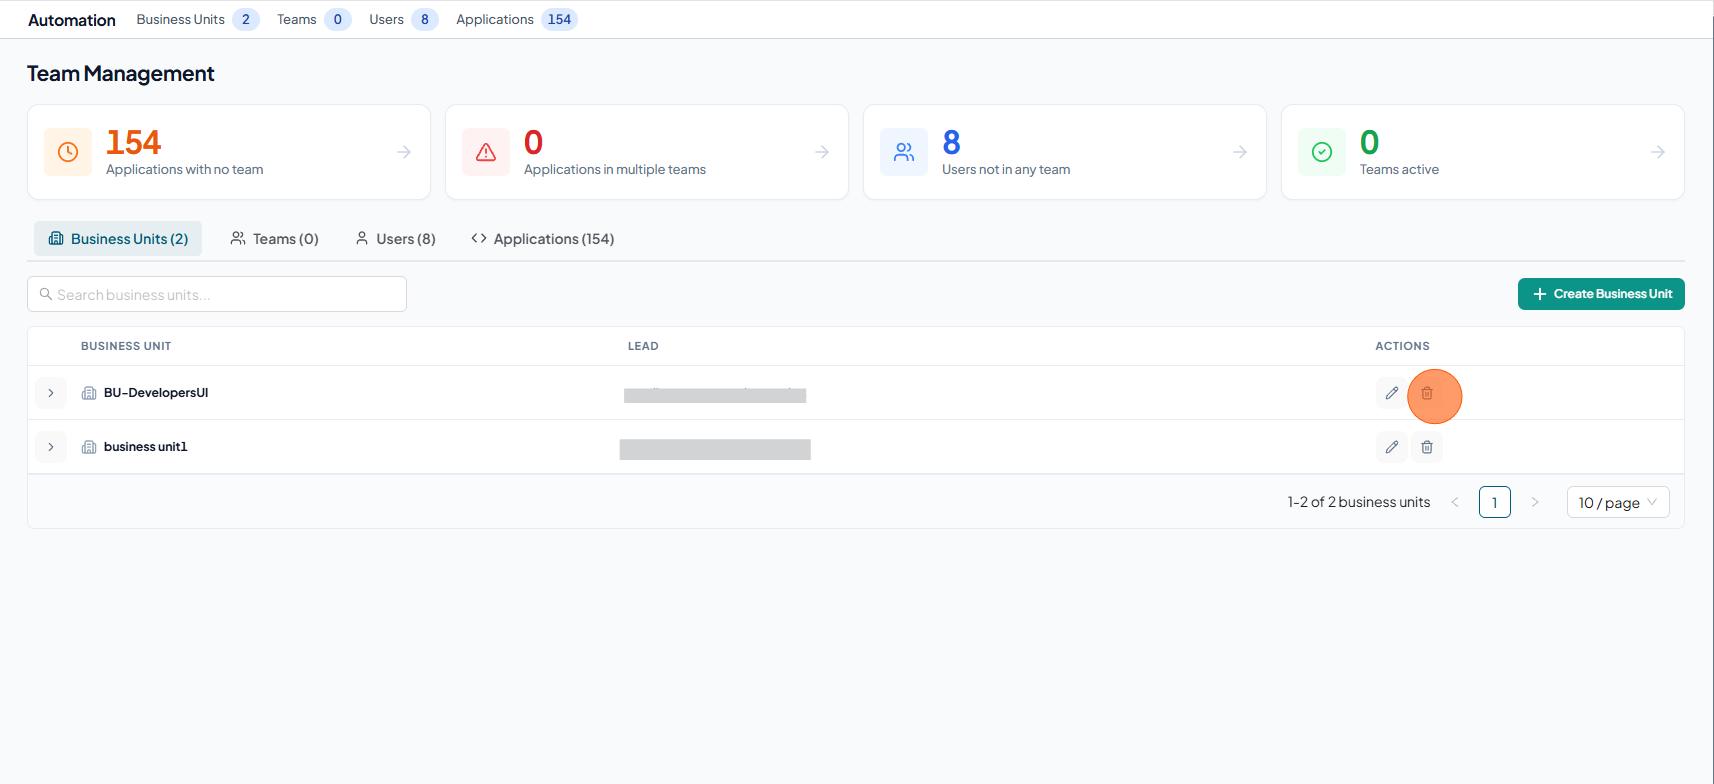
Click the Delete icon of the corresponding business unit.
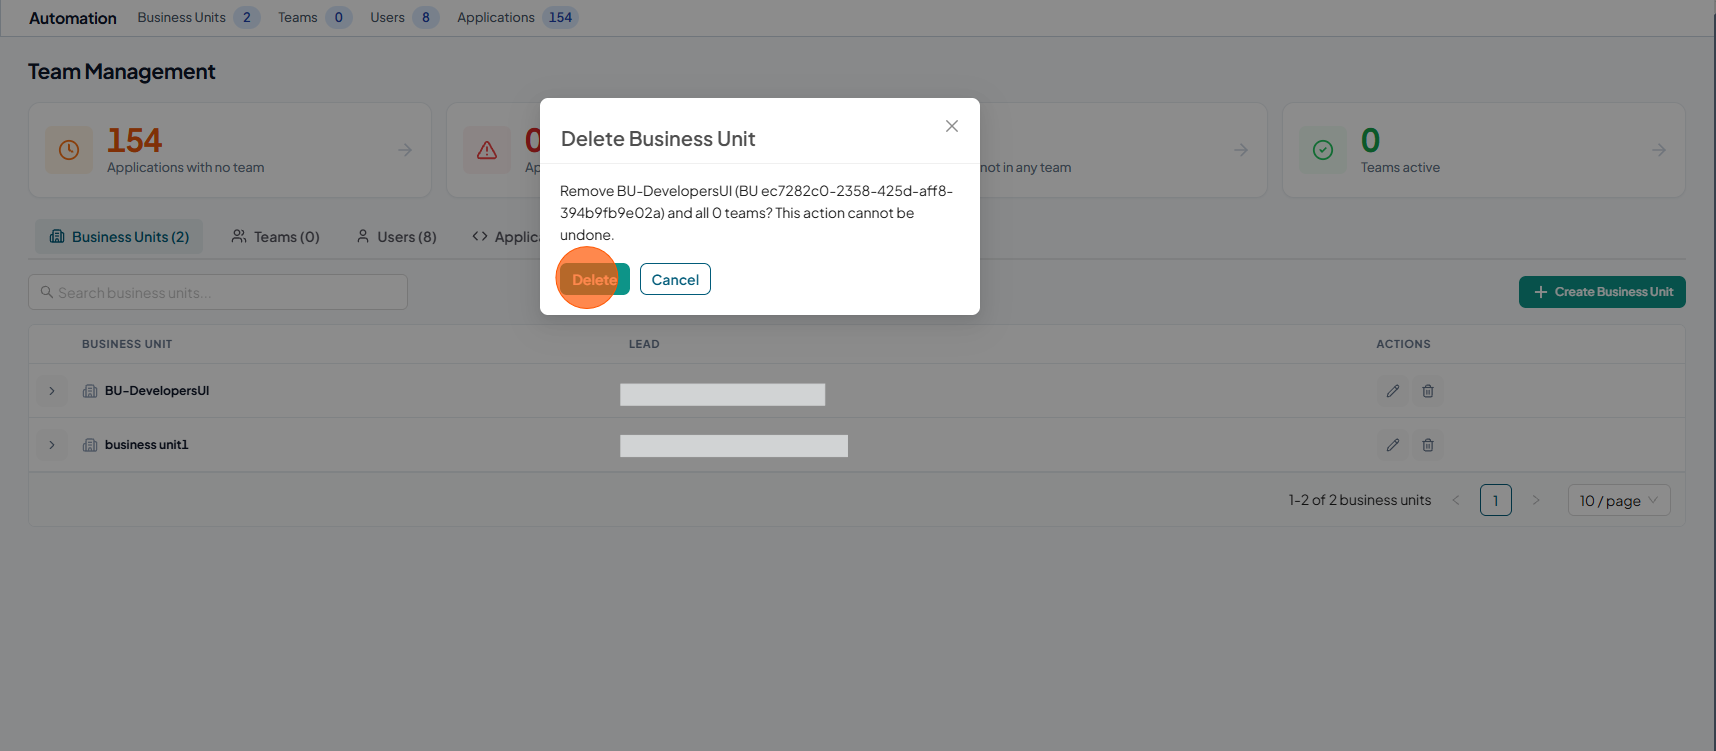
-
Click Delete to confirm.
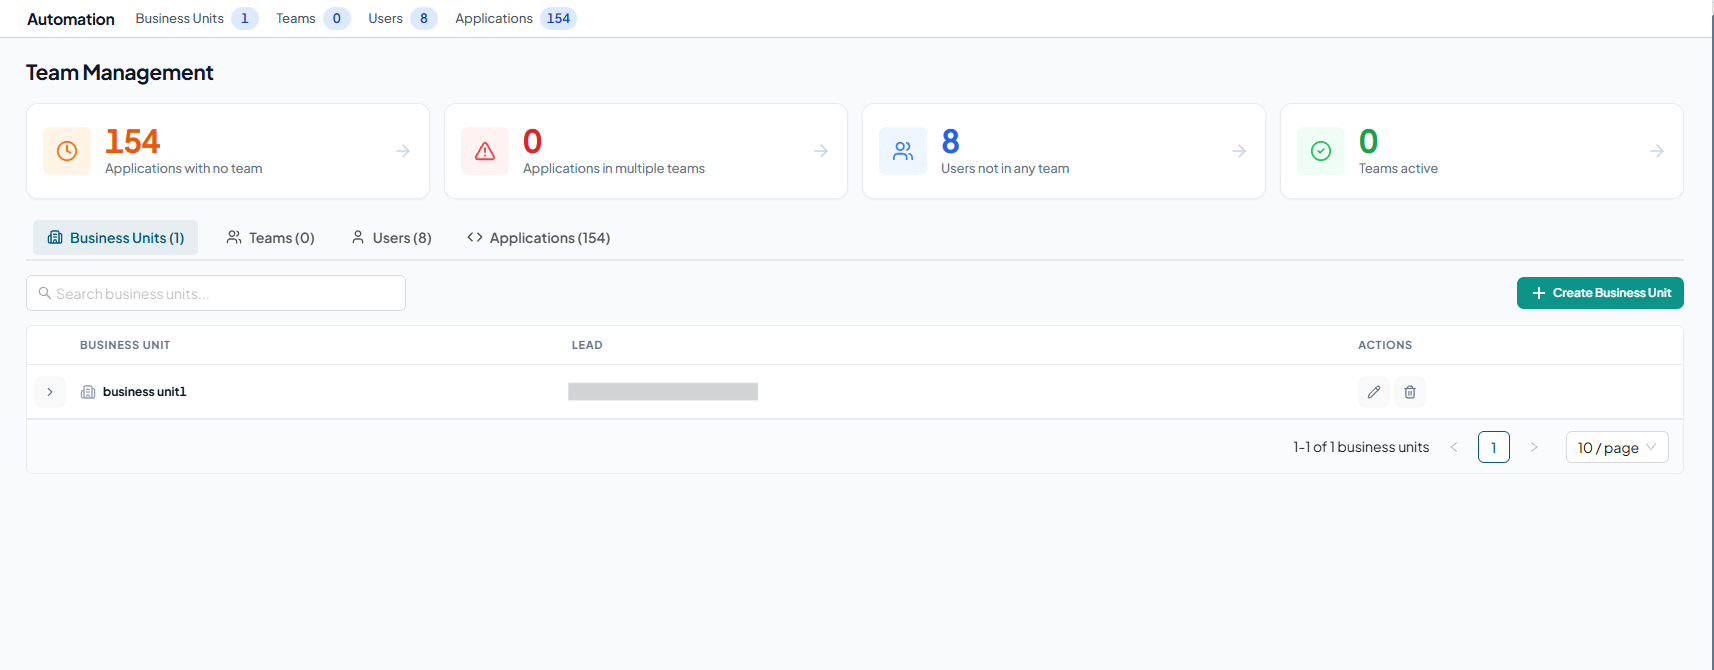
-
Now the deleted business unit is no longer displayed in the list.
Teams
Create Team
1. Business units tab
-
Open your browser and visit: https://<your-tenant>.apisecapps.com
-
Click on Teams from Side Navigation
-
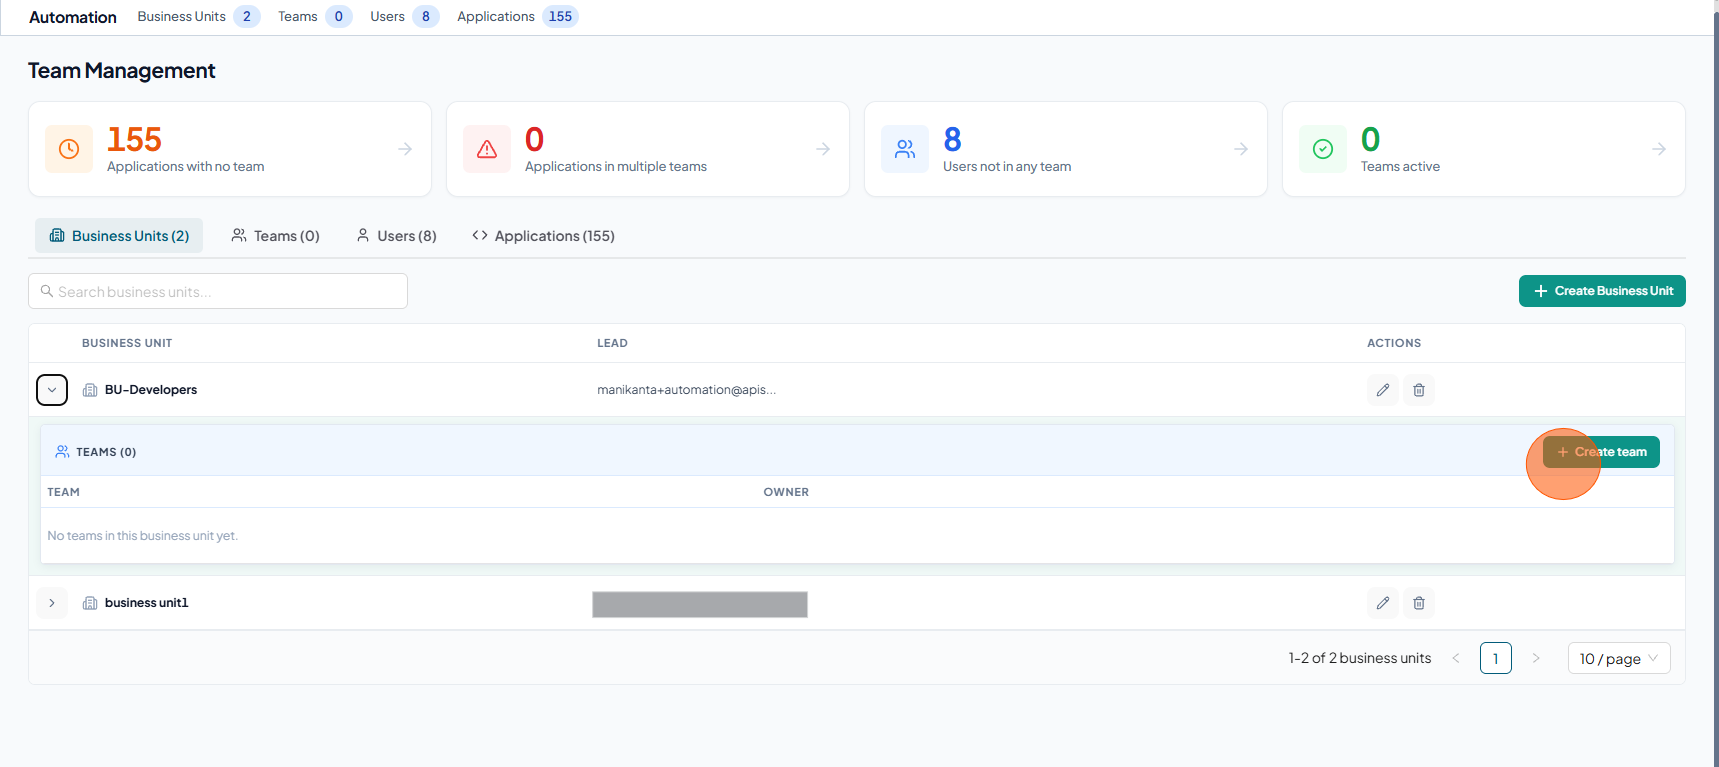
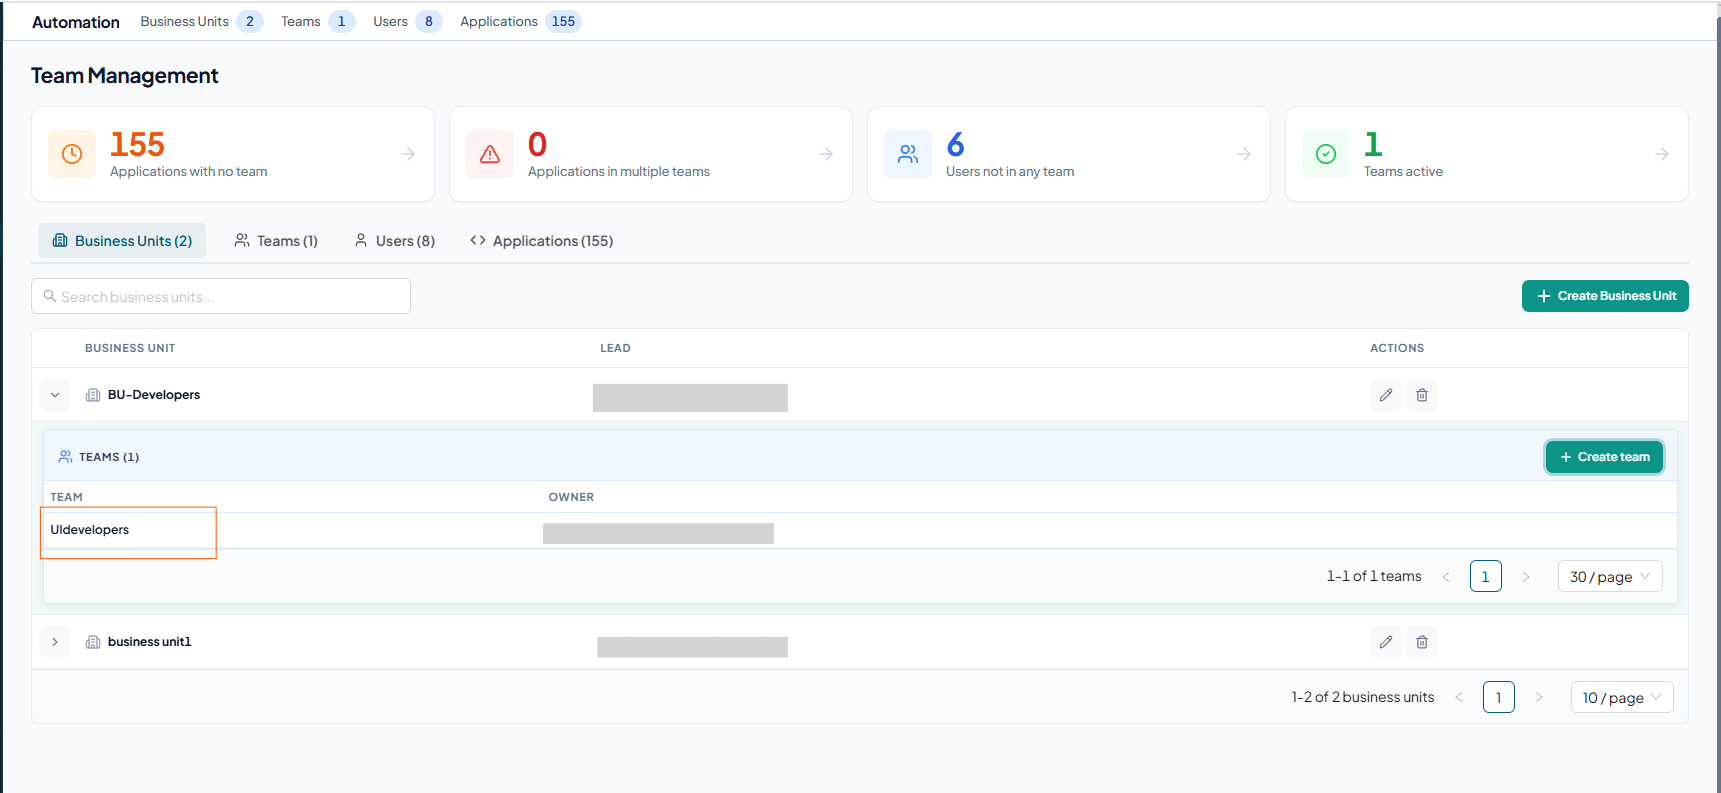
Now you will see a list of your existing business units.
-
Exapand the required business unit to create a team.
-
Click Create team
-
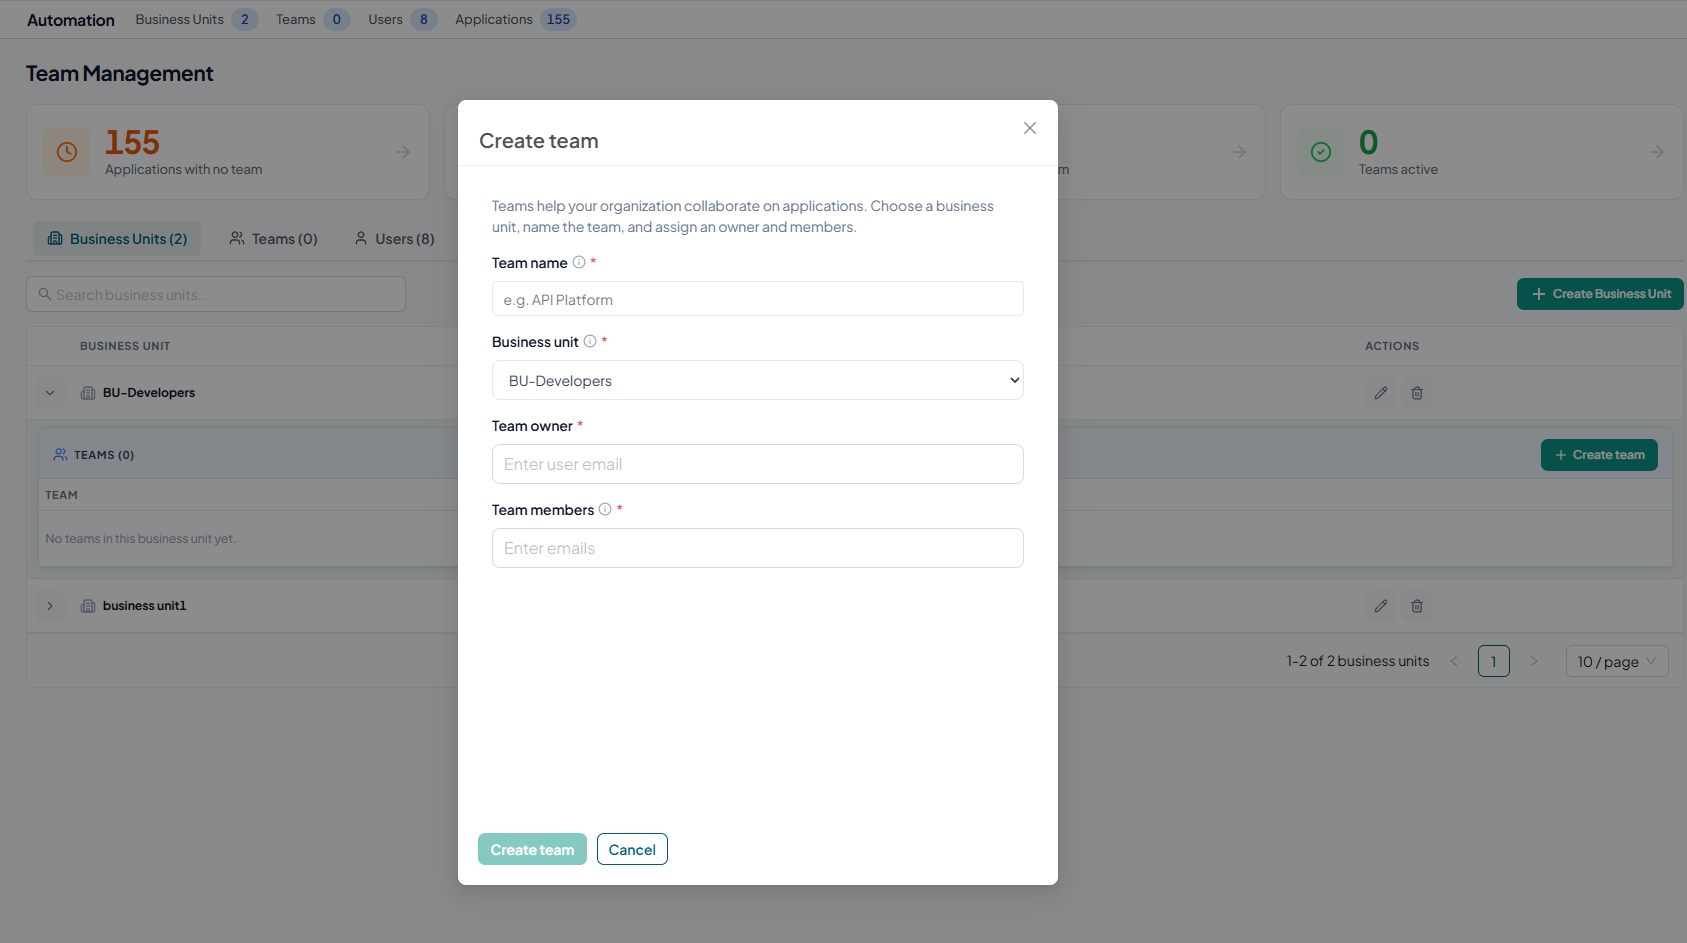
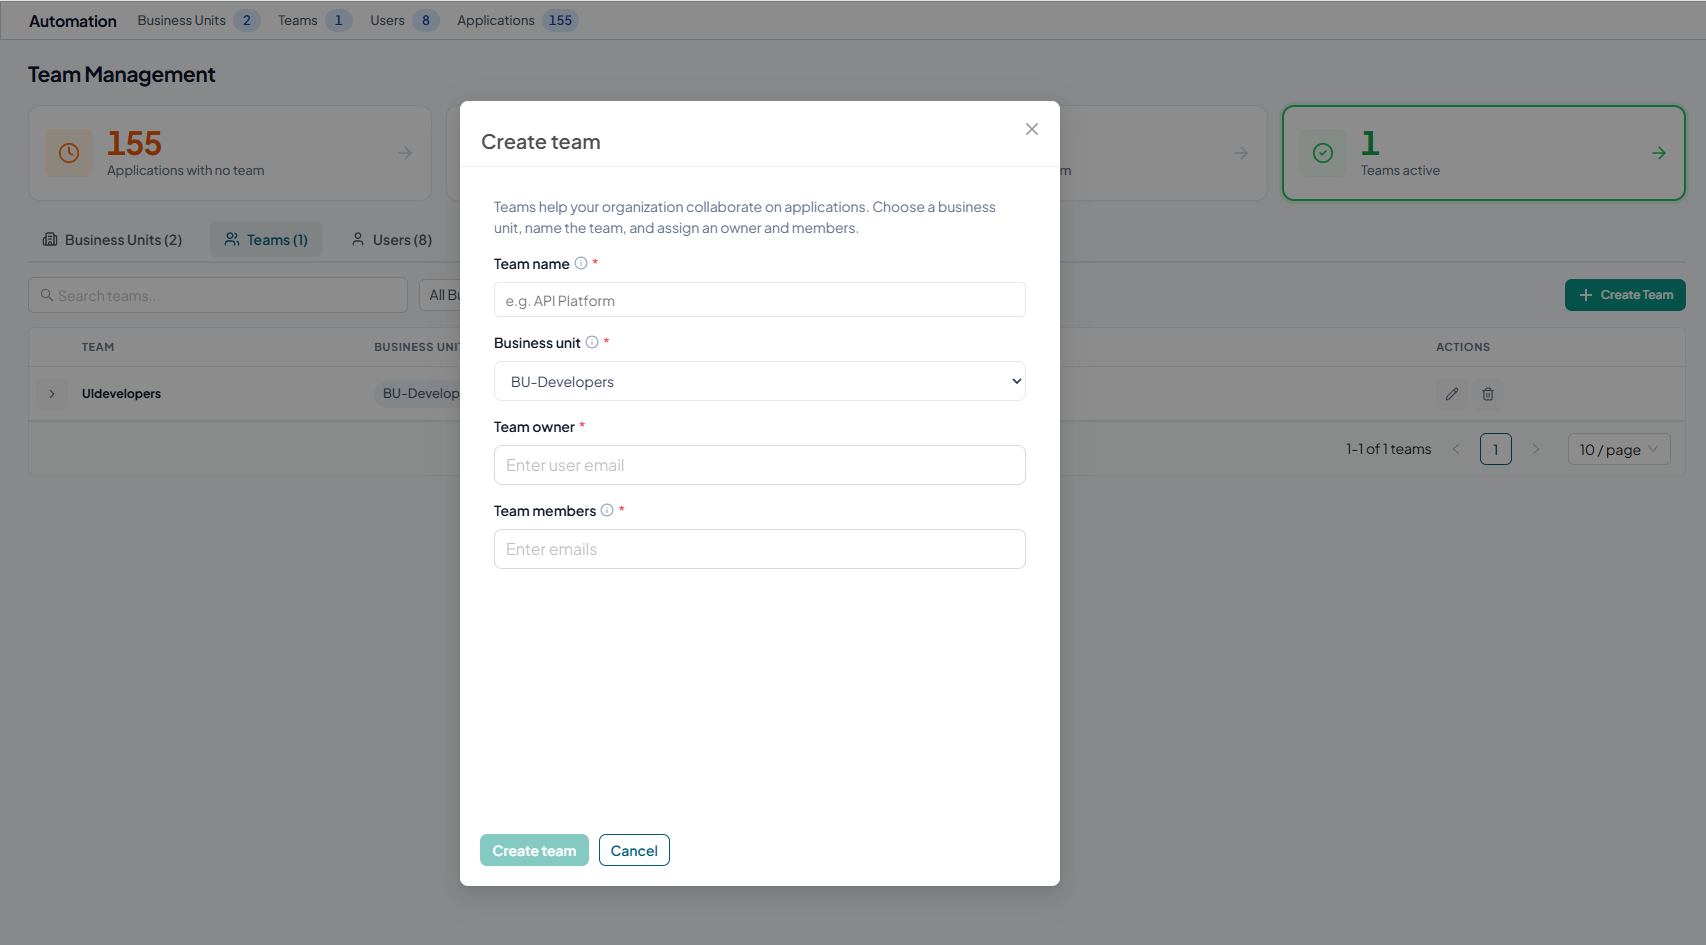
Now you will see the "New Team" form
-
In this form,
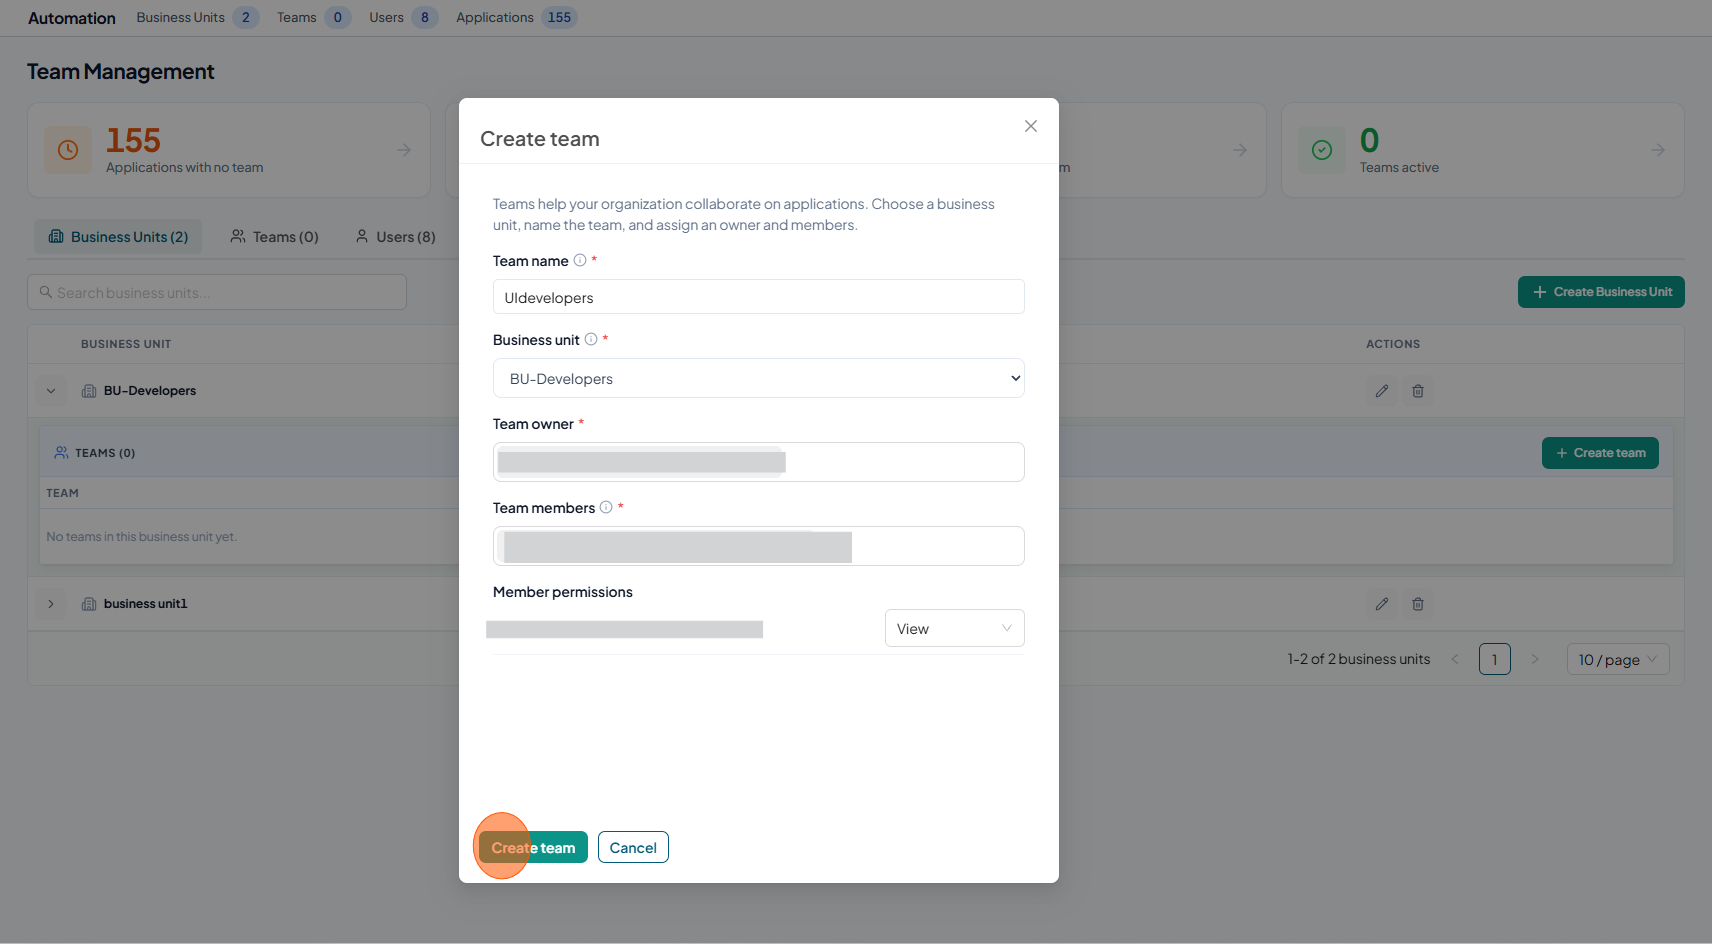
- Team Name: Enter a name for your team
- Team Owner: Enter the email address of the team owner. He must be a member of the tenant.
- Select Business Unit: Select one of the business unit
- Team Members: Enter and select valid email addresses of team members. He must be a member of the tenant
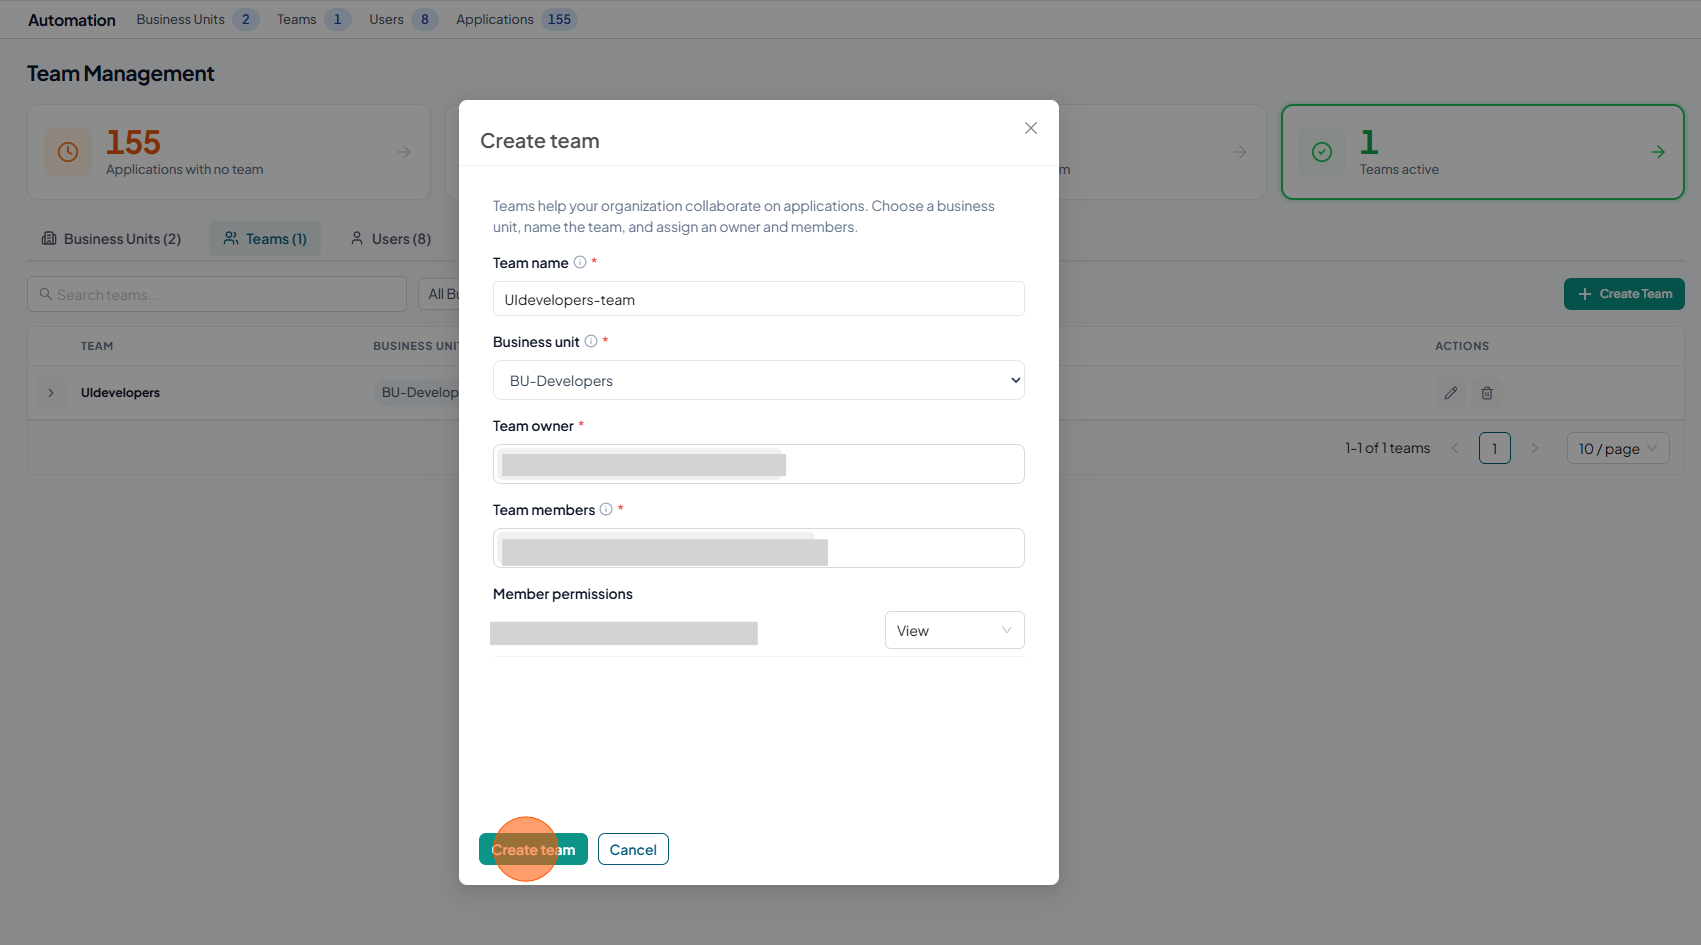
- you can assign the user’s permission: View or Edit.
- Click Create Team
 note
noteFor SSO users, the system displays an SSO tag beside the email address in the auto-complete options.
-
Check the new team in the Business unit
2. Teams Tab
-
Open your browser and visit: https://<your-tenant>.apisecapps.com
-
Click on Teams from Side Navigation
-
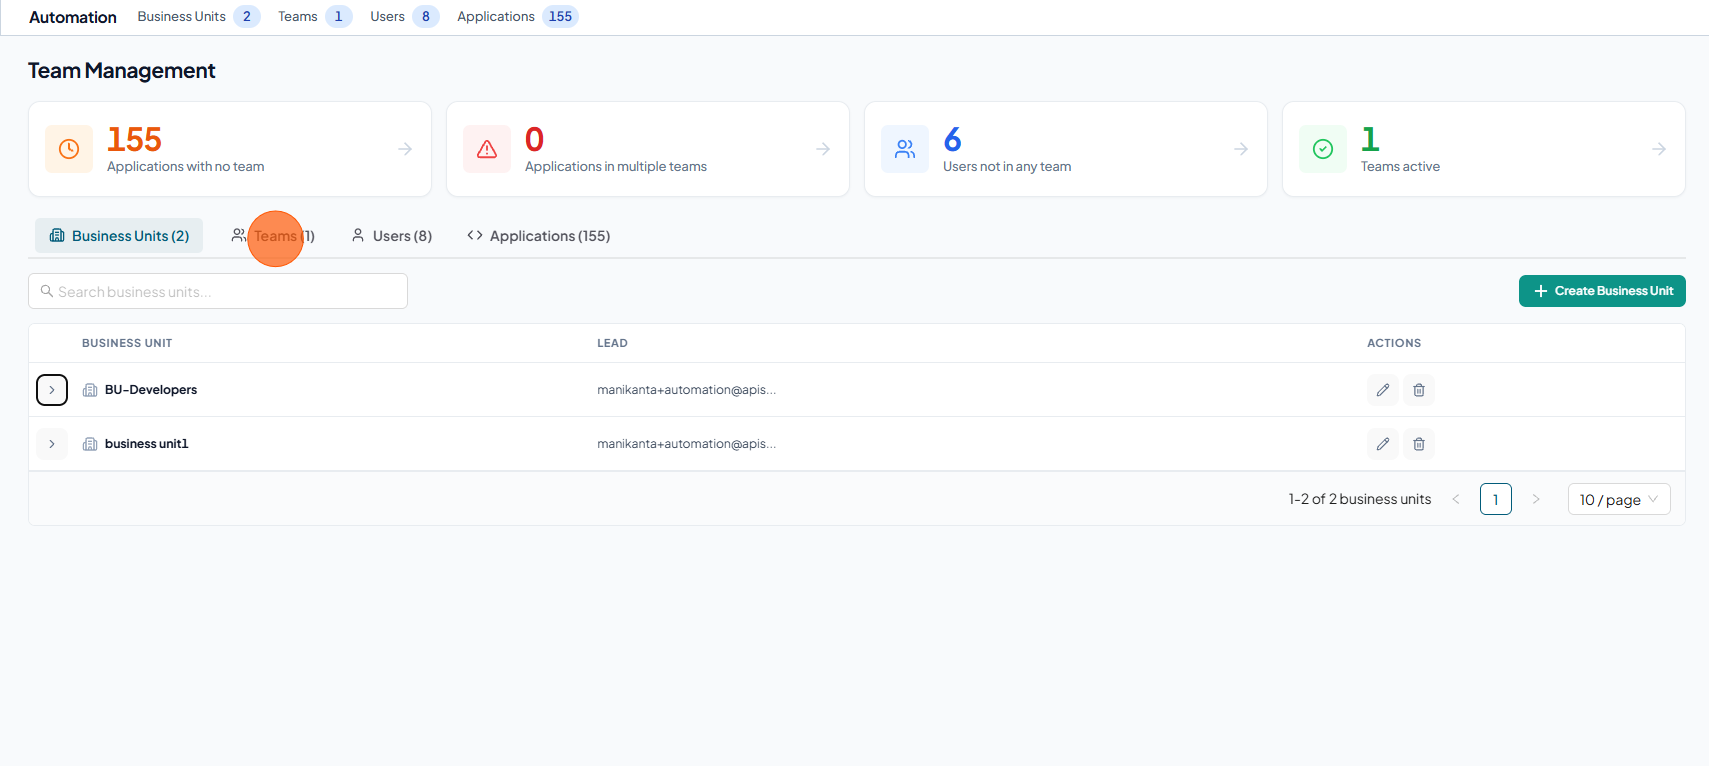
Select Teams tab in Team Management
-
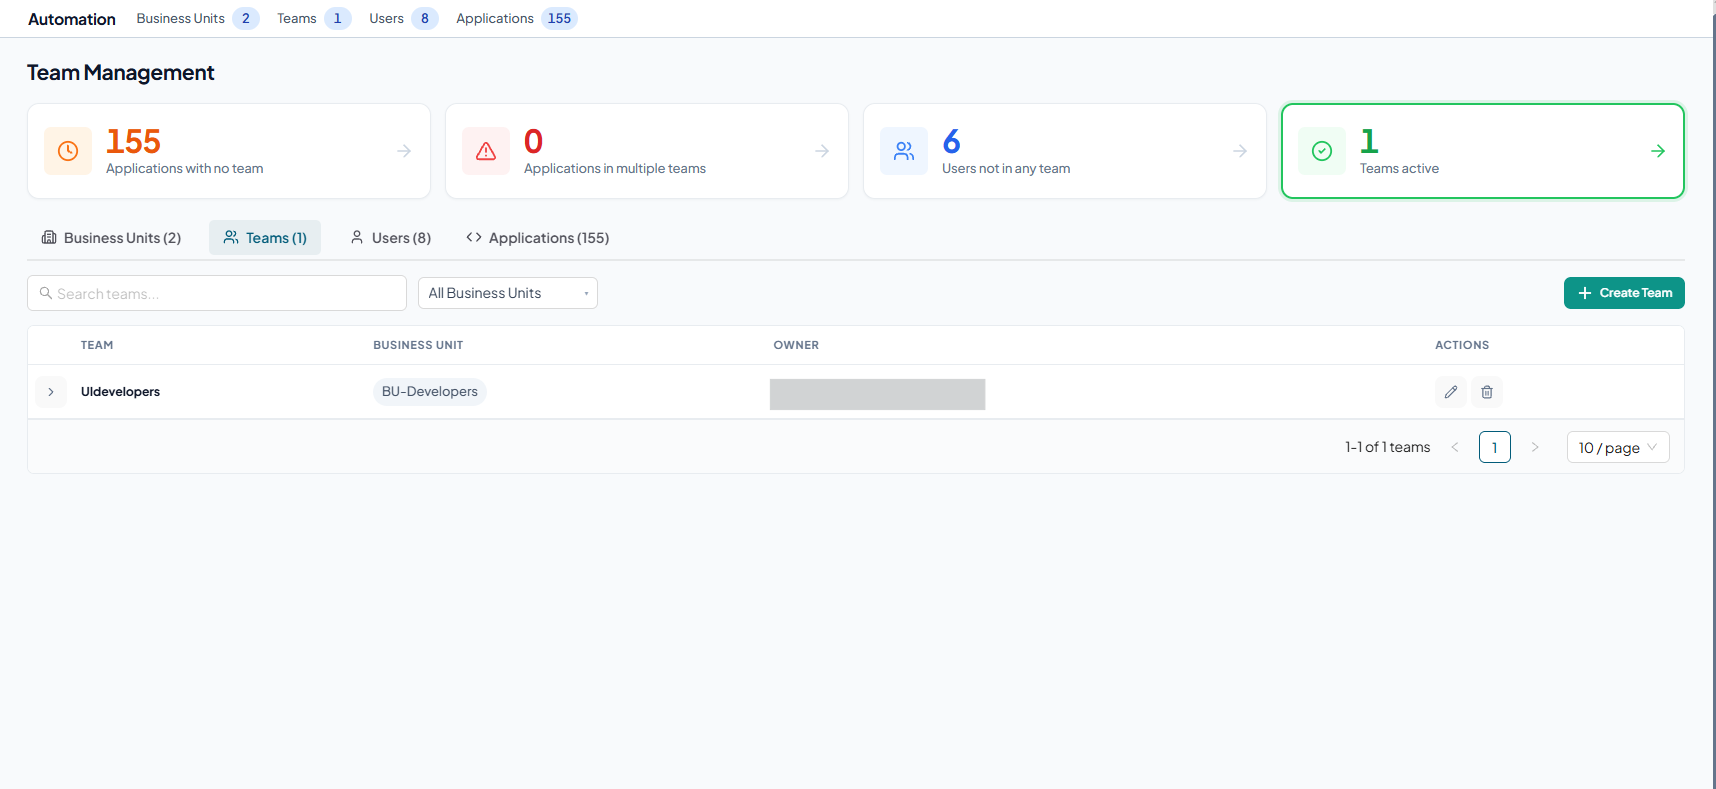
Now You will see the list of existing Teams.
-
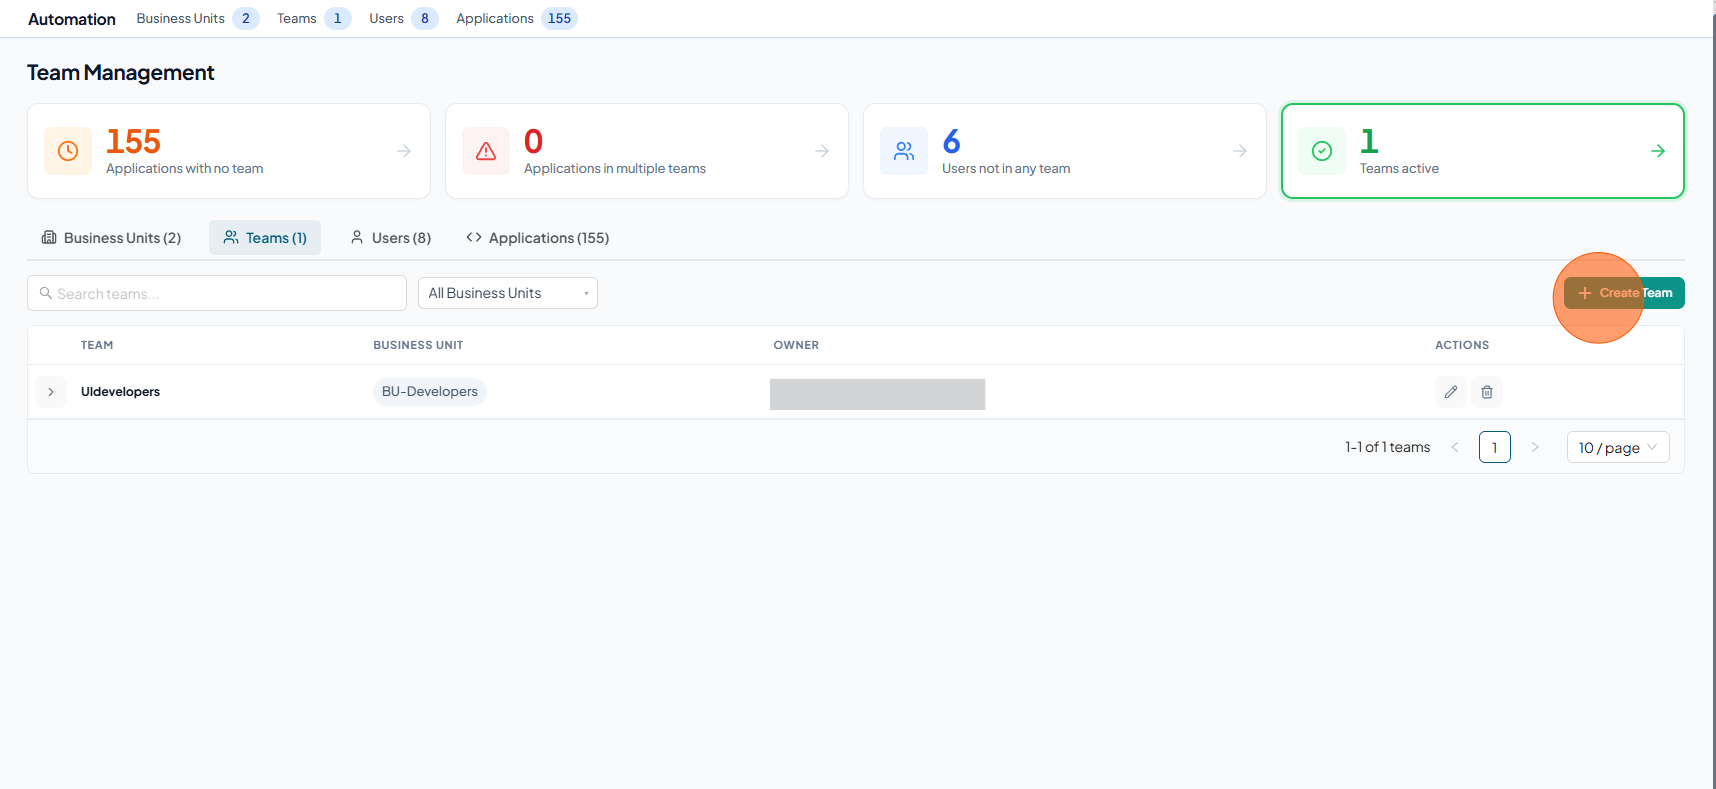
Click Create Team
-
Now you will see the "New Team" form
-
In this form,
- Team Name: Enter a name for your team
- Team Owner: Enter the email address of the team owner. He must be a member of the tenant.
- Select Business Unit: Select one of the business unit
- Team Members: Enter and select valid email addresses of team members. He must be a member of the tenant
- you can assign the user’s permission: View or Edit.
- Click Create Team
 note
noteFor SSO users, the system displays an SSO tag beside the email address in the auto-complete options.
-
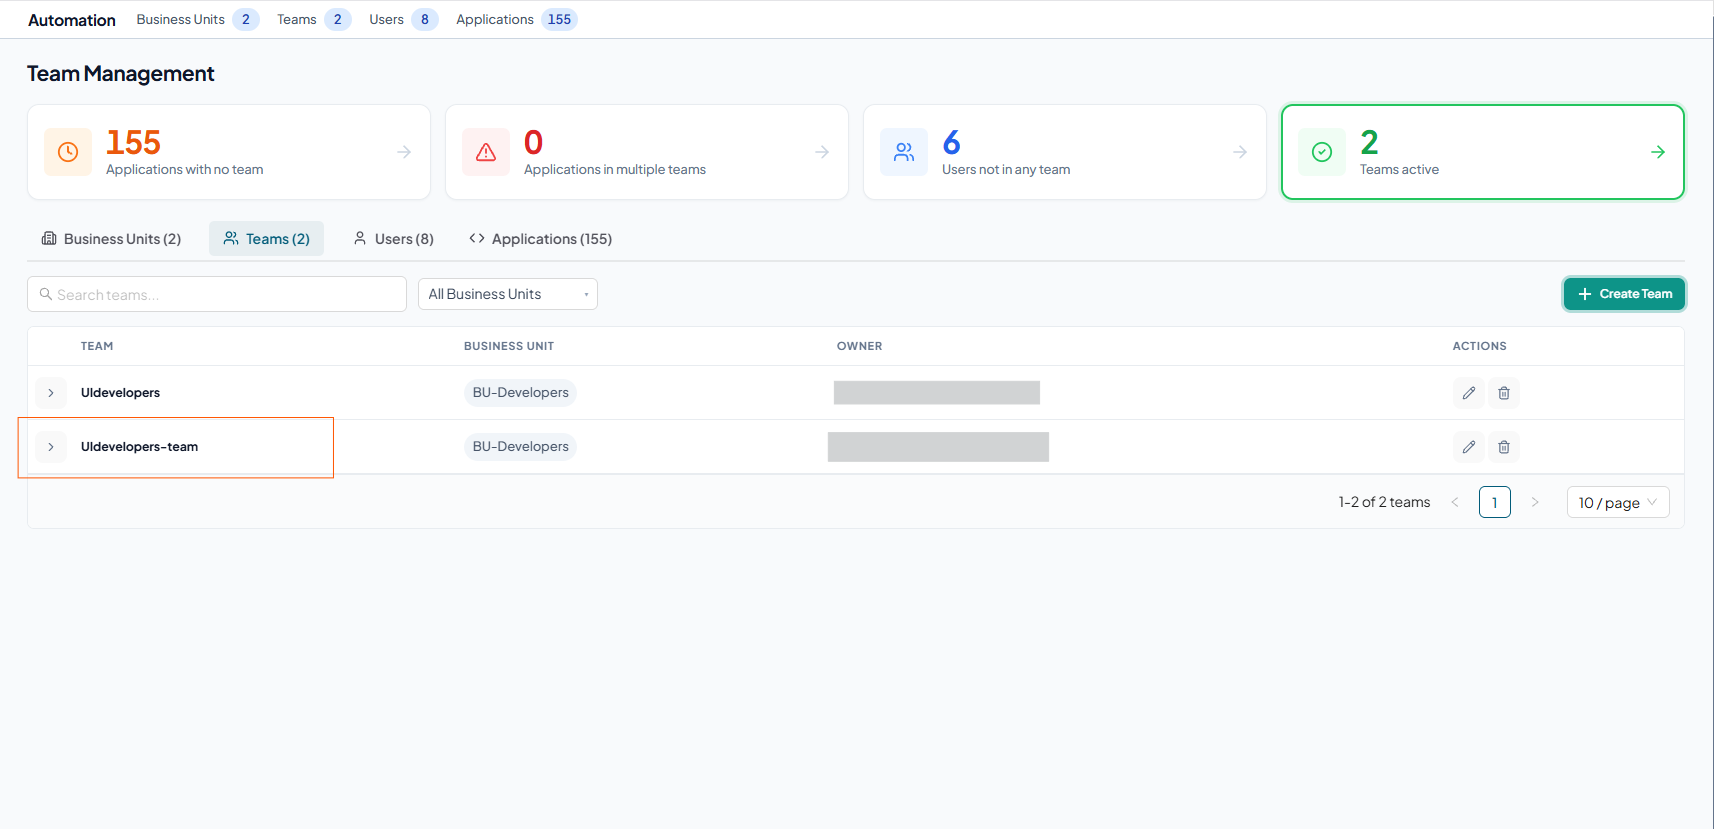
Now you can see the new team
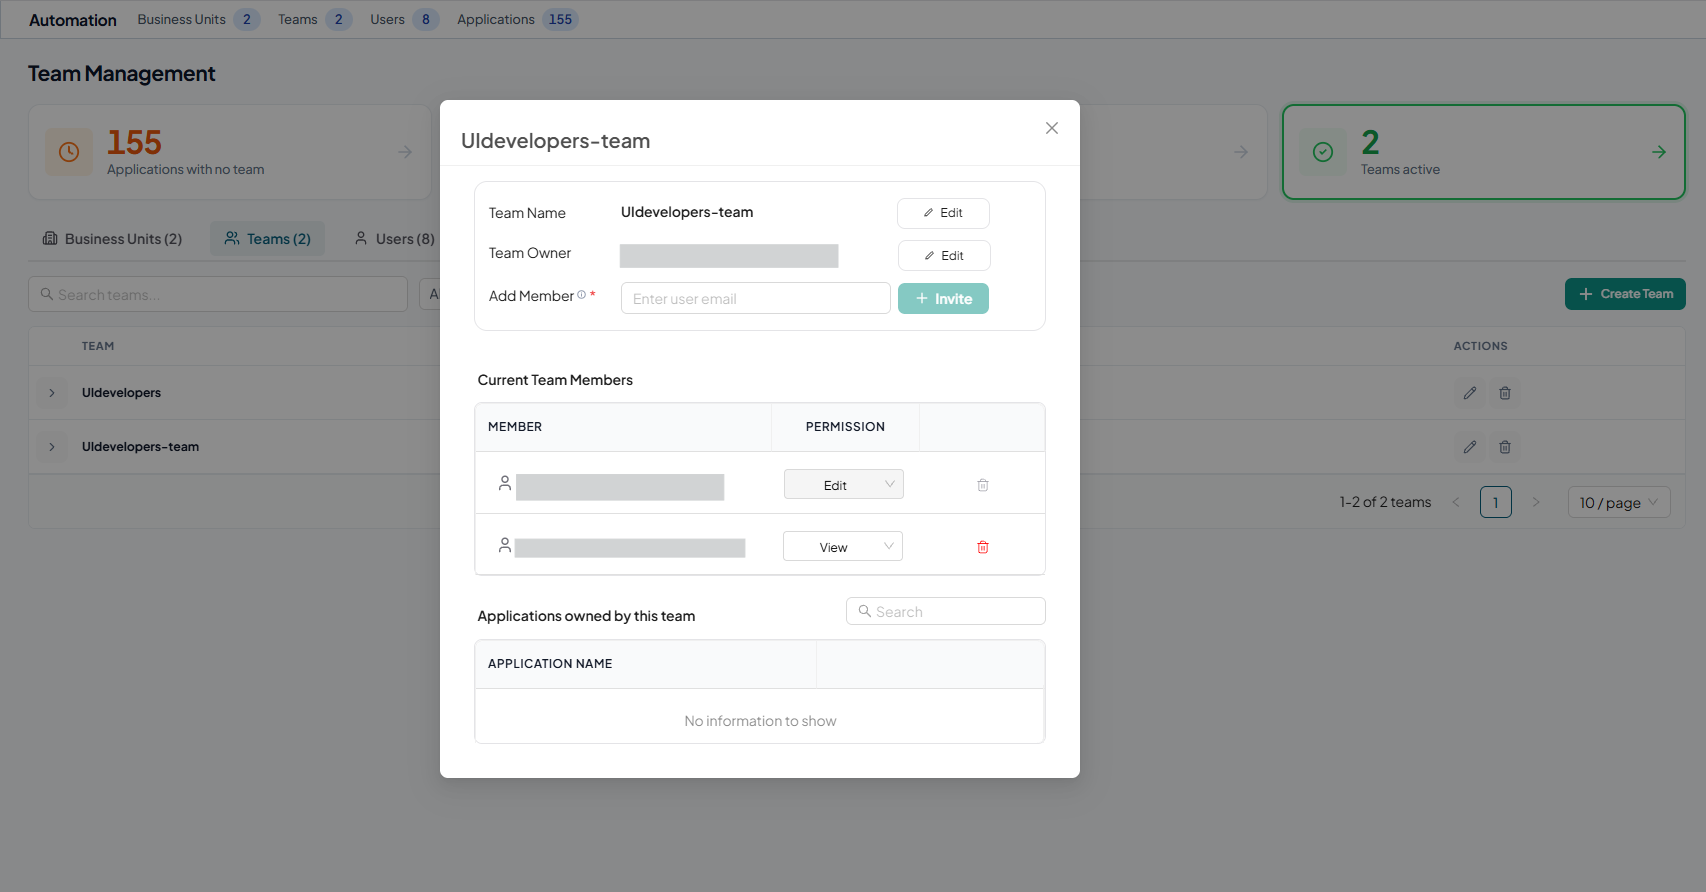
Edit team
-
Click the edit icon (pencil) for the corresponding team.
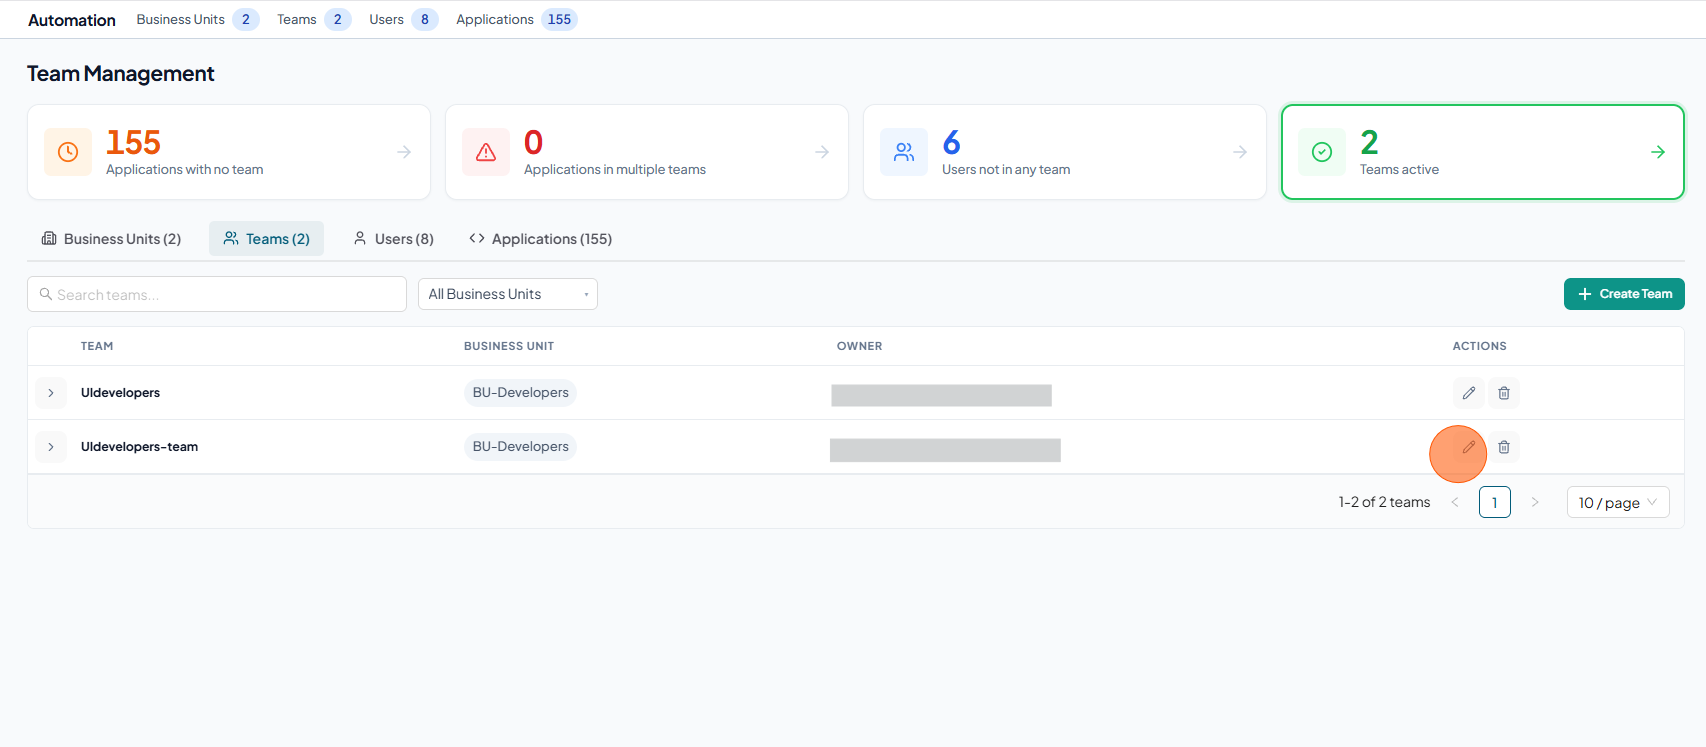
-
Now you will see the team details
-
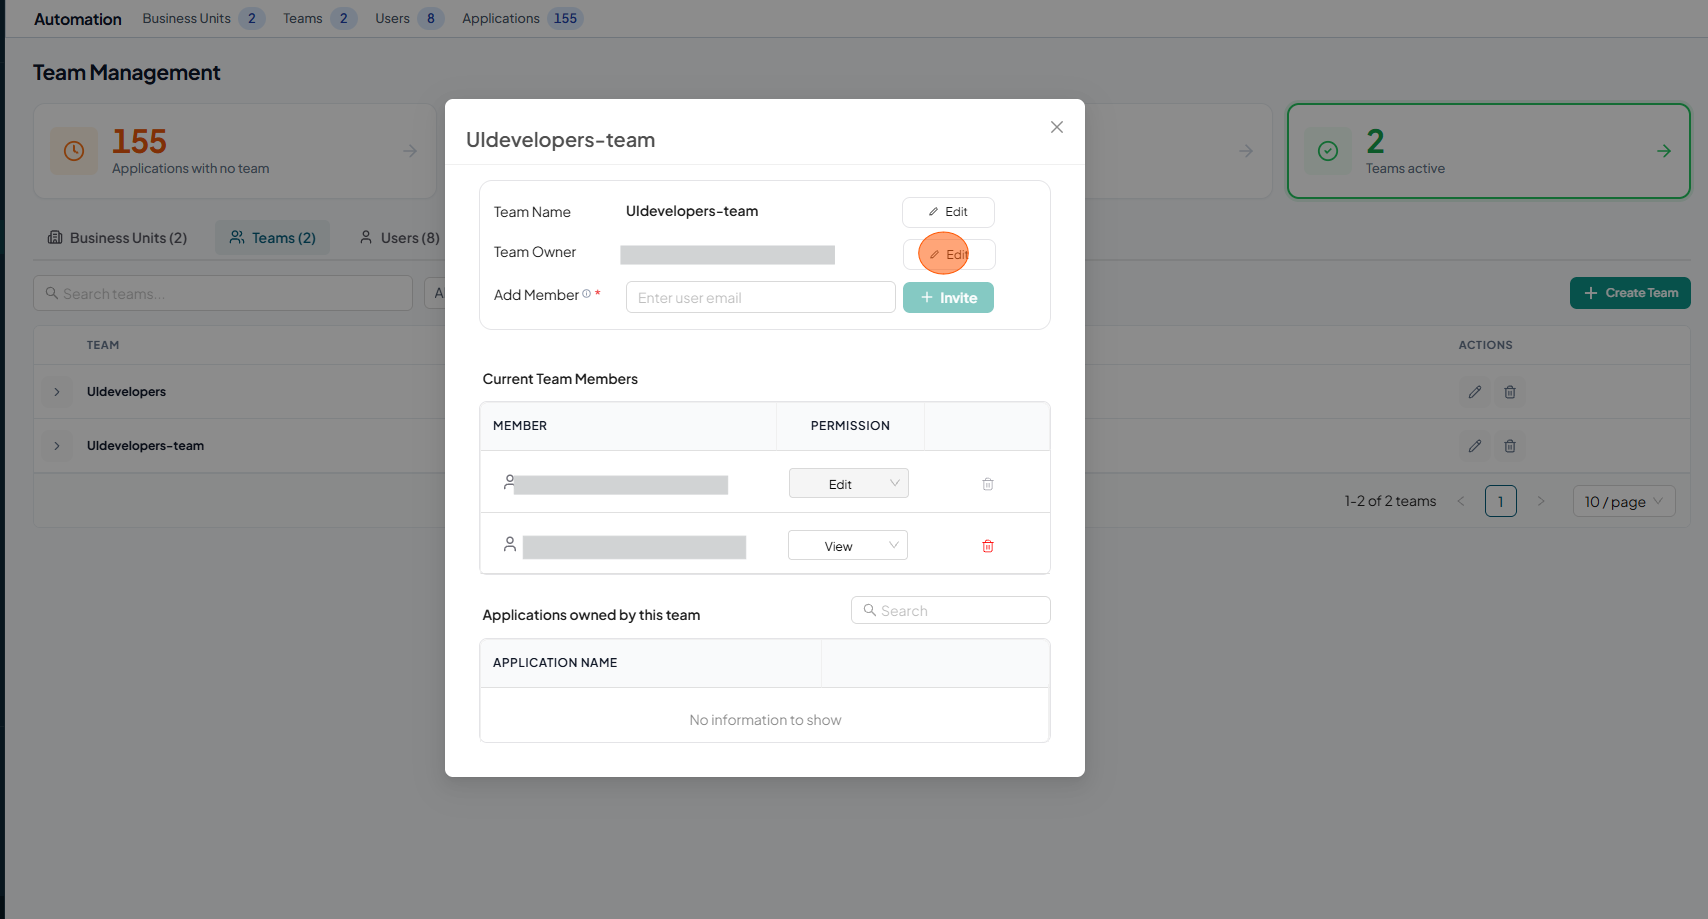
To edit the team owner
-
Click edit (Pencil) icon next to the Team Owner
-
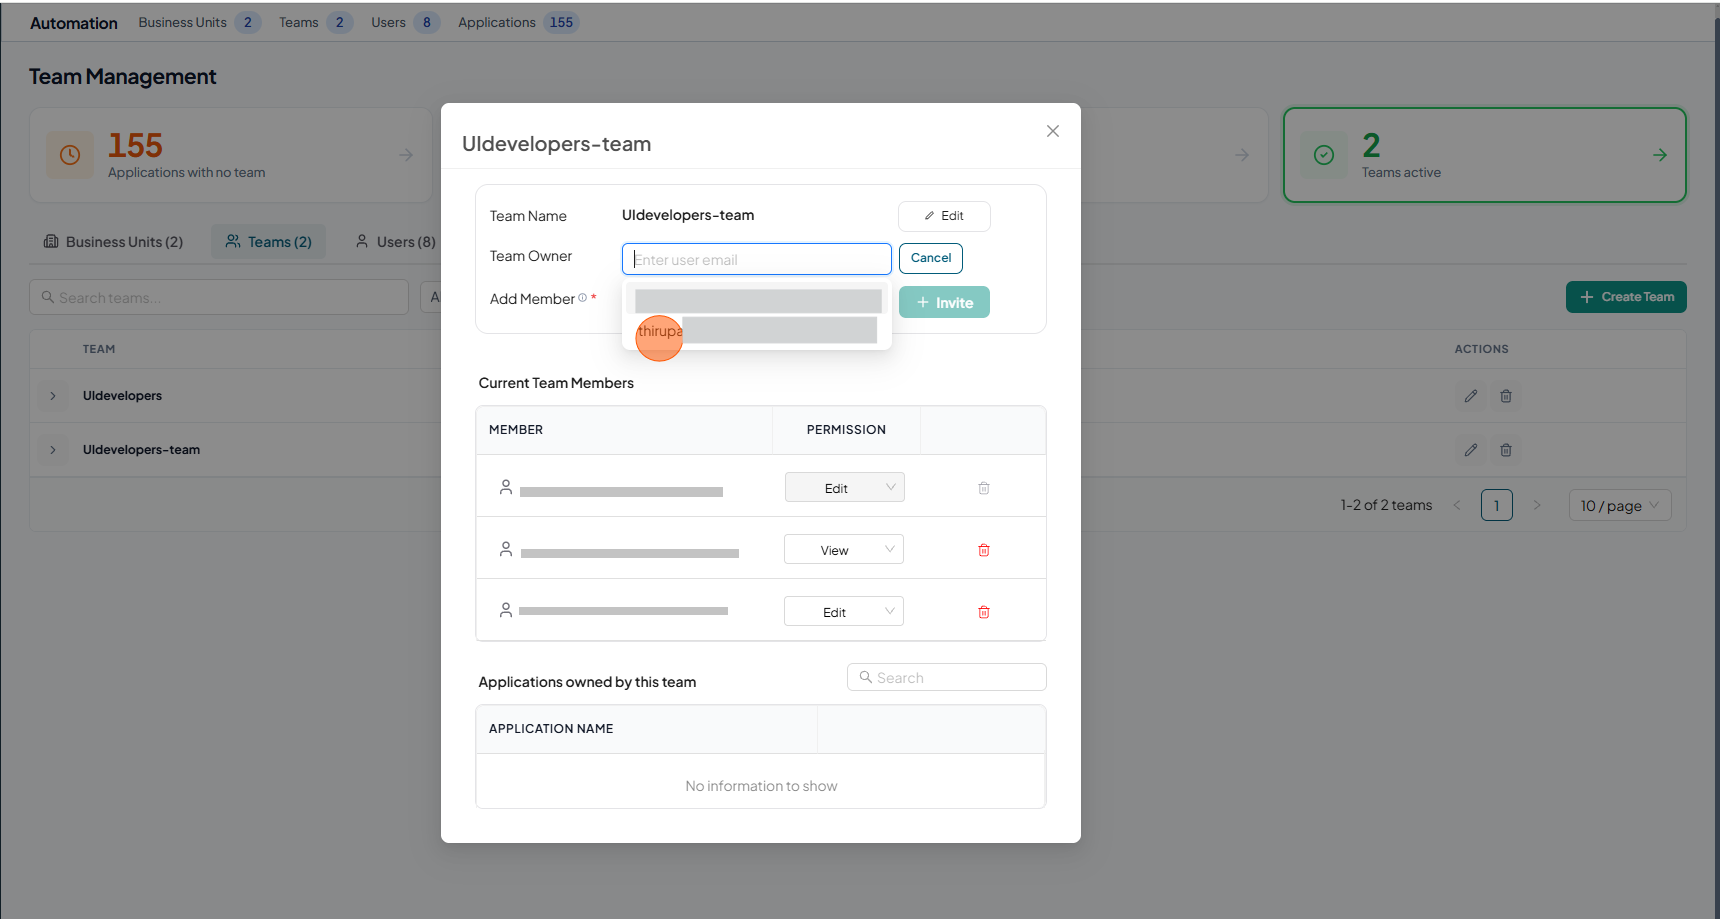
Enter and select Email.
-
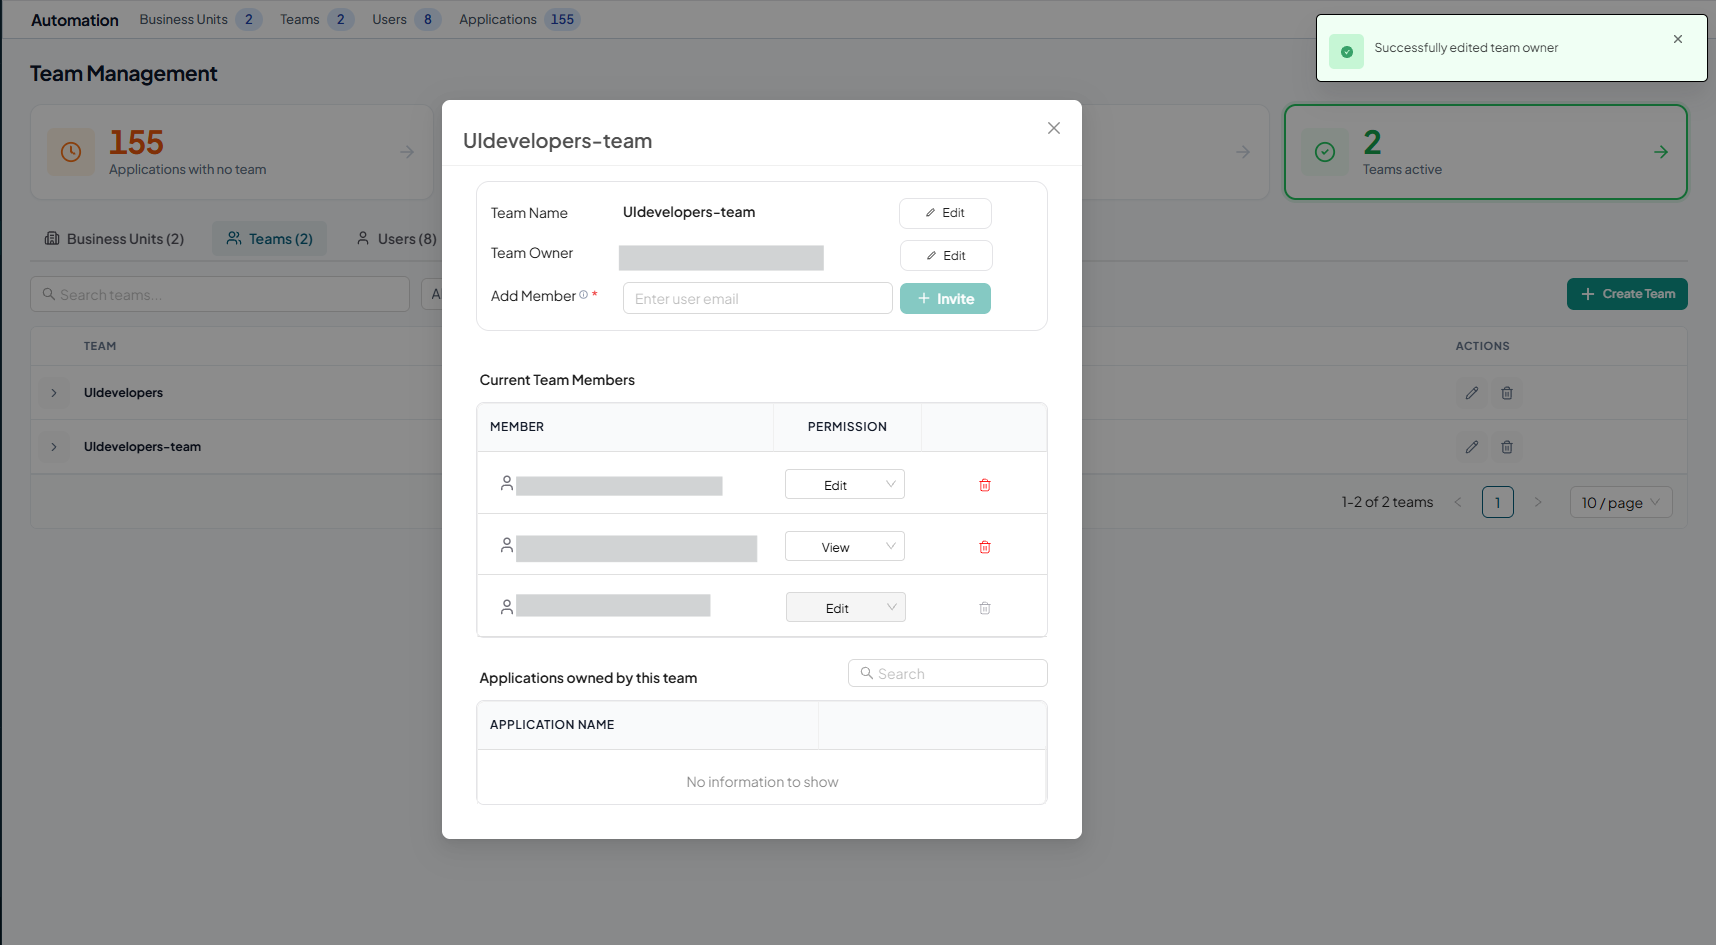
Successfully edited team owner.
-
-
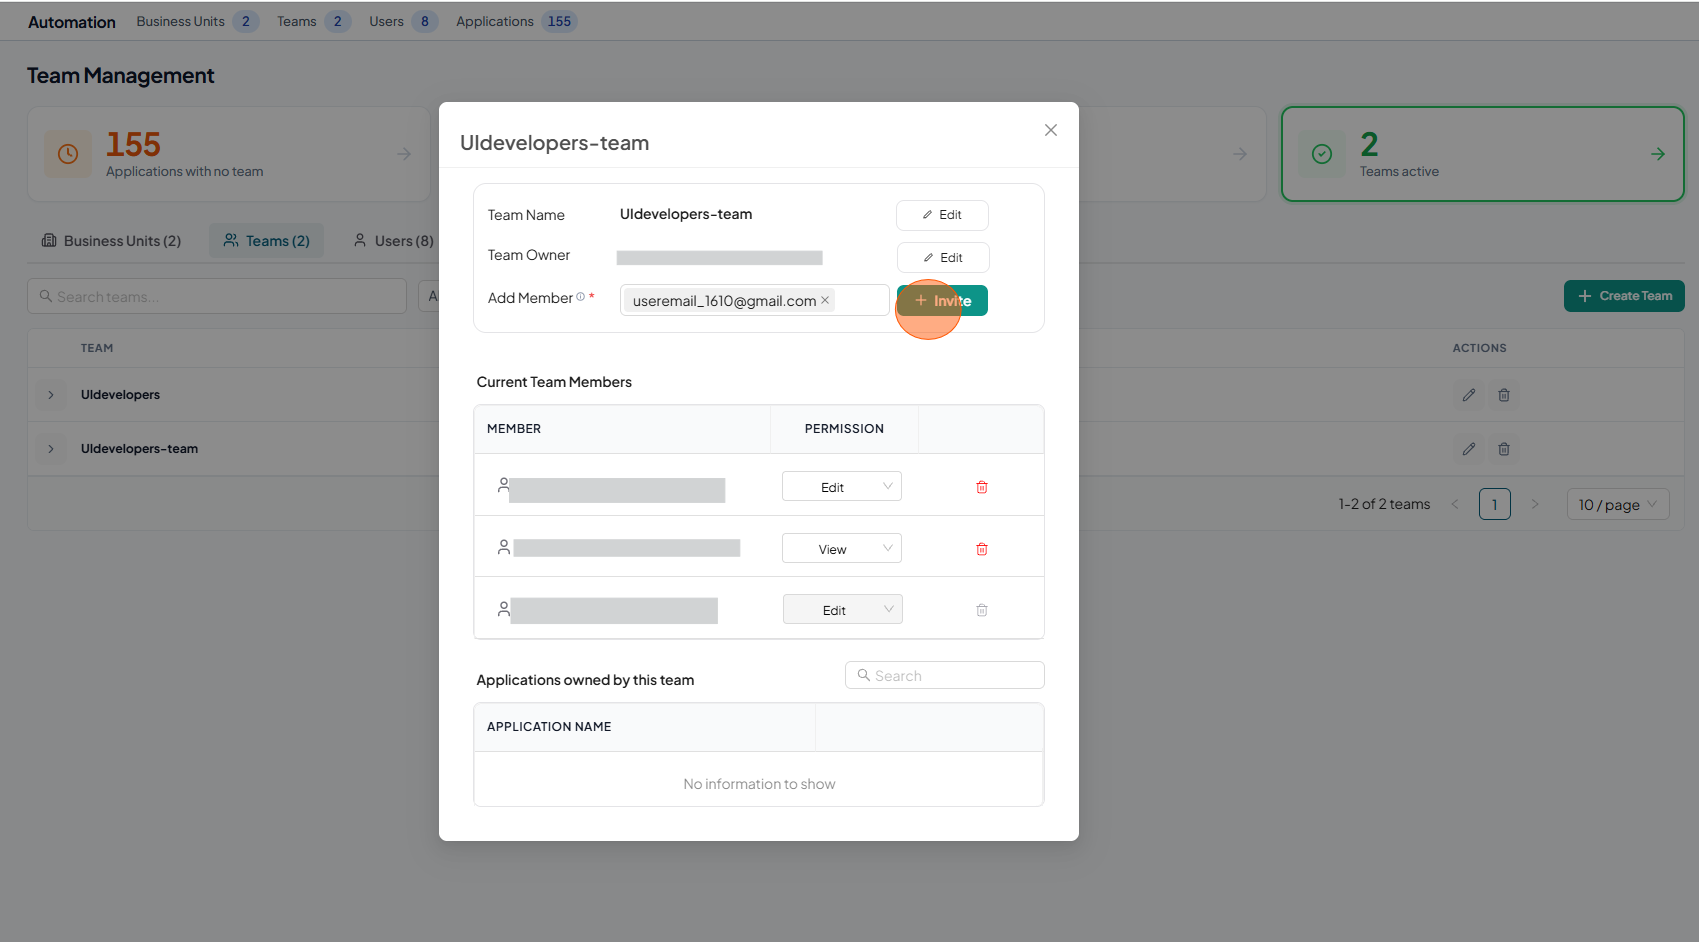
To add a new member to the team
-
Enter email address in the Add Member input and click on the Invite button. He must be a member of the tenant.
-
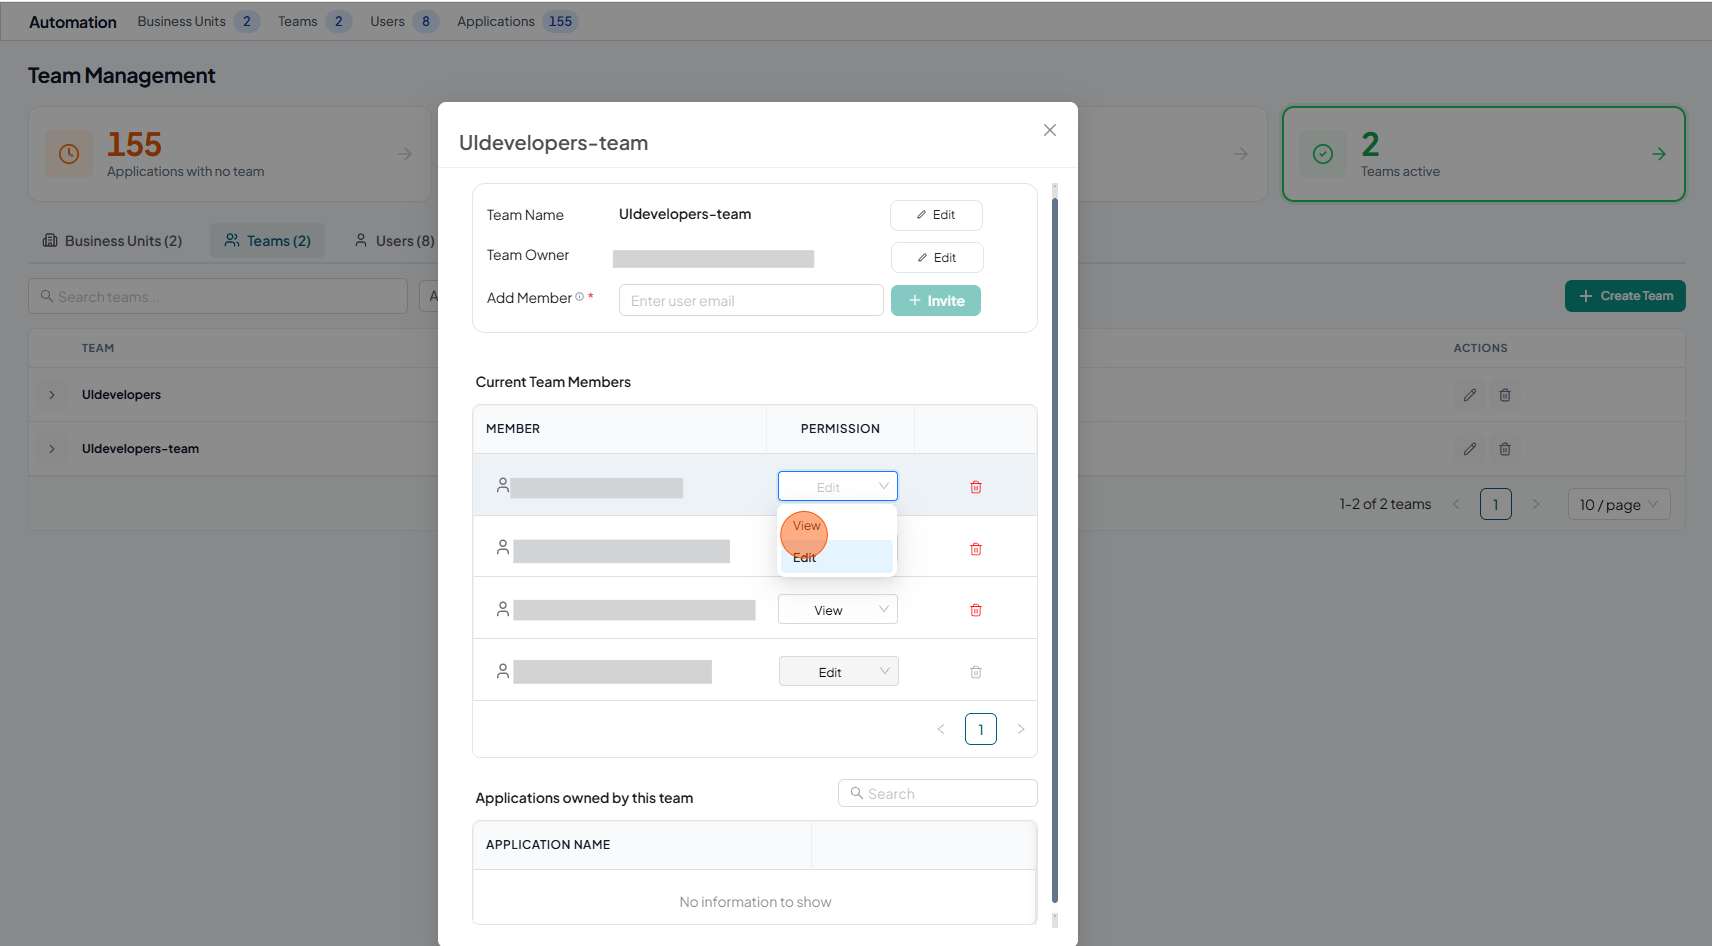
You can change the permissions of a particular member.
-
-
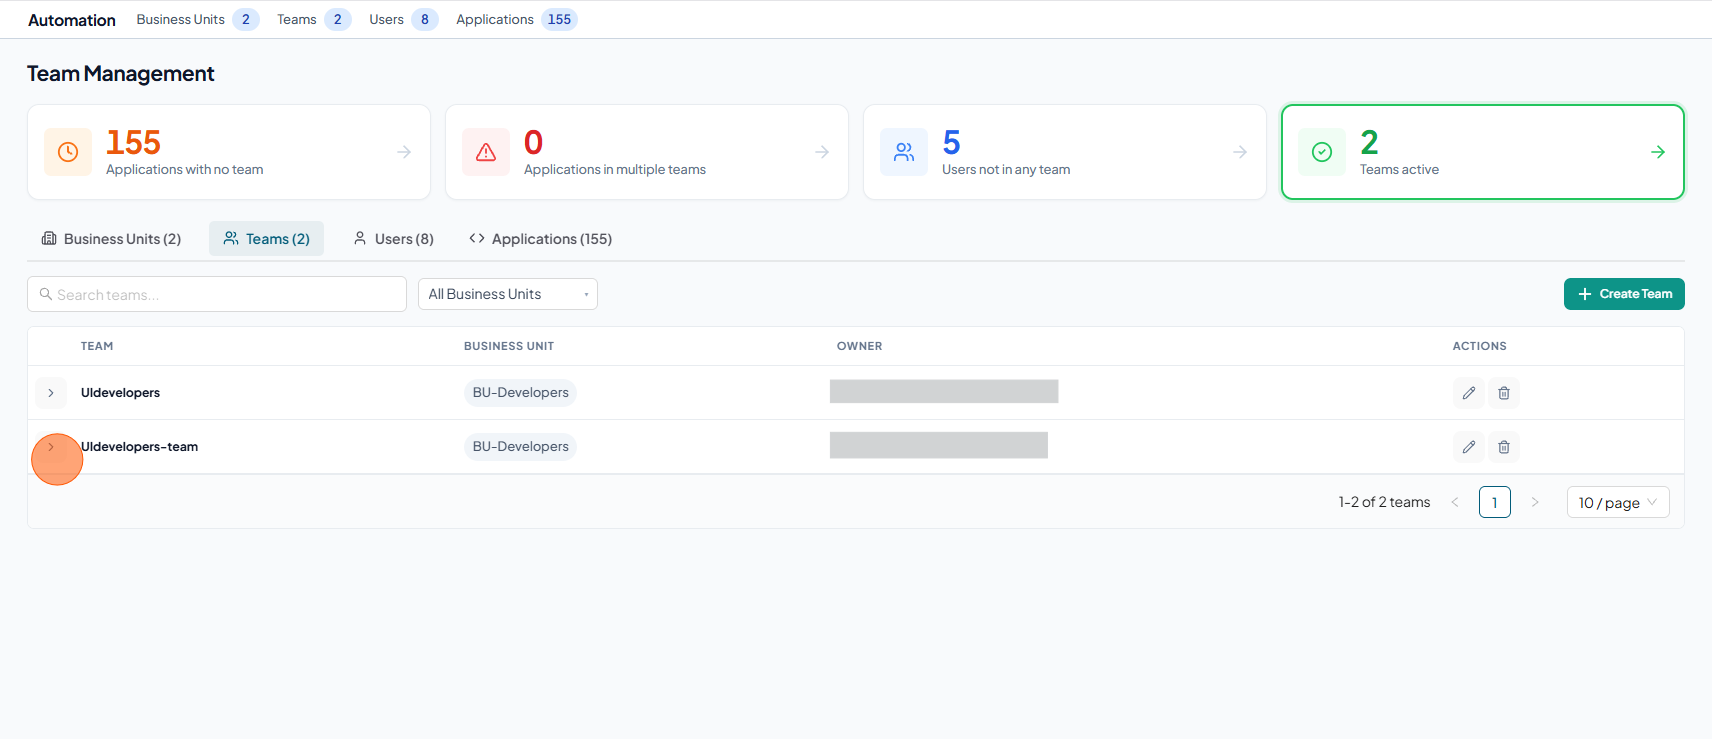
You can also add team member from Teams details.
-
Exapand the required team to add new team member.
-
Click Add member
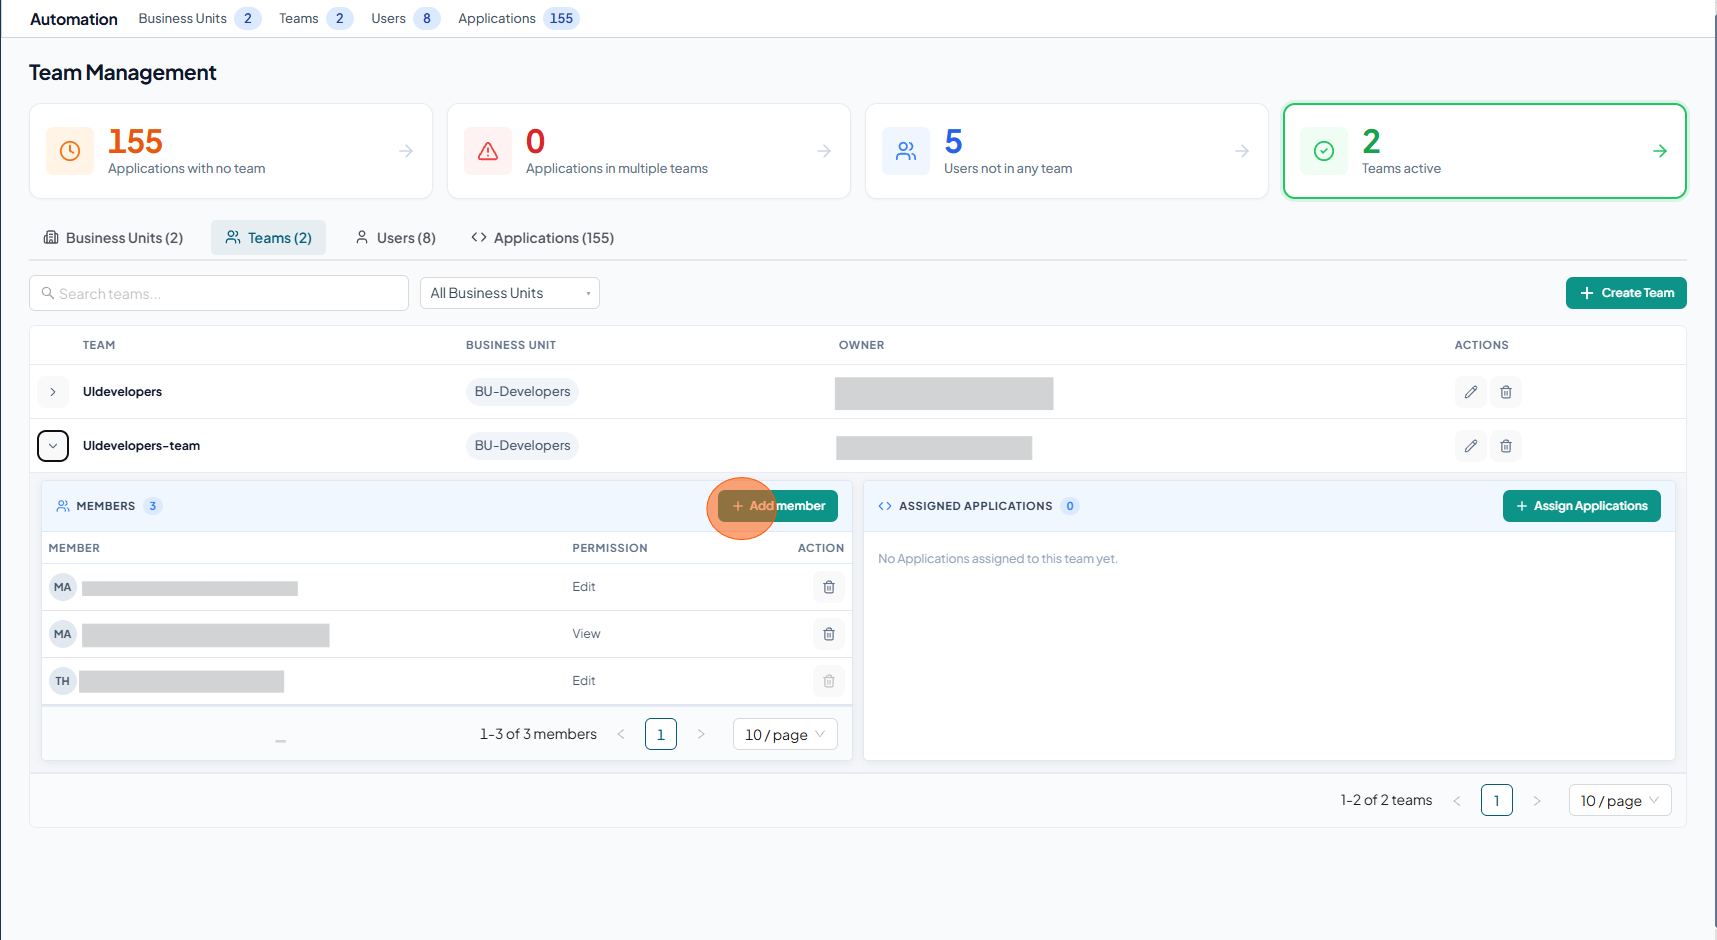
-
Enter email address in the Add Member input and click on the Invite button. He must be a member of the tenant.
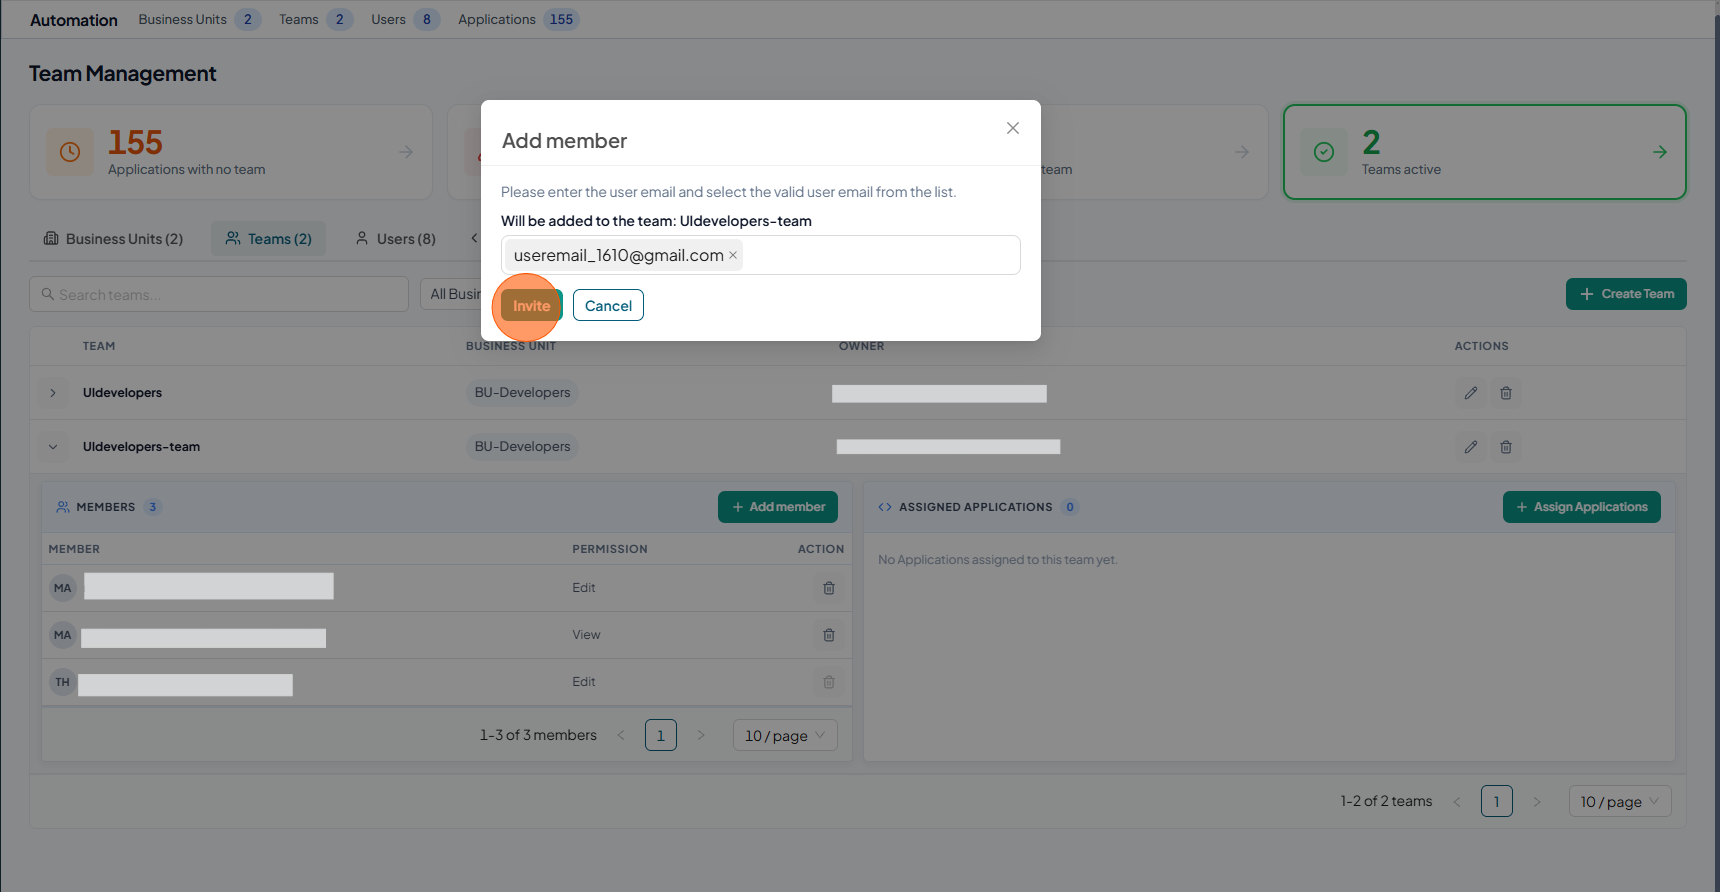
-
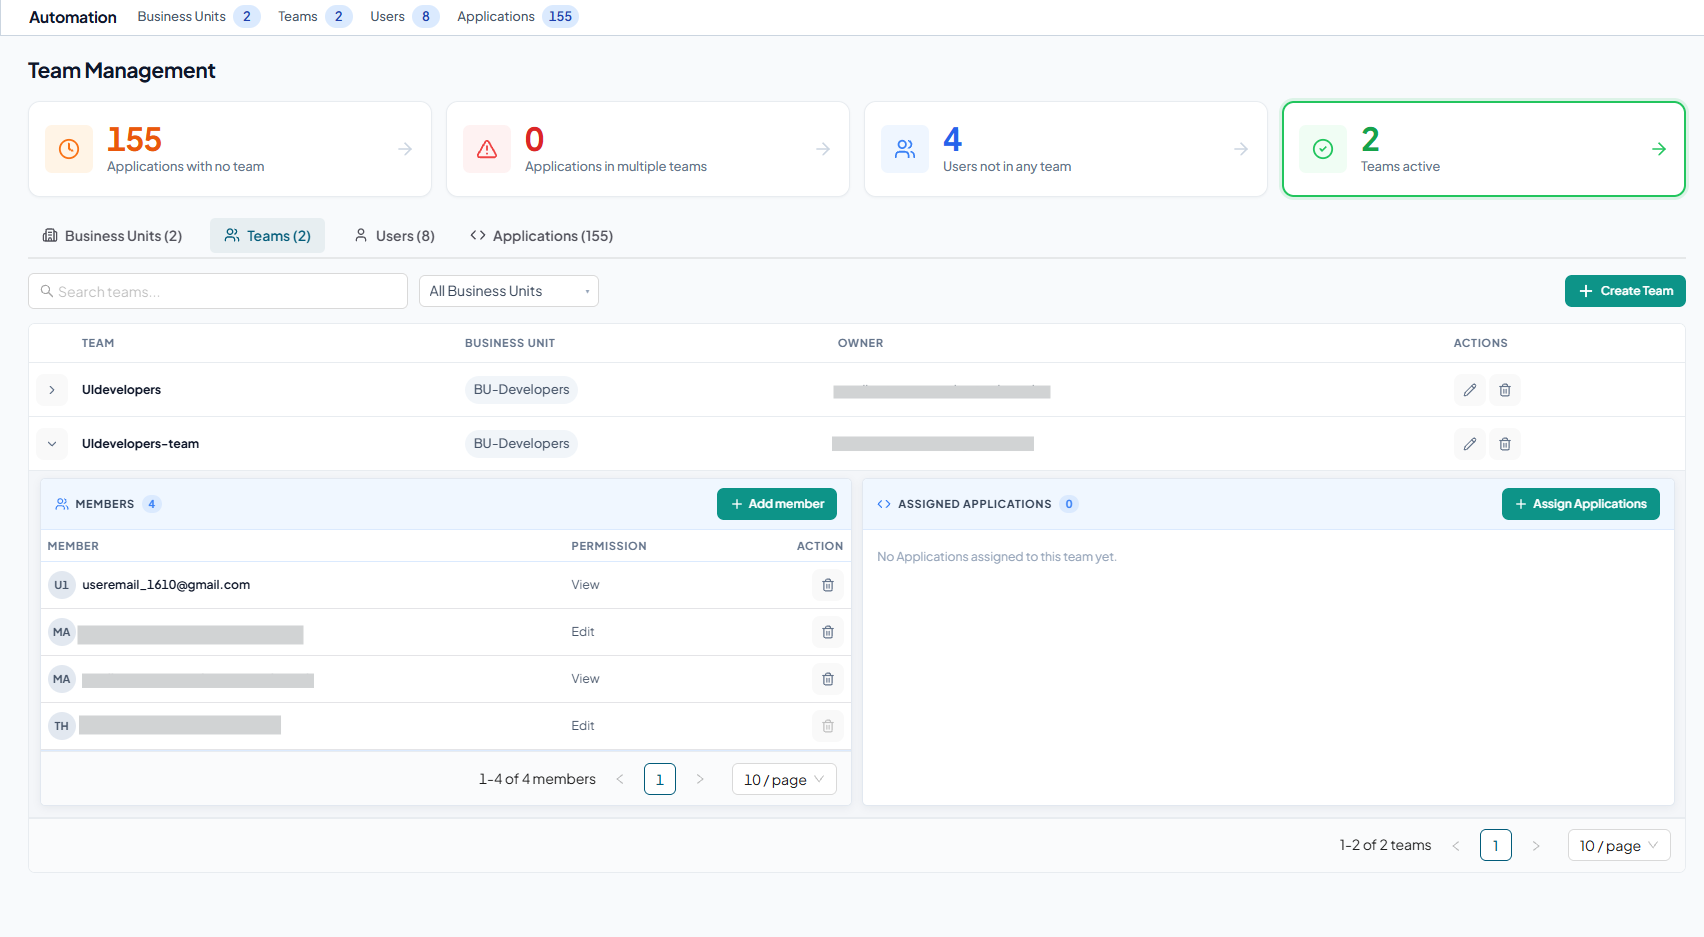
The newly added member is displayed in the team details.
-
-
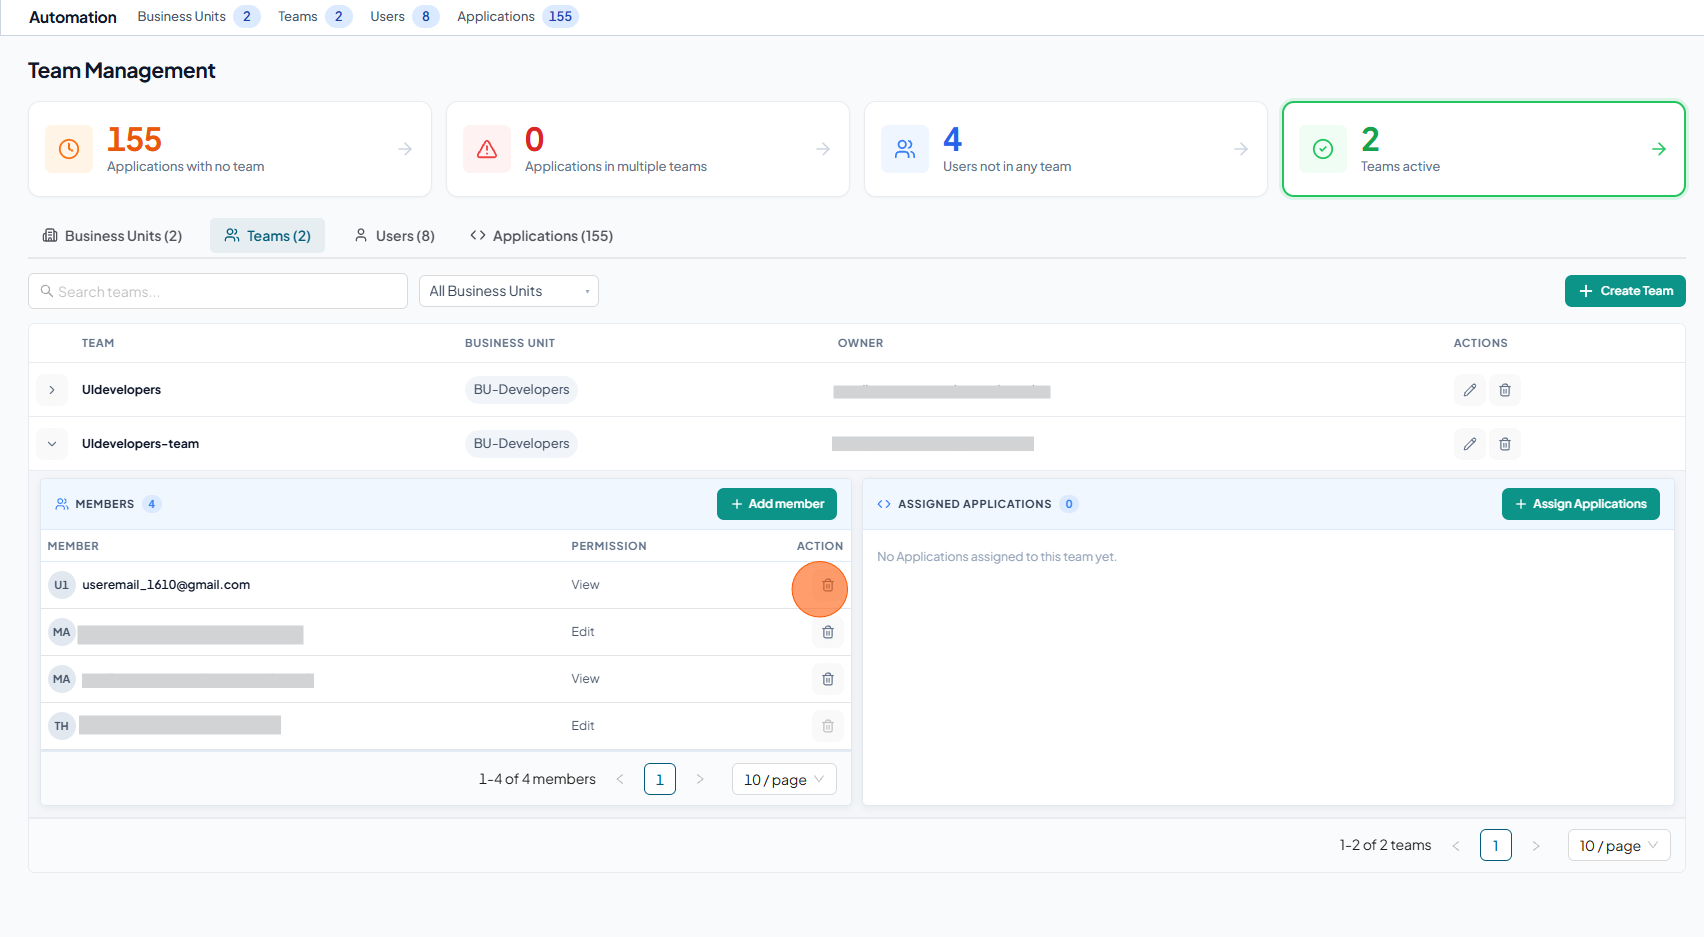
To Remove team member,
-
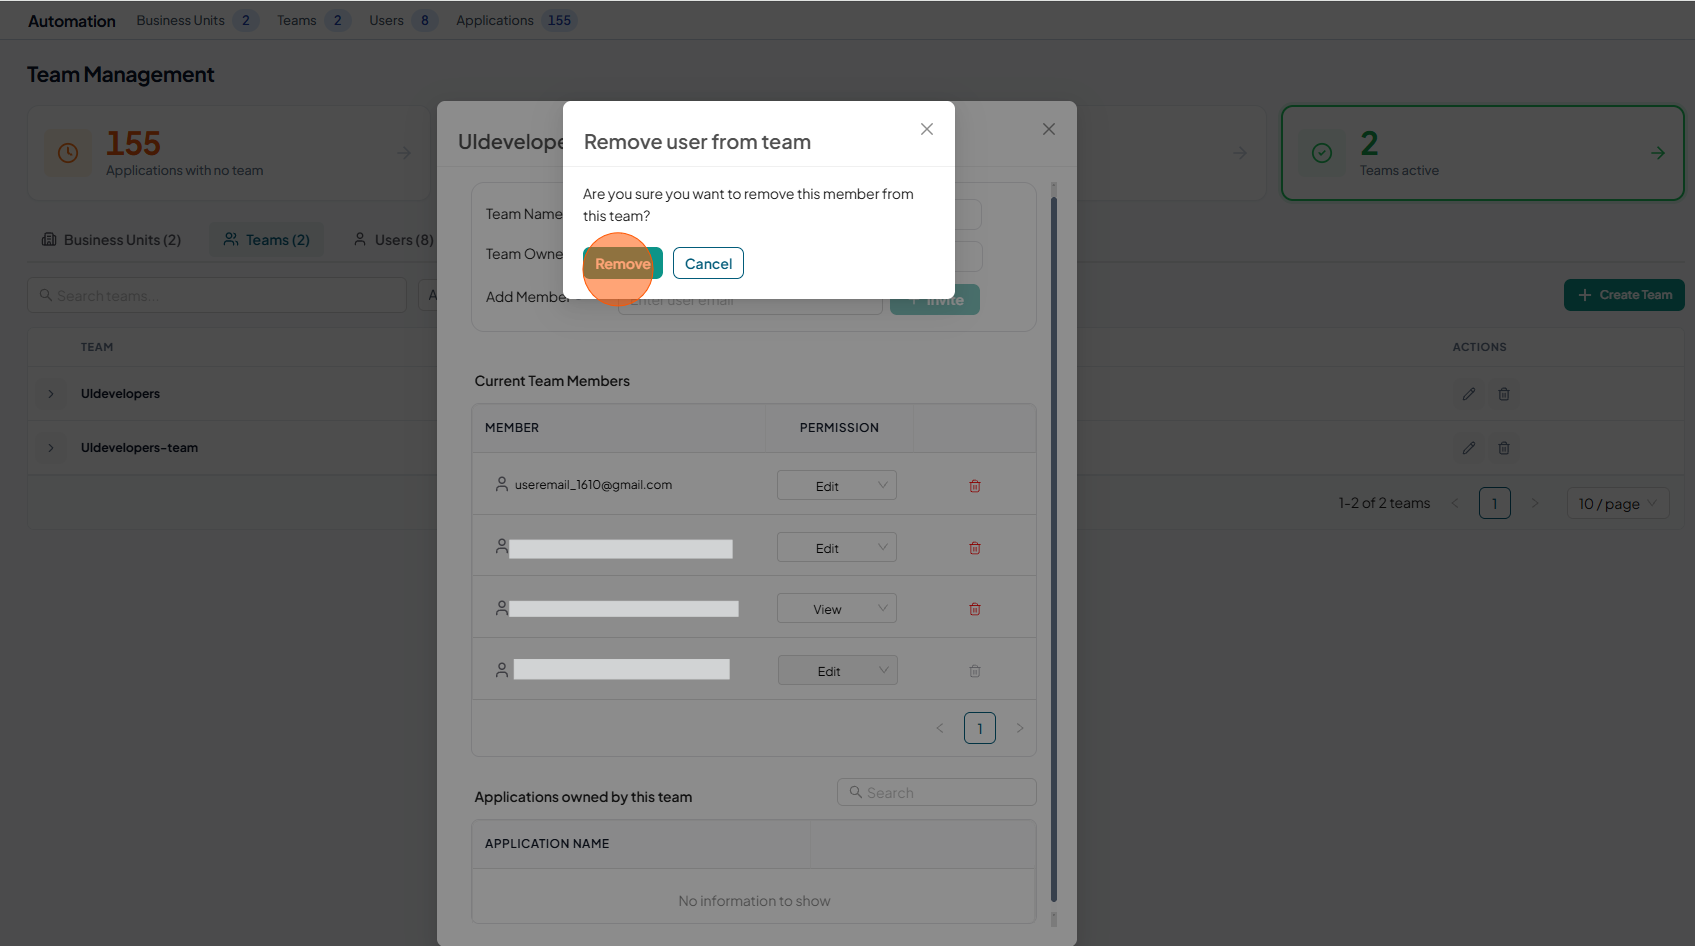
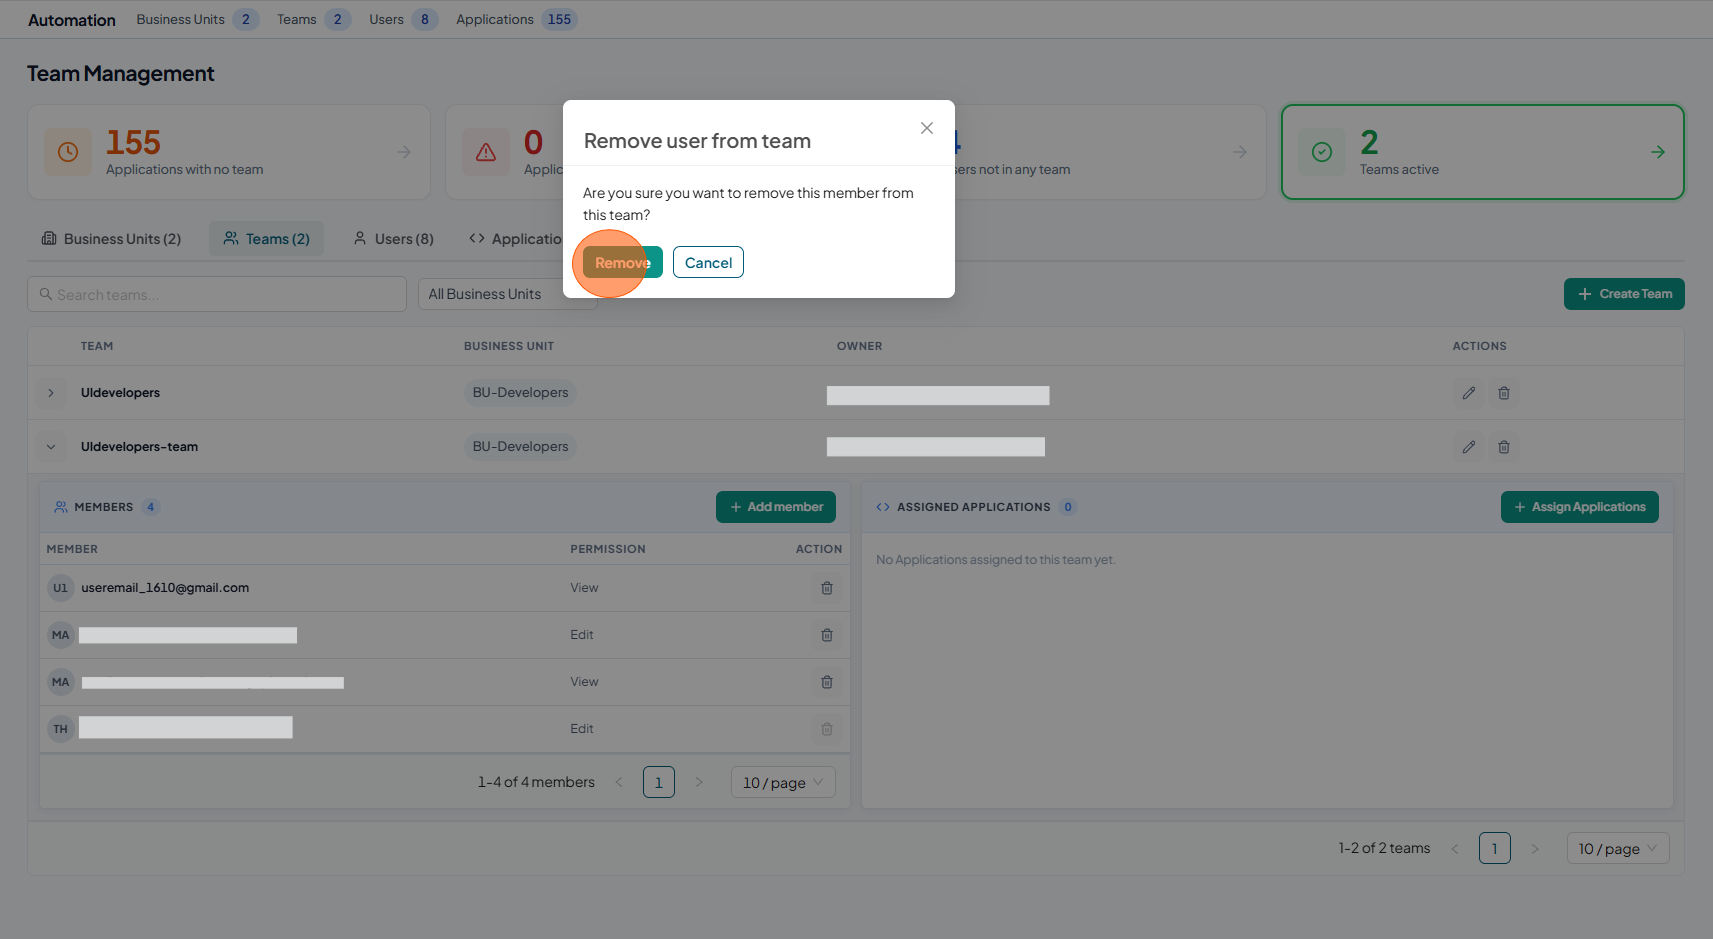
click on the delete icon next to the team member.
-
Click on Remove button to remove the member.
-
-
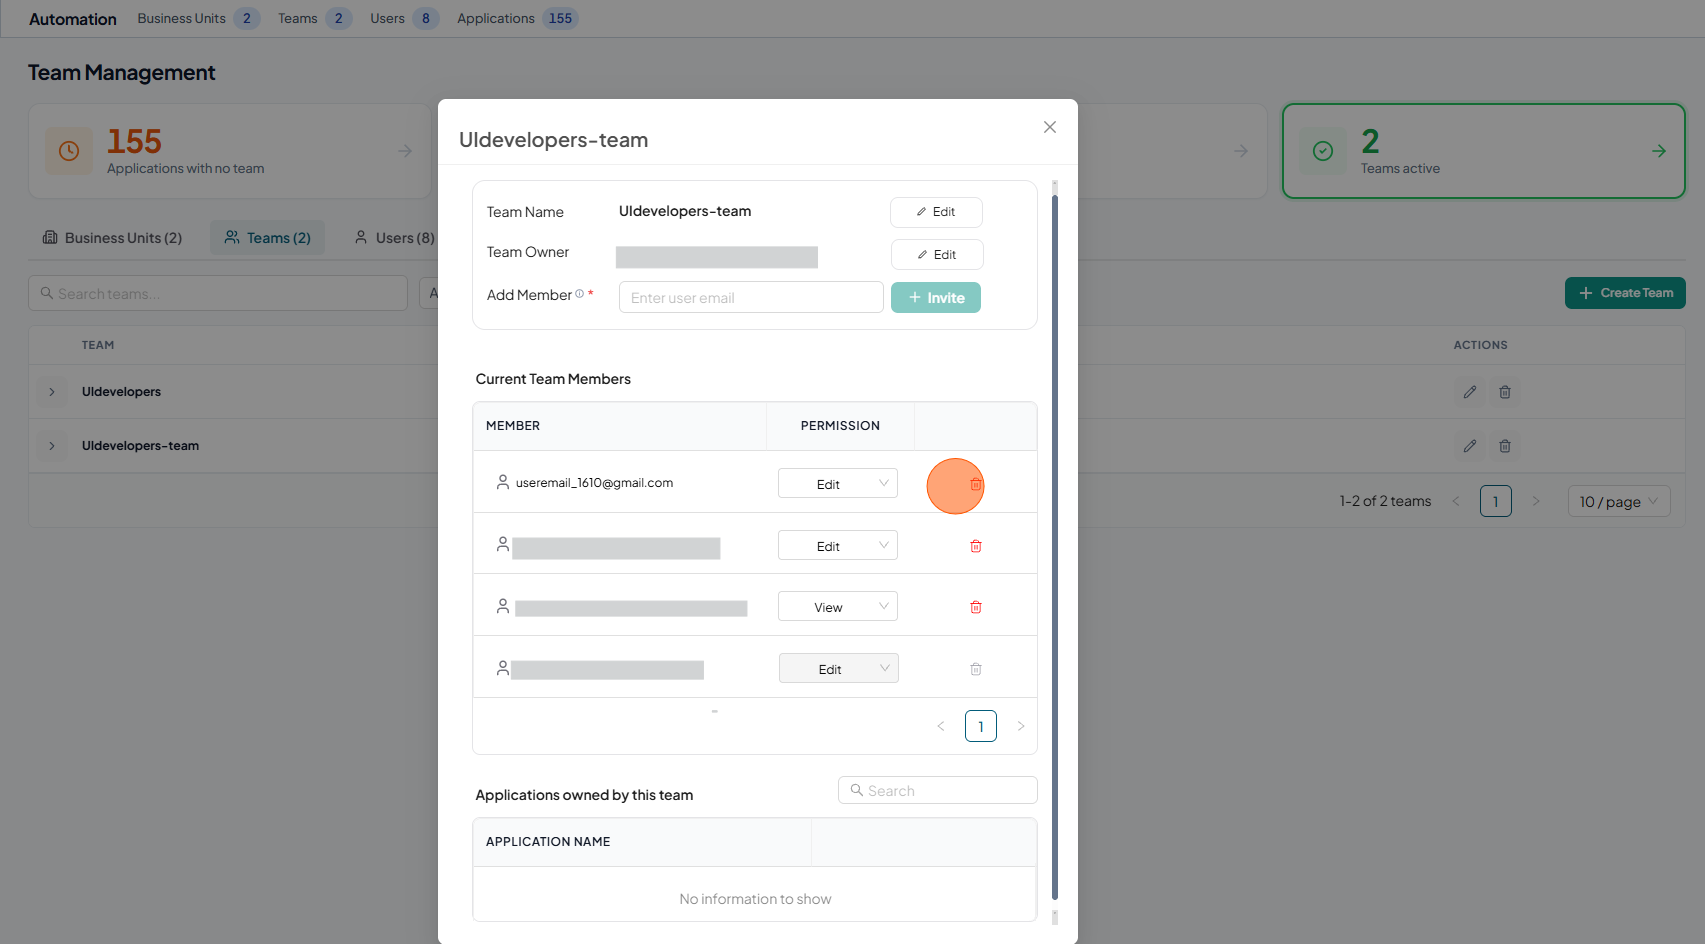
To Remove team member from teams details,
-
click on the delete icon next to the team member in team details.
-
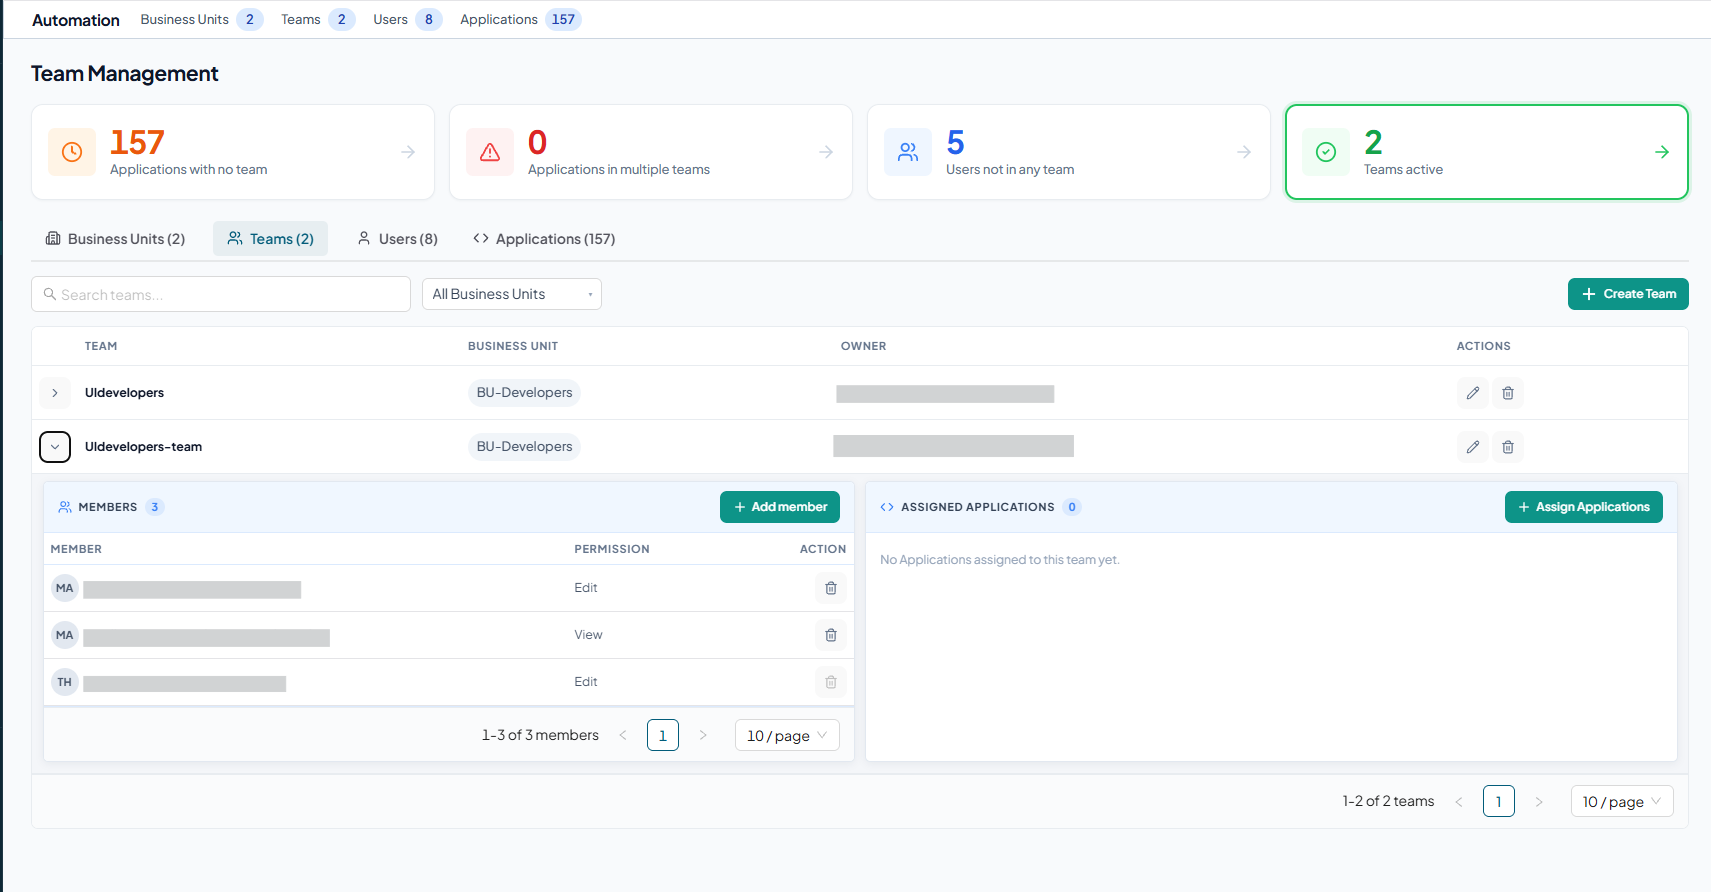
Click on Remove button to remove the member.
-
Assign Applications to Team
-
Open your browser and visit: https://<your-tenant>.apisecapps.com
-
Click on Teams from Side Navigation
-
Select Teams tab in Team Management
-
Now You will see the list of existing Teams.

-
Exapand the required team to assign application.
-
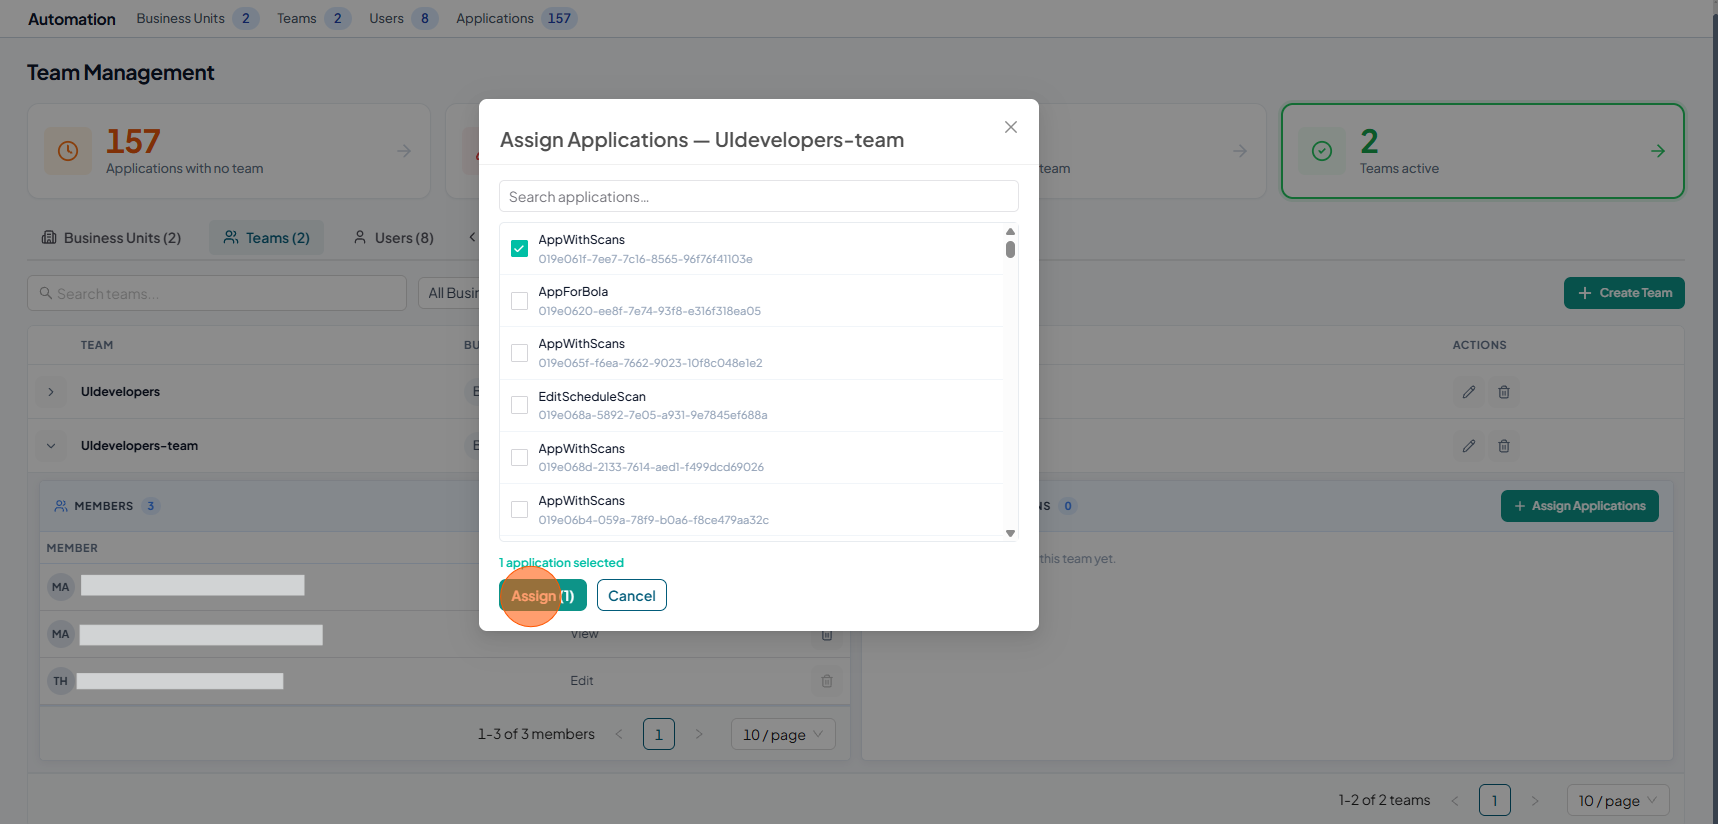
Click Assign Applications.
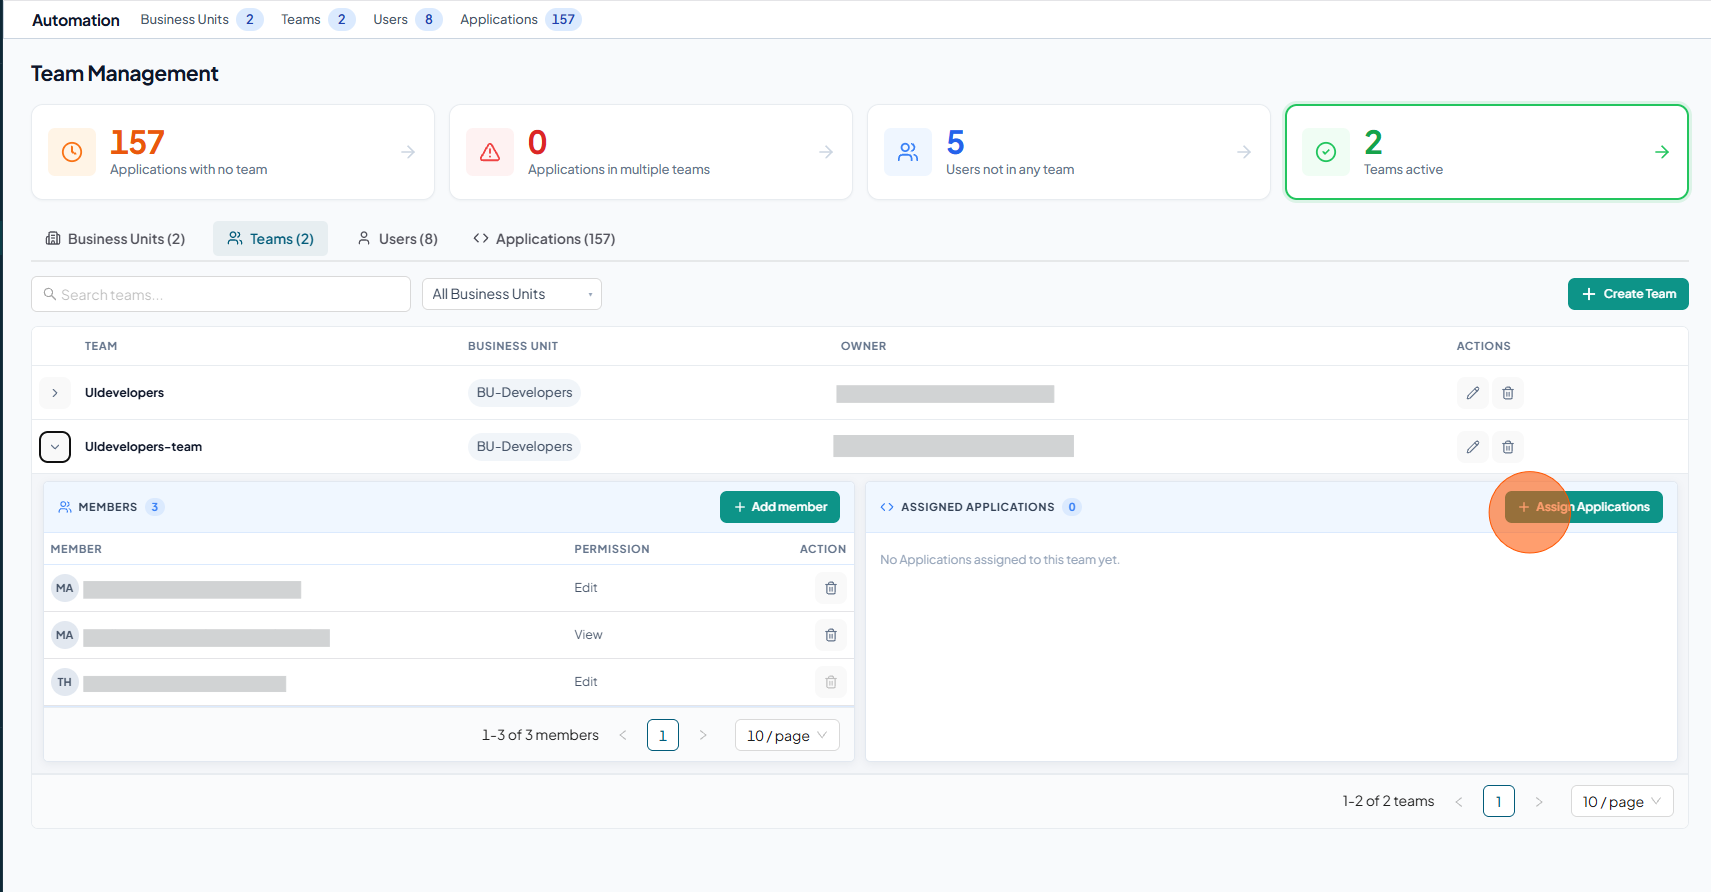
-
Select Application(s) and click Assign
-
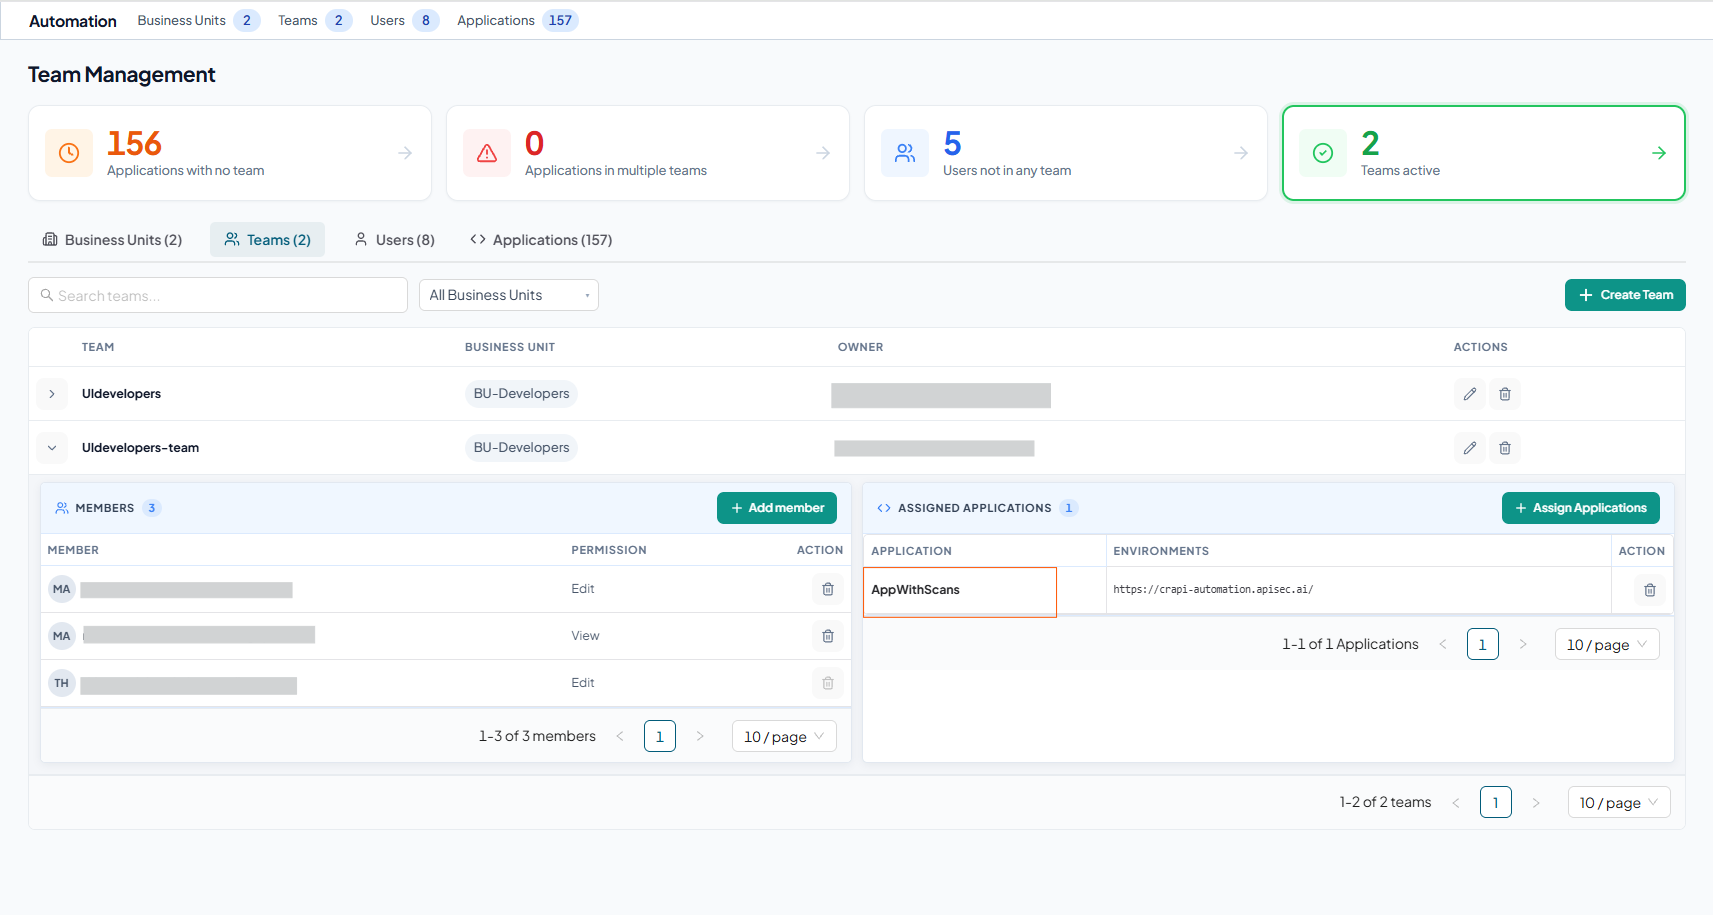
The application appears in the Assigned Applications section.
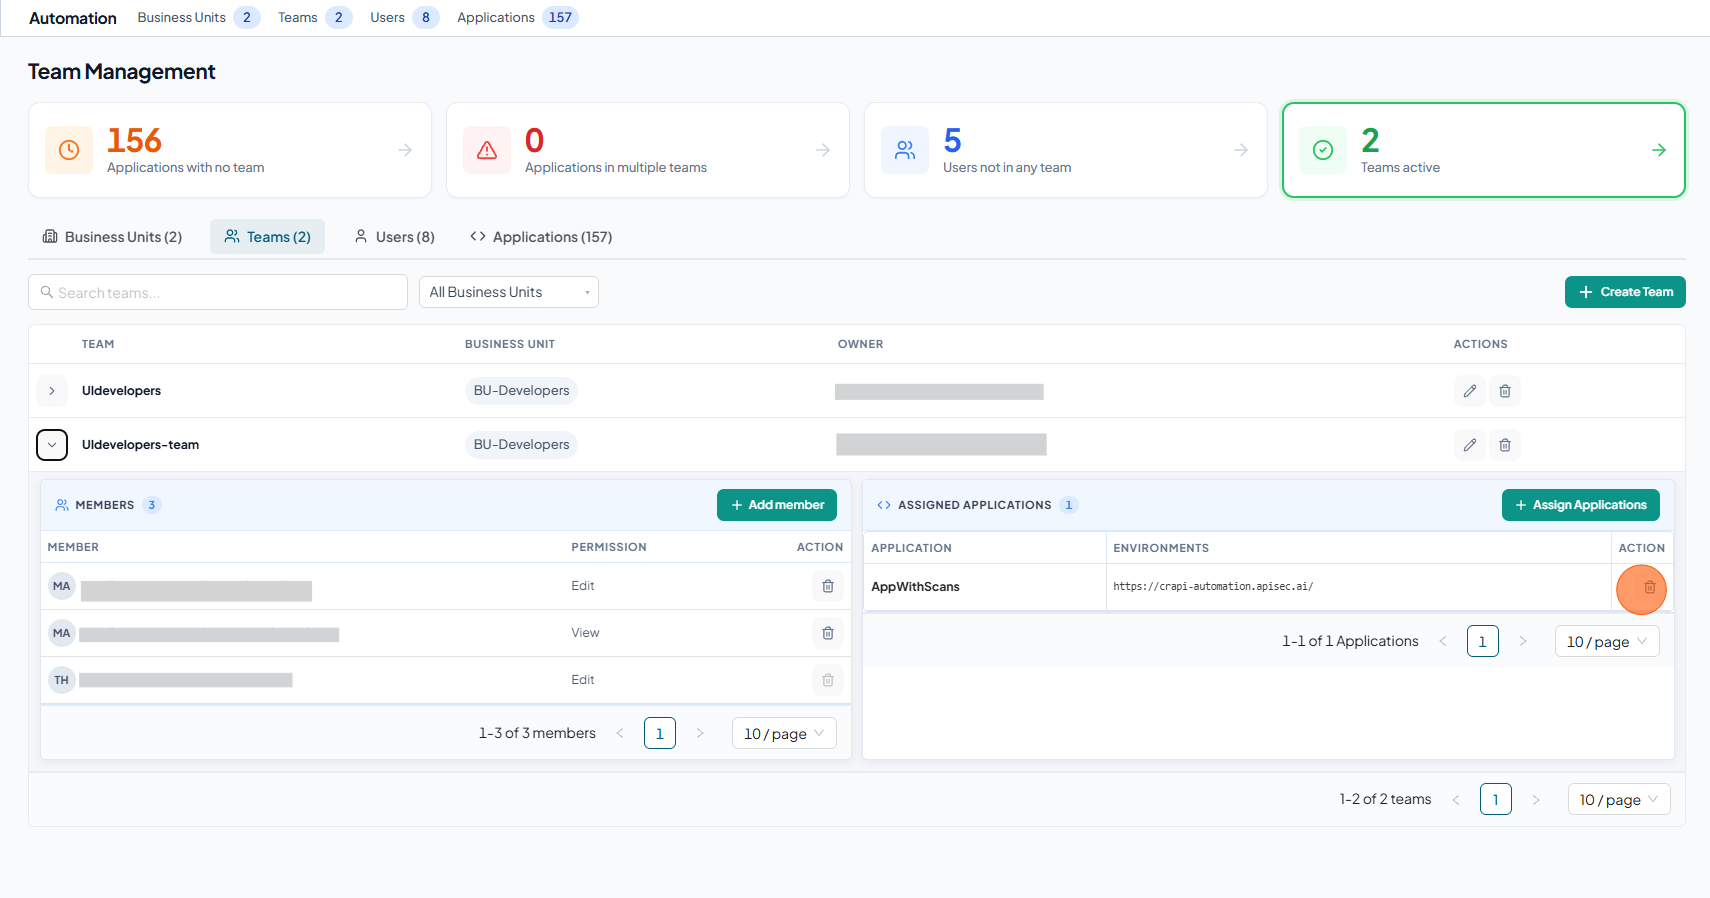
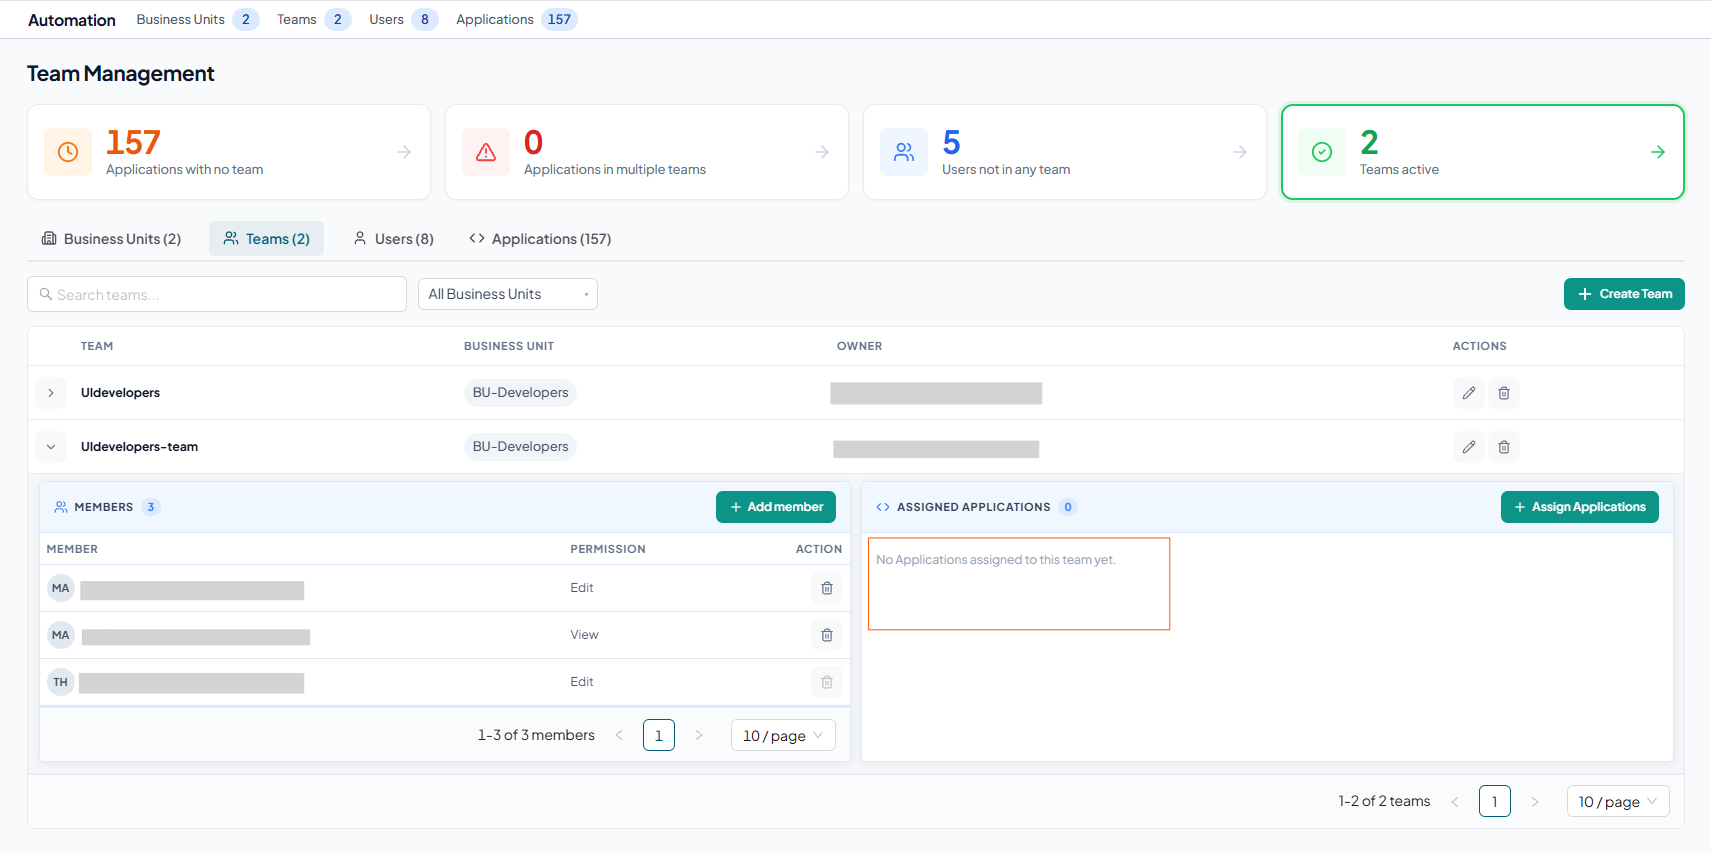
Remove Applicatioin(s) from team
-
In the Assigned Applications section, click the delete icon for the required application.
-
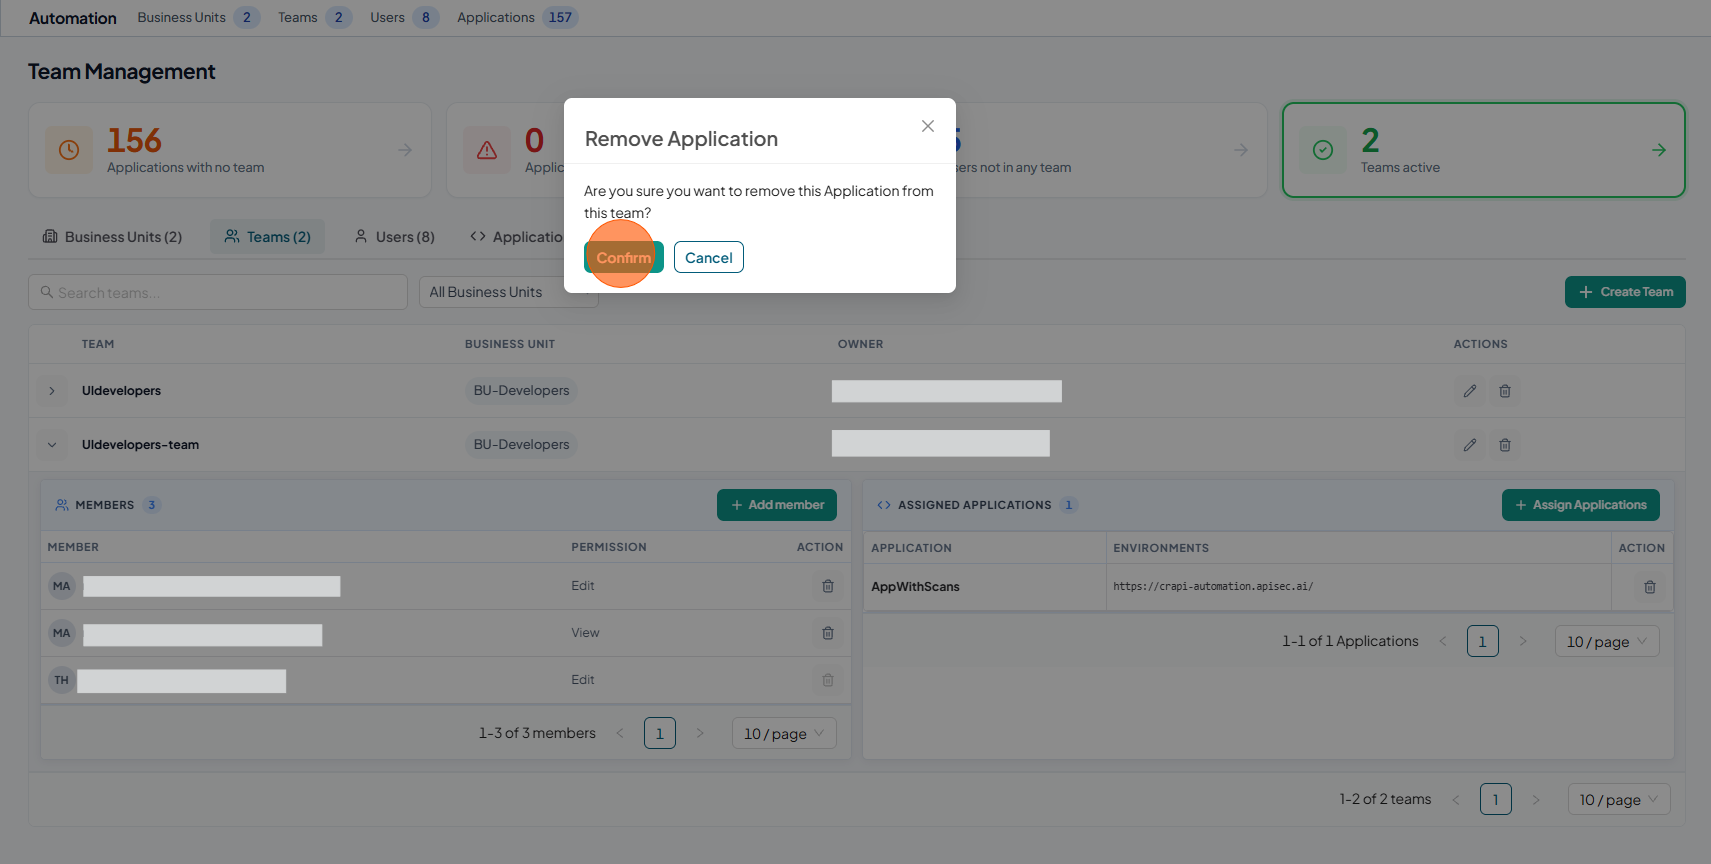
Click Confirm to remove the Application
-
The Assigned Applications section displays No applications assigned to this team yet.
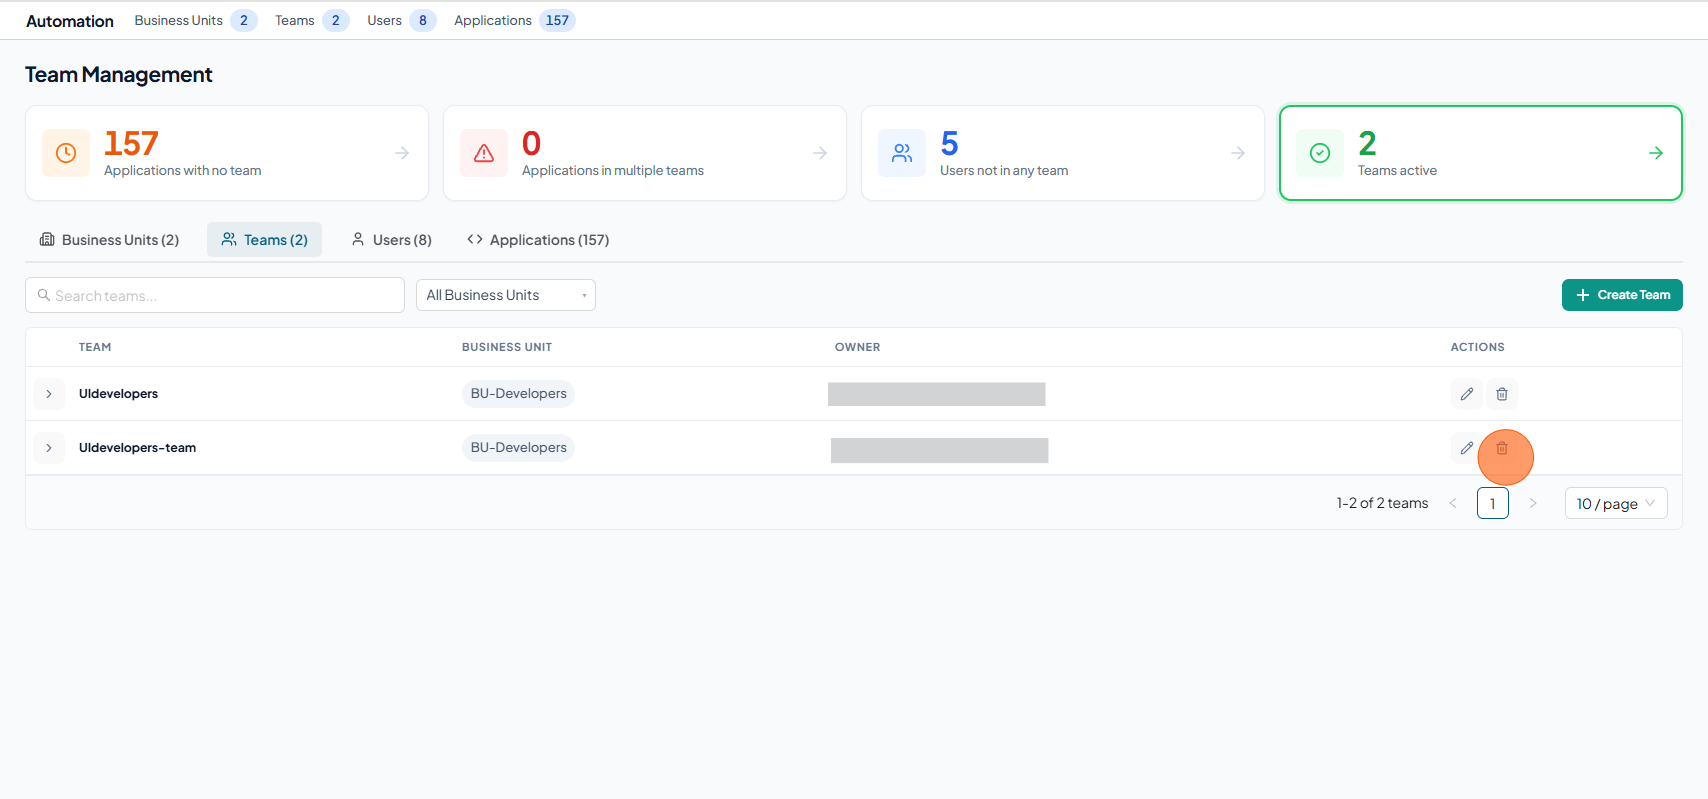
Delete Teams
-
In the Teams tab, click the delete icon for the required team.
-
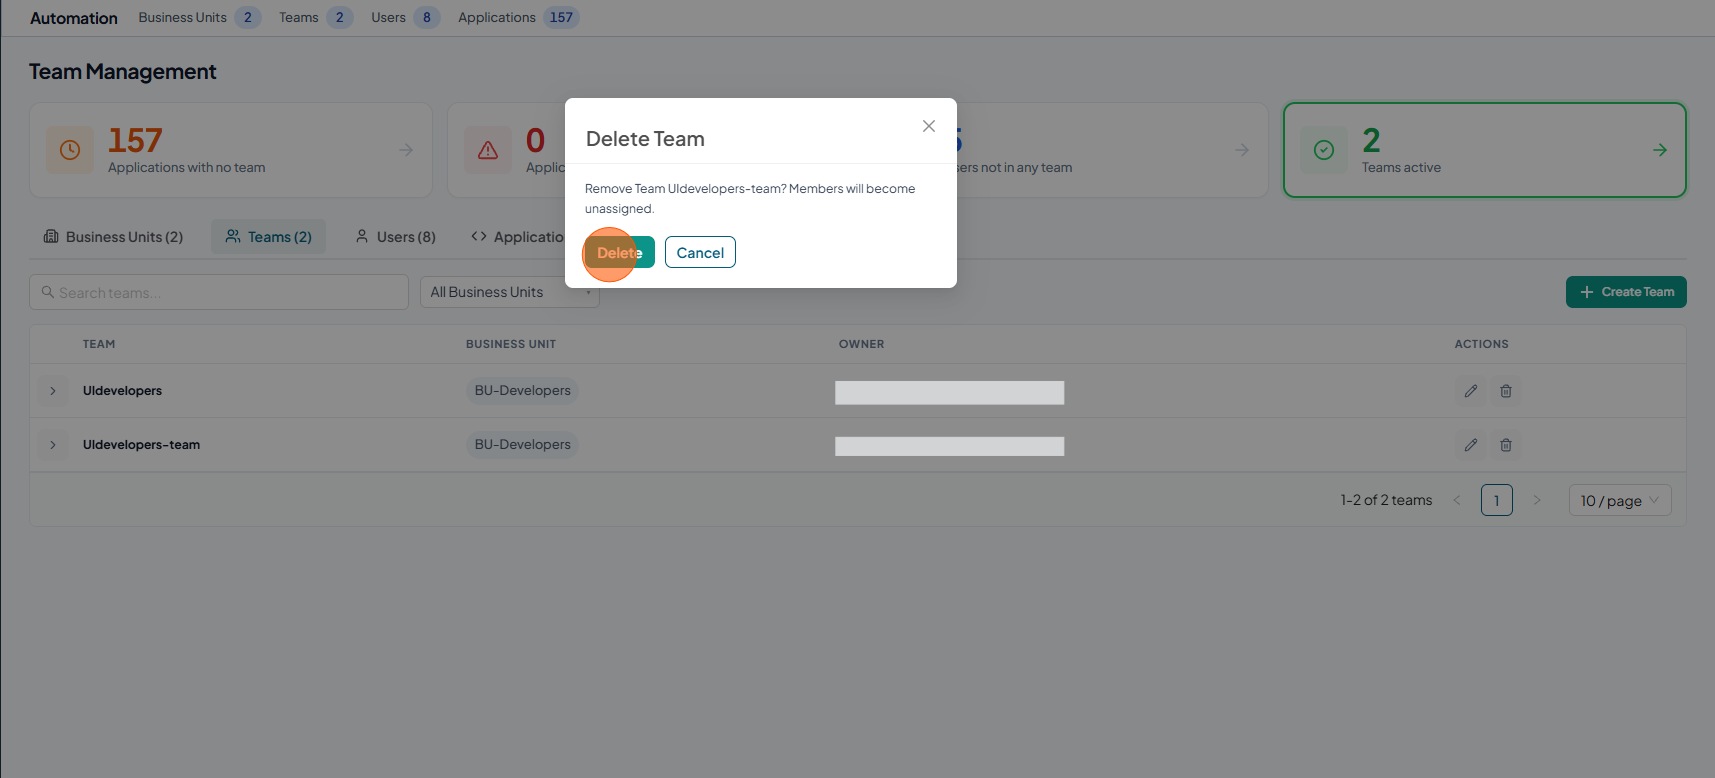
Click Delete to confirm
-
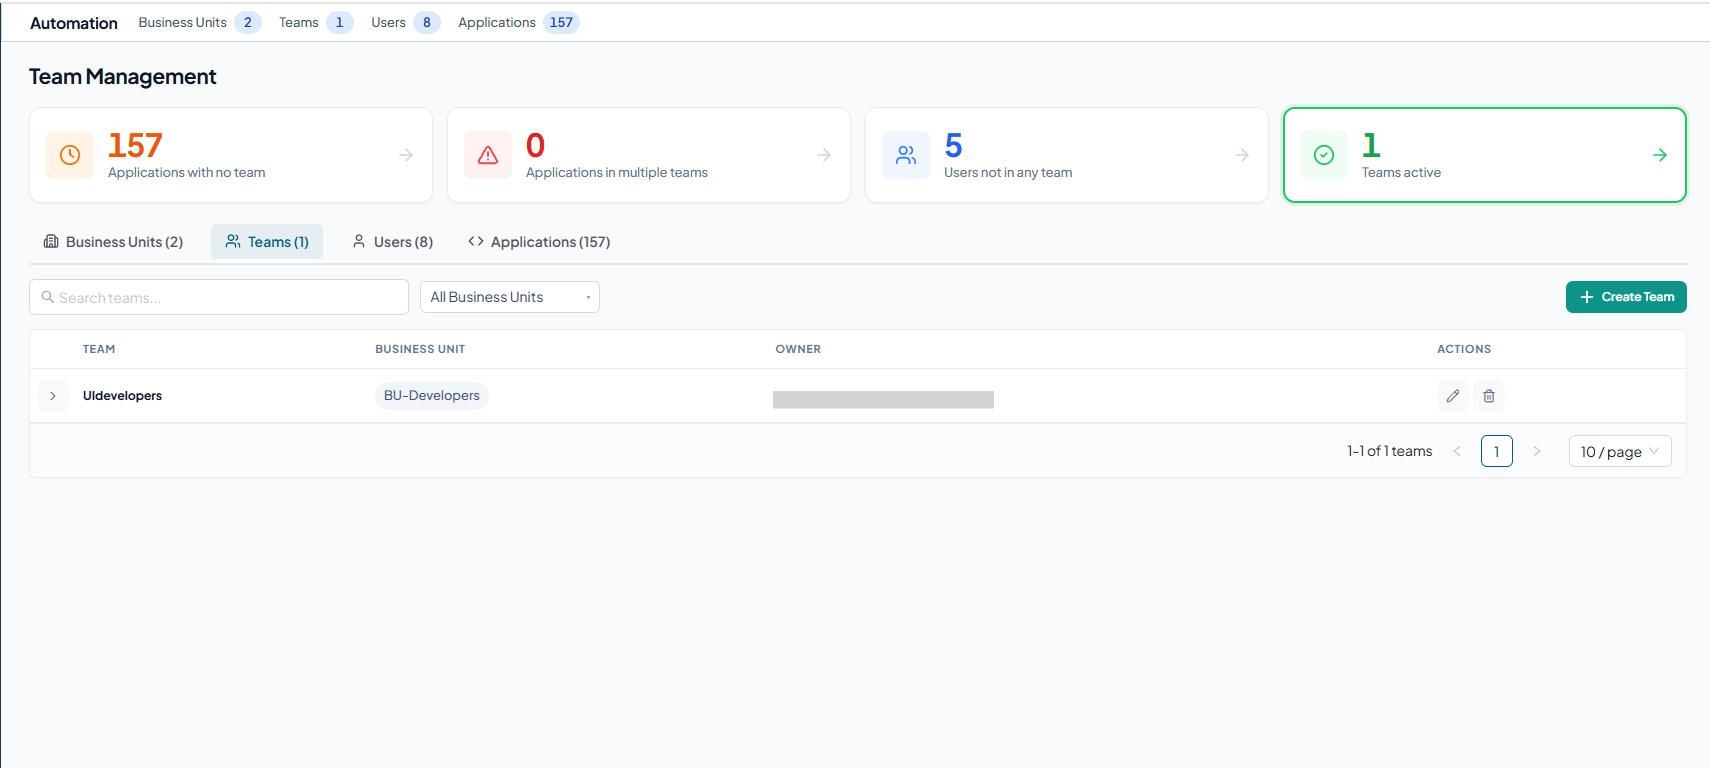
Now the deleted team is no longer displayed in the list.
Users
The Users tab provides controls to manage users within the tenant. It allows adding new users, updating user roles and display names, and removing users when required. These actions ensure controlled access and up-to-date user information.
Add User
-
Open your browser and visit: https://<your-tenant>.apisecapps.com
-
Click on Teams from Side Navigation
-
Select Users tab in Team Management
-
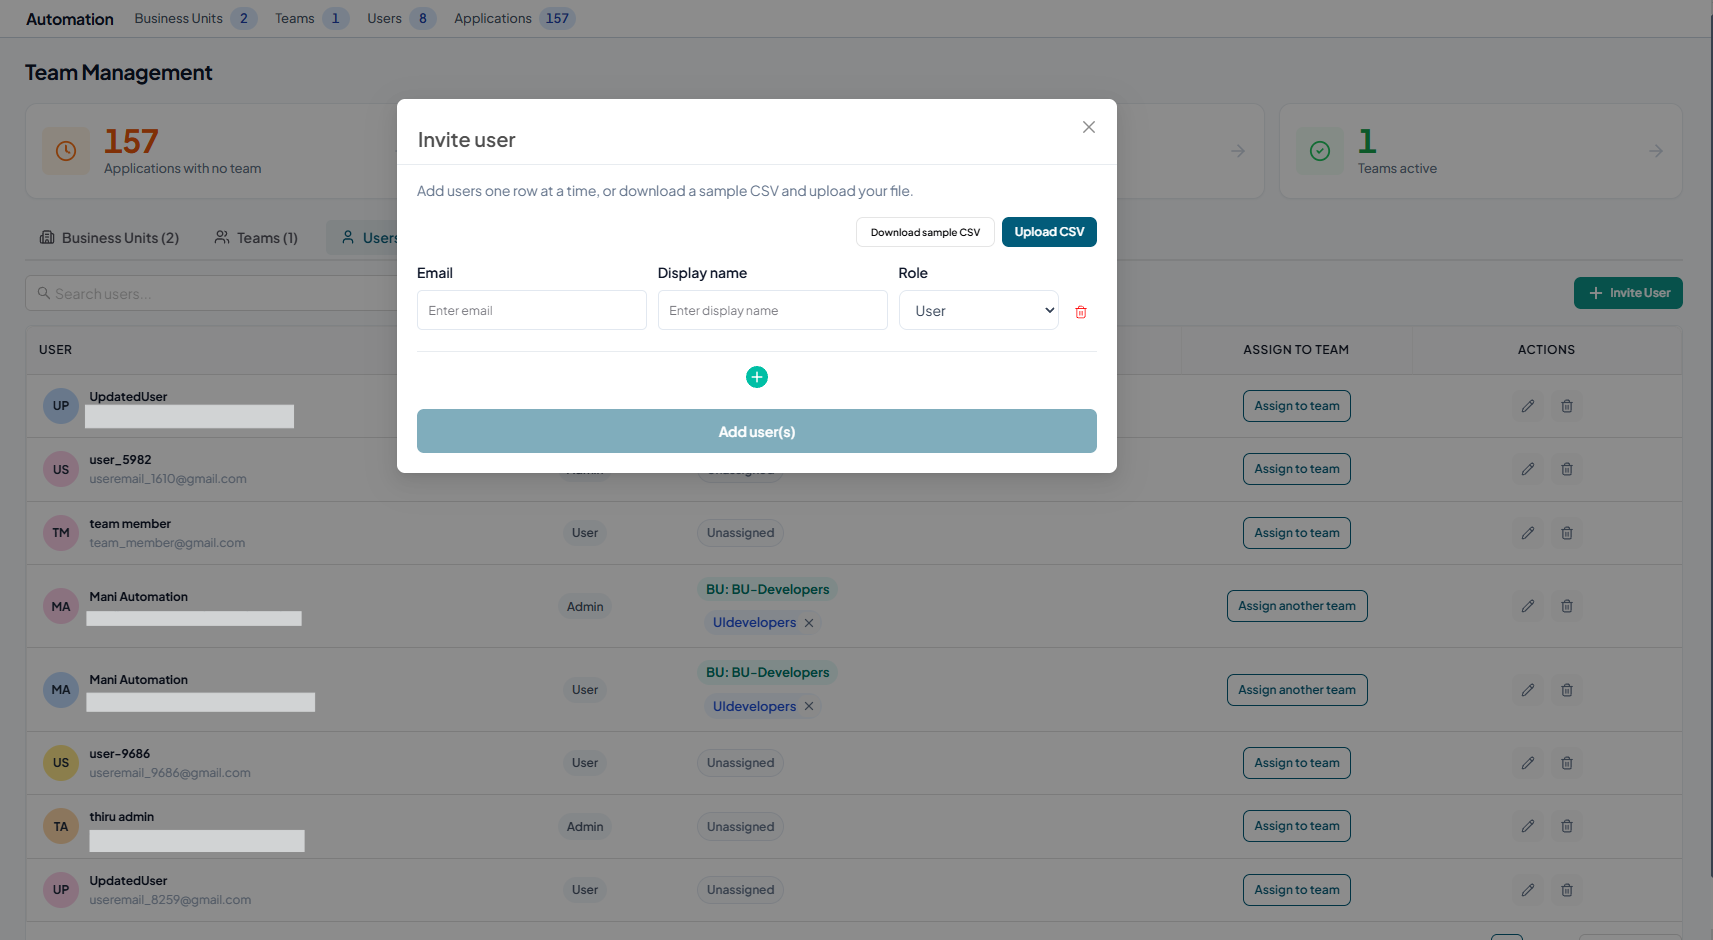
Click Invite User

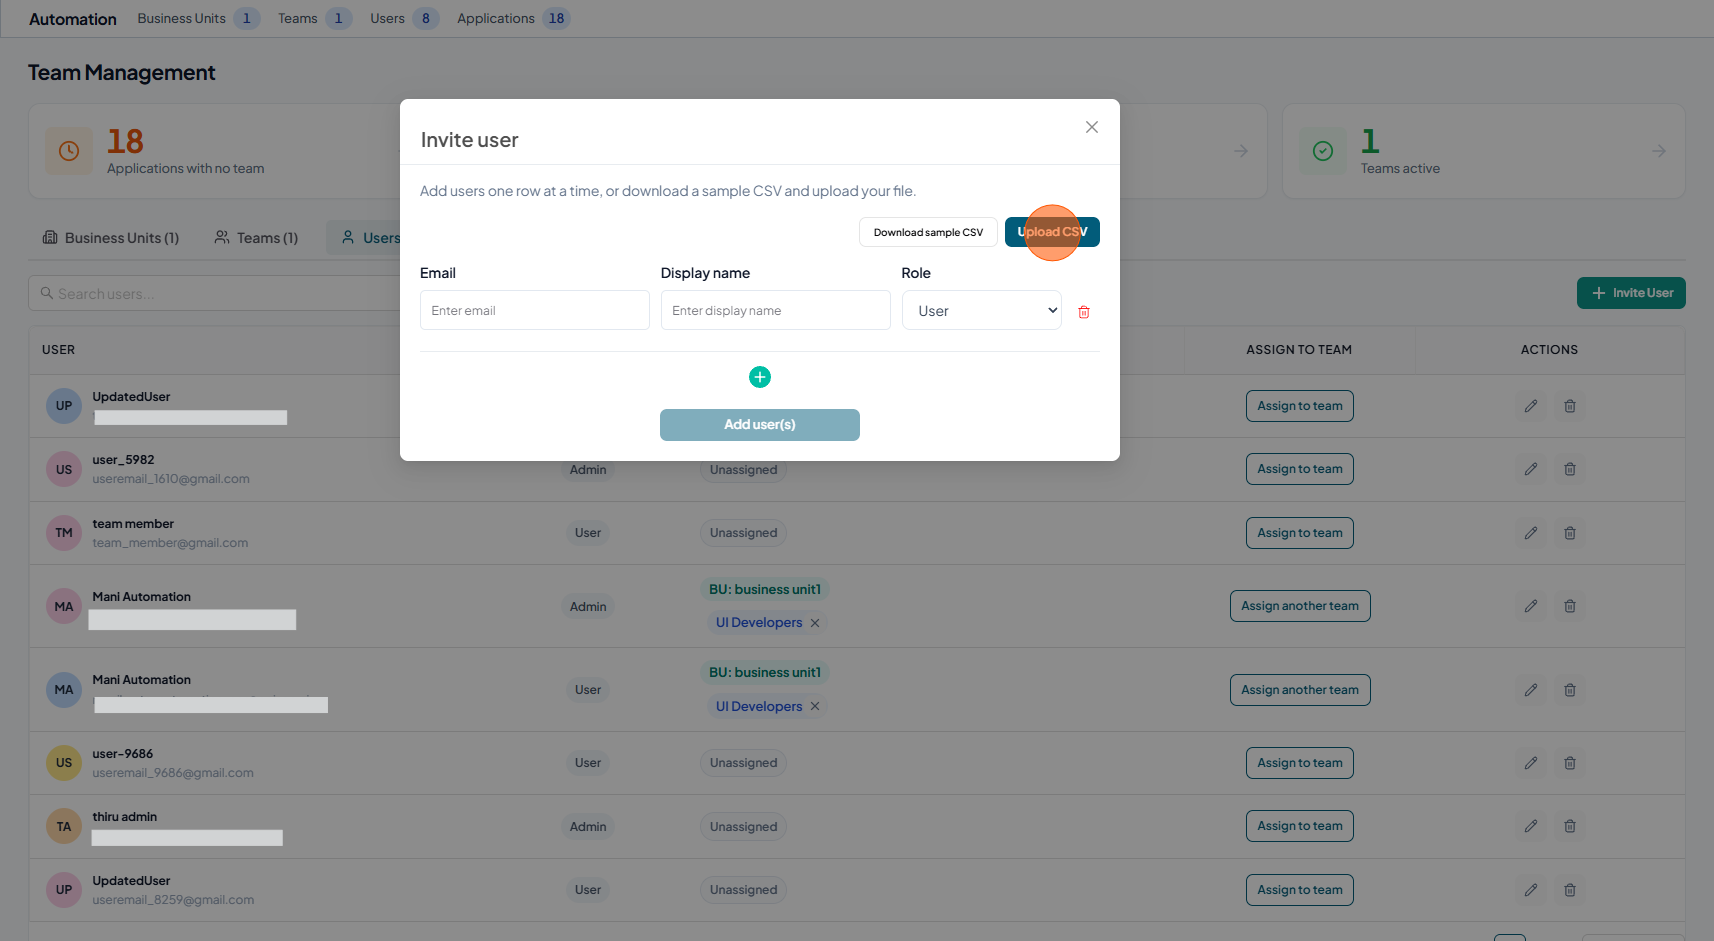
-
You will now see the New User form. Here, you can add a single user, multiple users. Administrators will have option to create bulk users by uploading data via csv to populate data into the form. In addition to that users can review and make any corrections before submitting data for user creation. It also validates the uploaded CSV and highlights any errors directly in the form and the submit action remains disabled until all detected errors are corrected. Once the task is submitted, we can track the progress in the activity logs. It is recommended to split CSV files containing more than 100 users into batches of 100 users per file.
-
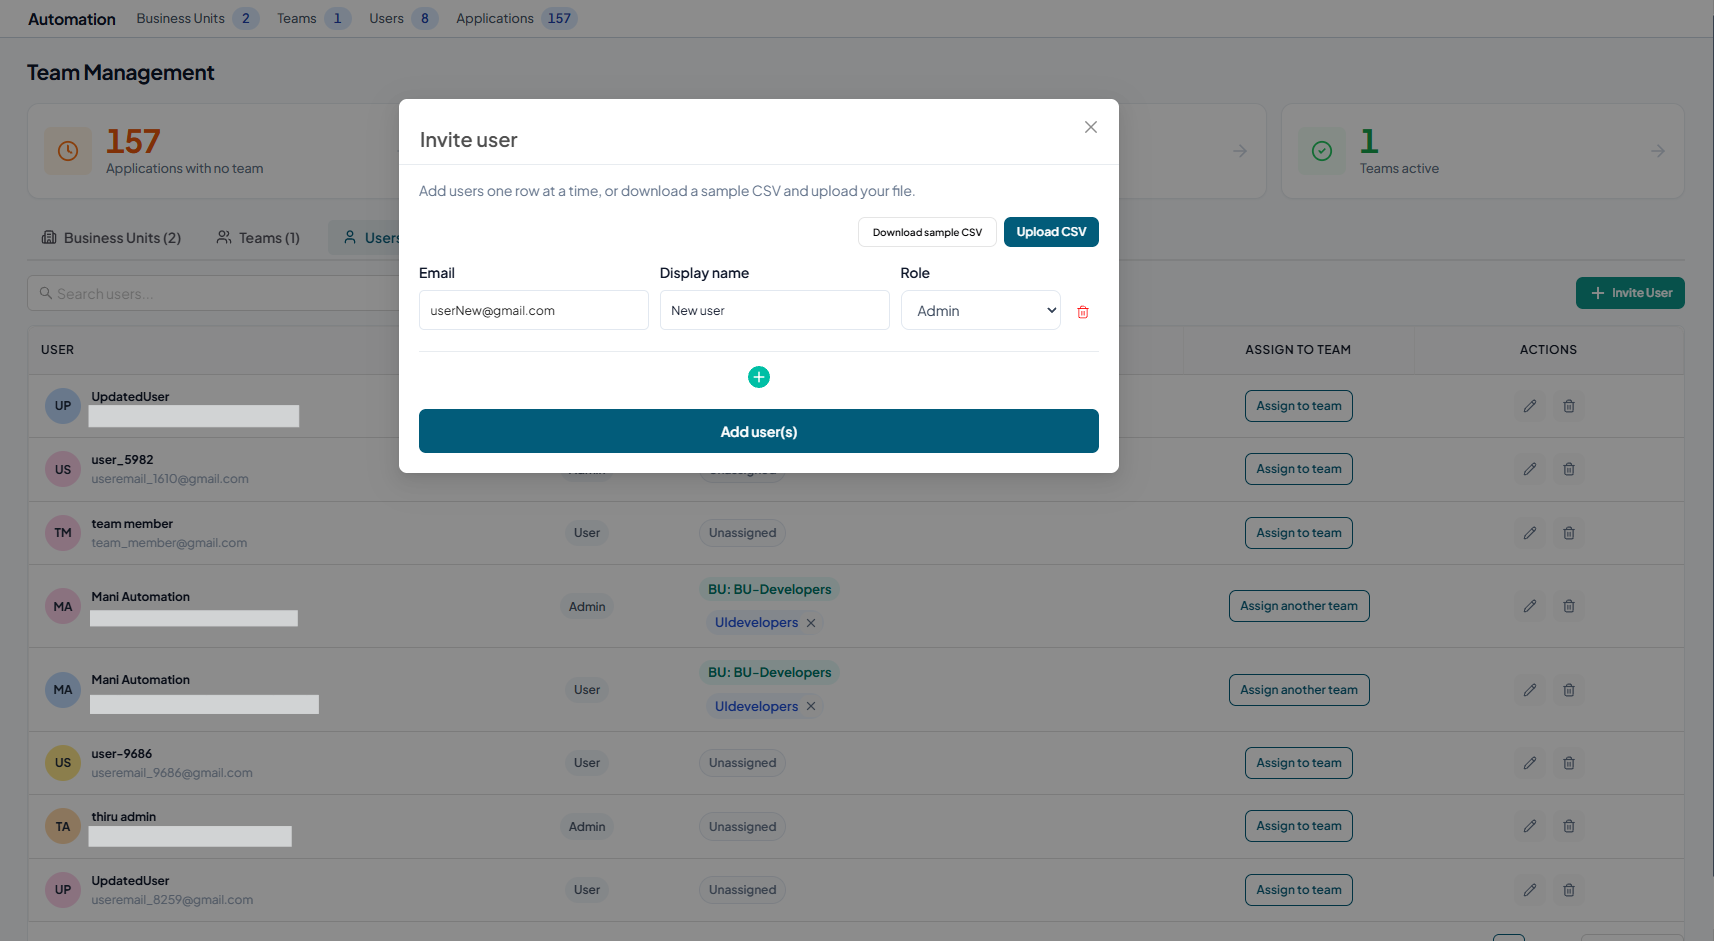
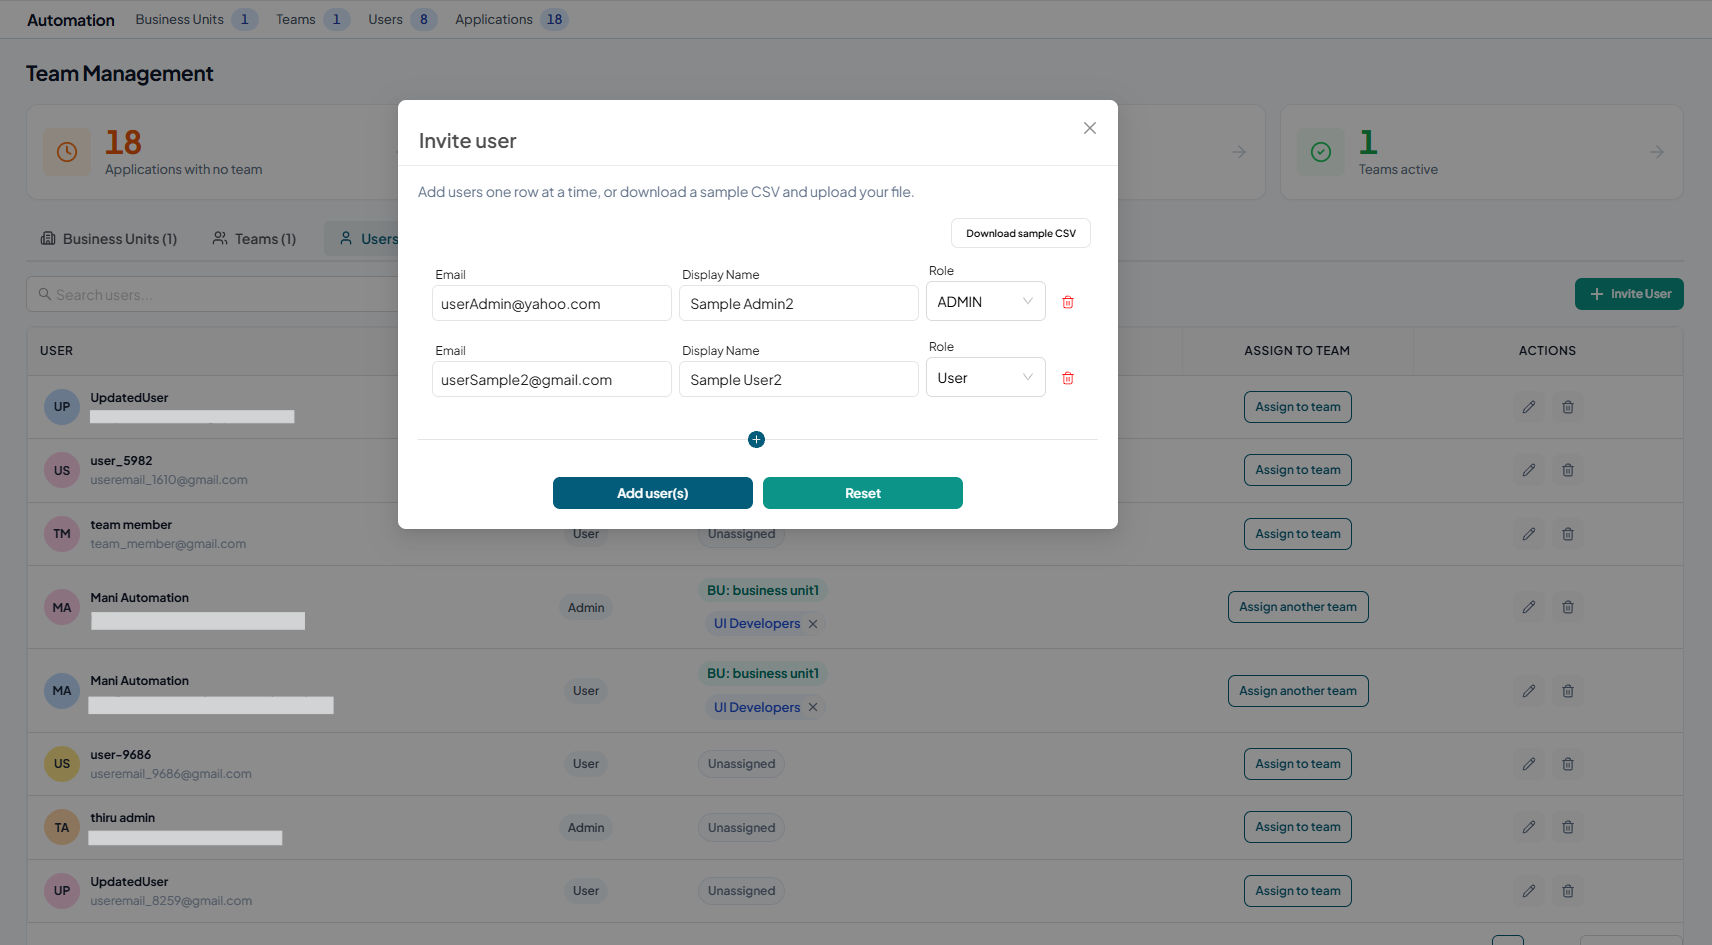
Enter the user’s Email, Display Name, and select a Role (User or Admin or Auditor).
- The ROLE USER provides visibility into applications, scans, vulnerabilities, and reports for applications shared with the user, and also allows the user to create applications, run scans, and perform configuration or operational actions on applications they own.
- The ROLE AUDITOR is a view-only role that provides visibility into applications, scans, vulnerabilities, and reports, without the ability to make changes or run operations.
-
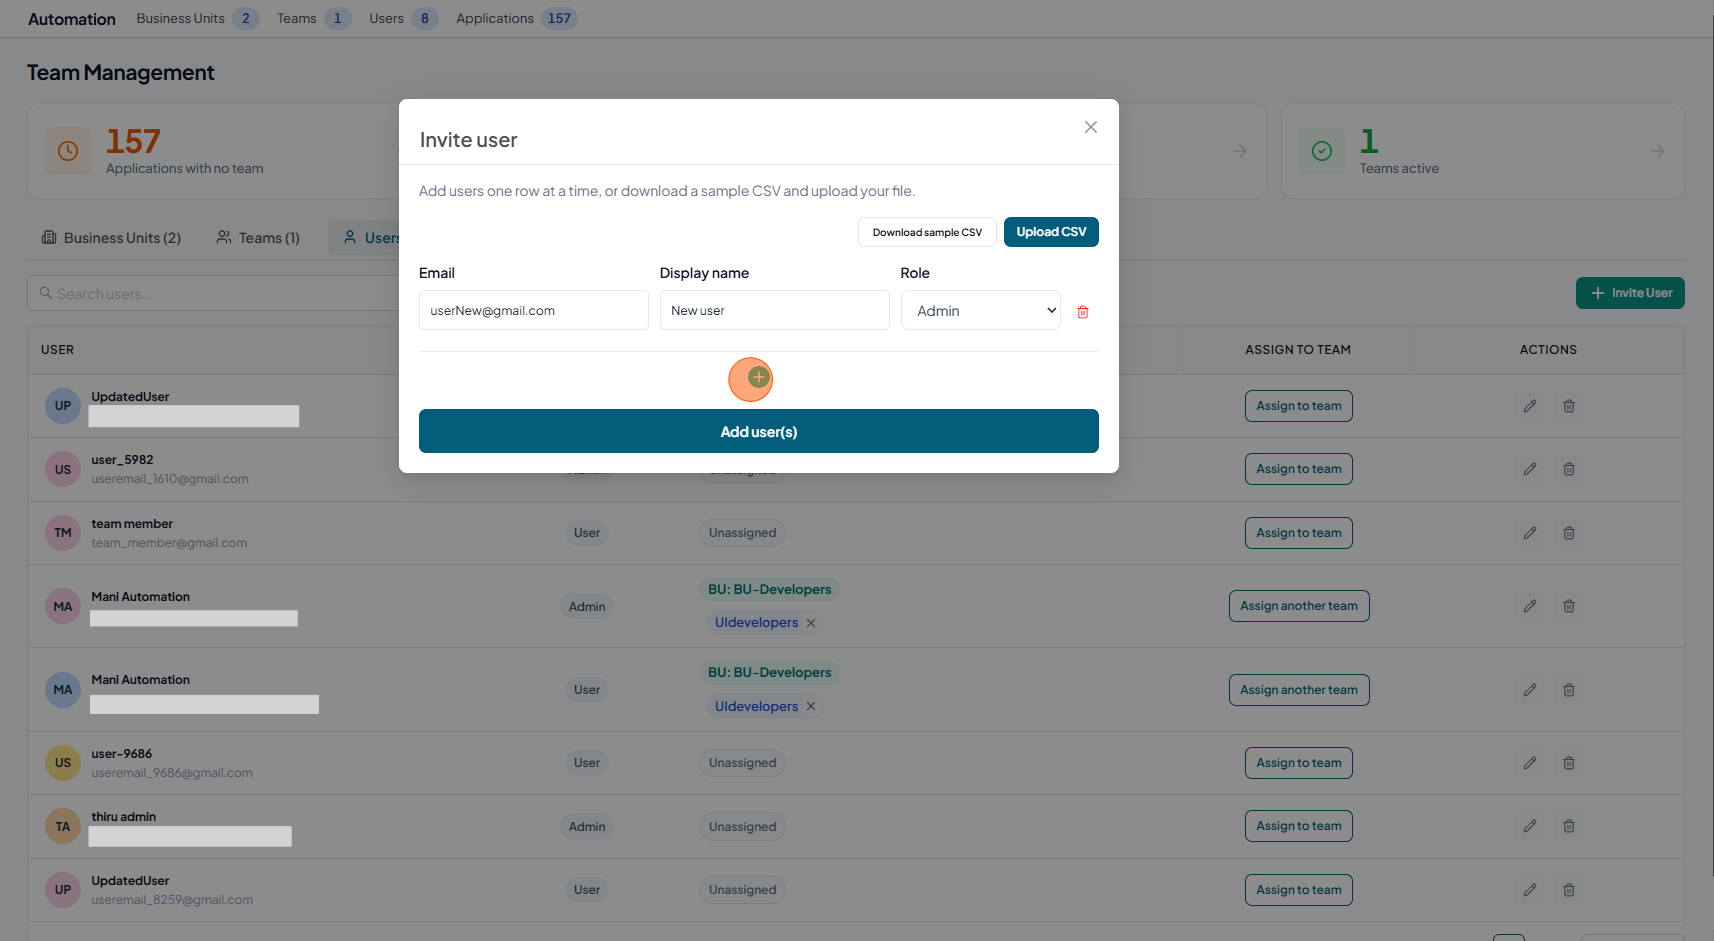
To add another user, click on the + icon and enter Email, Display Name, and select a Role (User or Admin). In this way you can add number of users.
-
To add multiple users via a CSV file, click the Upload CSV button and select the CSV file. If you need a template, click Download Sample CSV to download and review the sample file.
-
You will now see the list of users uploaded via the CSV file. From here, you can edit, update, or delete users. Duplicate users are highlighted, allowing you to make necessary changes.
-
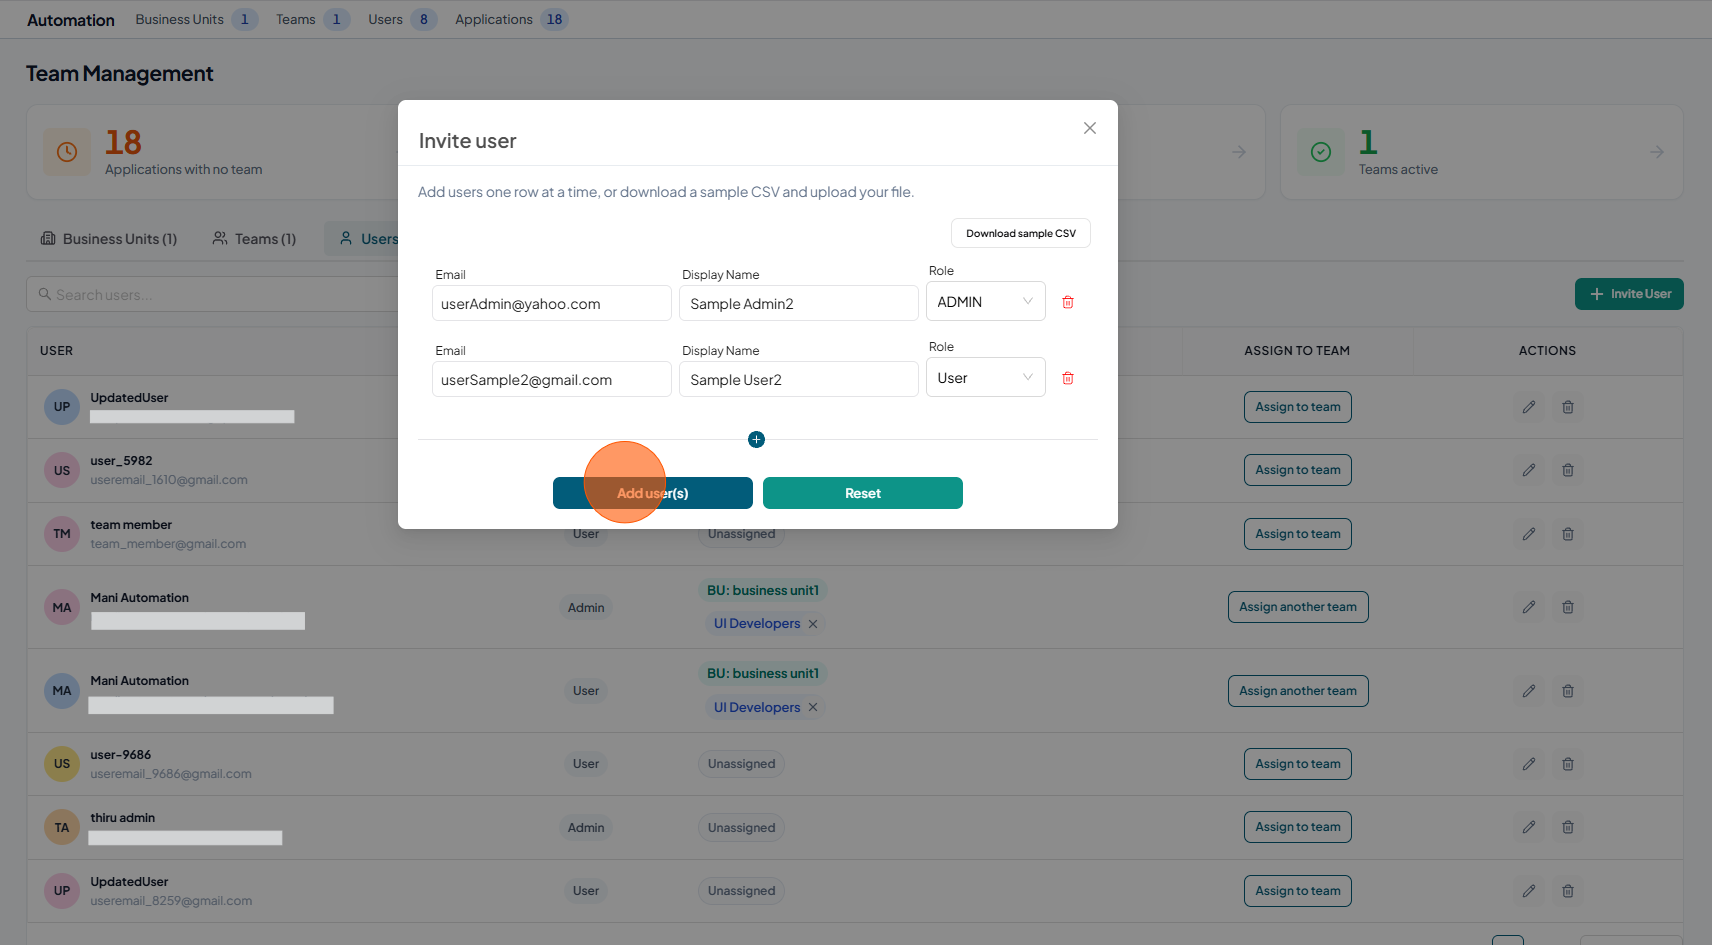
Now click on the "Add User(s)" button
-
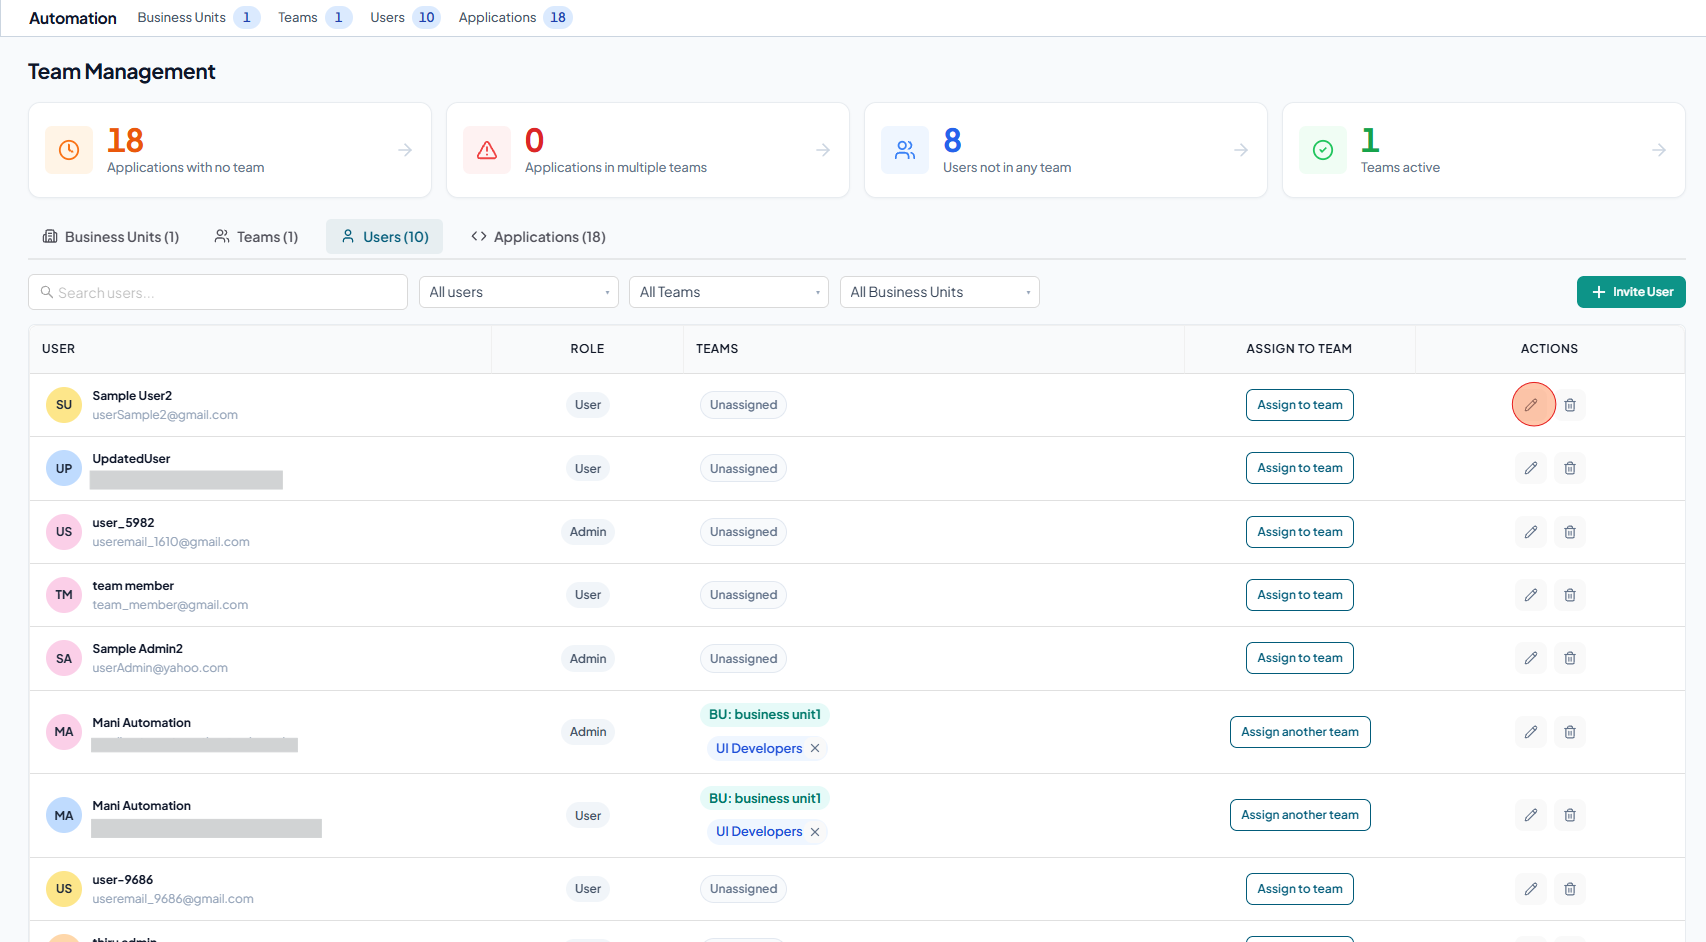
The new users now appears in the users list.

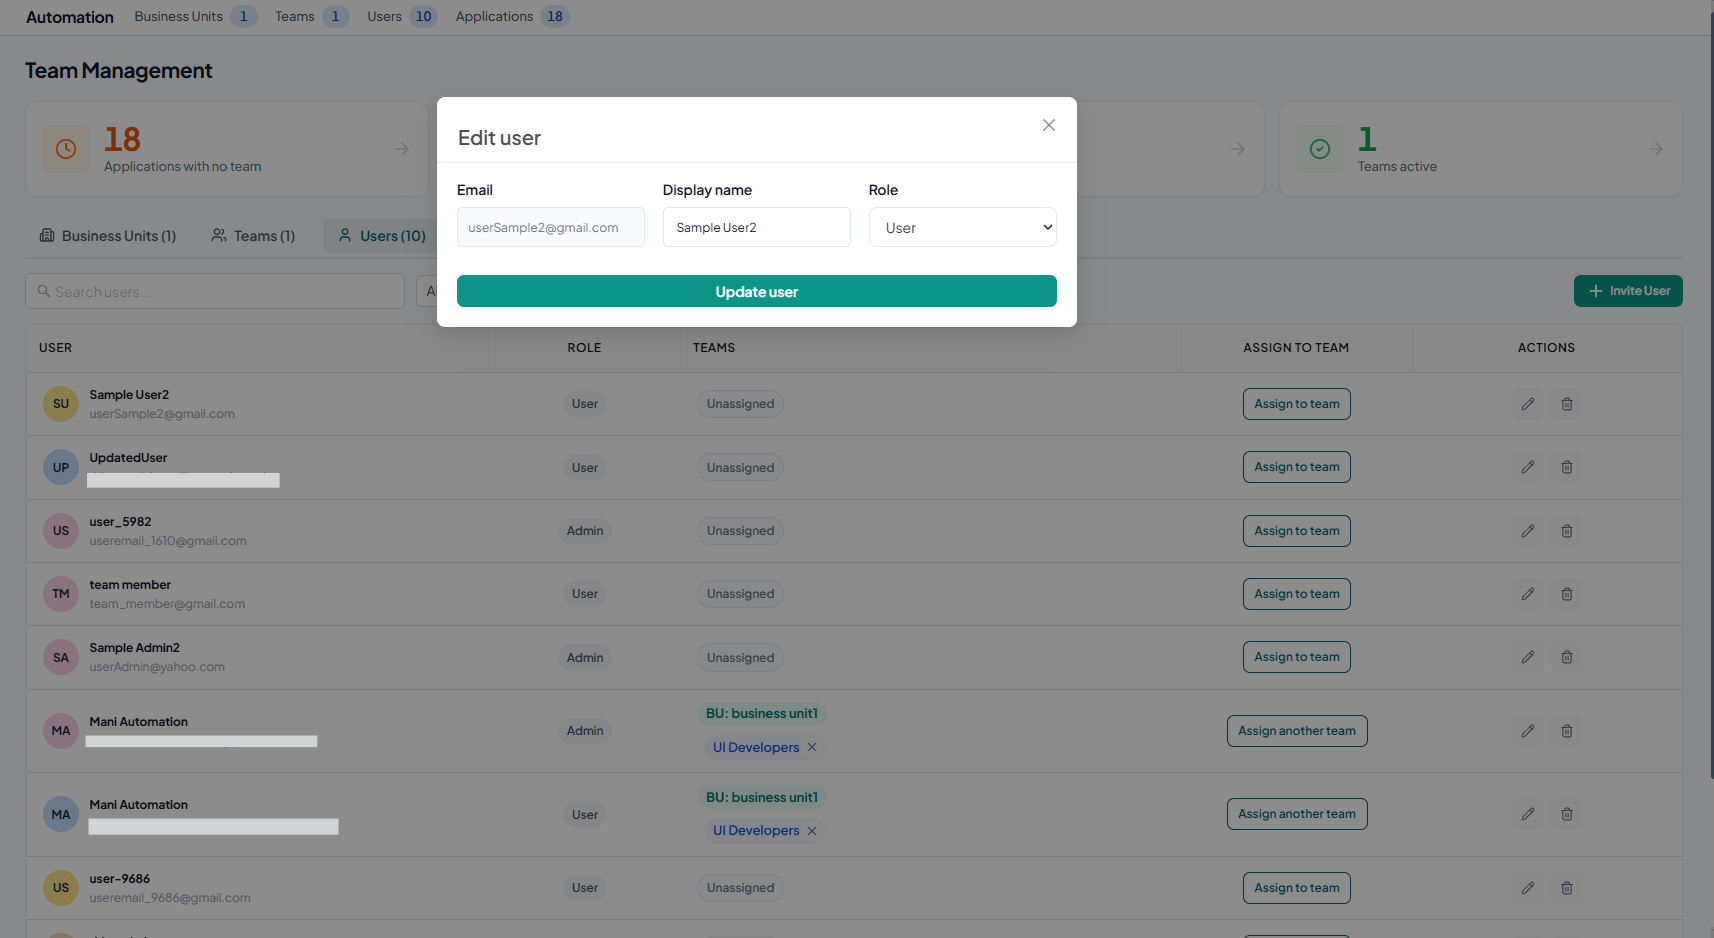
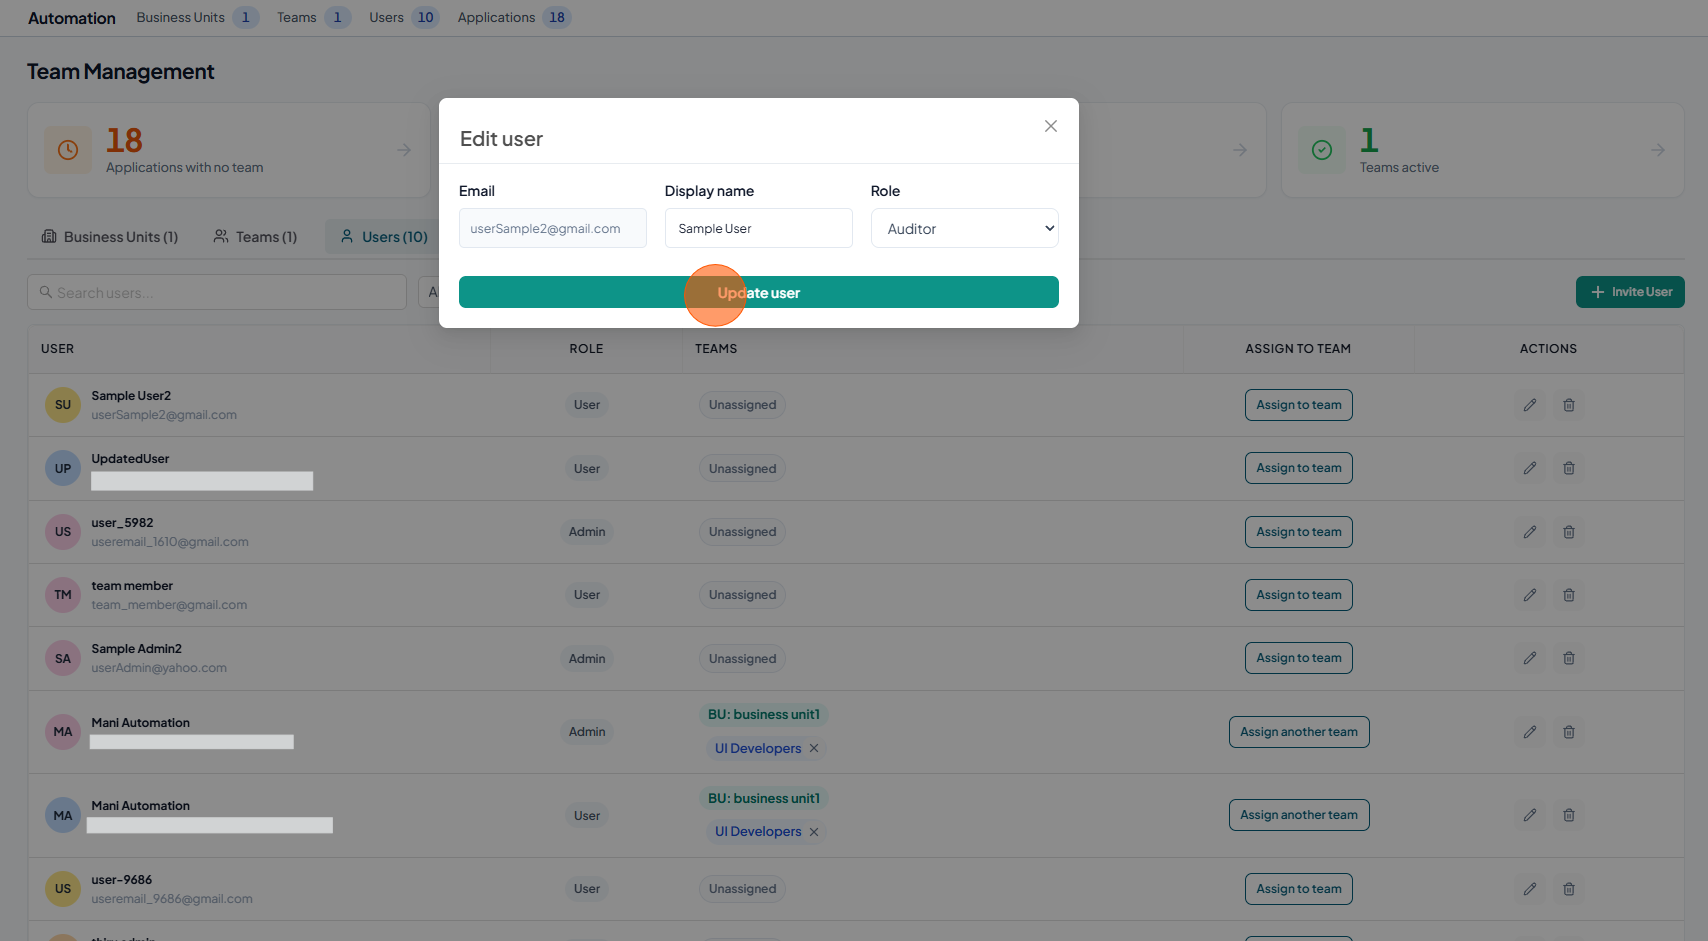
Edit User
-
Click the edit icon (pencil) for the corresponding team to edit.
-
Now you will see the user form with all the details.
-
You can change the Display Name and Role for the selected user and click on the Update User.
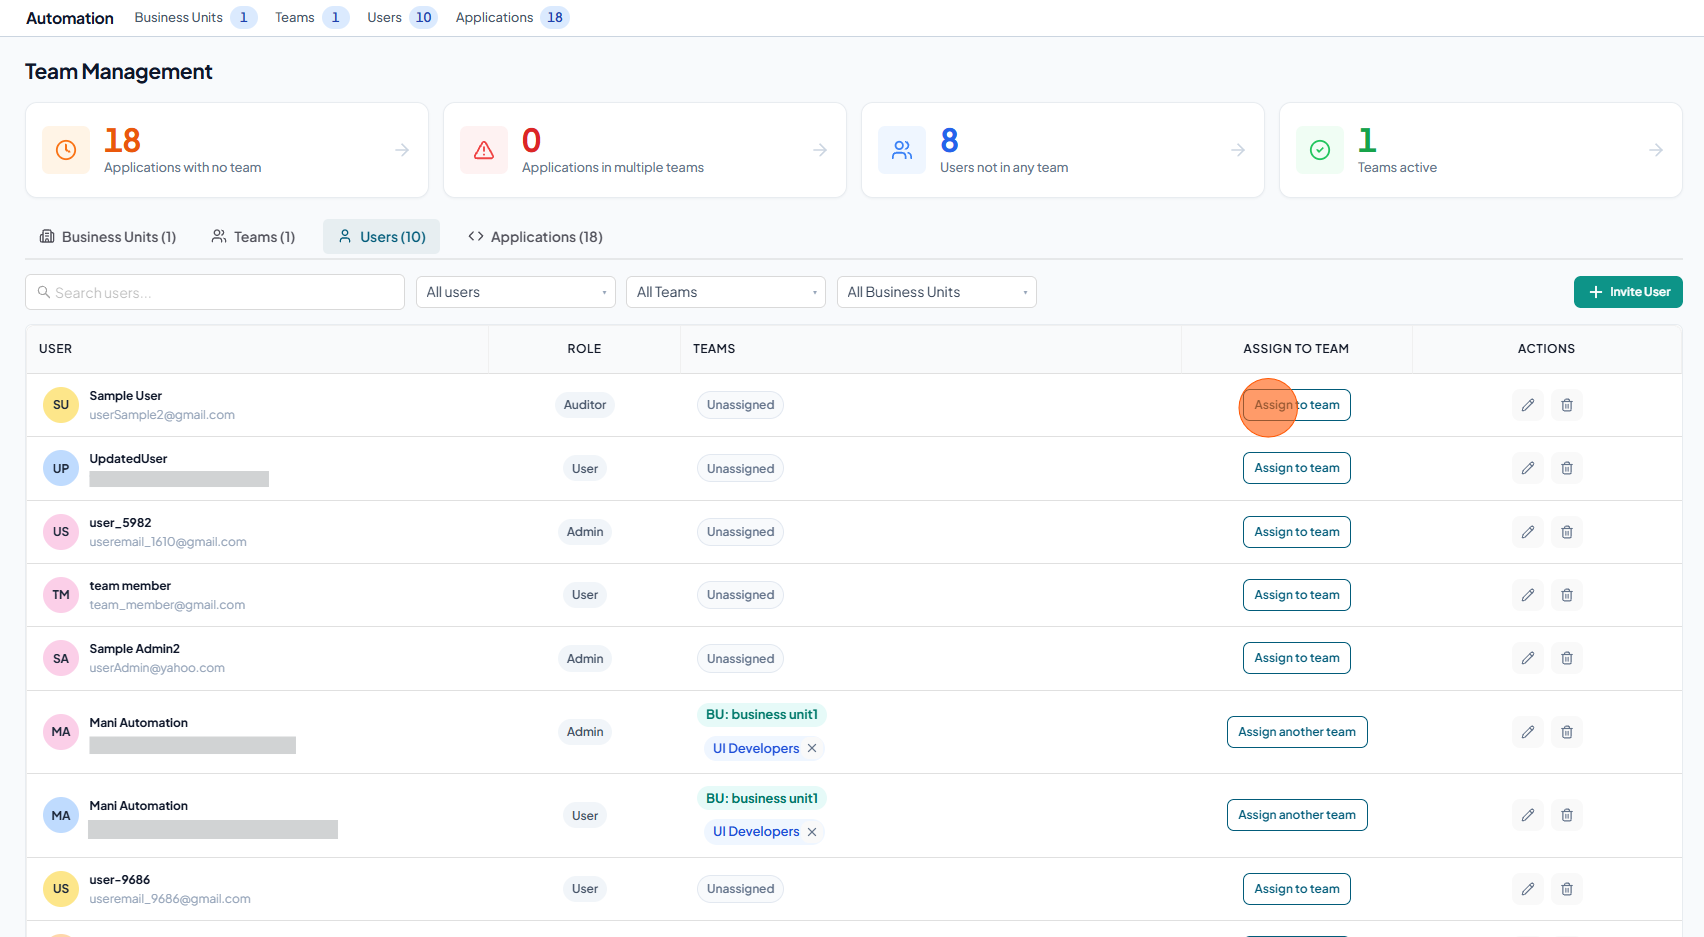
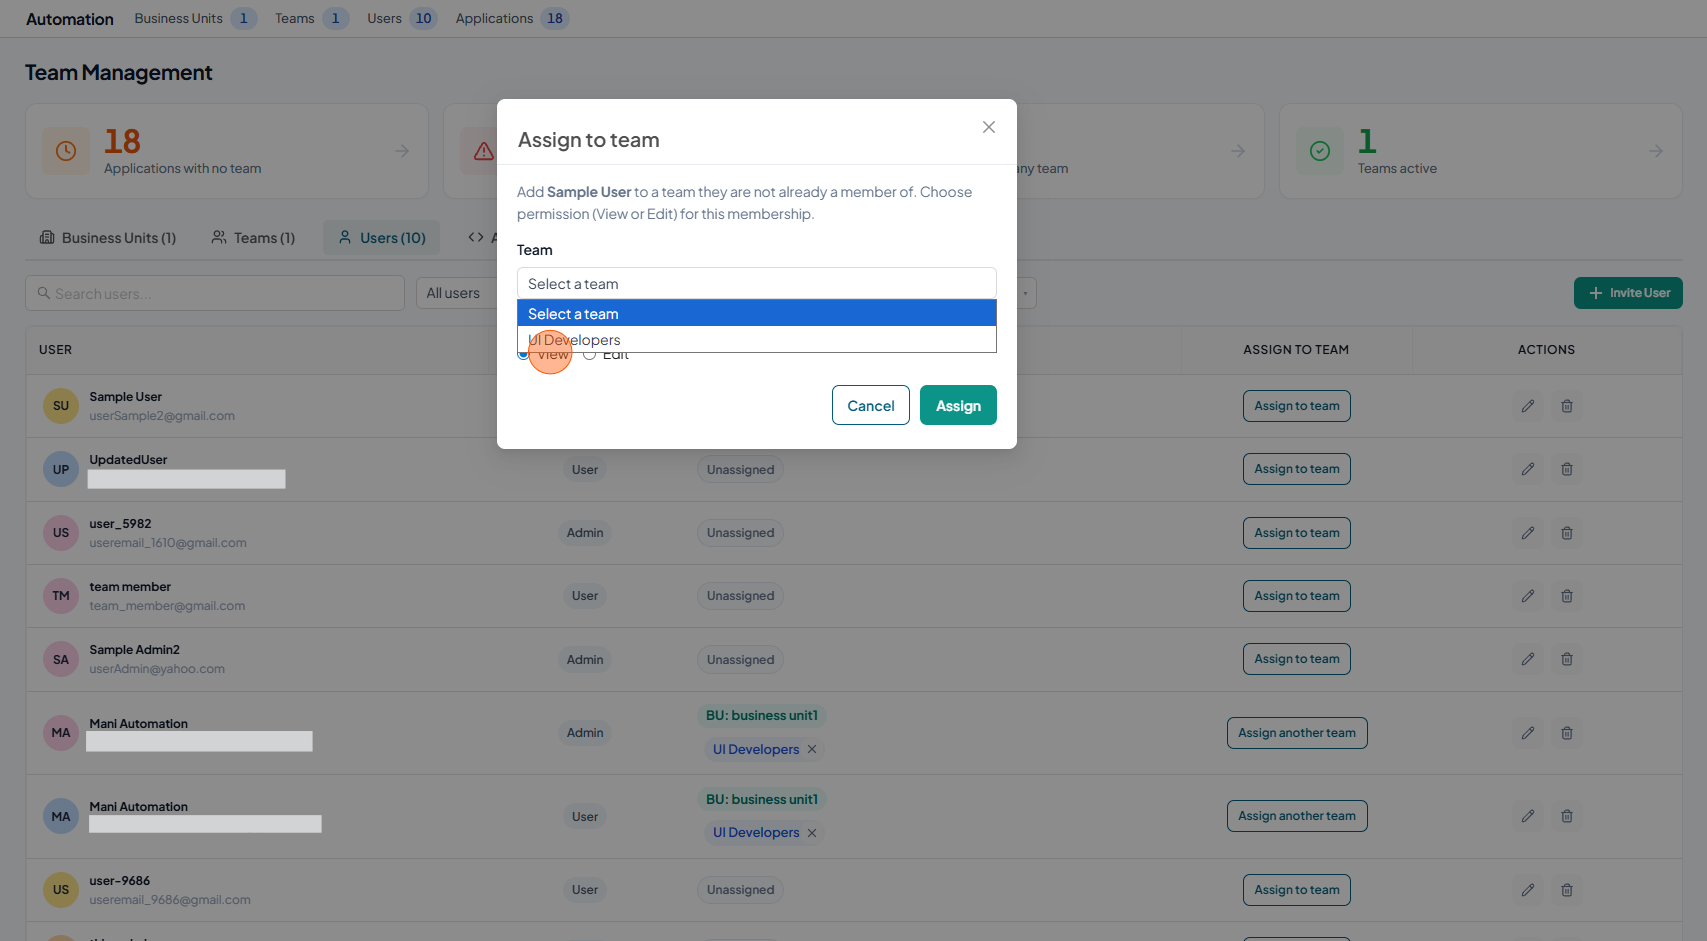
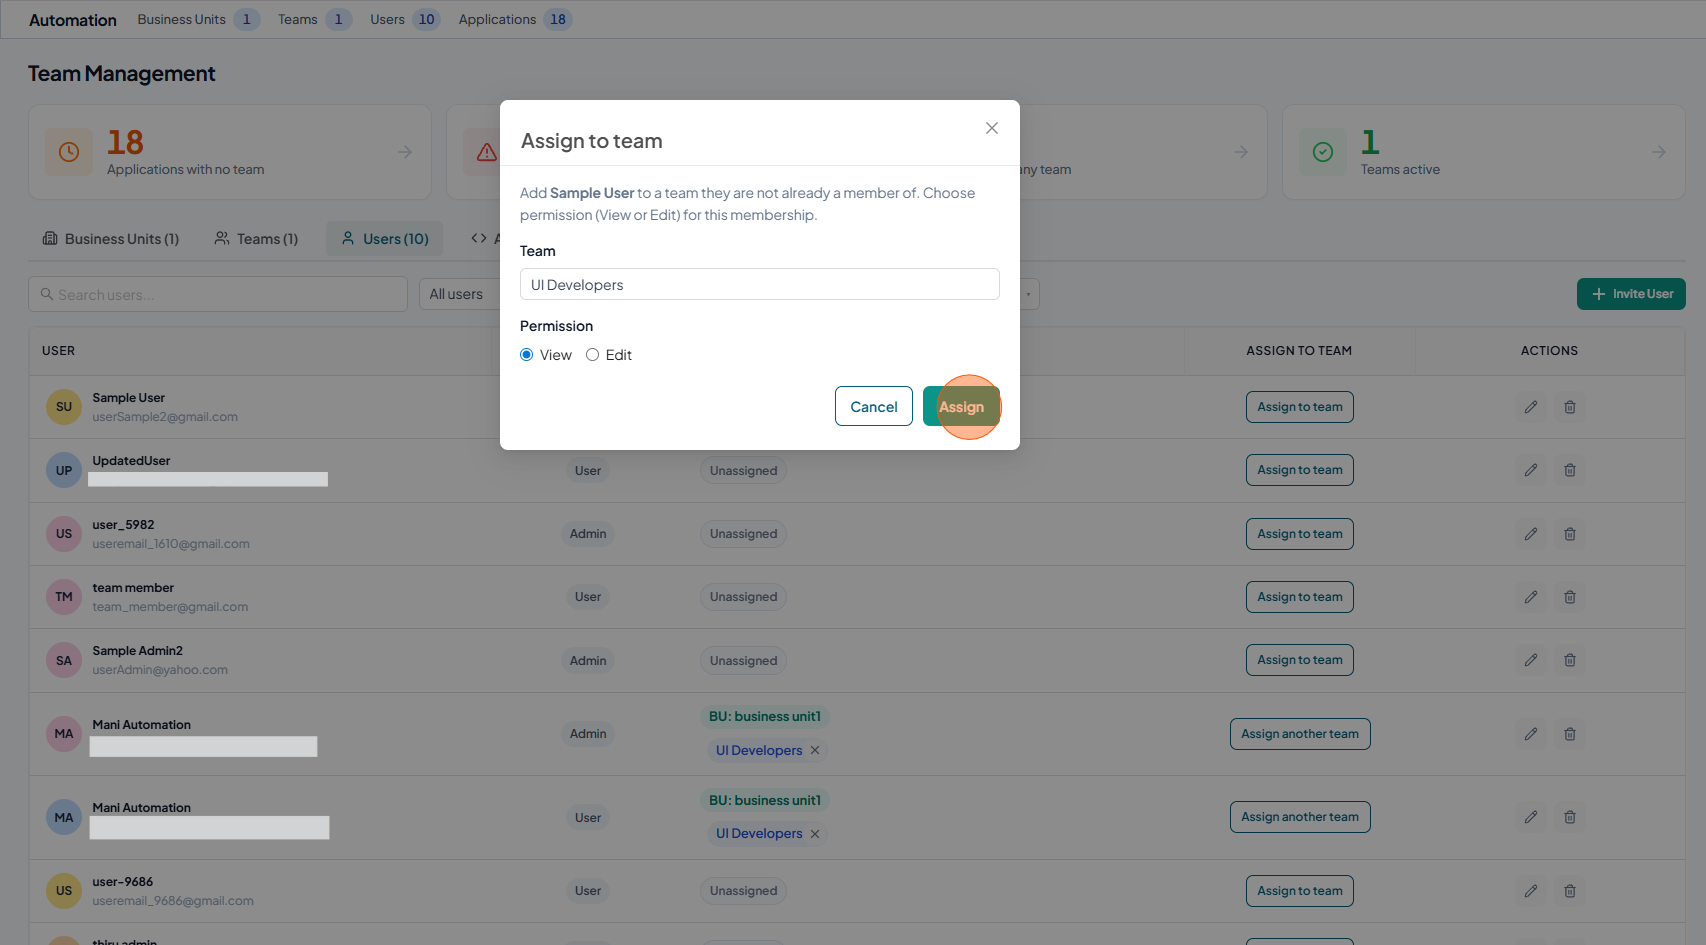
Assign to team
-
Click the Assign to team for the corresponding user.
-
Select team
-
Select Permission and click Assign
-
verify the user details
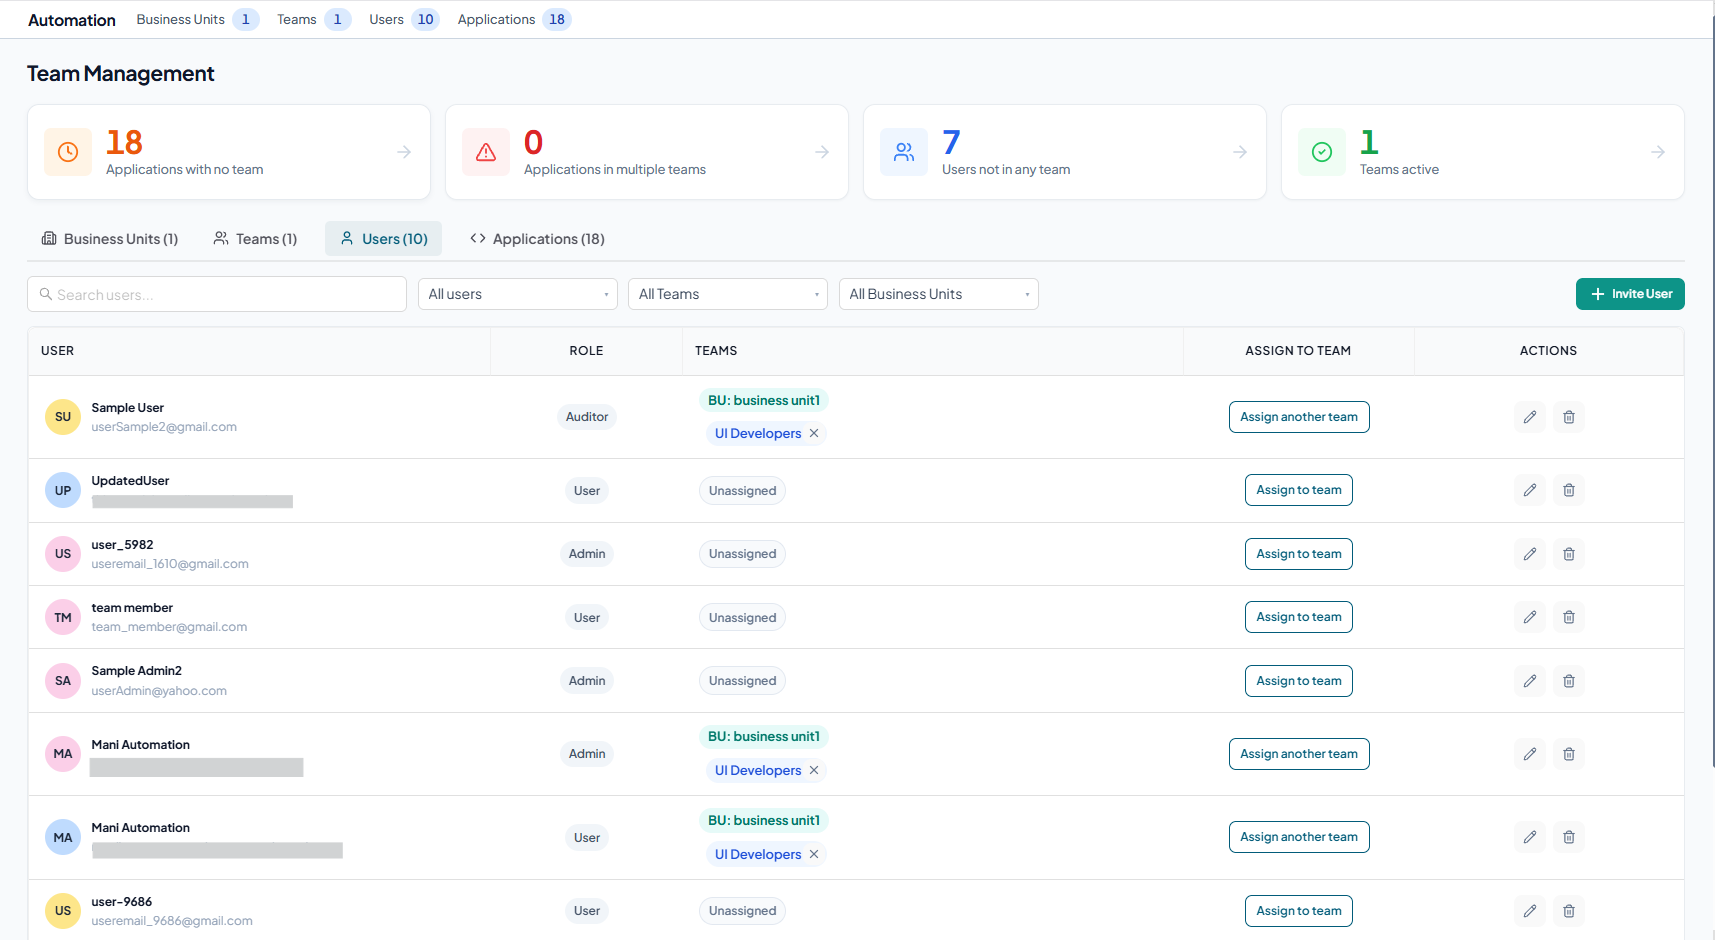
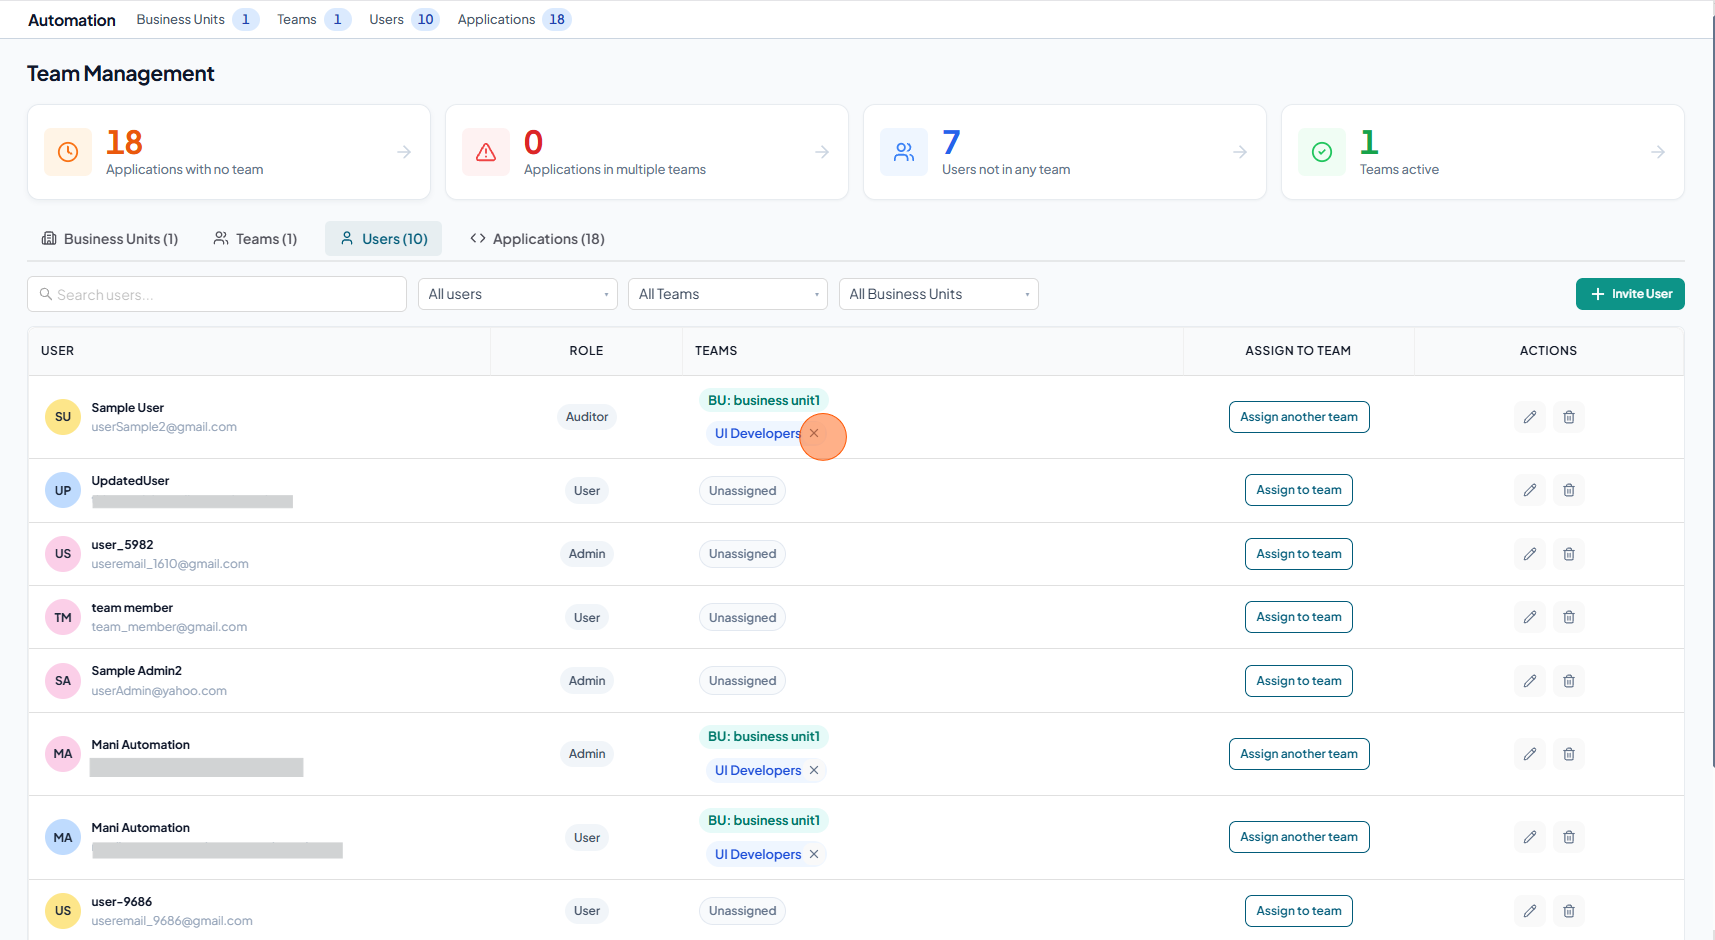
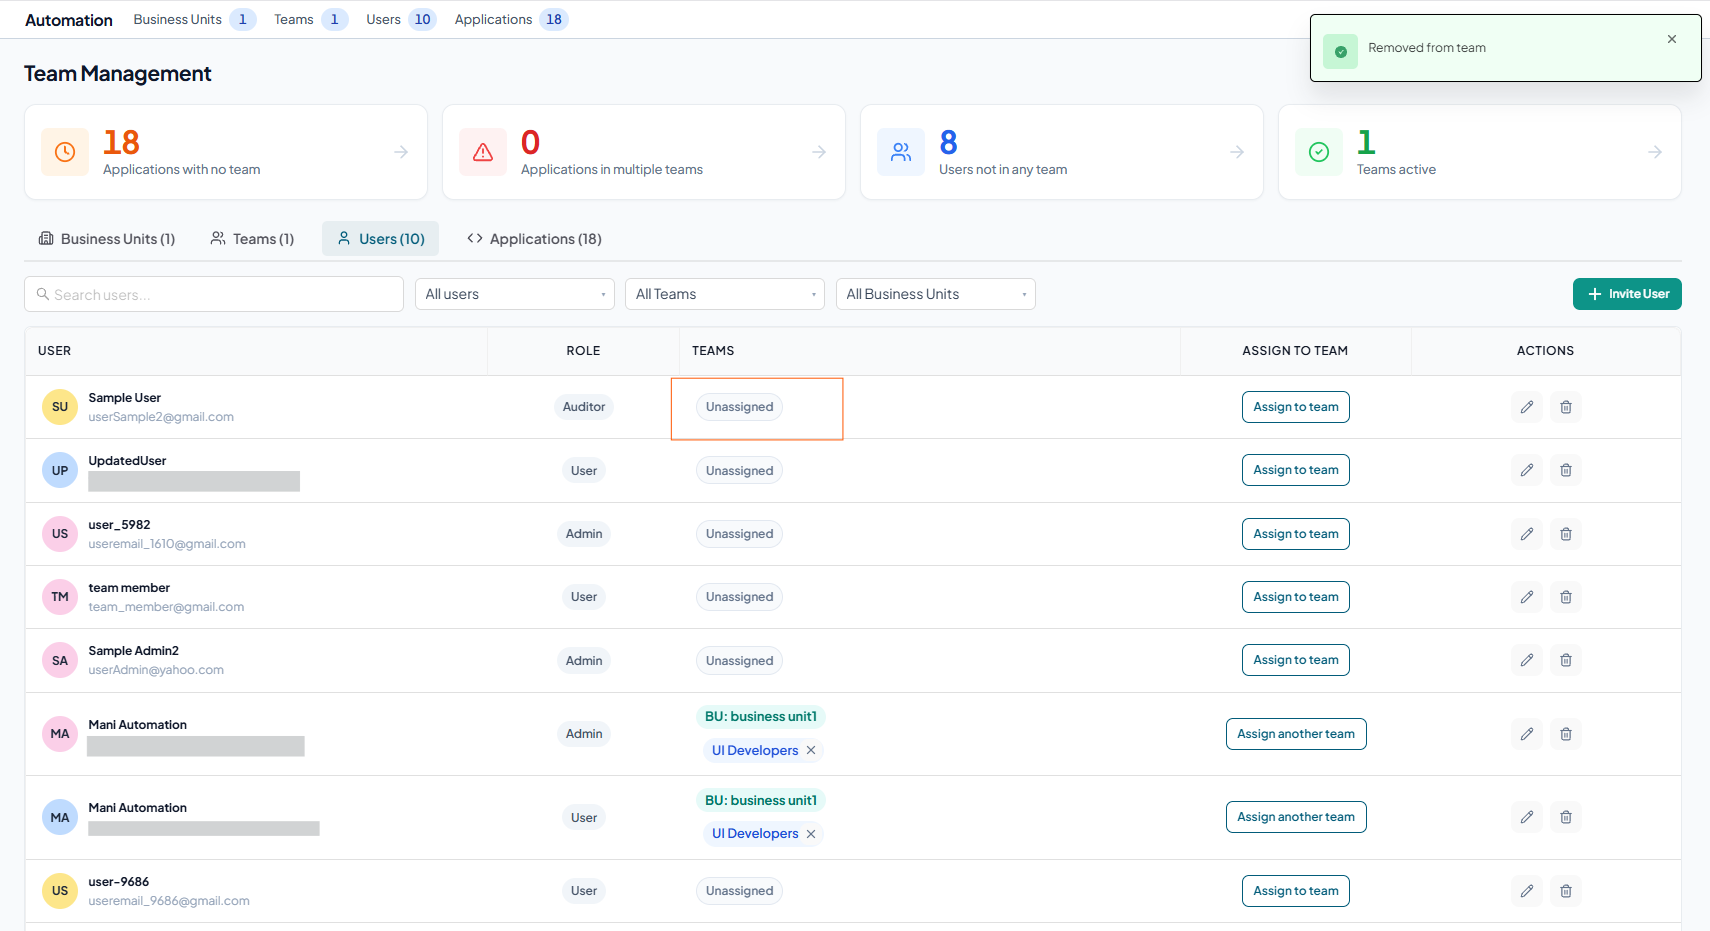
Remove from team
-
To remove a user from an associated team, click the remove icon (×) in the Teams column.
-
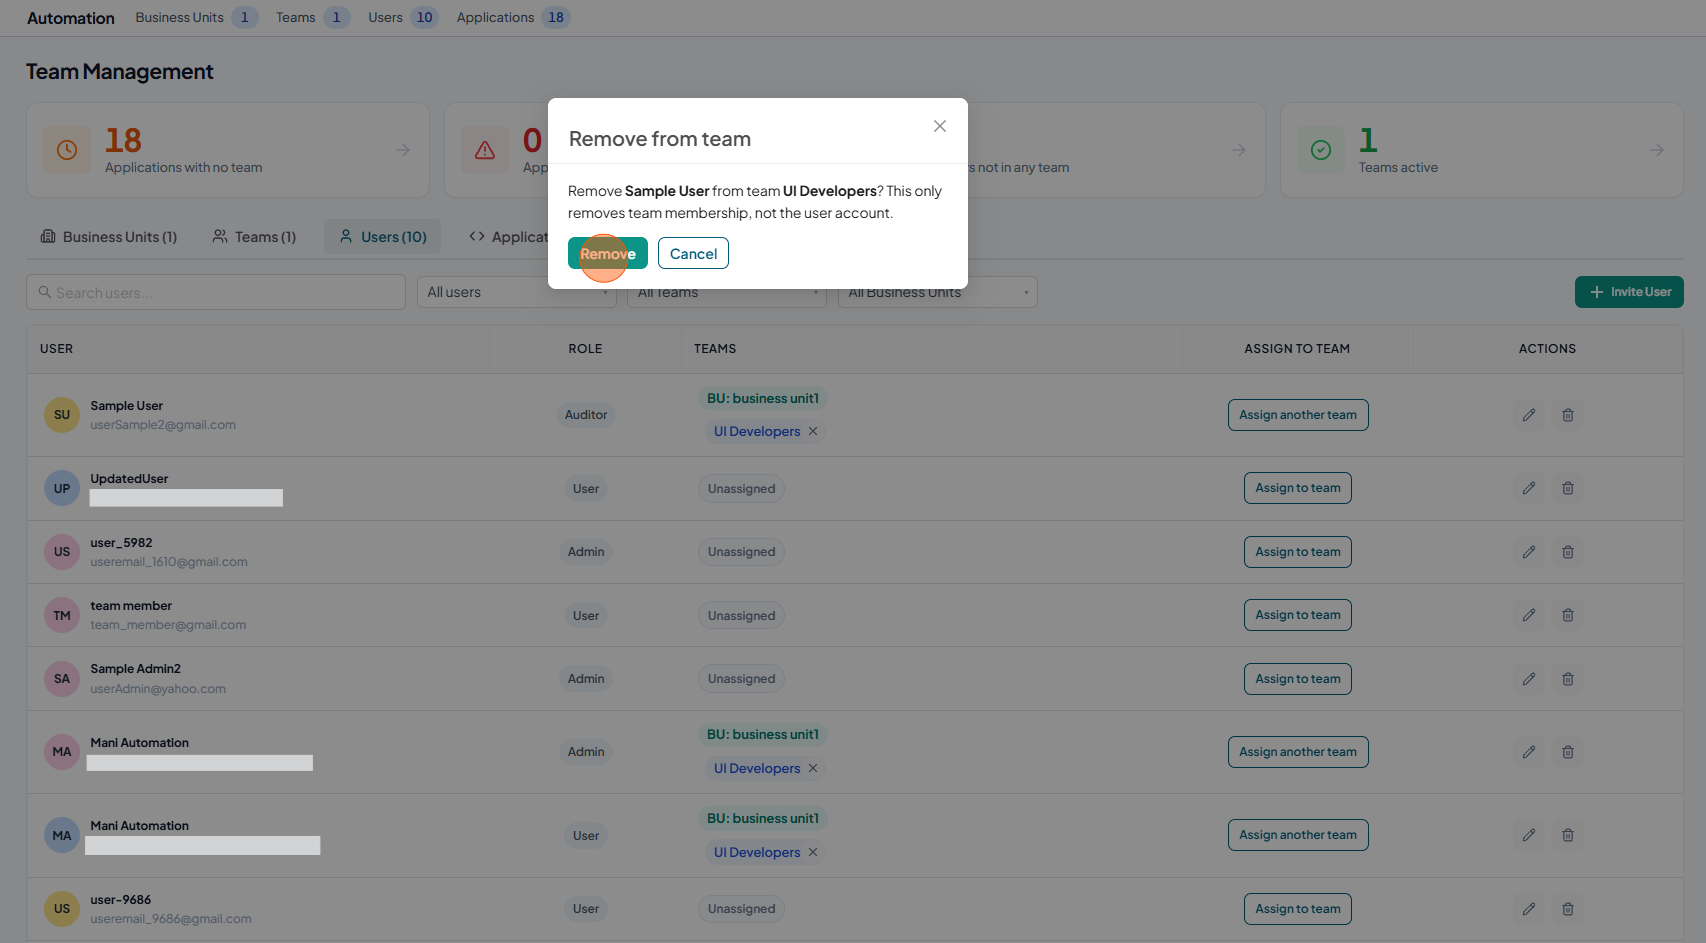
Click Remove to confirm
-
Verify that the user is no longer associated with the team.
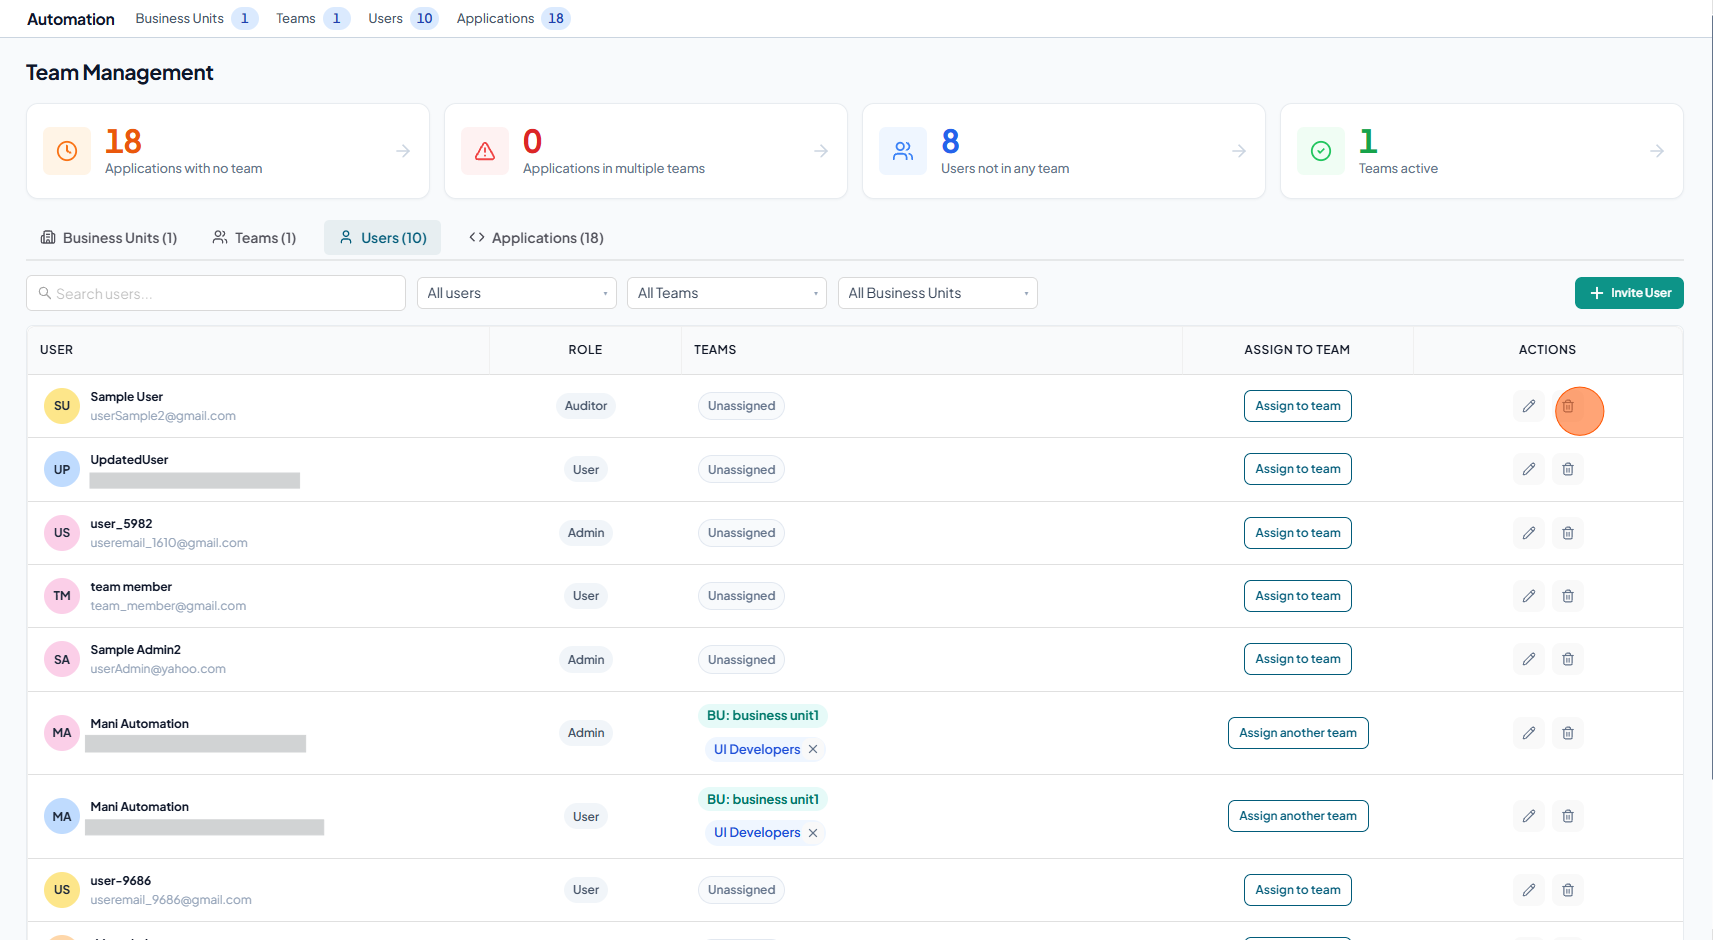
Delete User
-
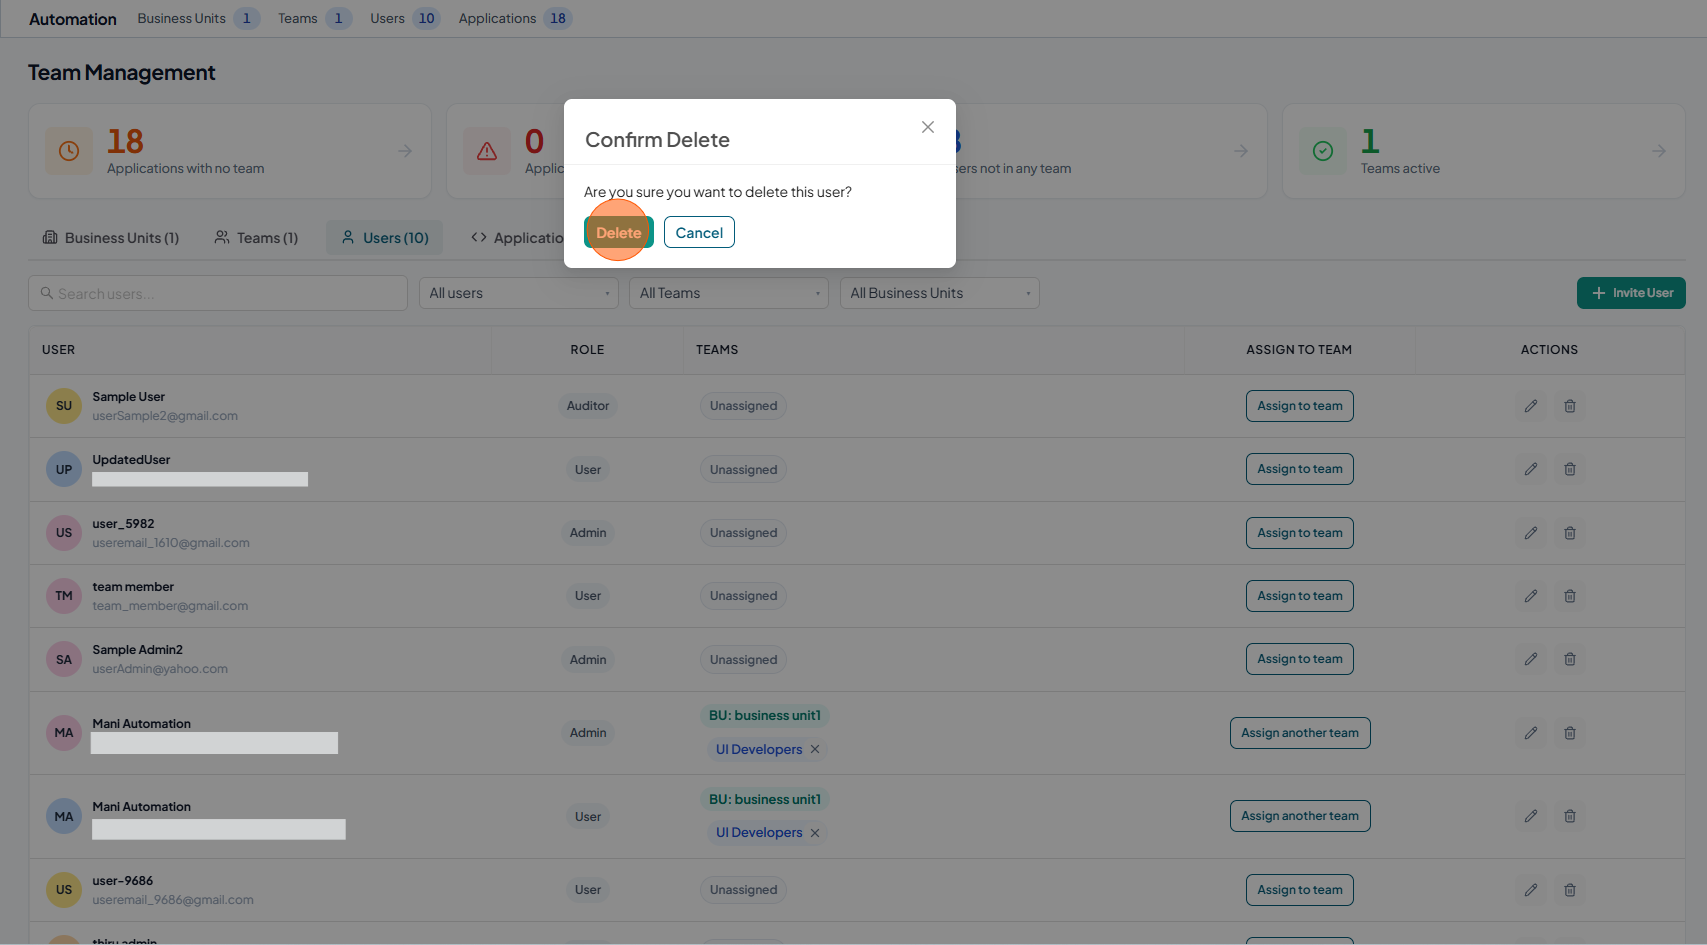
Click the delete icon for the required user.
-
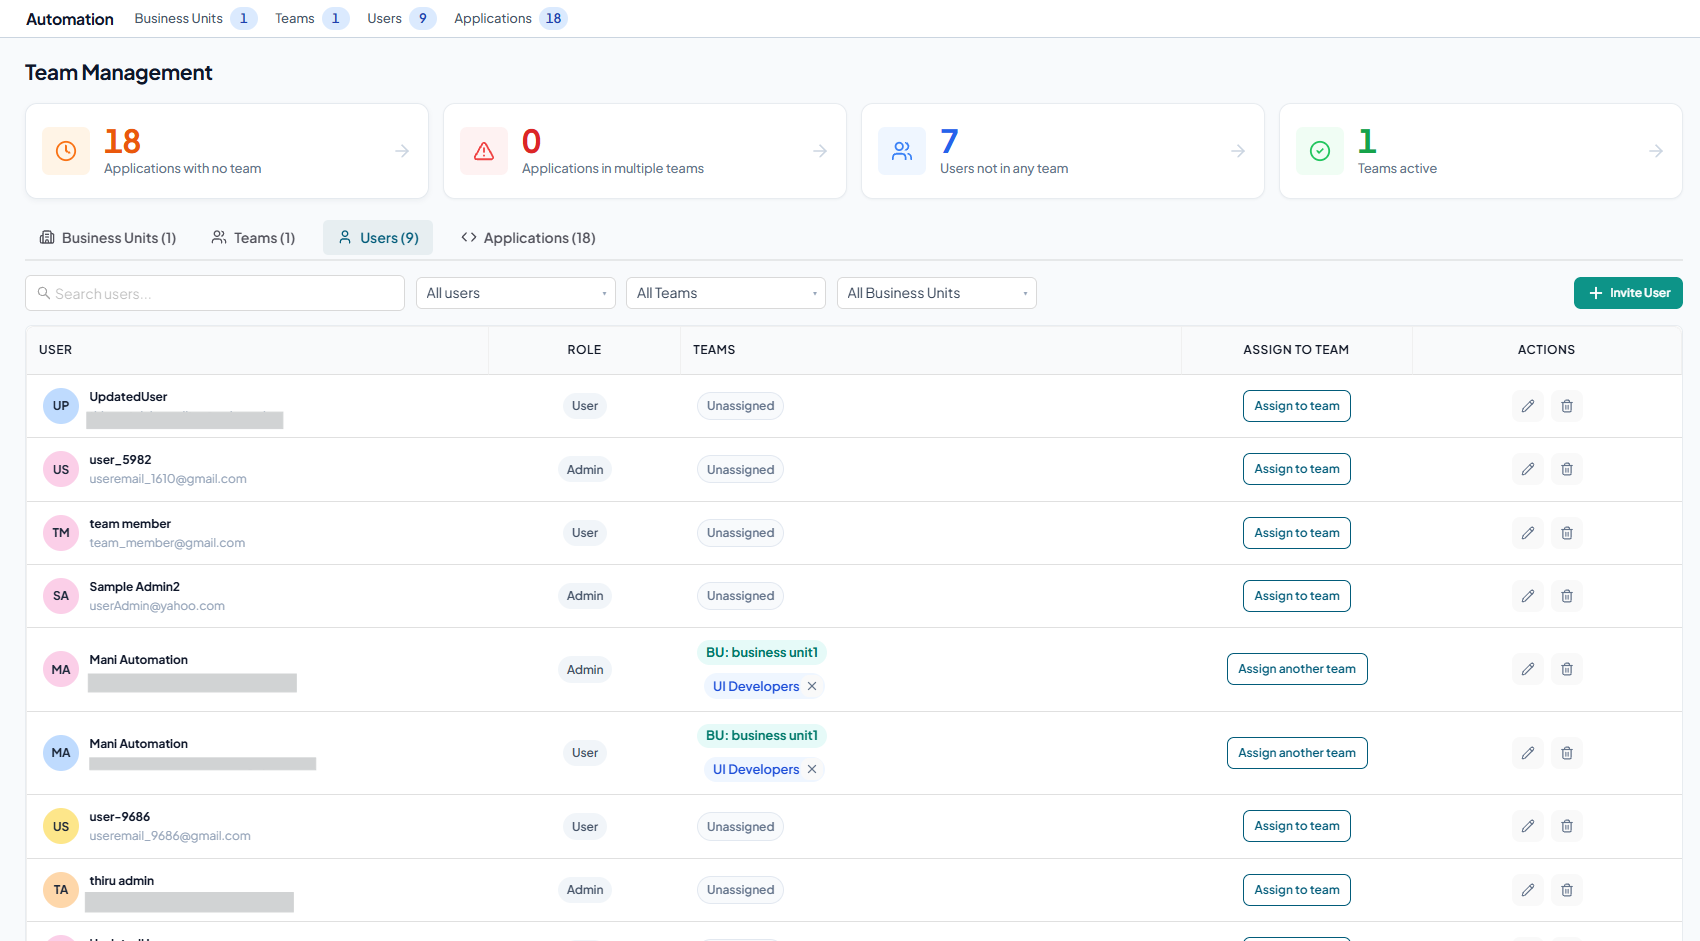
Click Delete to confirm
-
After deletion, the user is no longer displayed in the Users
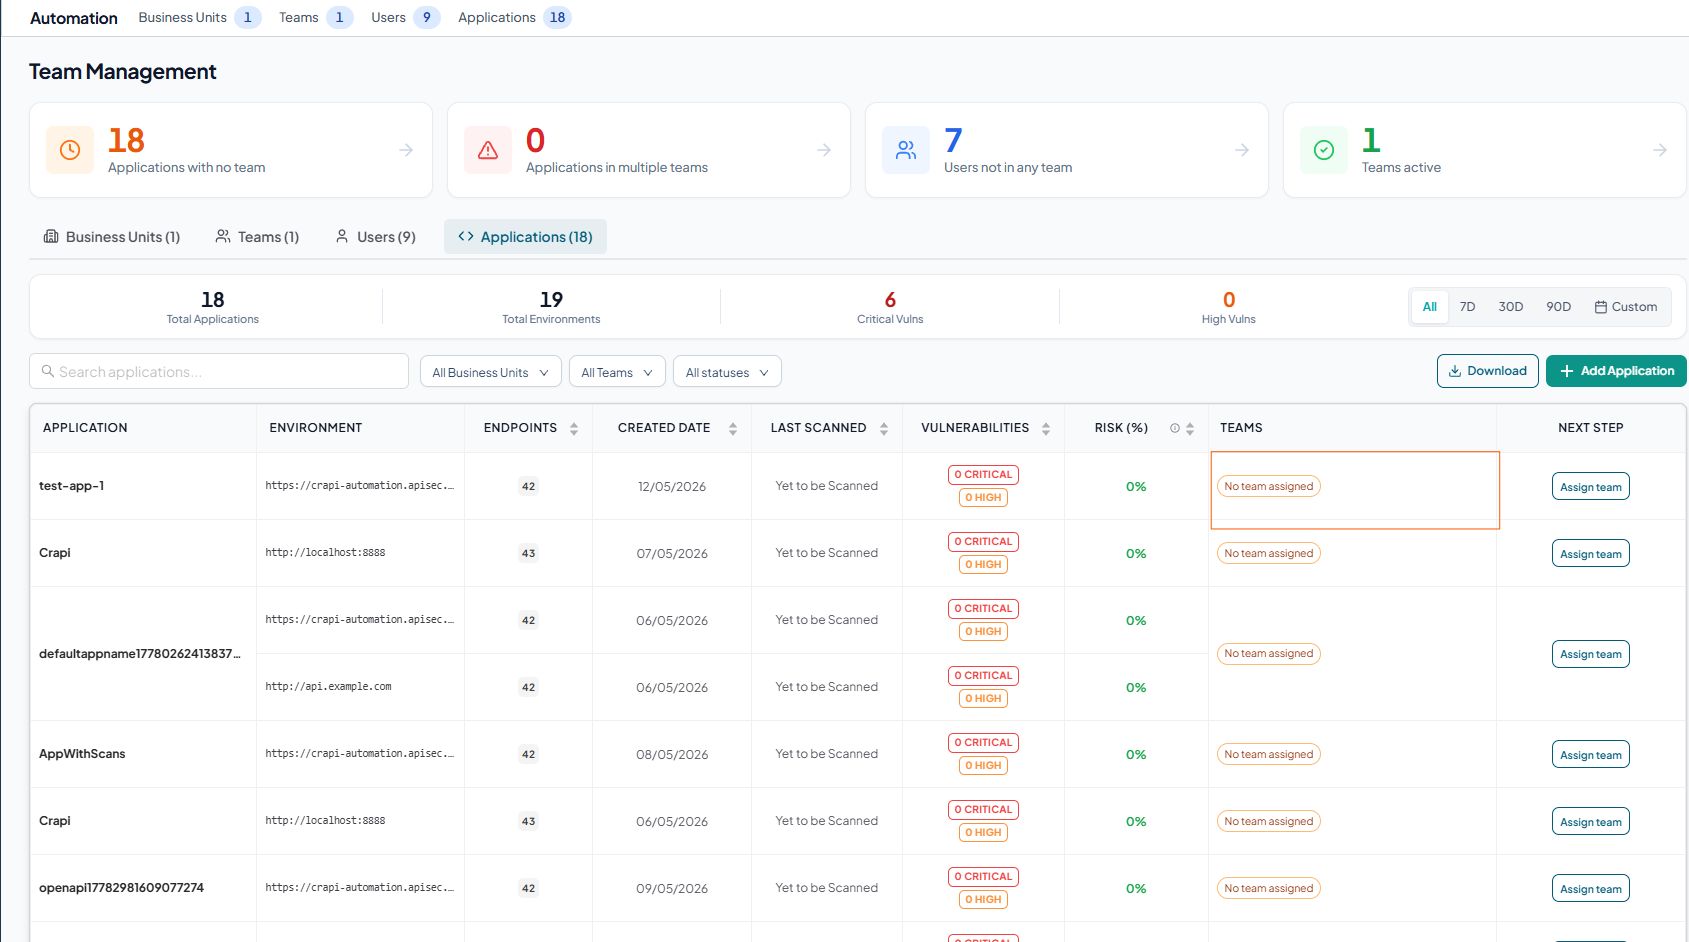
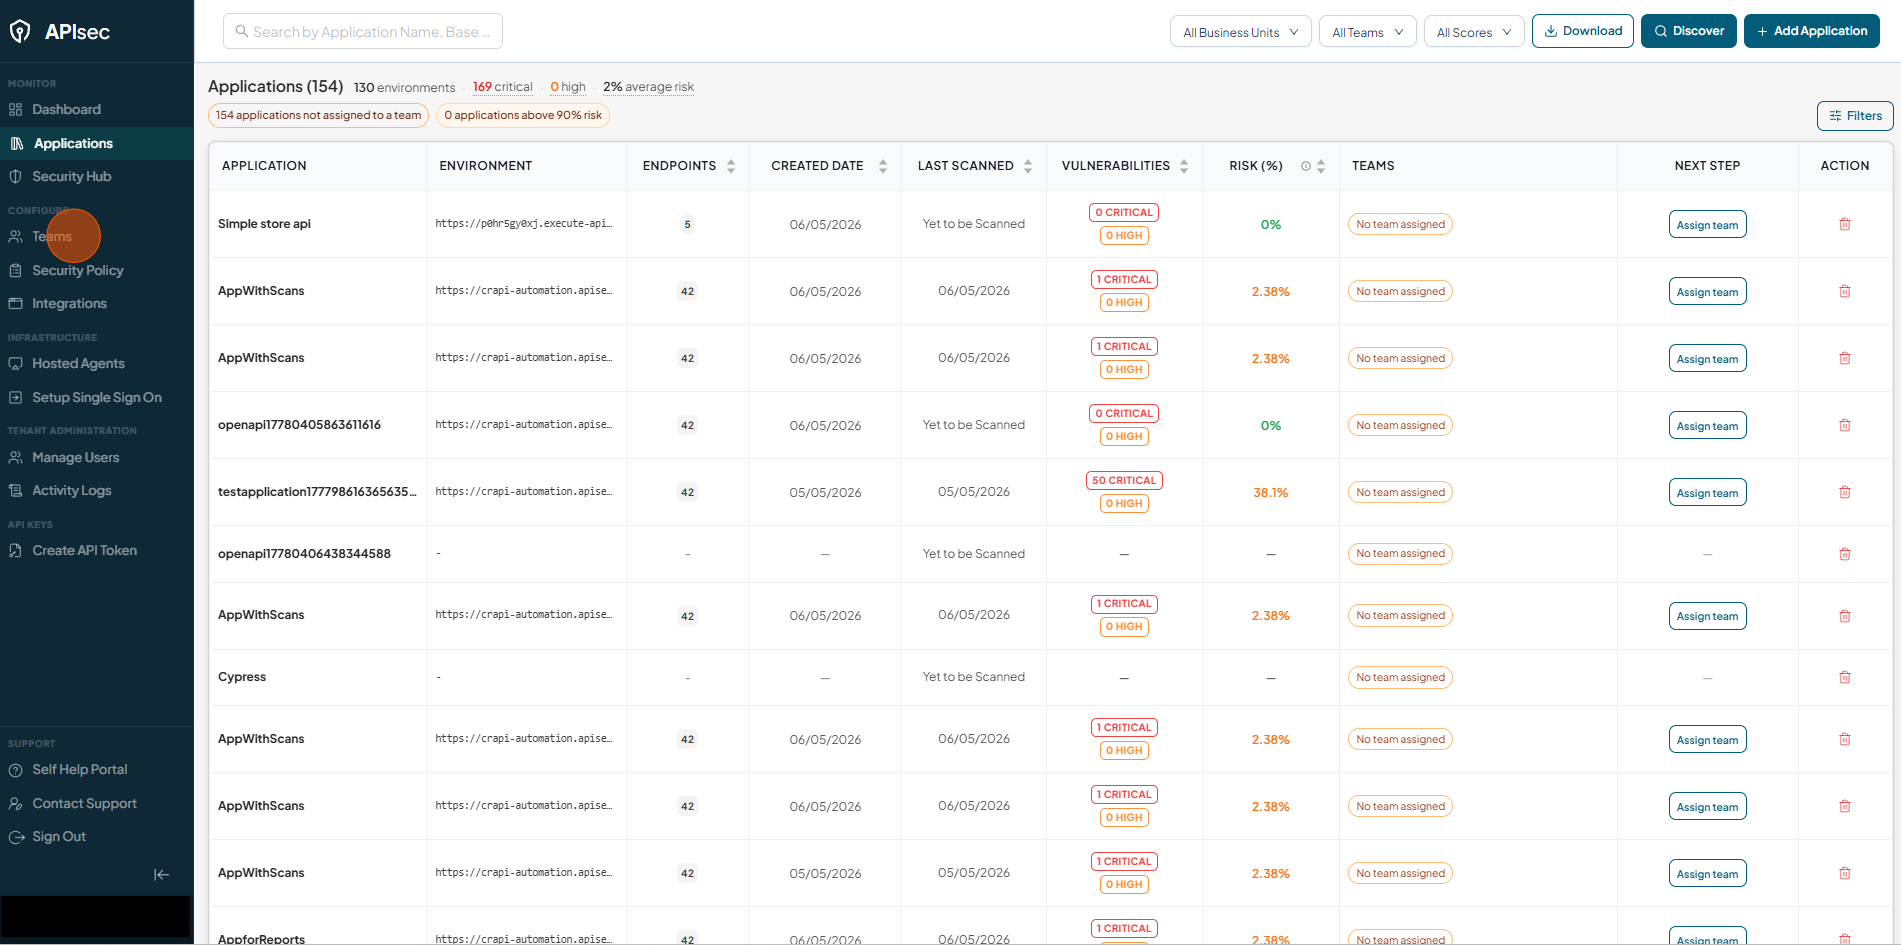
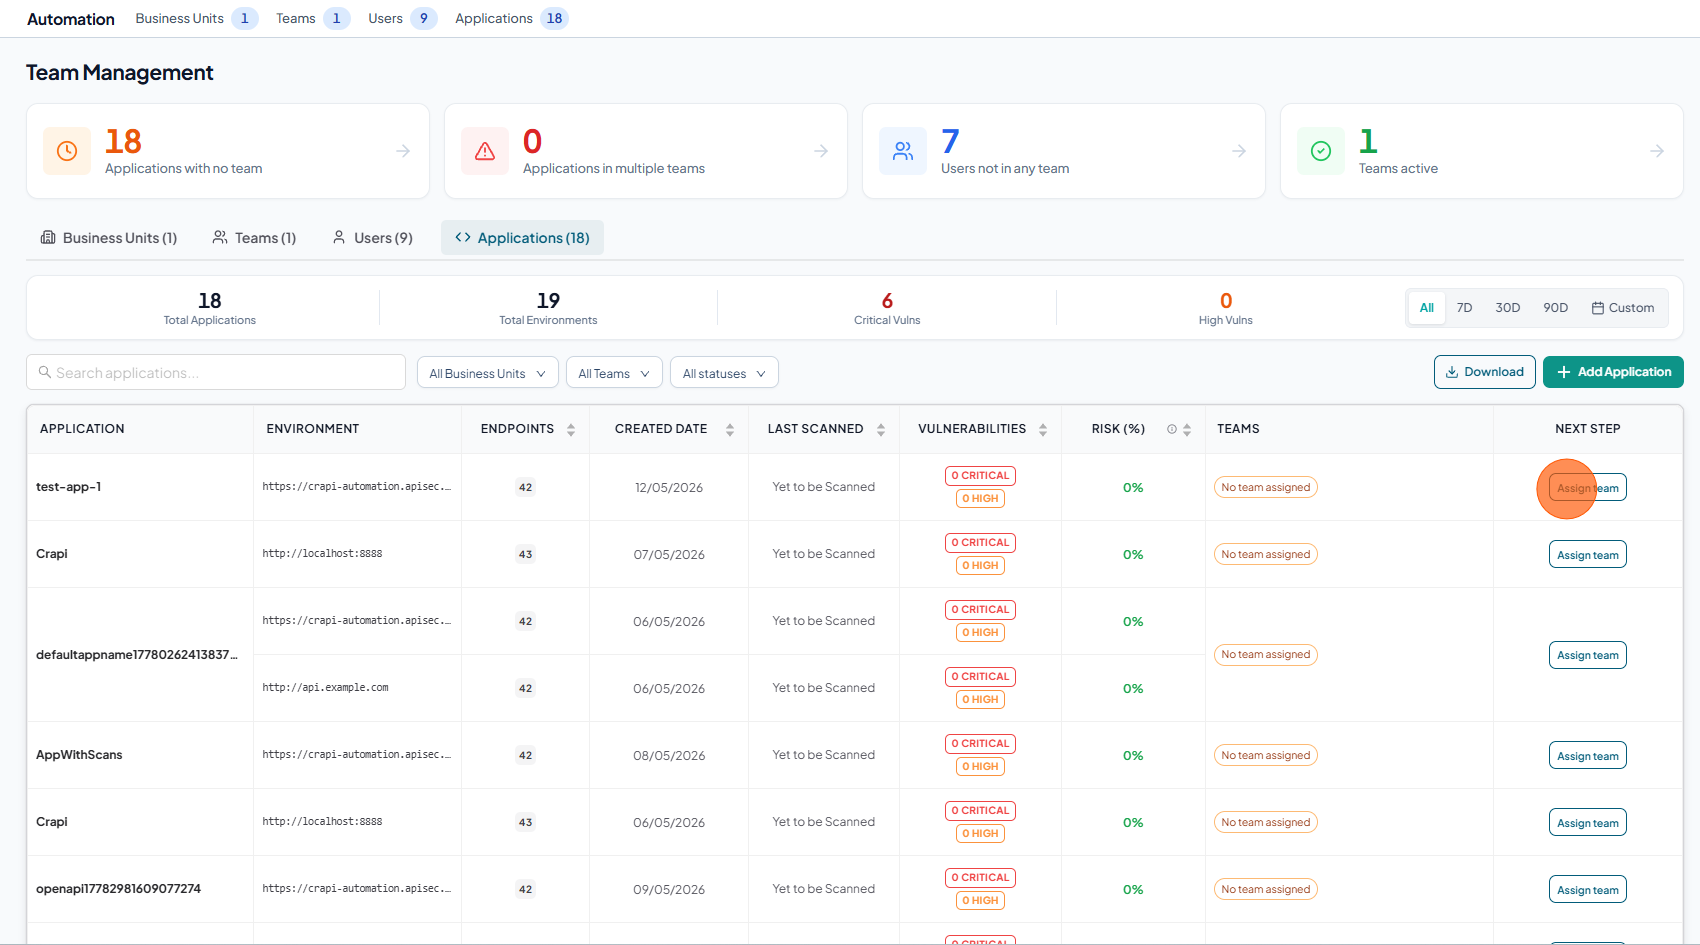
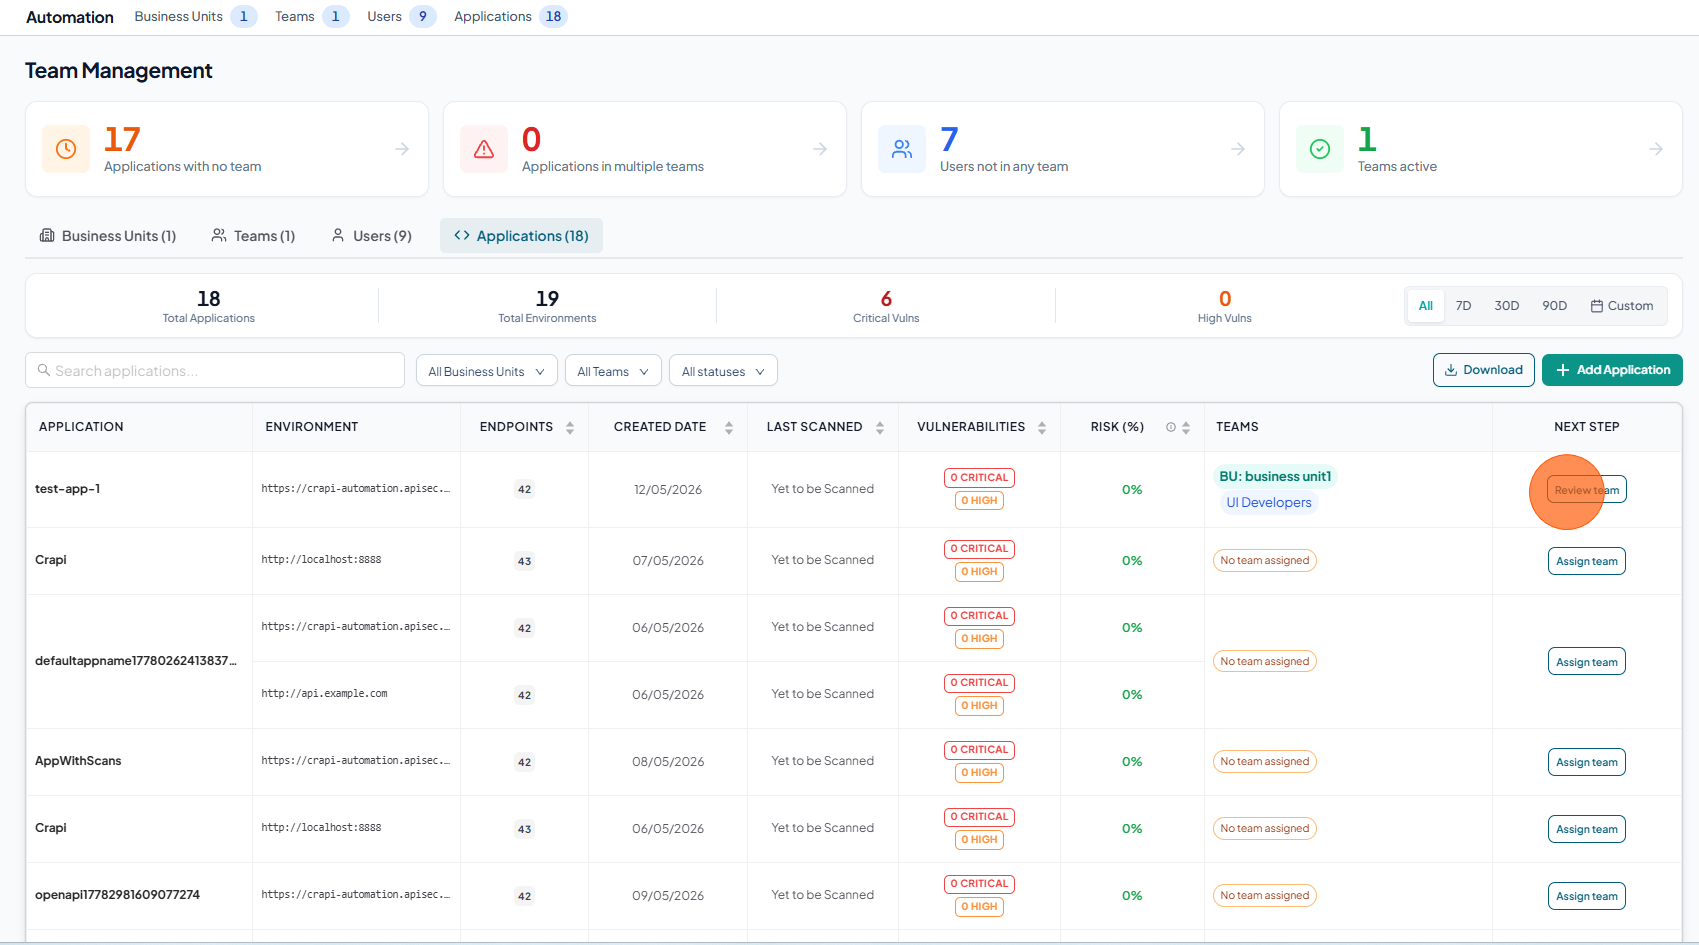
Applications
The Applications tab provides a view of all applications and their associated environments, teams, and scan status.
It allows creating new applications, downloading application data, assigning applications to teams, and removing team associations from applications.
Assign team
-
Click Assign team for the required application.
-
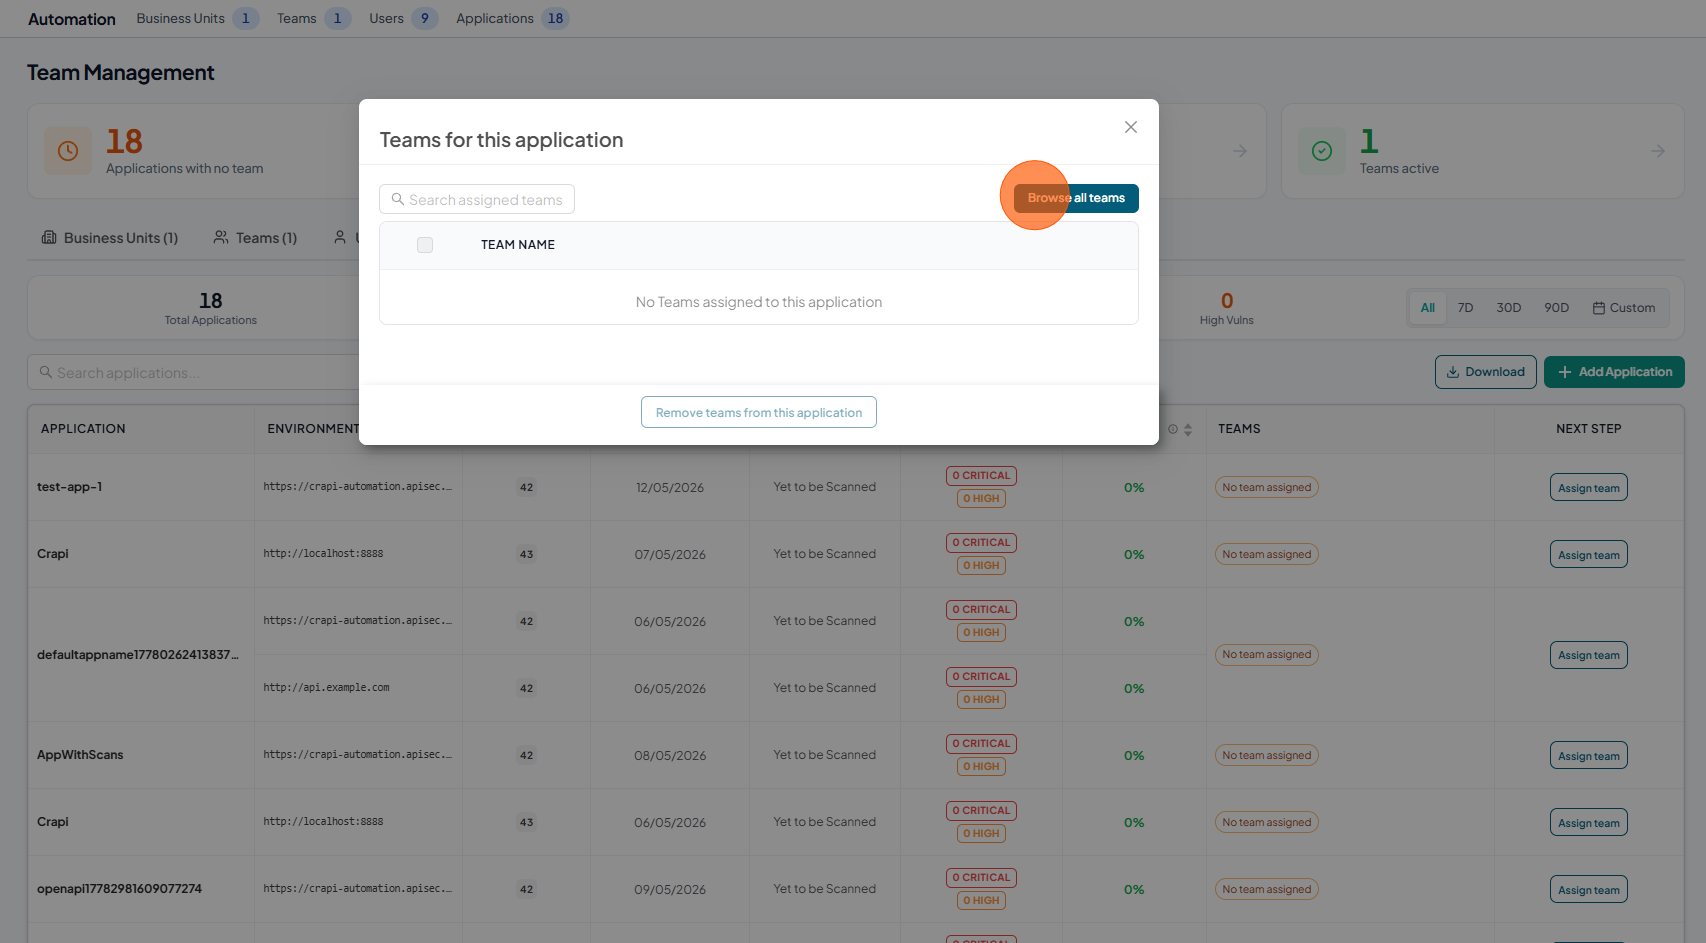
Click Browse all teams
-
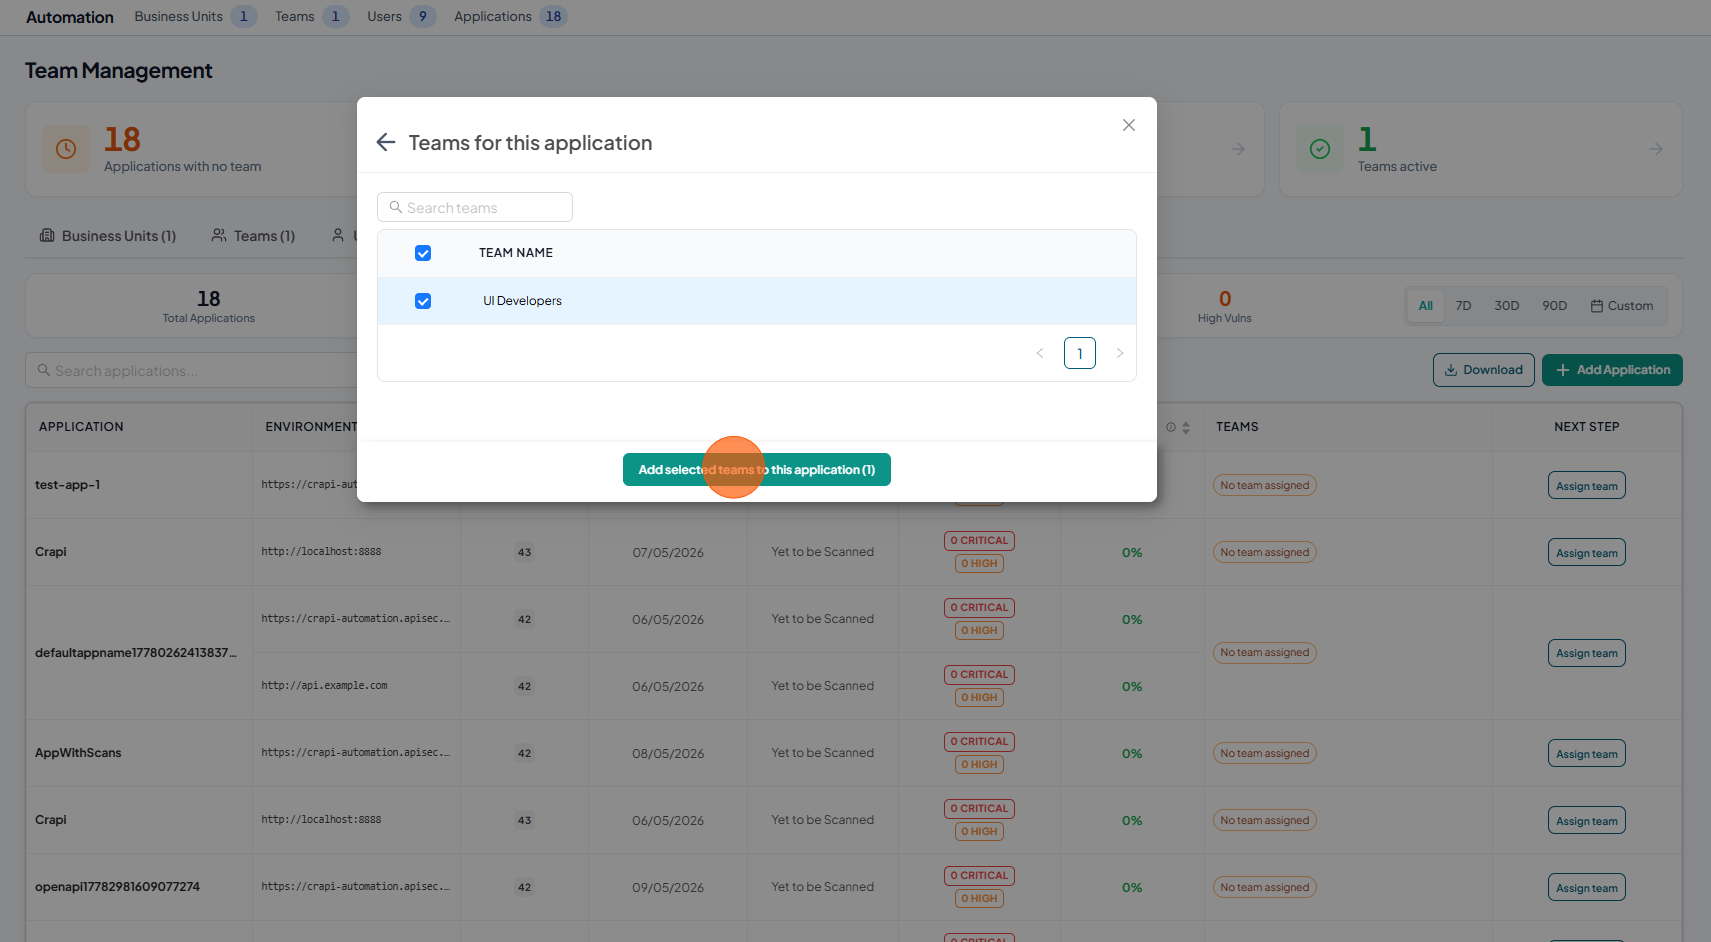
Select Team and Click Add selected teams to this application
-
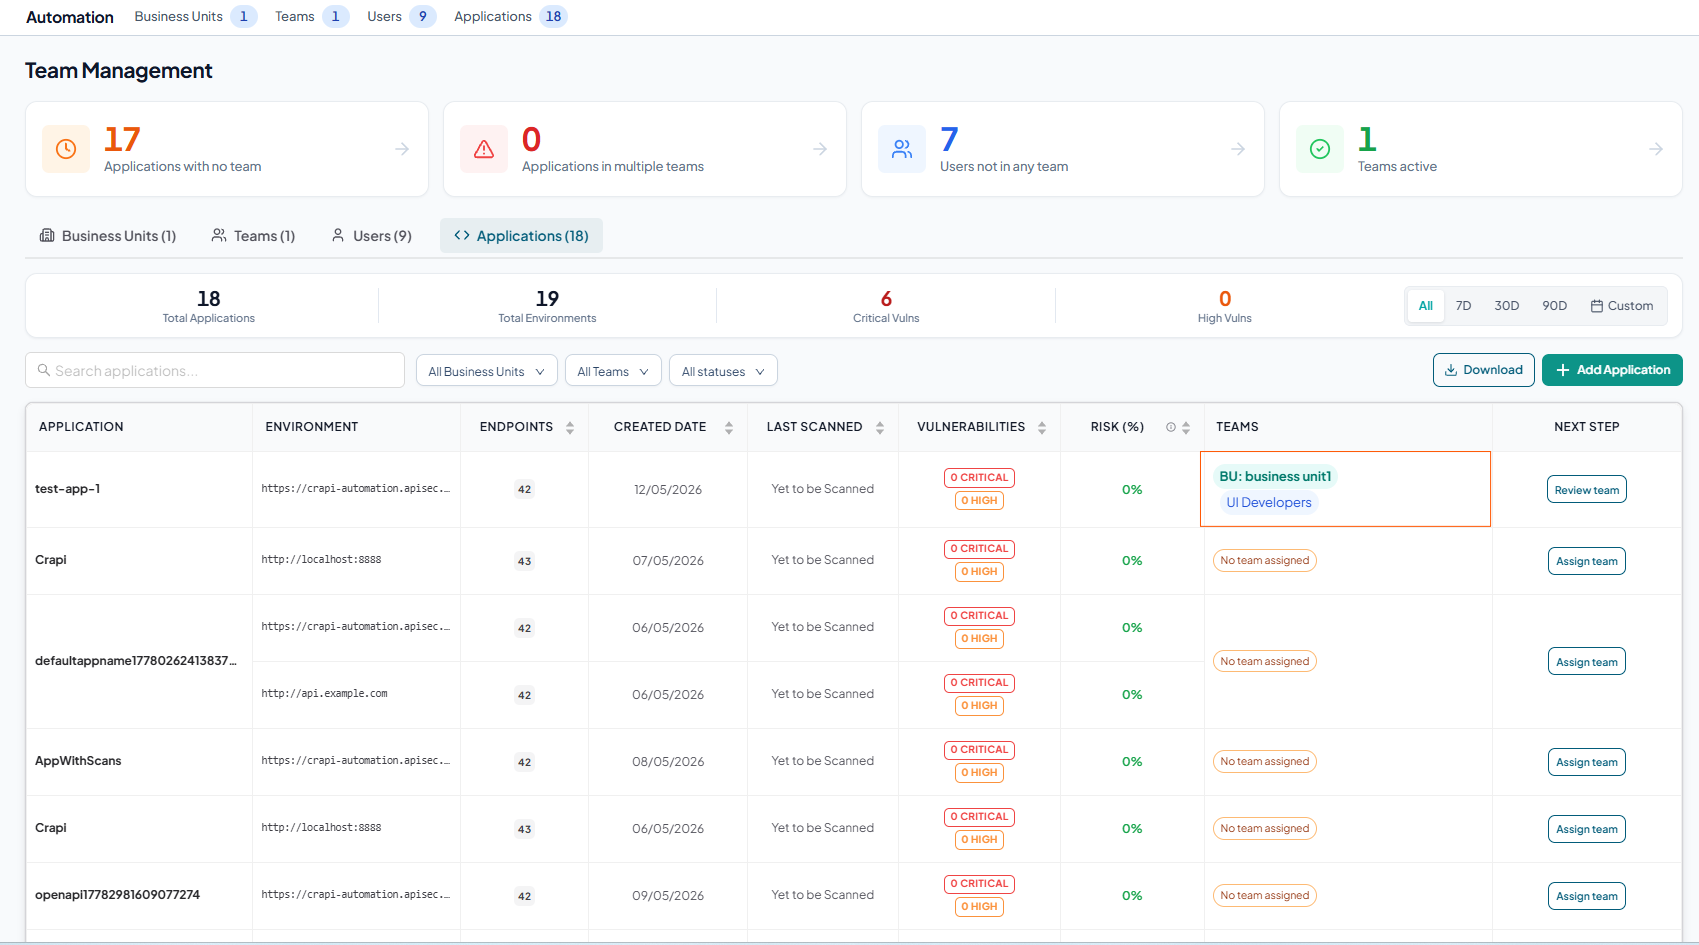
The assigned team is displayed in the Teams column for the corresponding application.
Remove team
-
Click Review team for the required application.
-
Select the team and click Remove teams from this application
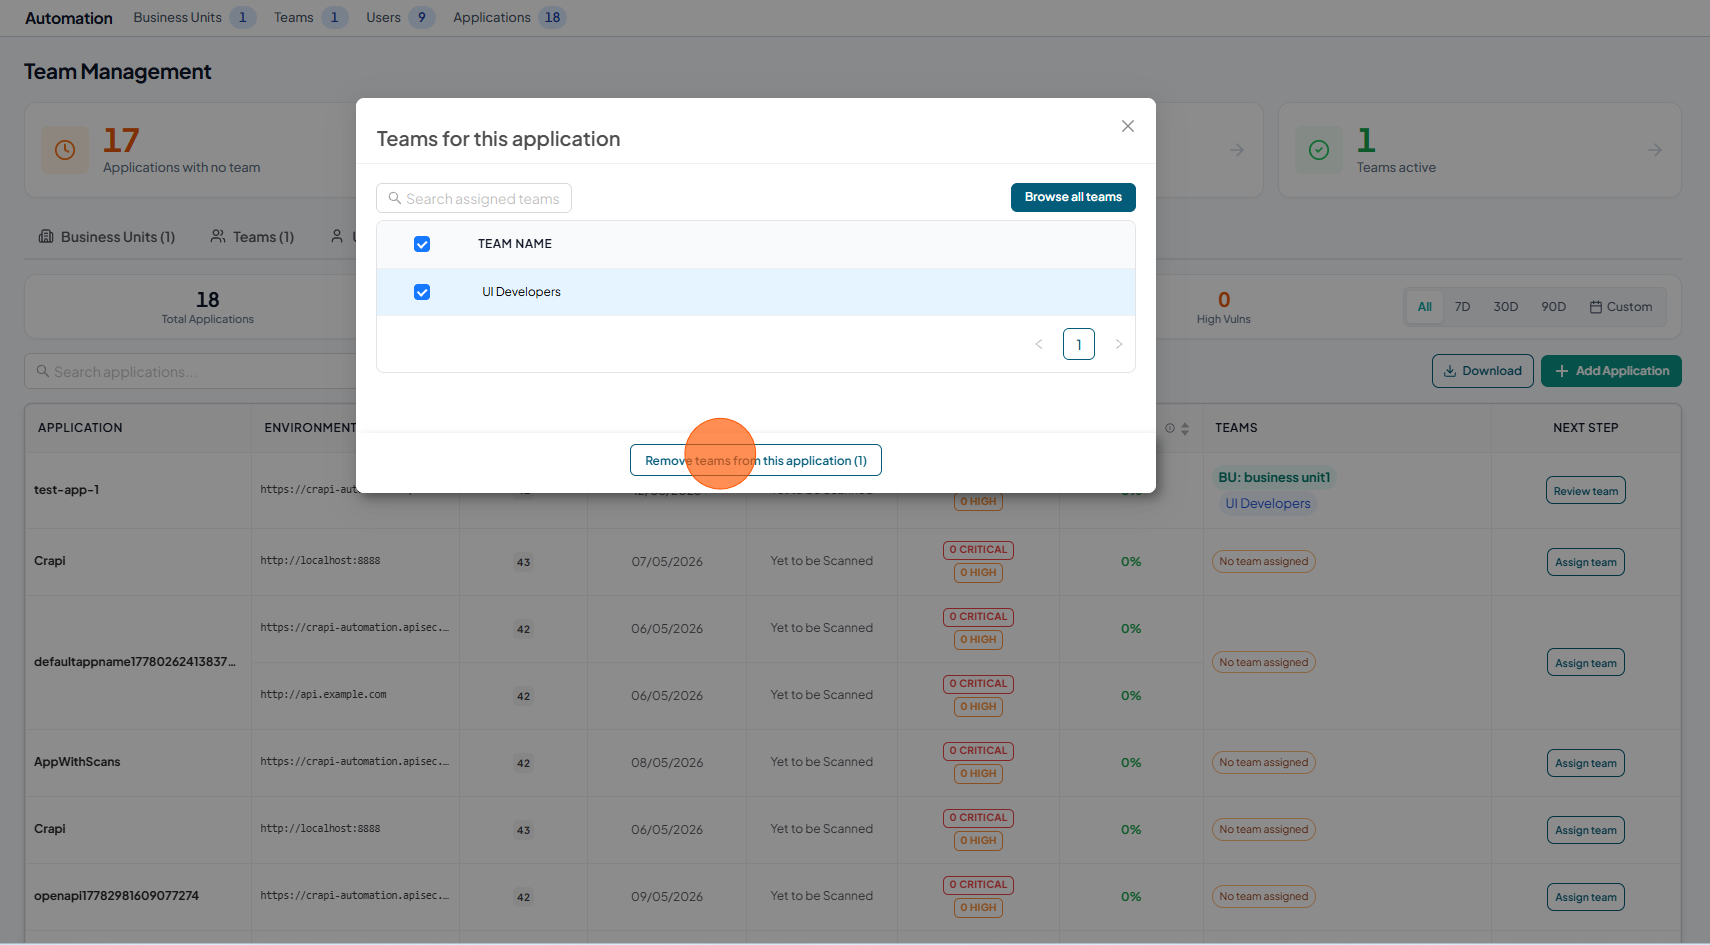
-
After removal, the Teams column displays No team assigned.