Scan Profiles
Overview
The scan profile feature makes it easy to create and manage reusable profiles to create scans. These scan profiles can be used when initiating ad-hoc or scheduled scans, allowing you to configure scans using the scan profiles created.
Add Scan Profile
-
Open your browser and visit: https://<your-tenant>.apisecapps.com
-
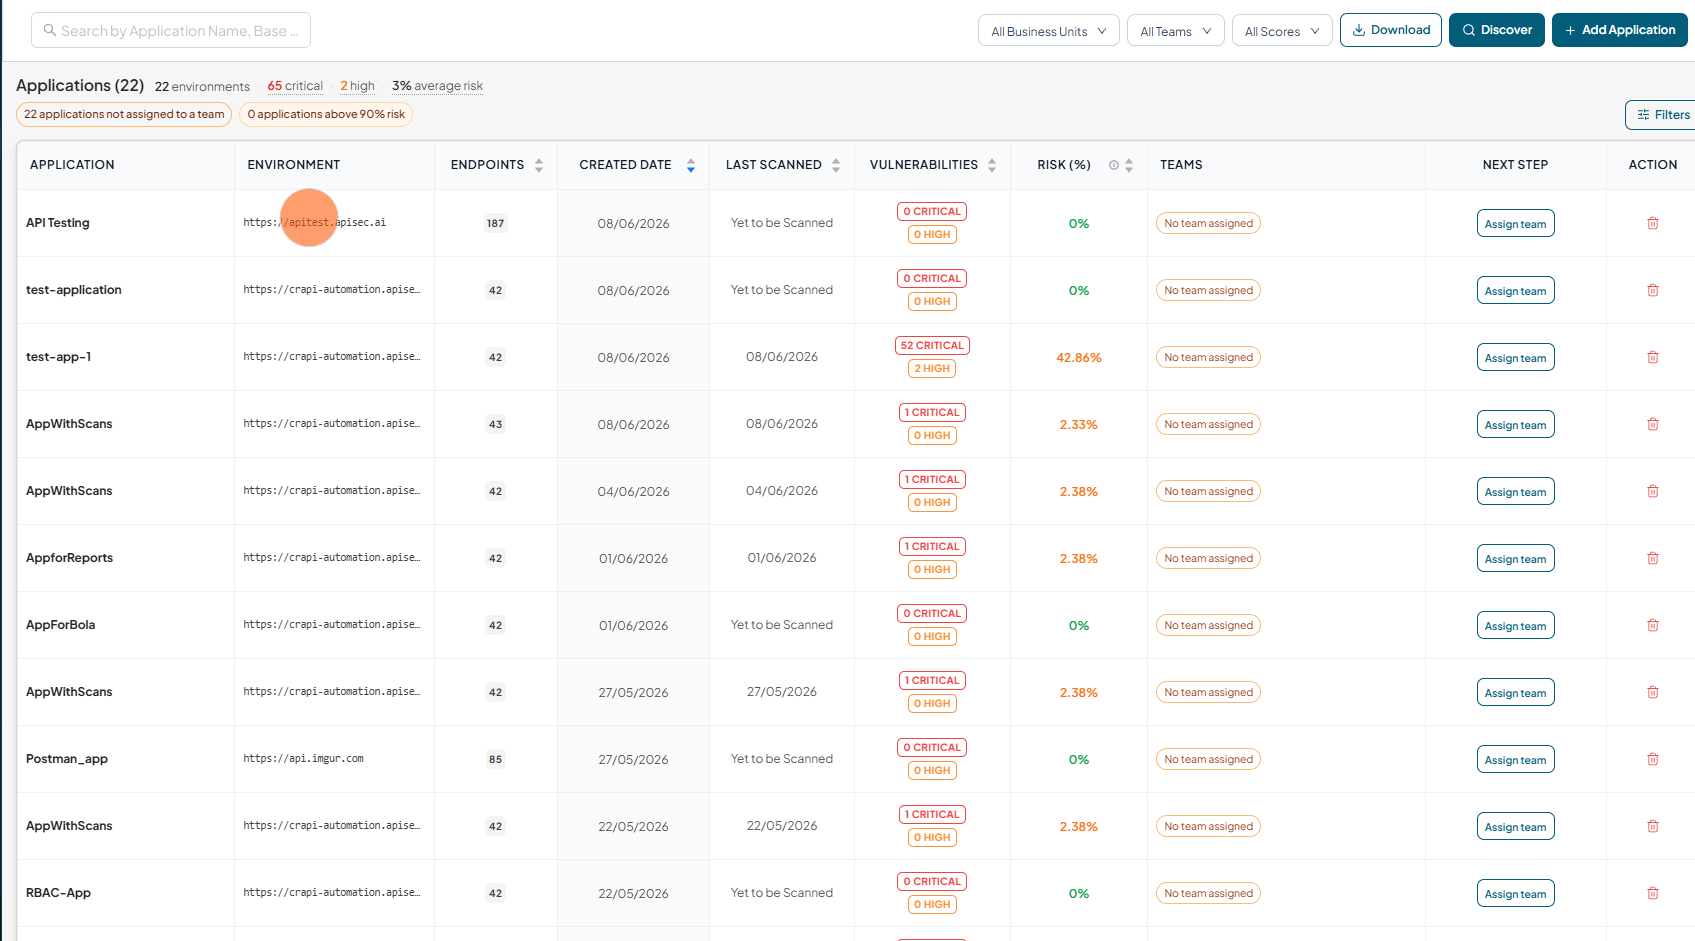
Click the required application.
-
Click the Scan Profiles from the left navigation
-
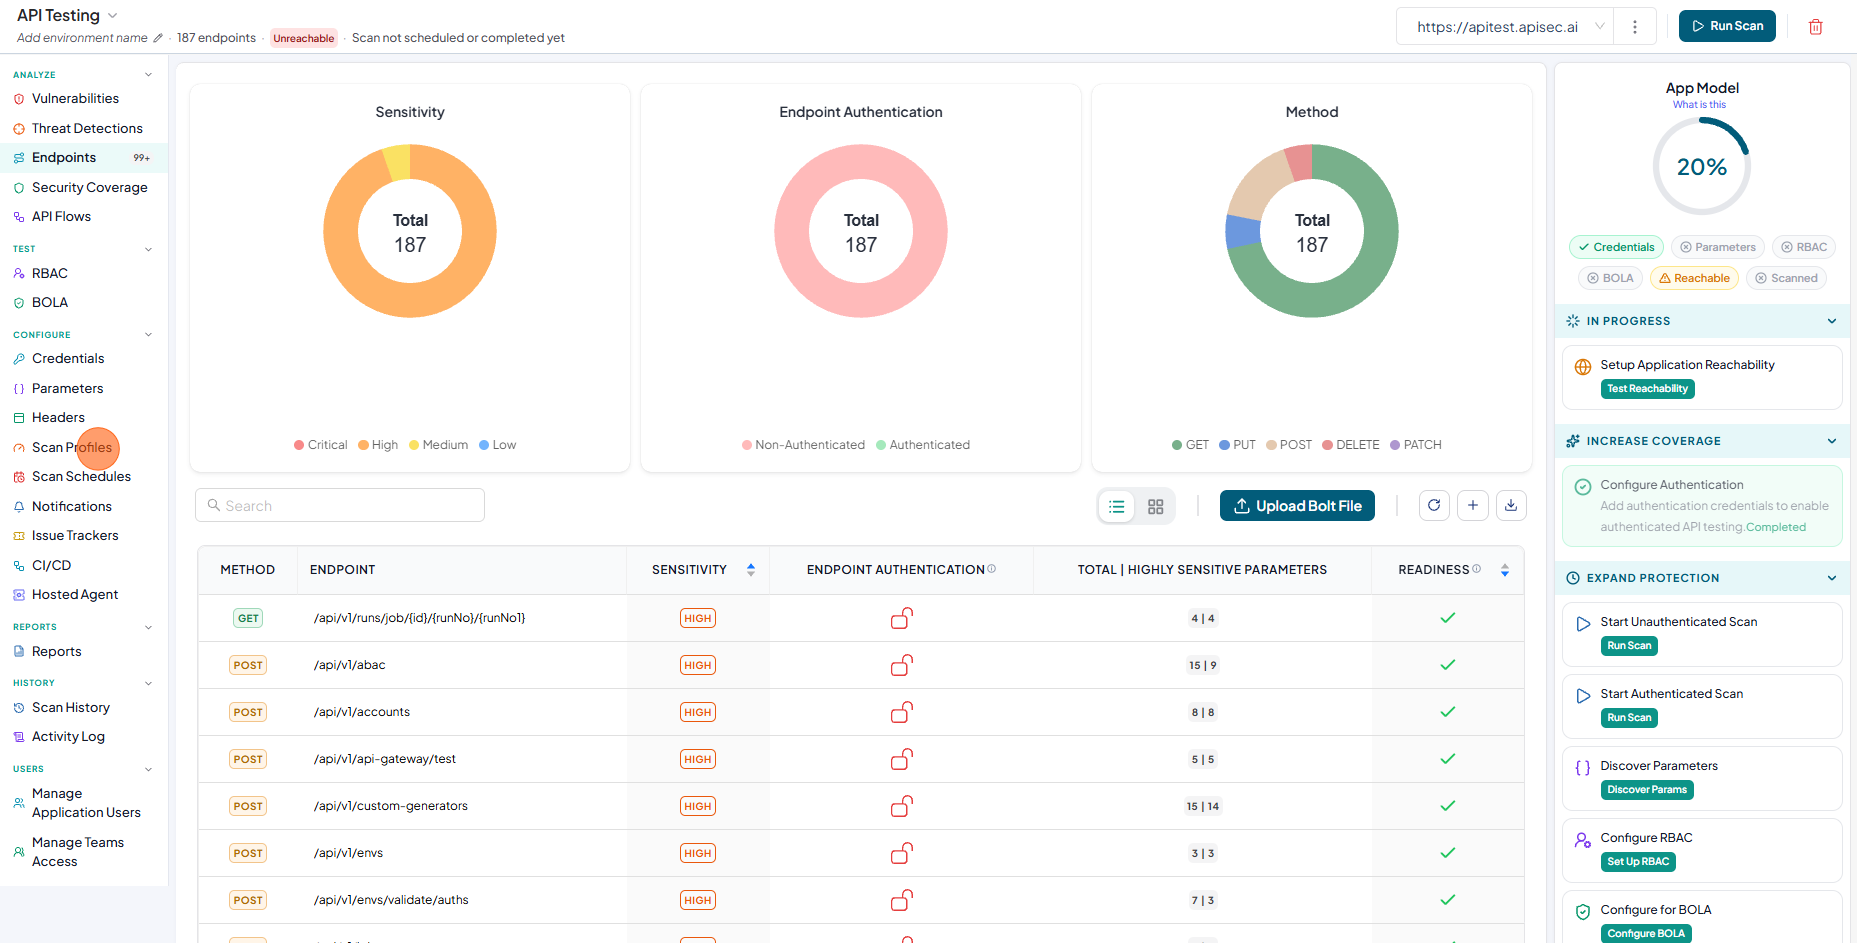
Now you will see the Scan Profile screen. Click on Add Scan Profile button
-
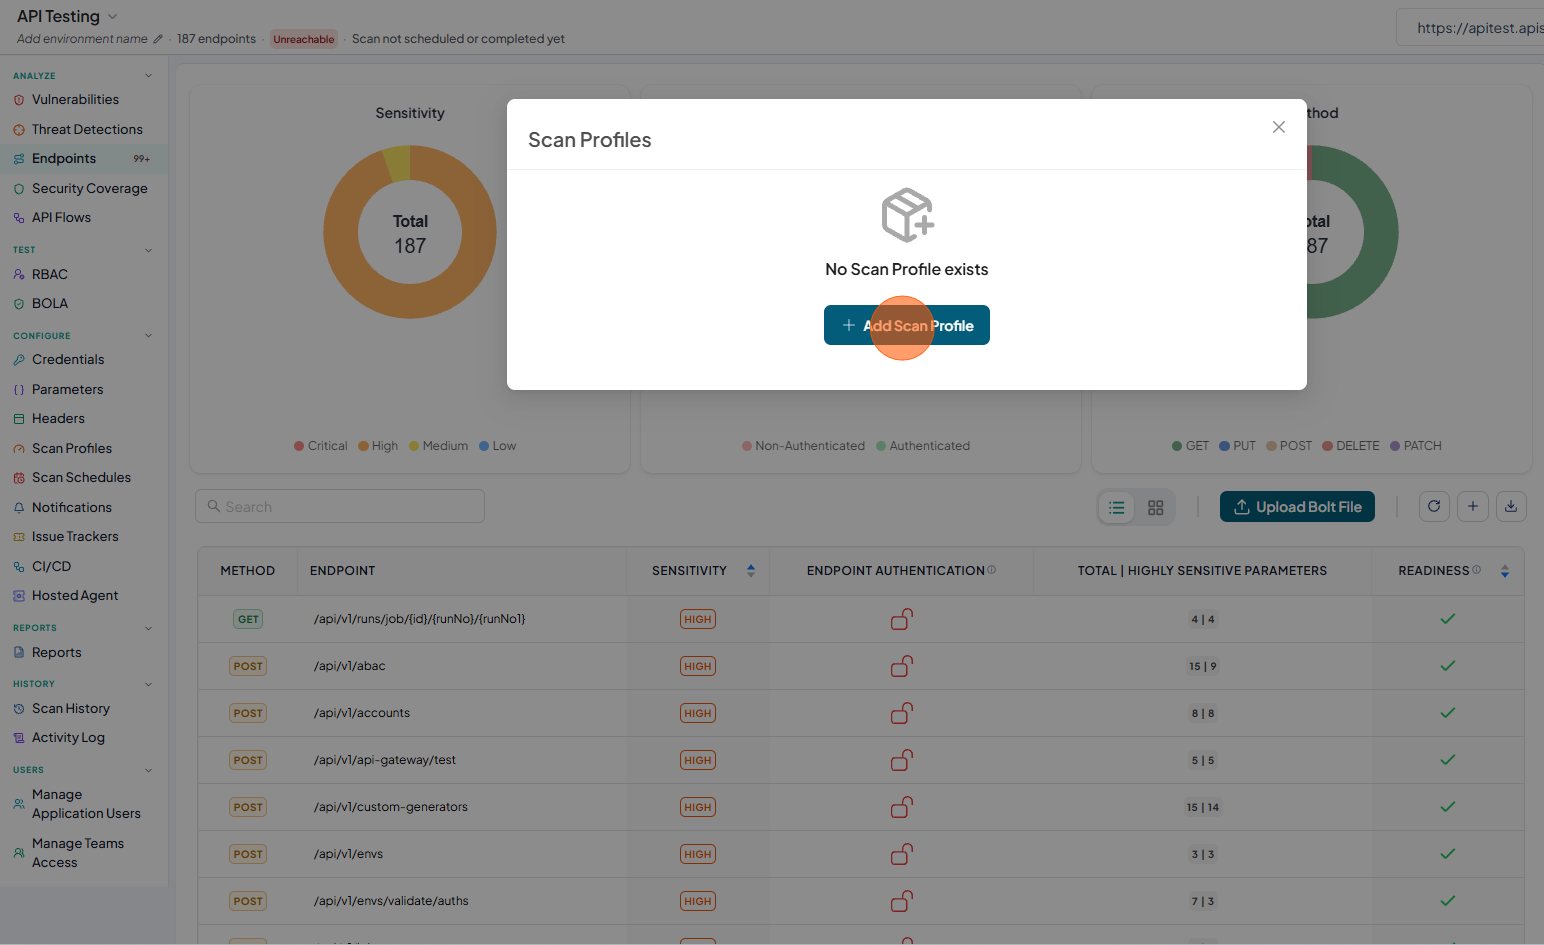
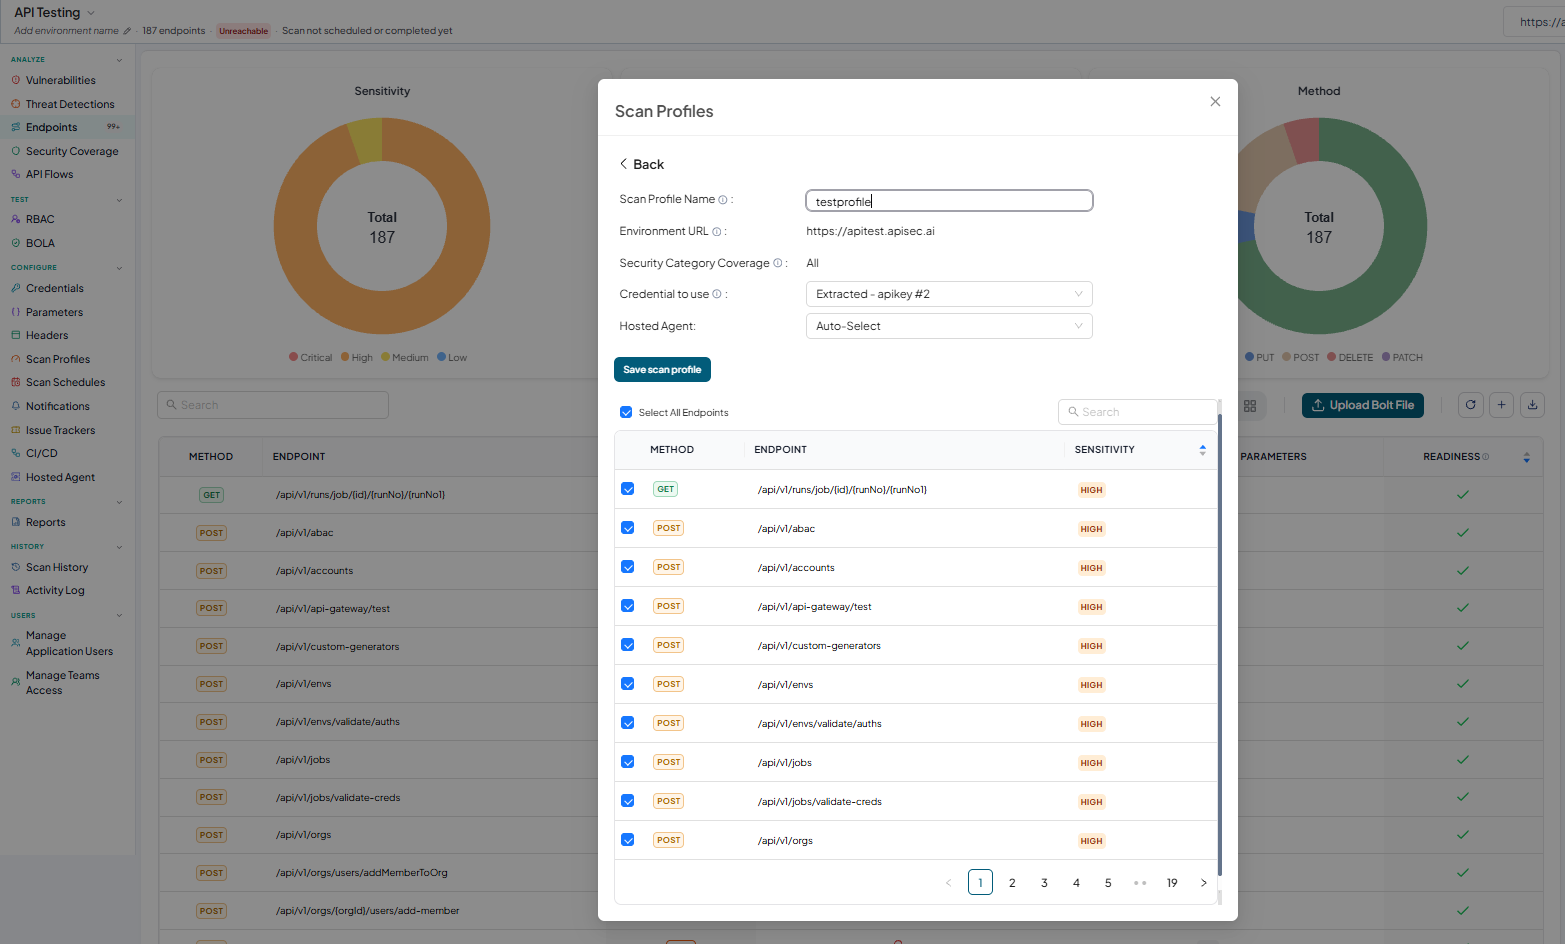
Now you will see the Scan Profile screen with various options.
-
Fill the Scan Profile Name.
-
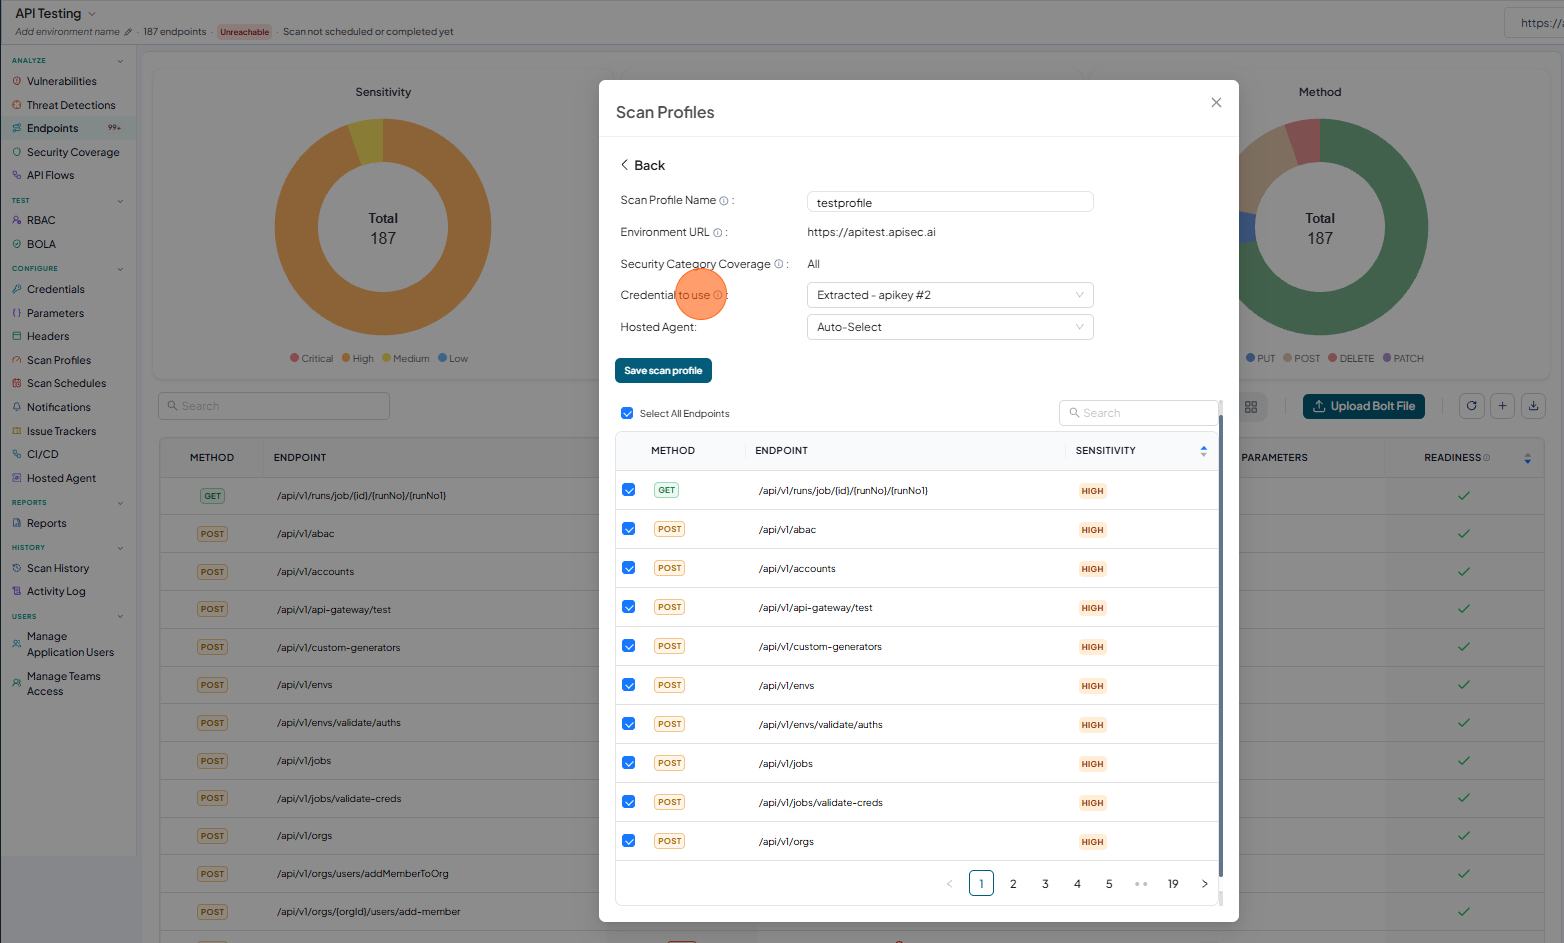
Credential to use will help us in choosing desired authentication from the list of authentications.
-
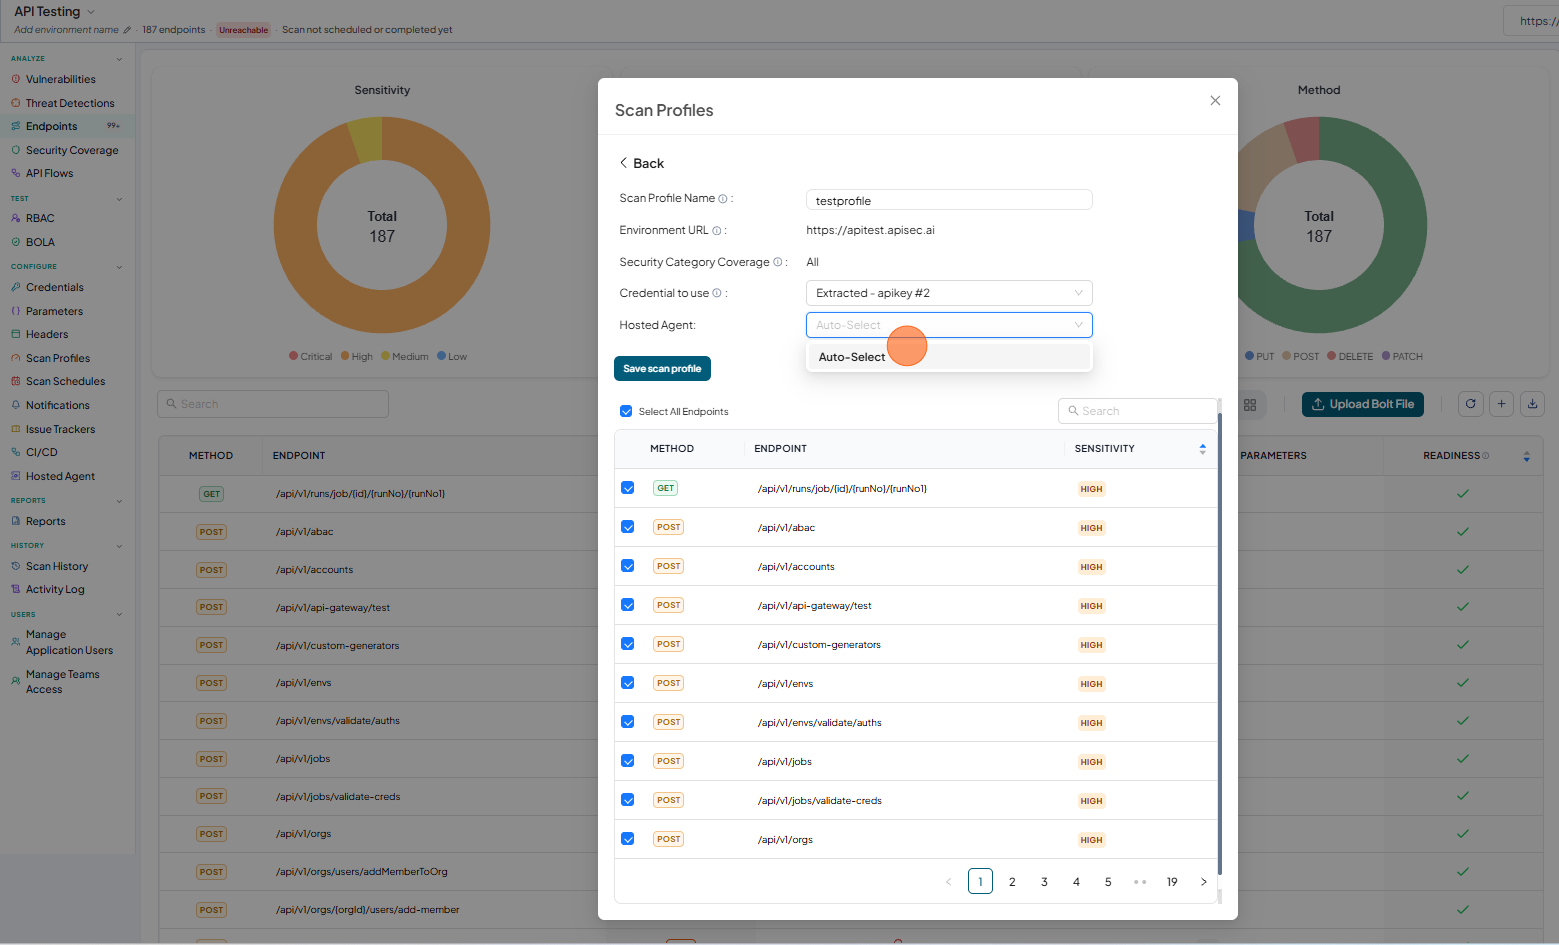
Hosted Agent will let us choose the agent to run our scan.
-
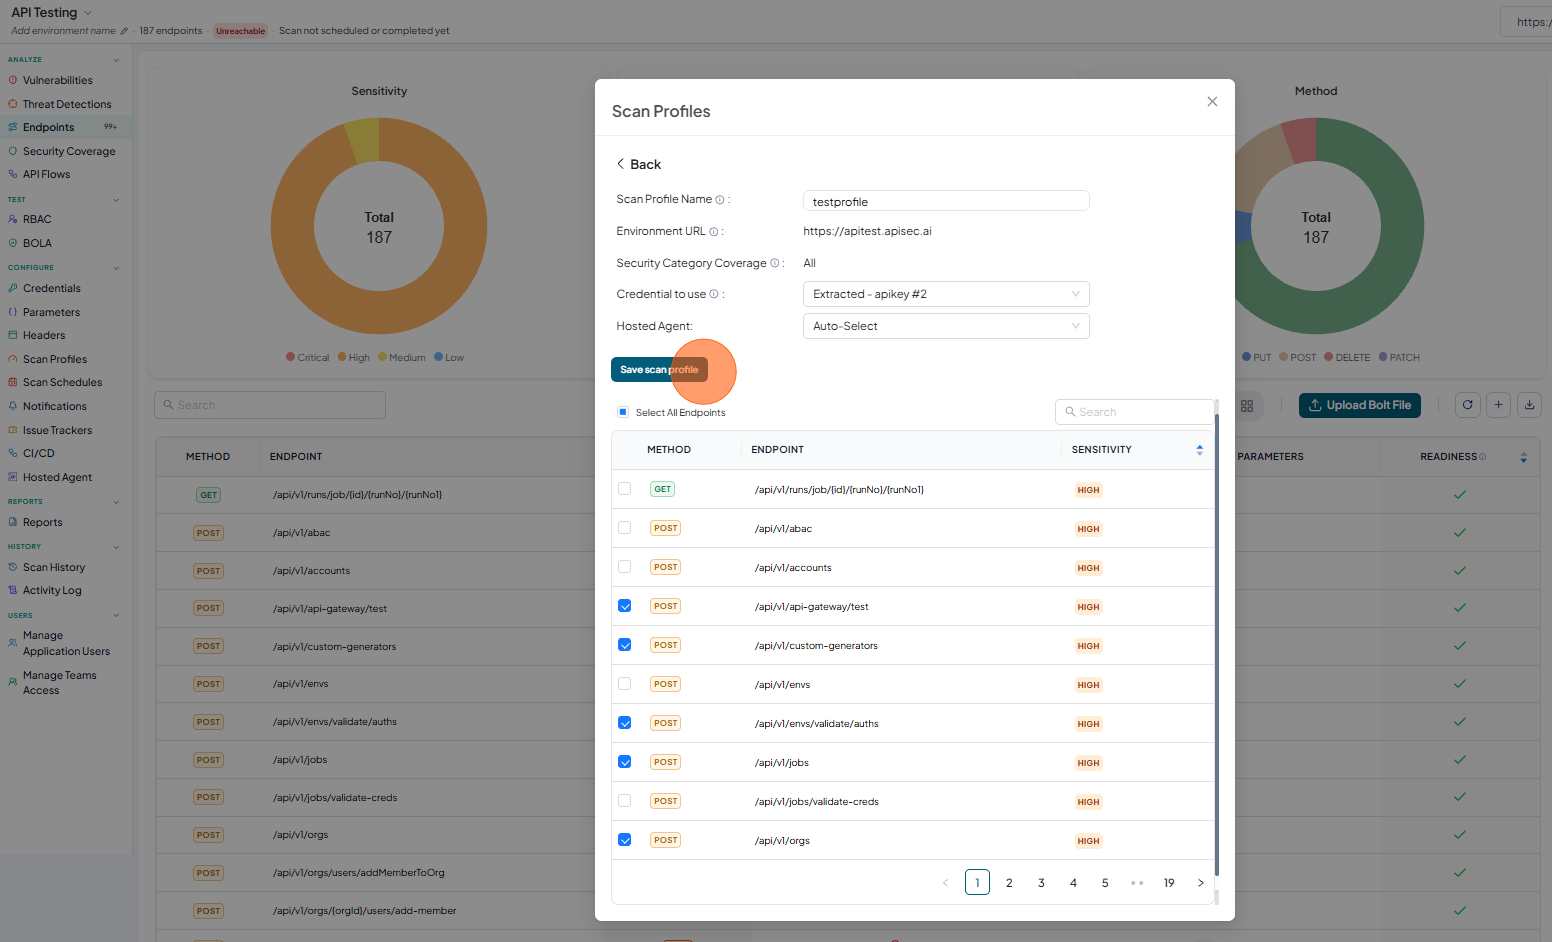
From the list of endpoints, you can select either all endpoints or specific ones to include in the scan profile.

-
Now click on Save scan profile button
-
Now you will see the list of Scan profiles
Users with View permissions cannot add scan profile in shared application
Edit Scan Profile
-
Open your browser and visit: https://<your-tenant>.apisecapps.com
-
Click the required application.
-
Click the Scan Profiles from the left navigation
-
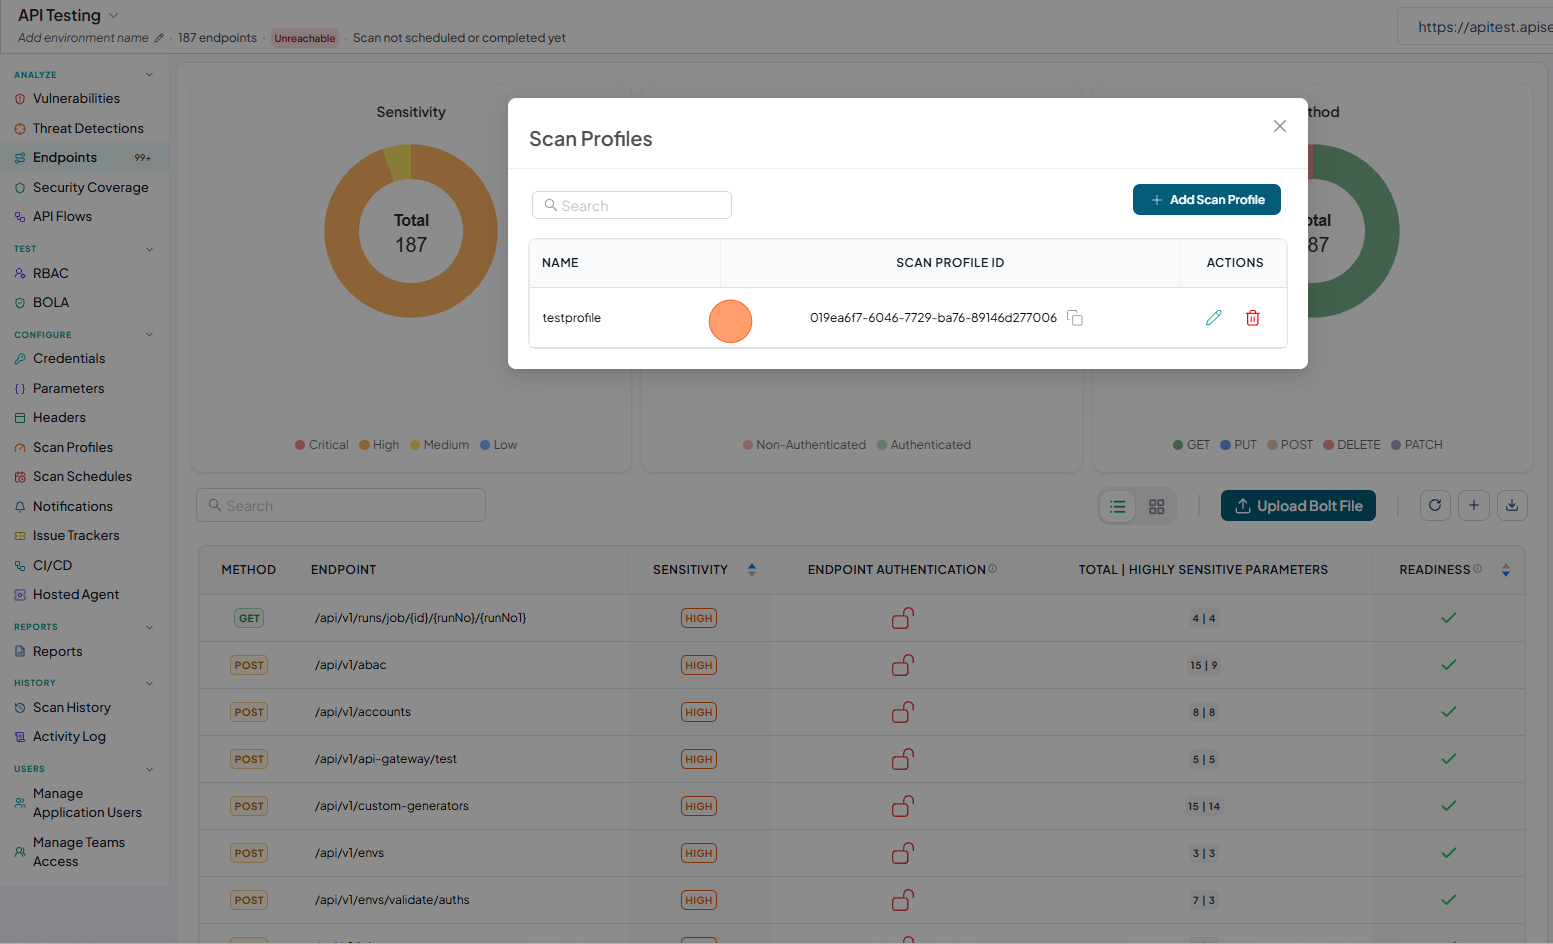
Now you will see a list of Scan Profiles.
-
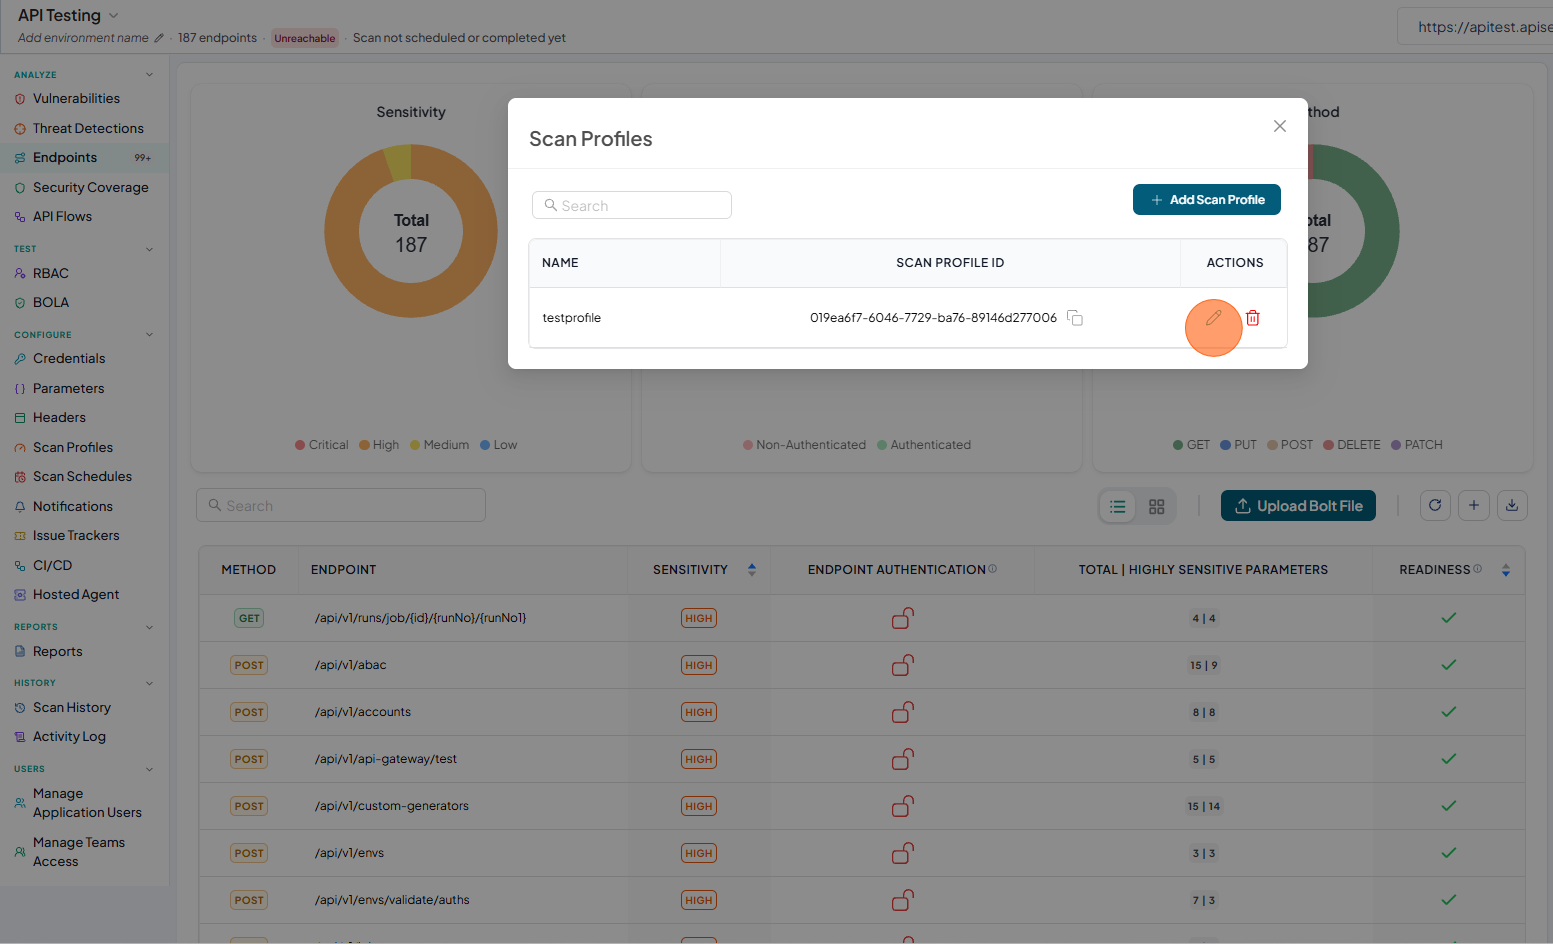
Click on the Pencil icon next to desired scan profile to edit.
-
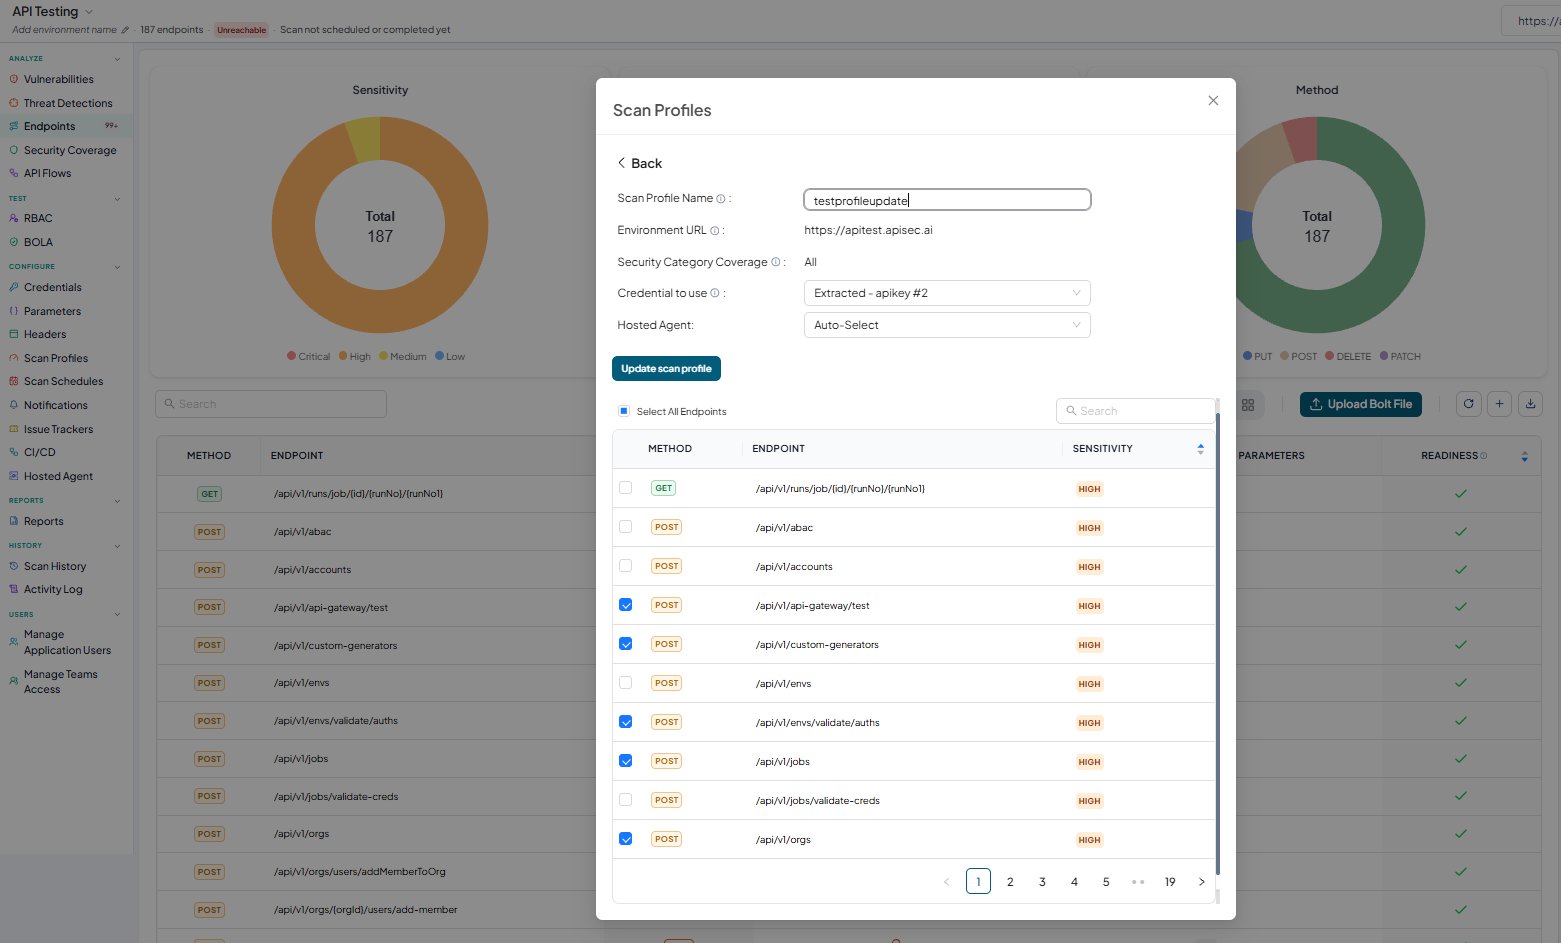
Now you will see the scan profile screen with all the details. Here you can update the required fields and click on Update scan profile
-
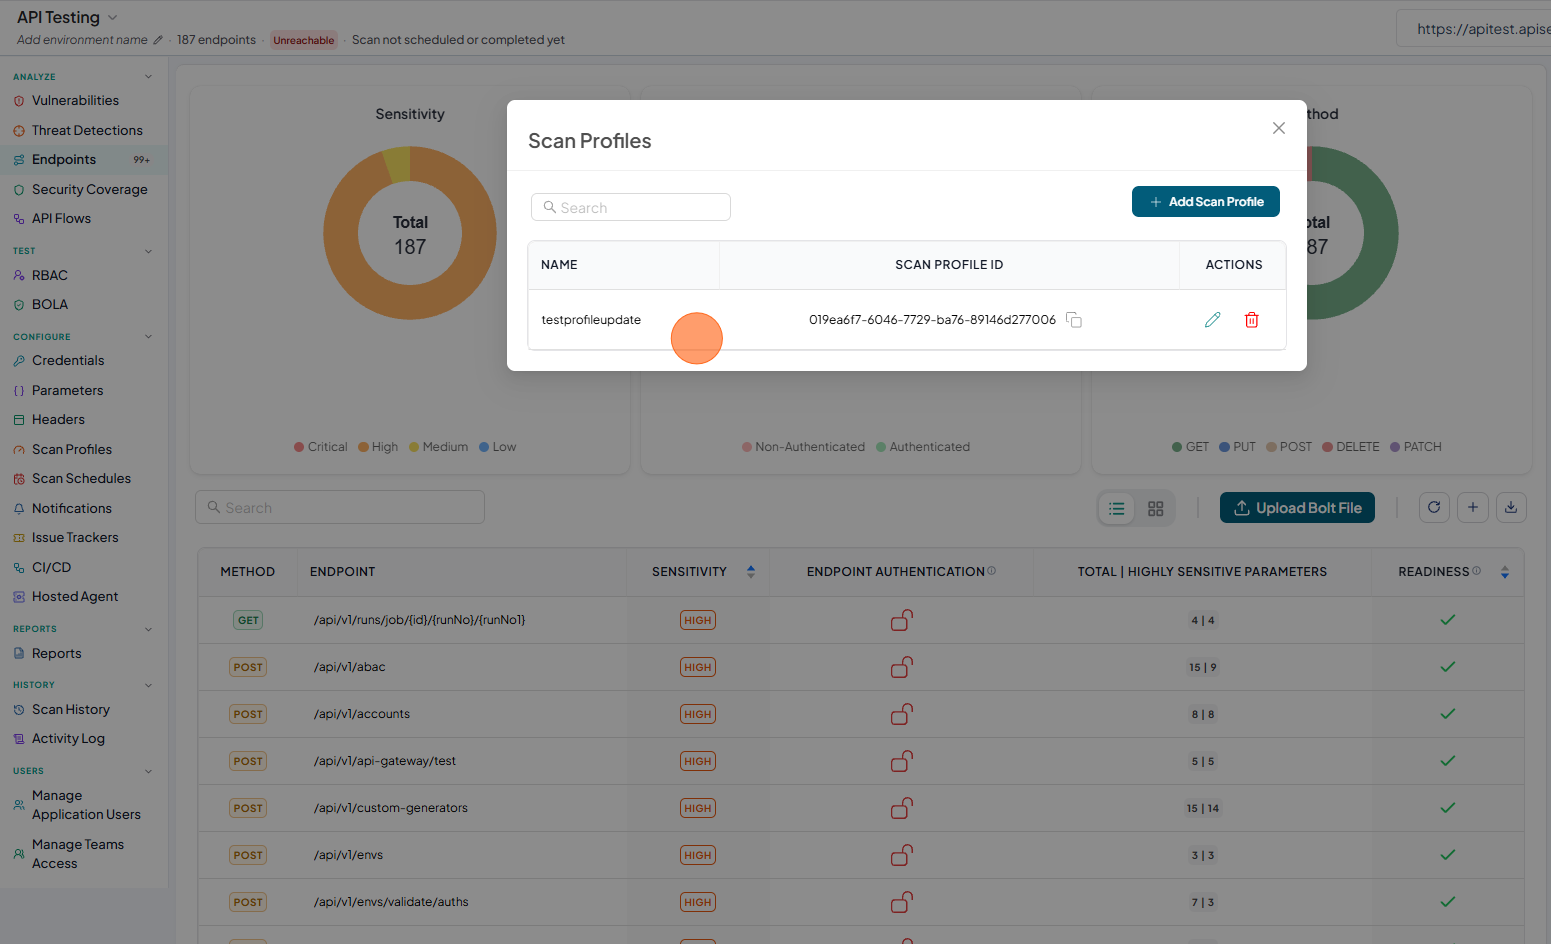
Now you will see the list of Scan profiles after update
Users with View permissions cannot edit scan profile in shared application
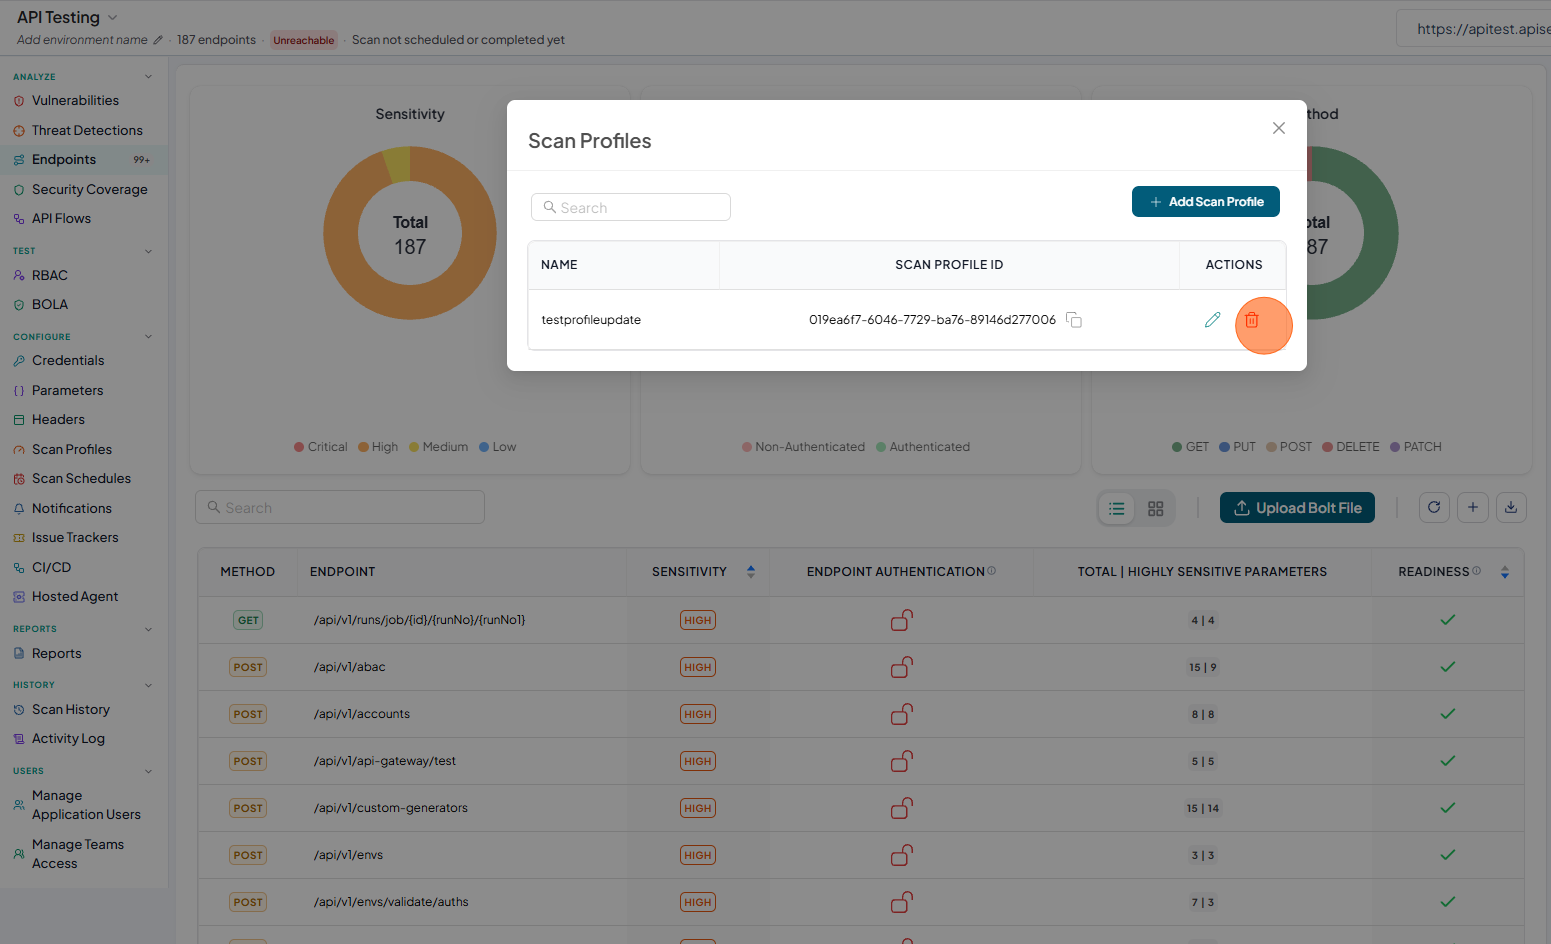
Delete Scan Profile
-
Open your browser and visit: https://<your-tenant>.apisecapps.com
-
Click the required application.
-
Click the Scan Profiles from the left navigation
-
Now you will see a list of Scan Profiles.
-
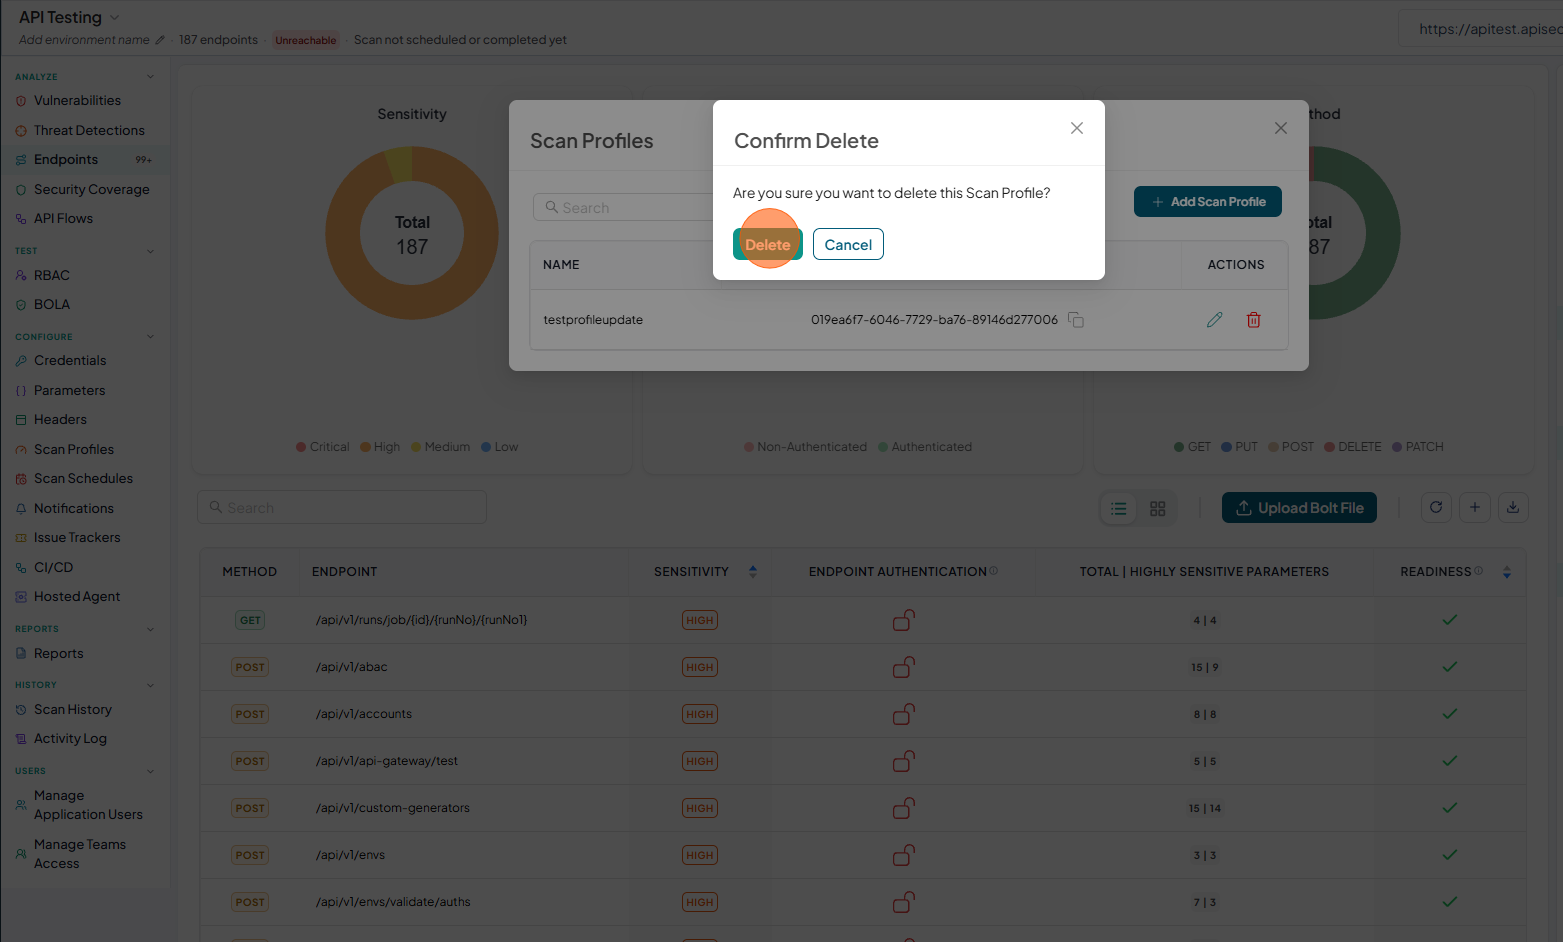
From the list, click the Delete icon corresponding to the scan profile to delete it.
-
Click Delete to confirm
 note
noteUsers with View permissions cannot delete scan profile in shared application