Reachability flow via Hosted Agent
Create Application
-
Open your browser and visit: https://<your-tenant>.apisecapps.com
-
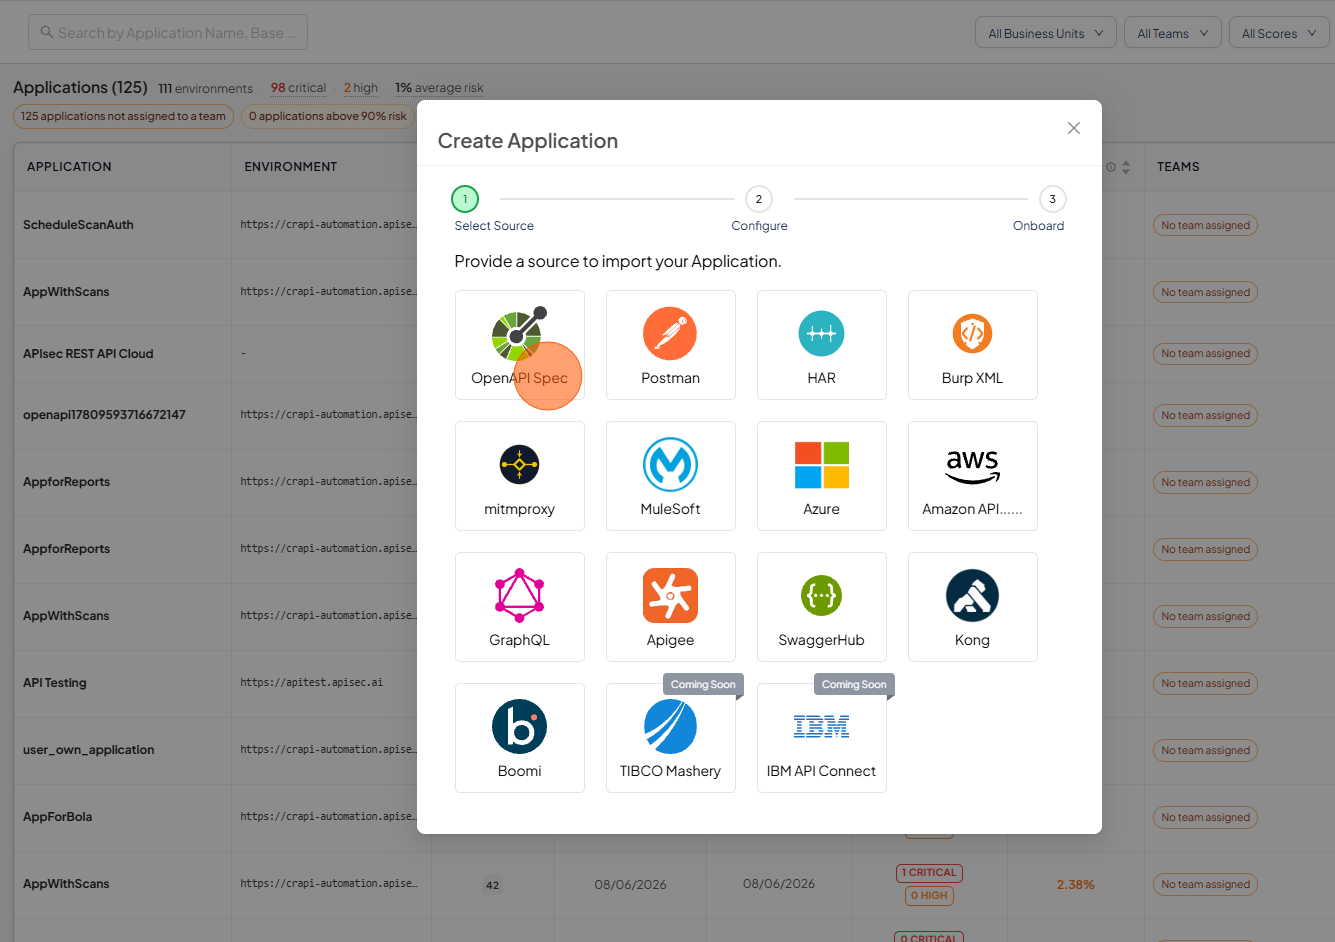
Click on Add Application

-
Select "OpenAPI Spec"
-
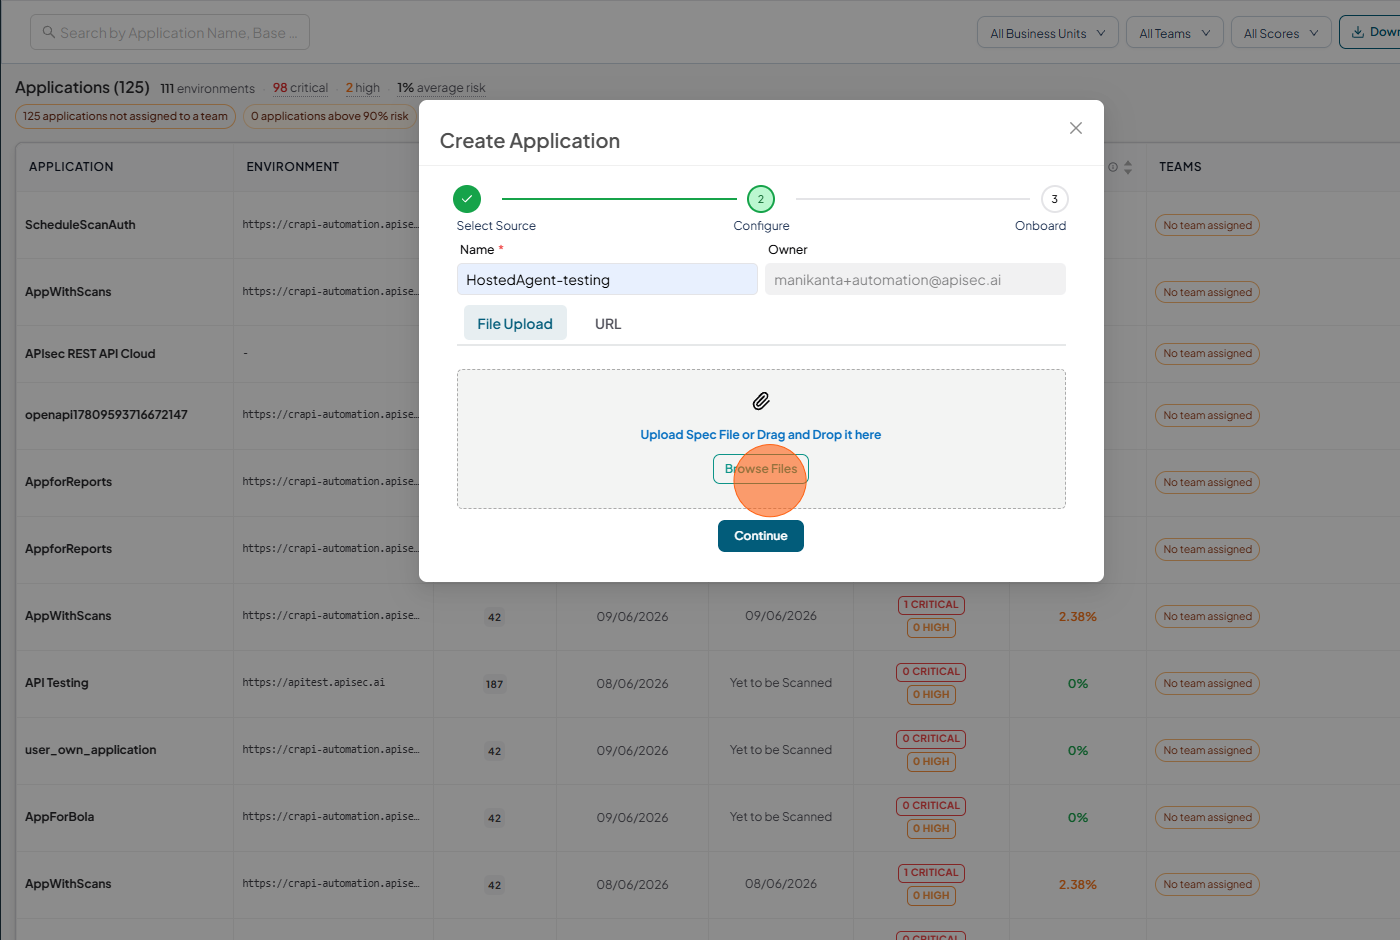
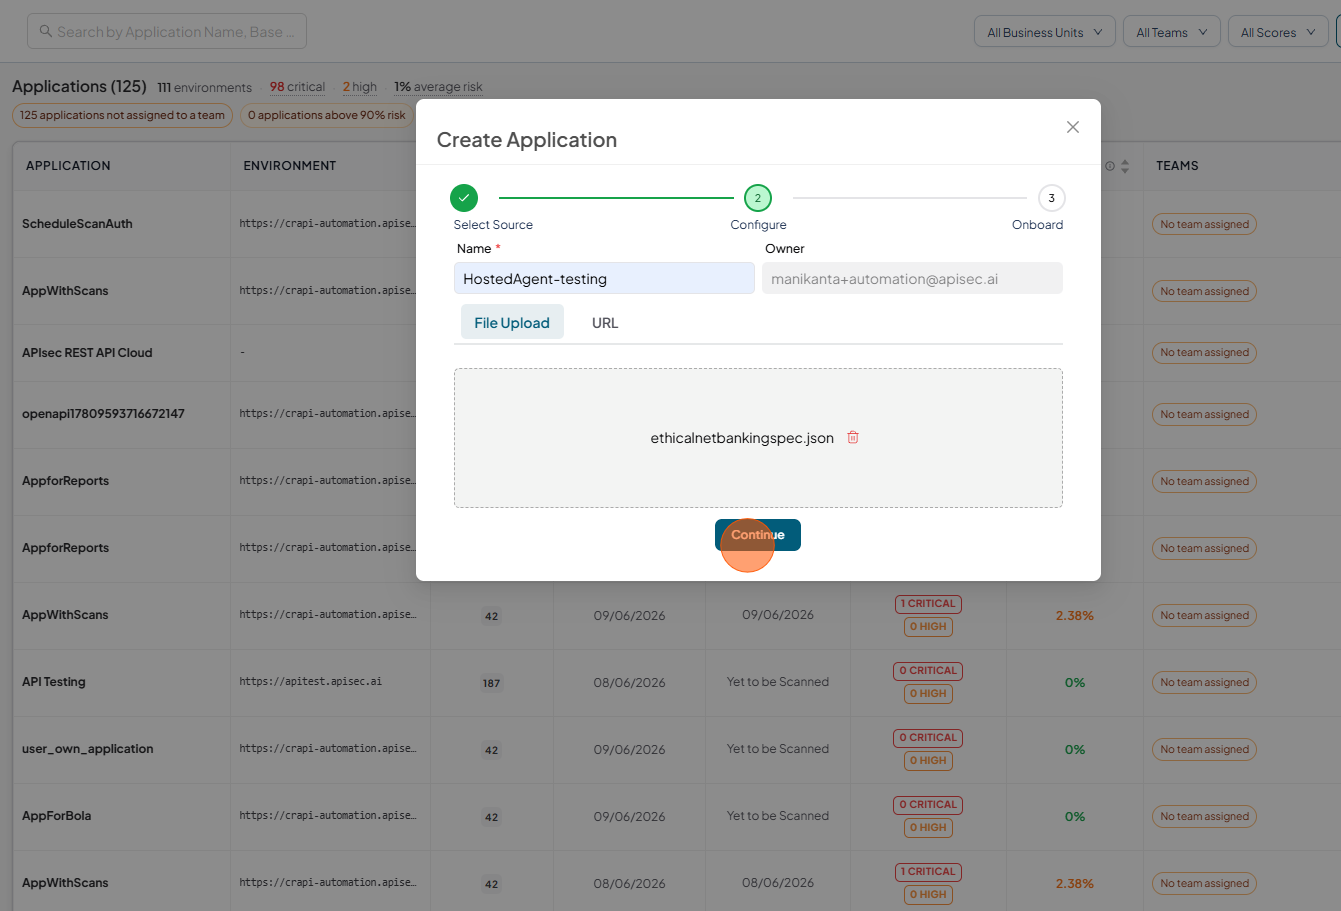
Enter the Name for the application and click on Browse Files and upload the document.
-
Next Click Continue button to create the application.
-
Click Onboard
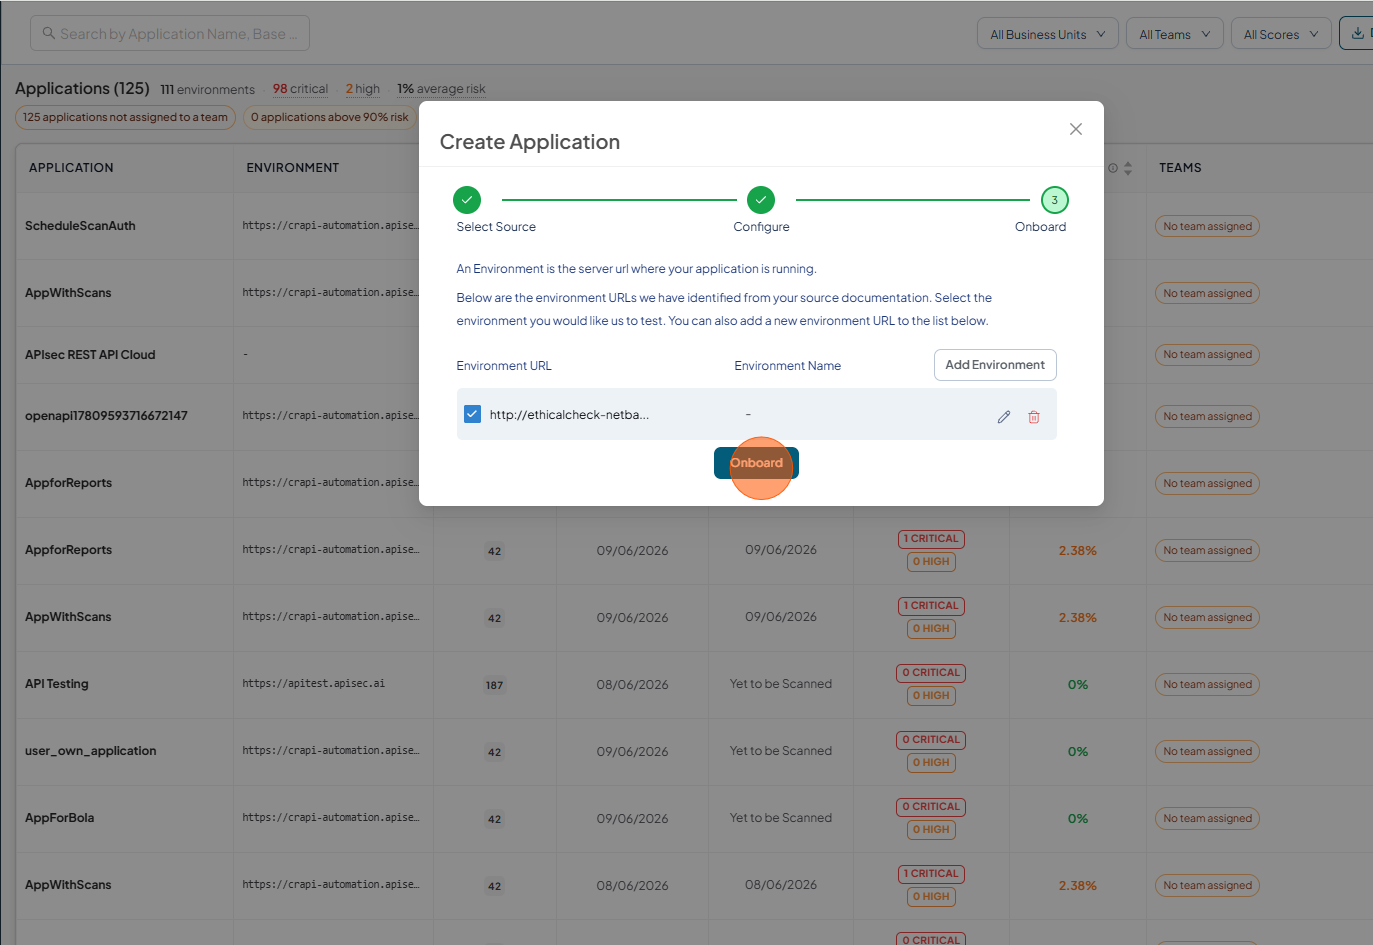
-
Now you can see the application creation process.
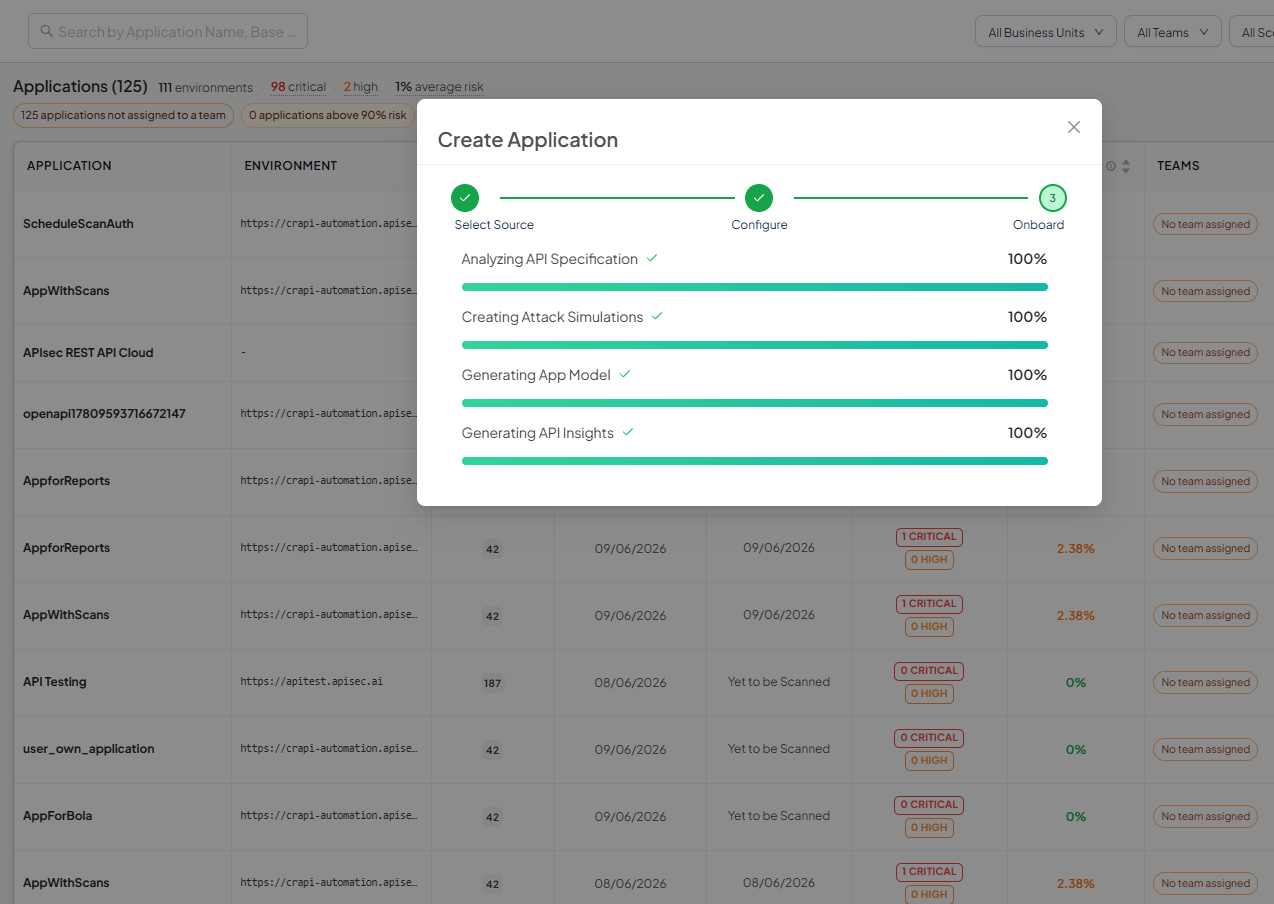
-
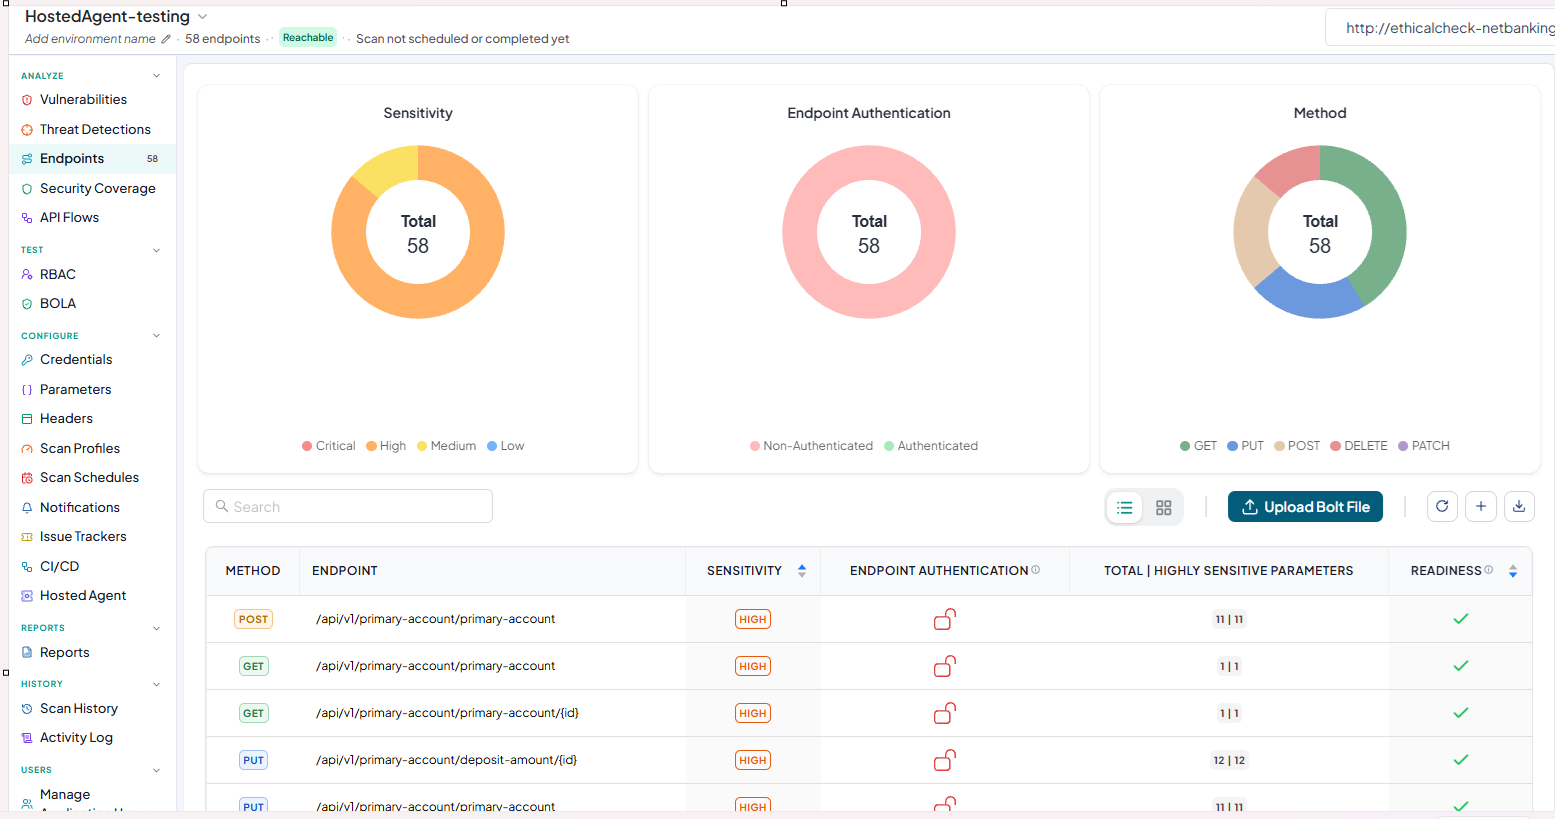
Once application is created, check the reachability status of the instance URL, there you can see it as "Unreachable" because it is behind the firewall.
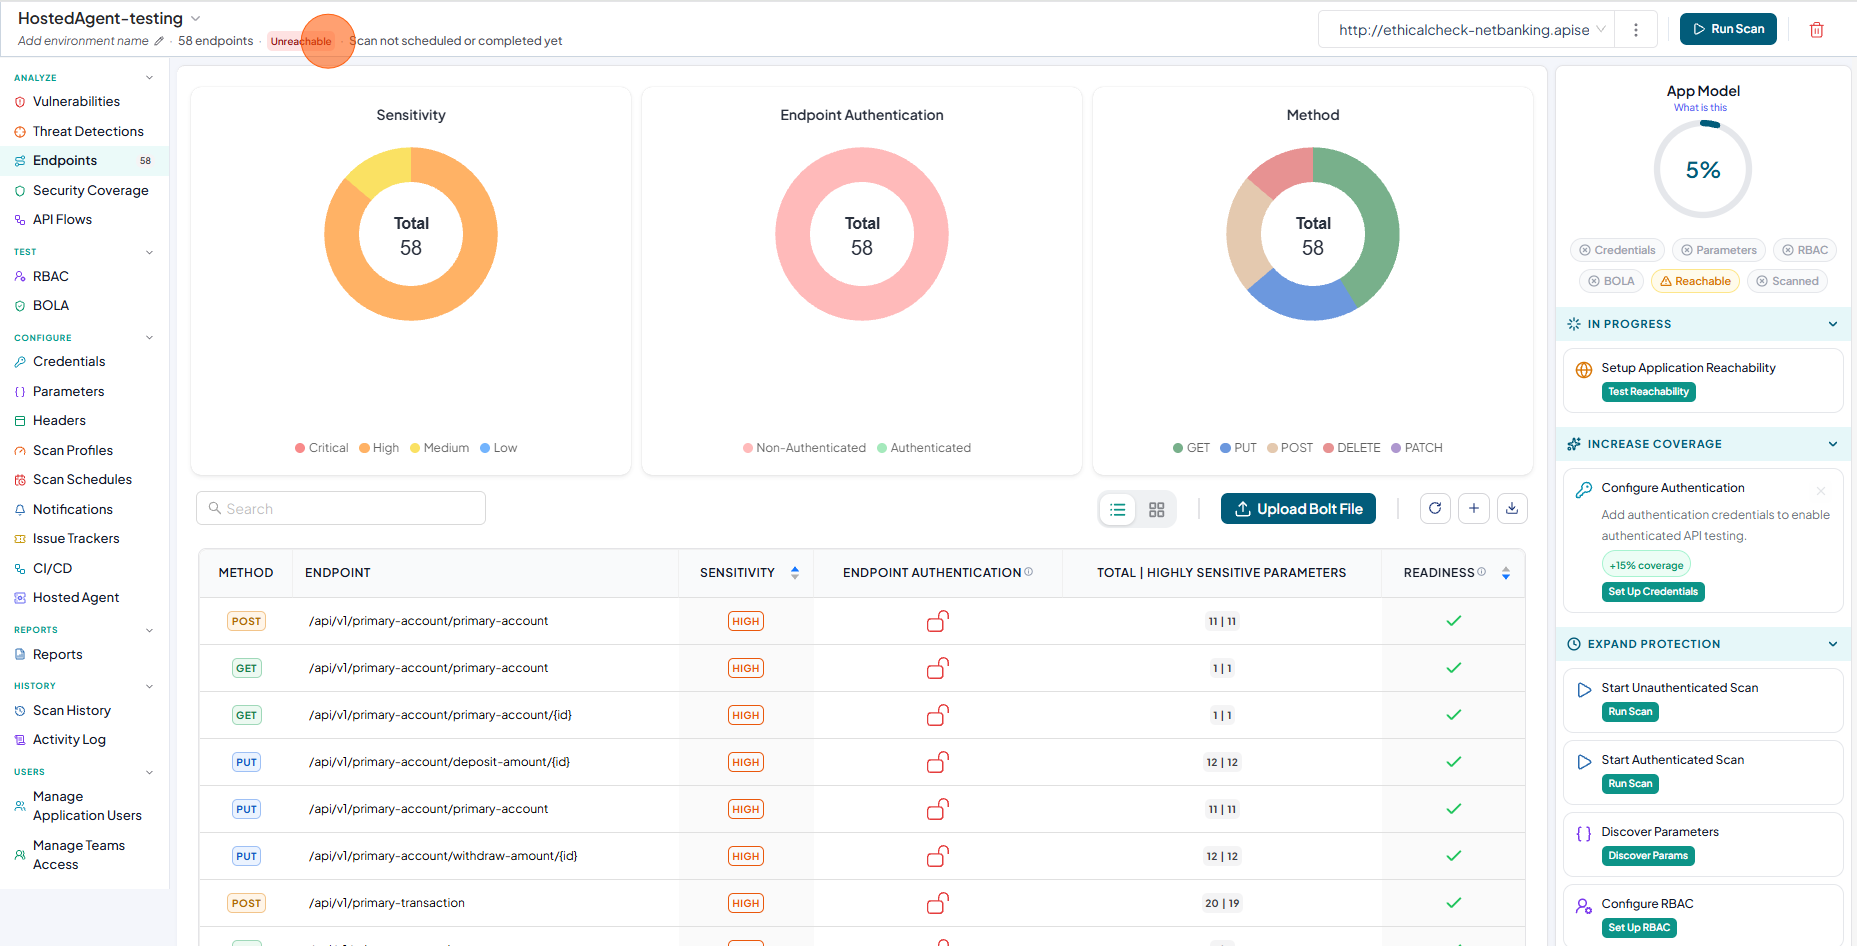
-
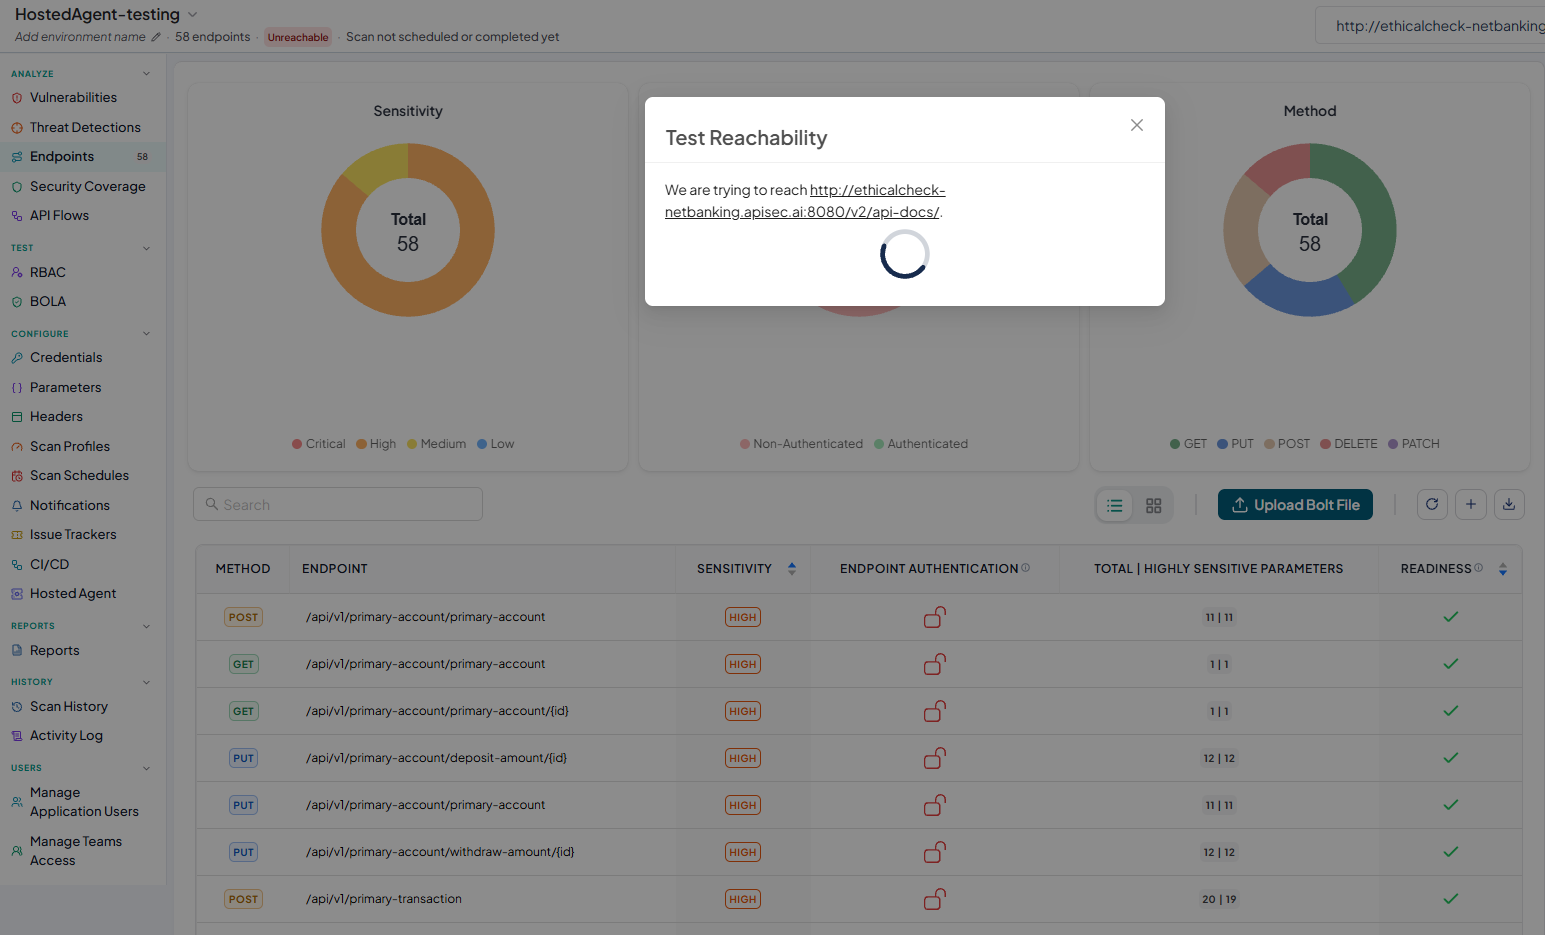
To establish reachability, Click Test Reachability under Setup Application Reachability in App Model
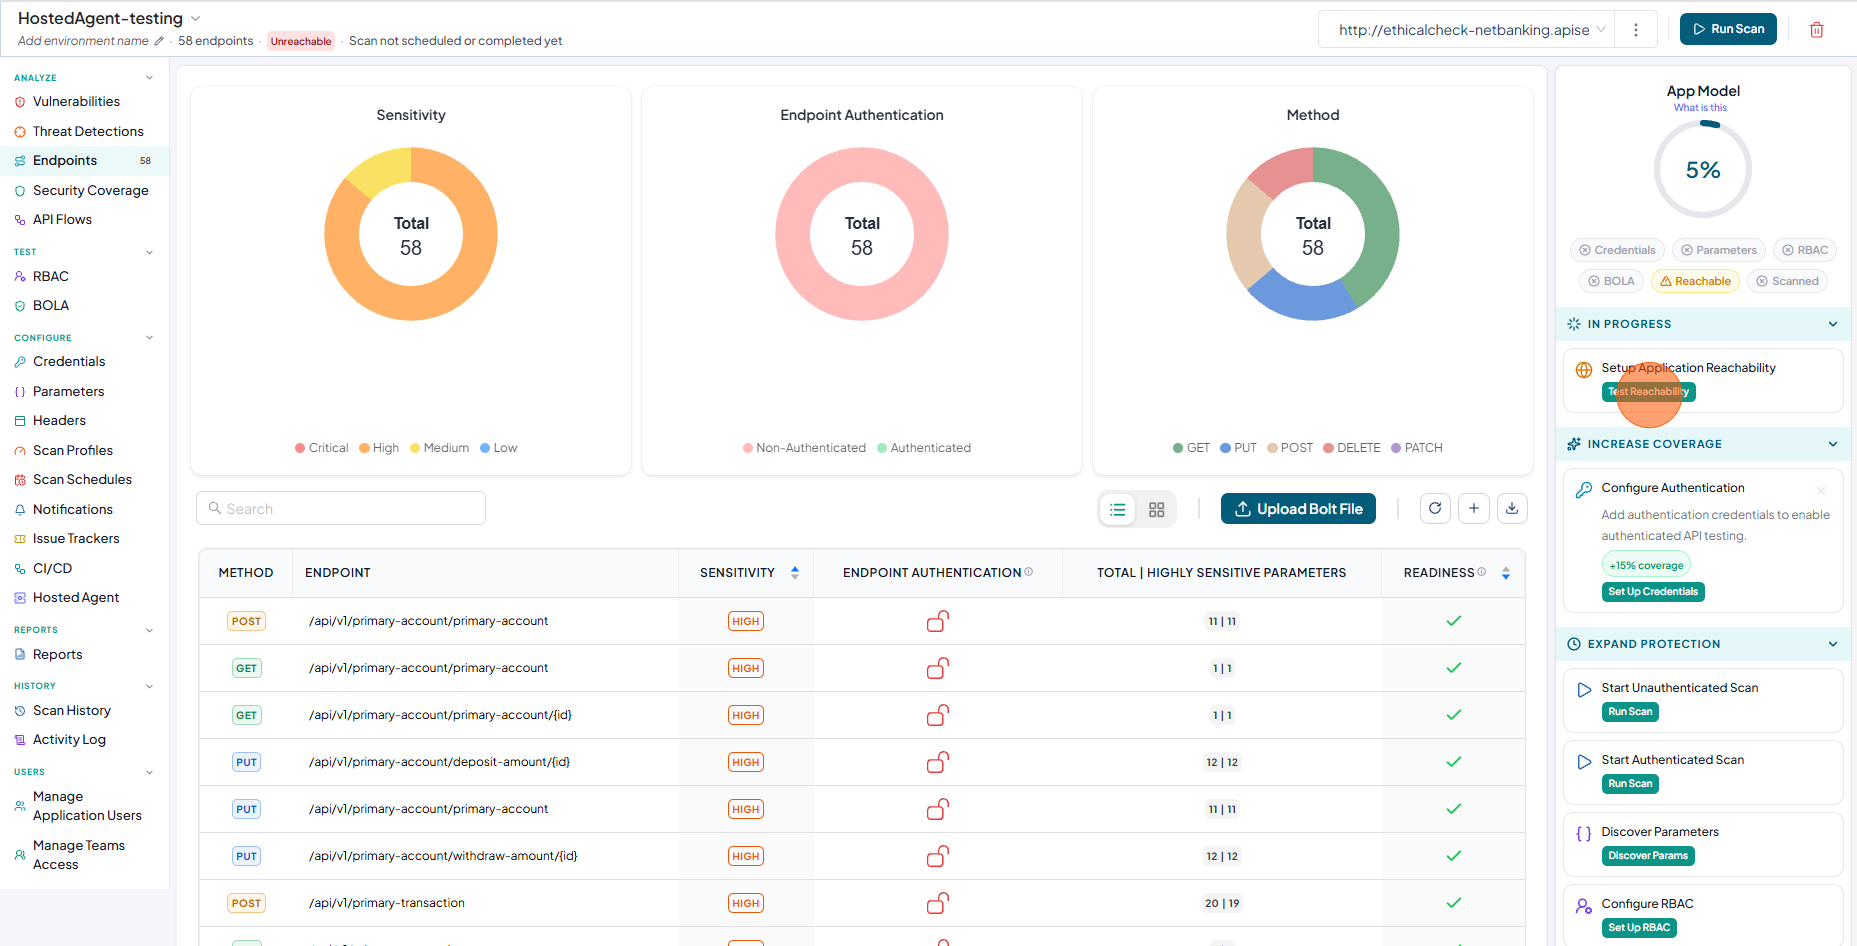
-
Now you will see the Test reachability process.
-
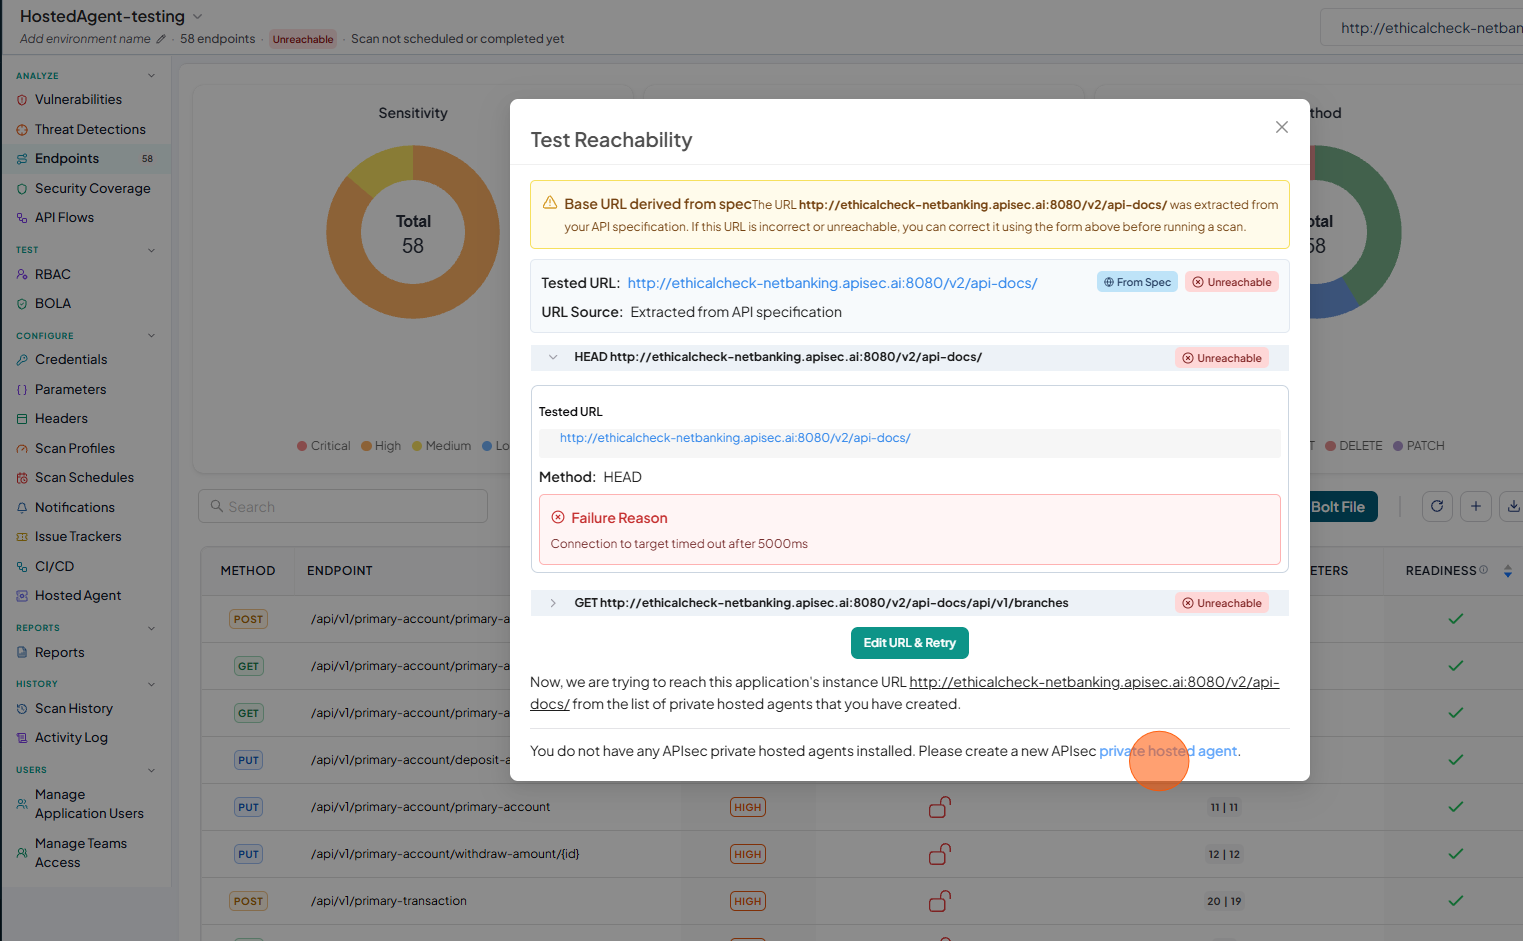
After that you can see the result of the "Test Reachability".
-
Here it will show that the given instance URL is not reachable and an option to create "private hosted agent".
-
Now click on the private hosted agent
-
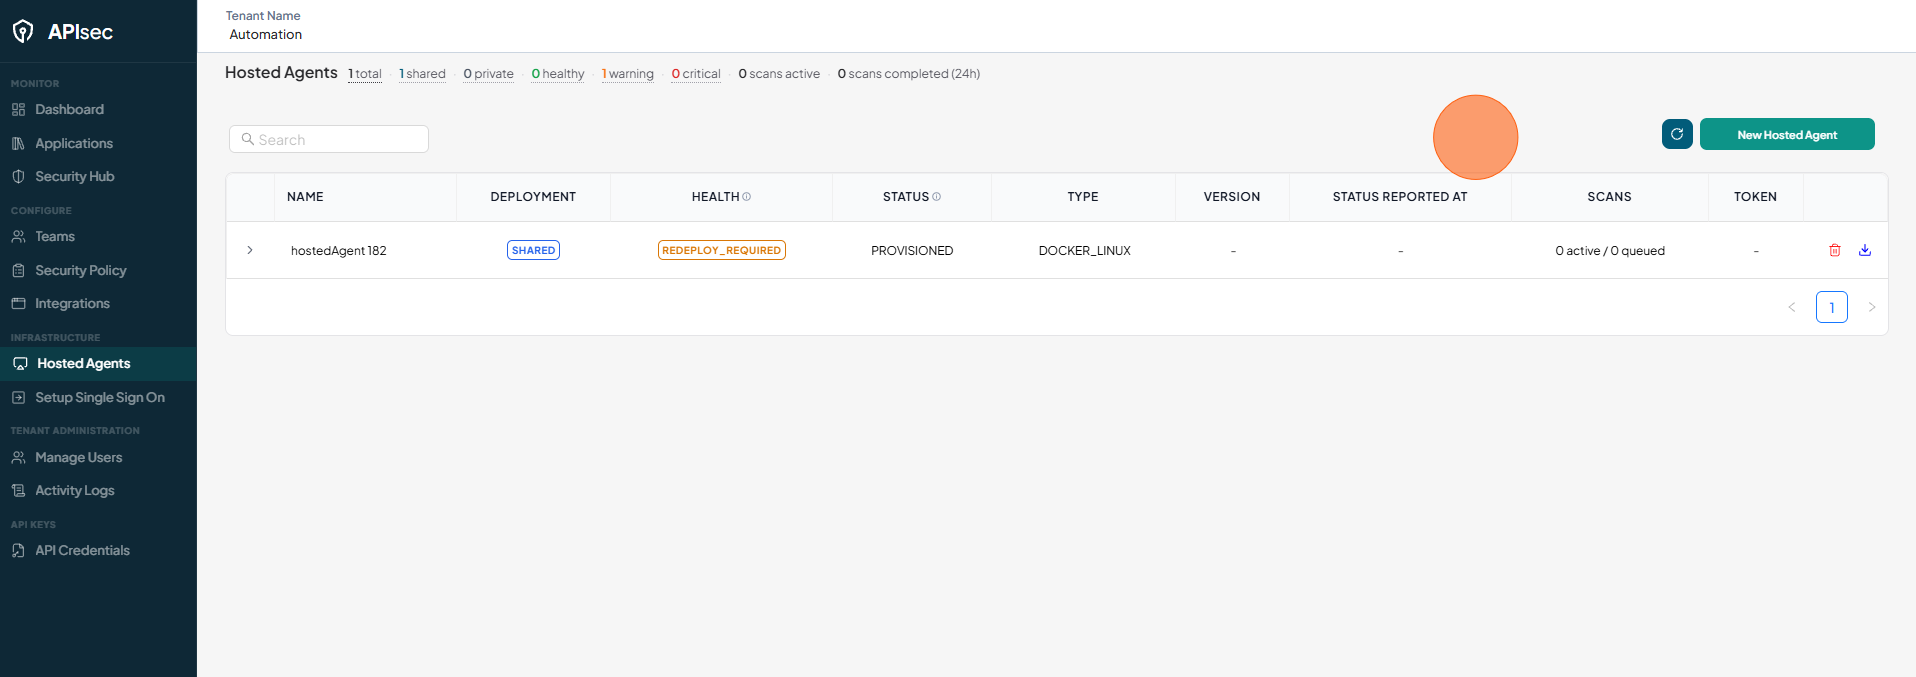
You will redirect to the Hosted Agent window.
-
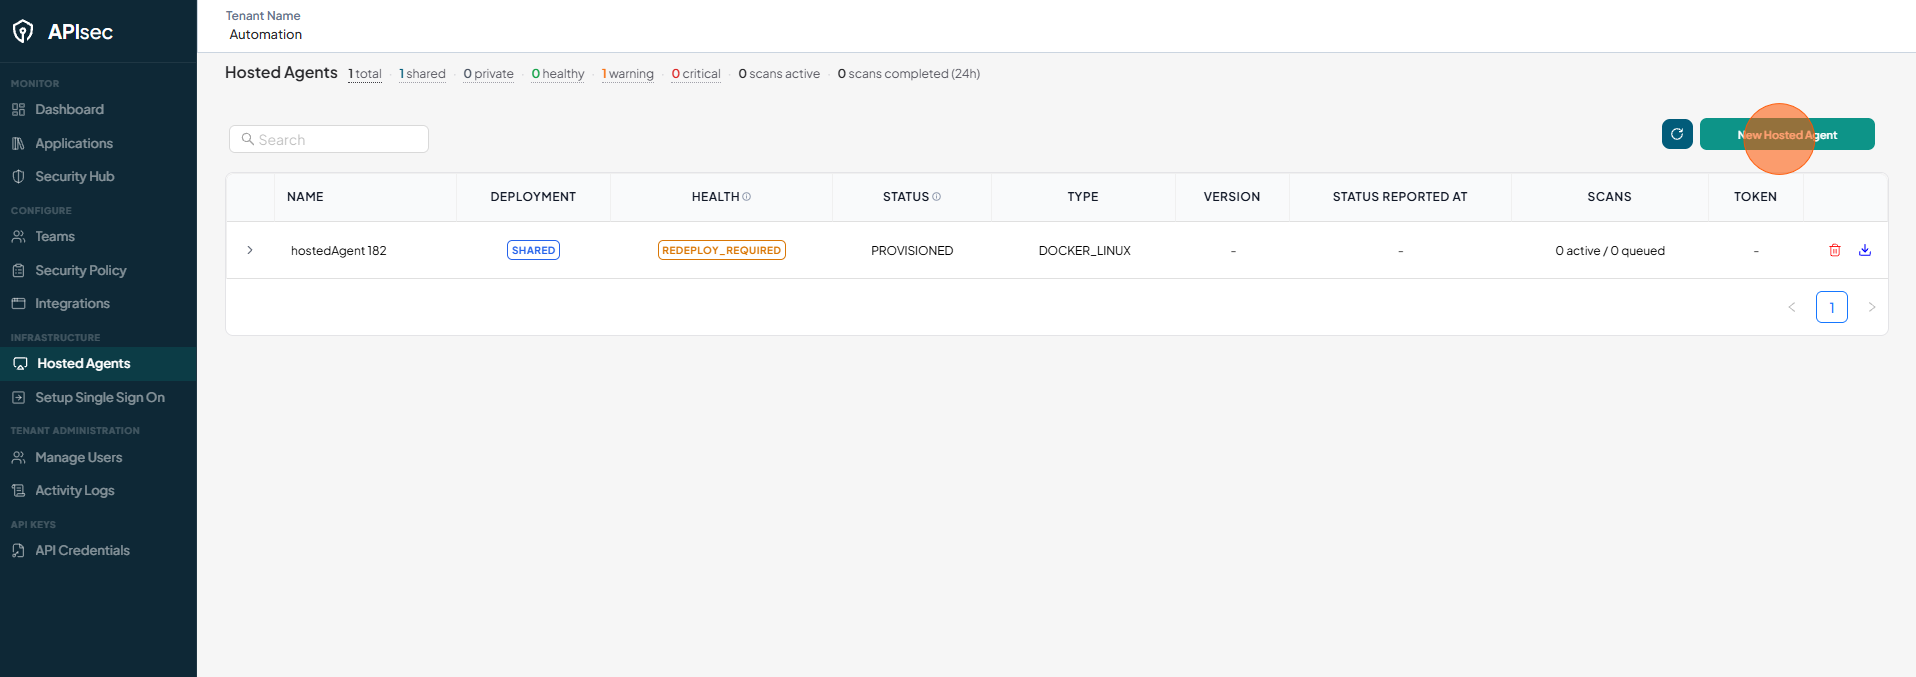
Click New Hosted Agent button to create hosted agent
-
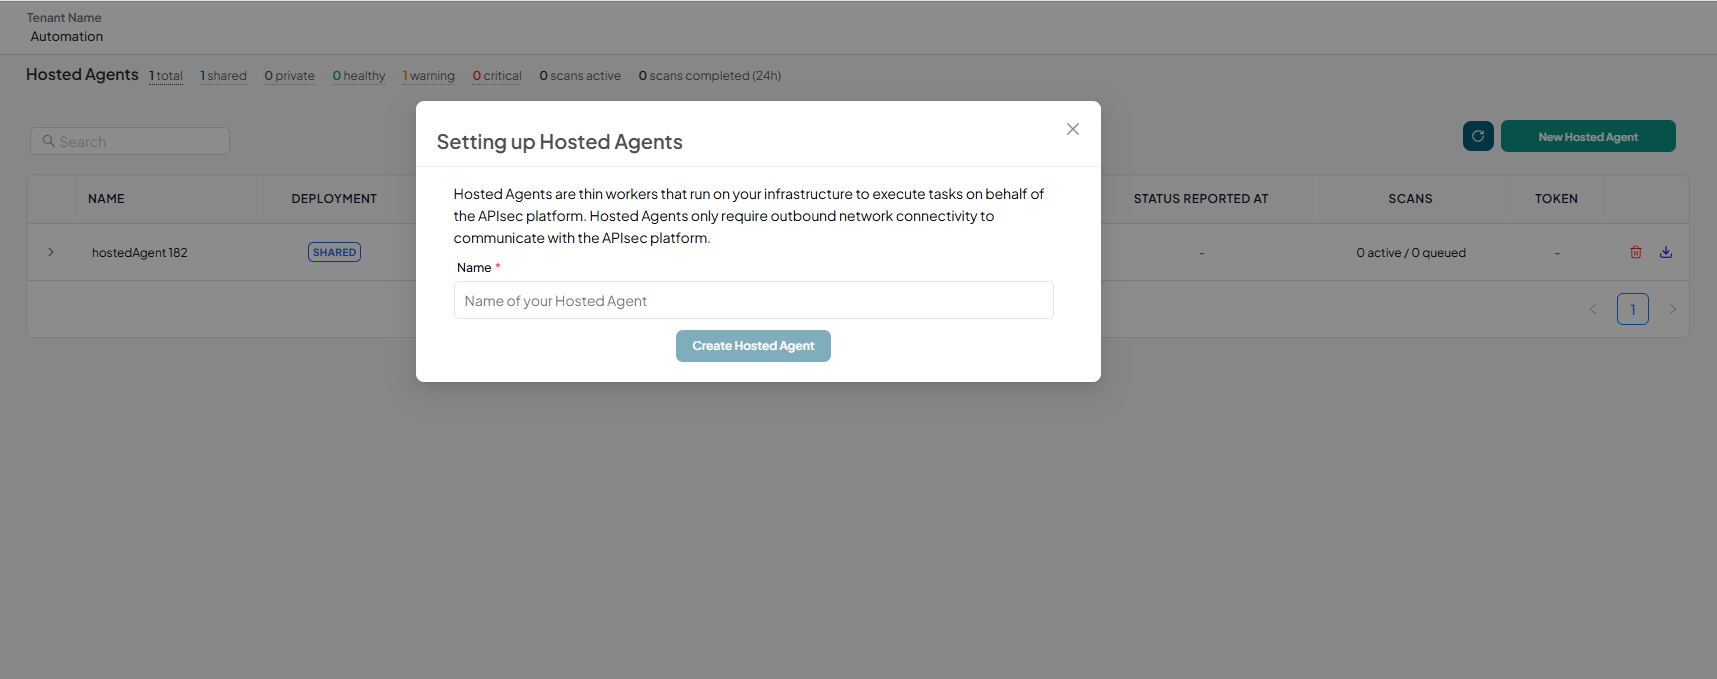
You will see the Setup Hosted Agents window.
-
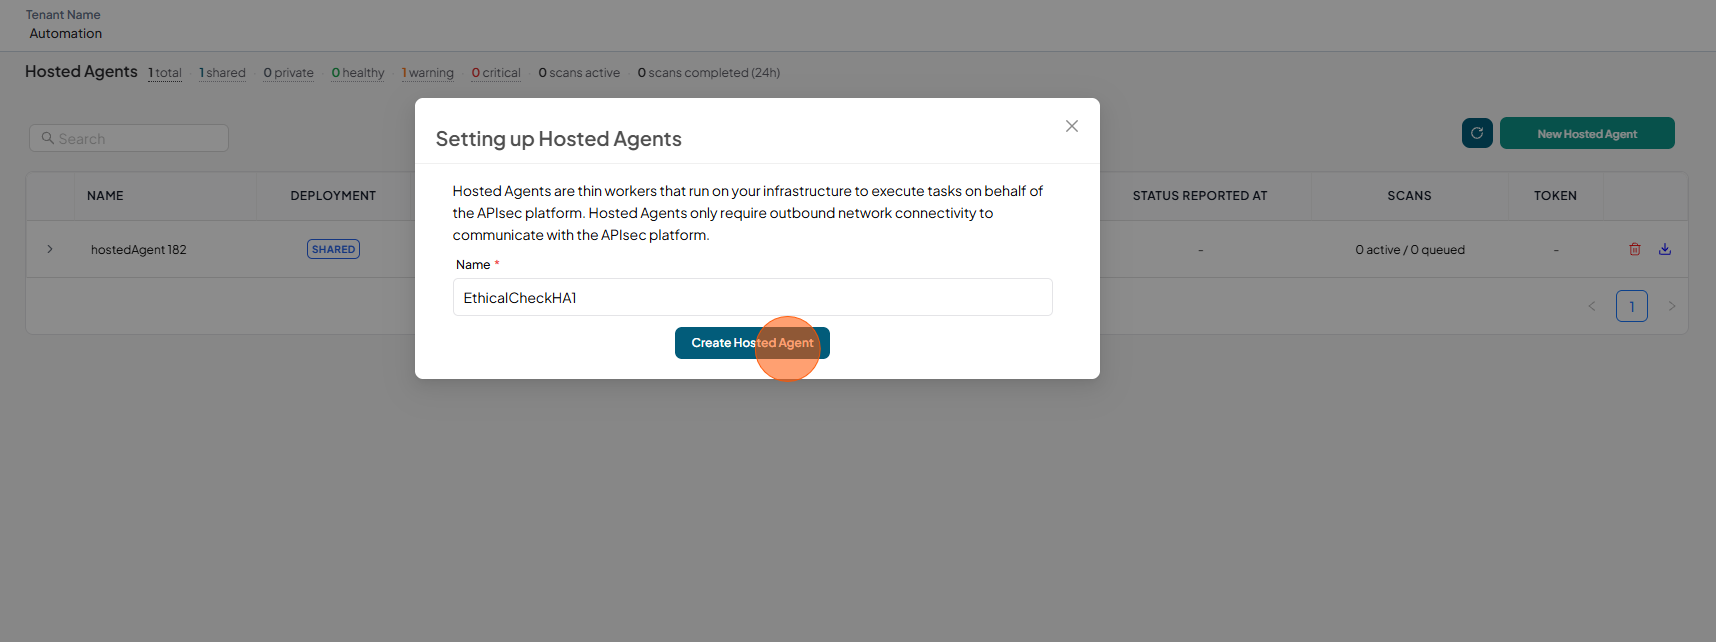
Here enter "Hosted Agent name" and click on the Create Hosted Agent button.
-
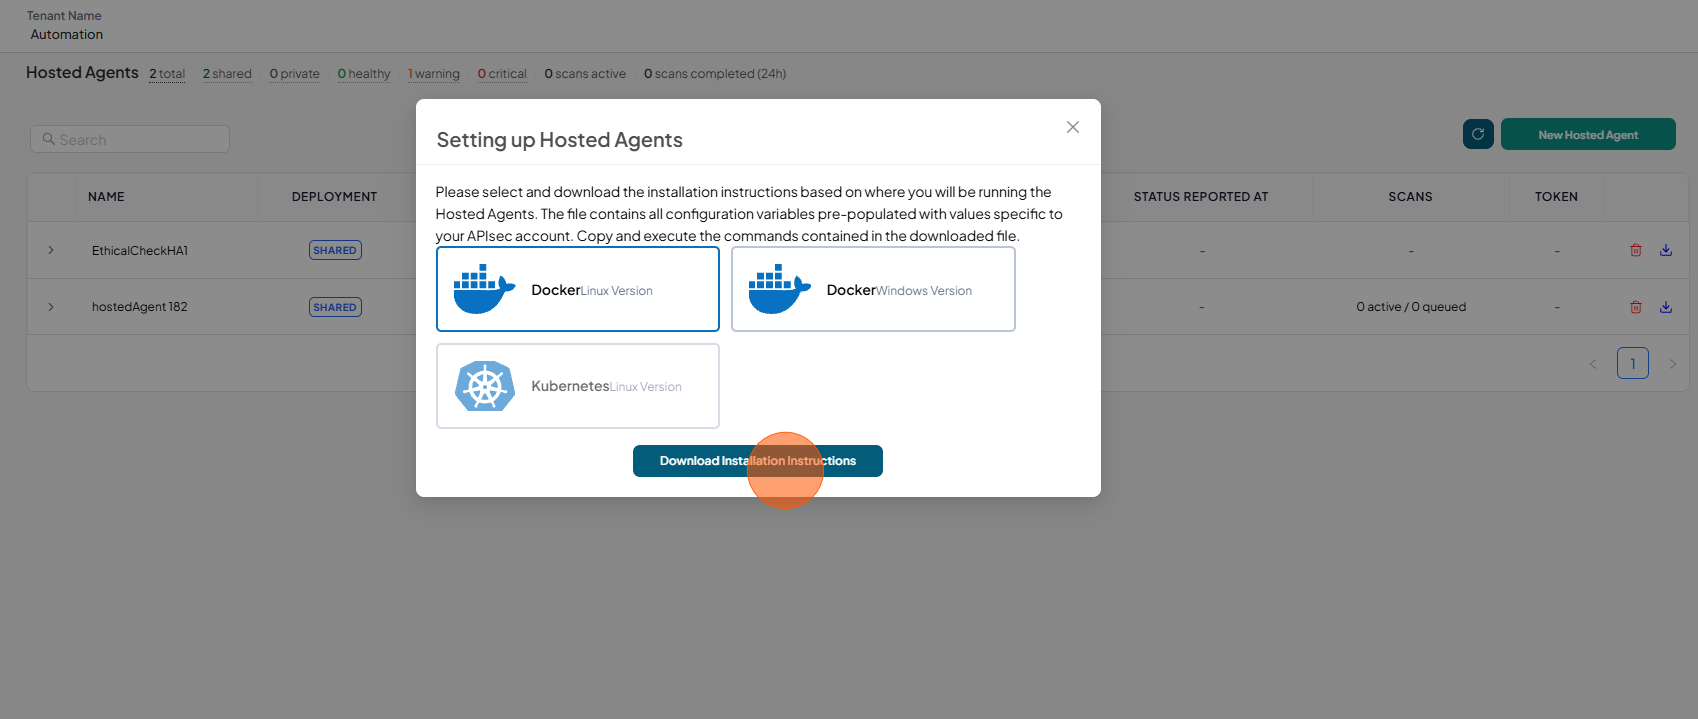
Select the desired environment type and click Download Installation Instructions to download the instructions required to configure the hosted agent.
-
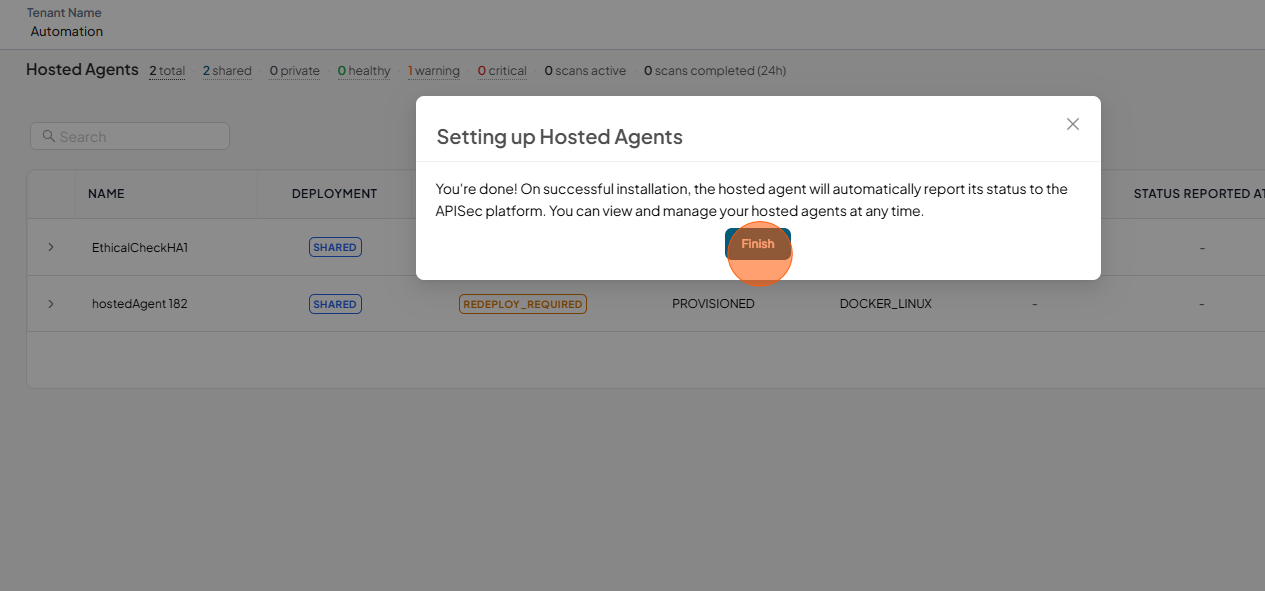
You will see the the final step of "Settingup Hosted Agents" with Finish Button. Click Finish
-
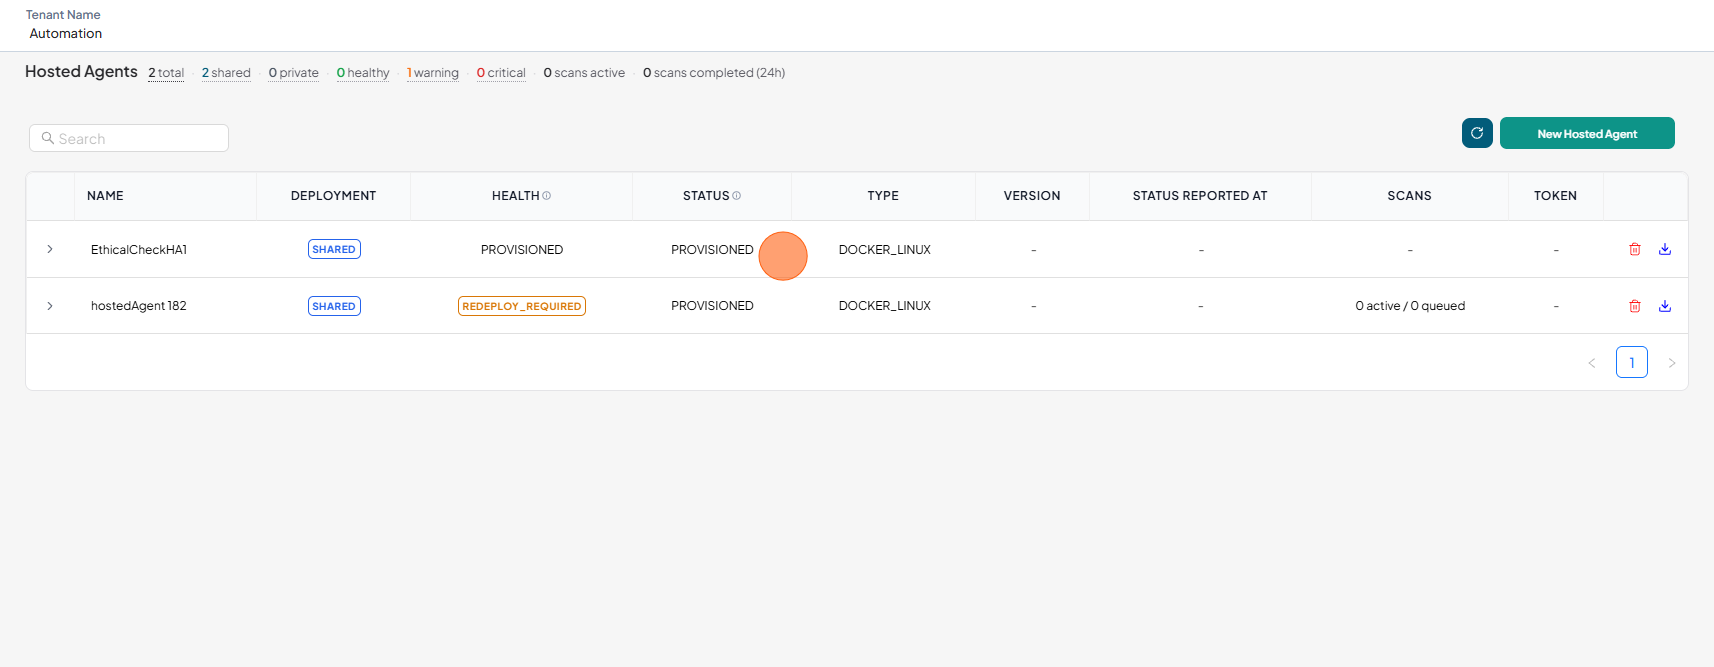
In the Hosted Agent window, You can see the newly create hosted agent with status, "PROVISIONED".
-
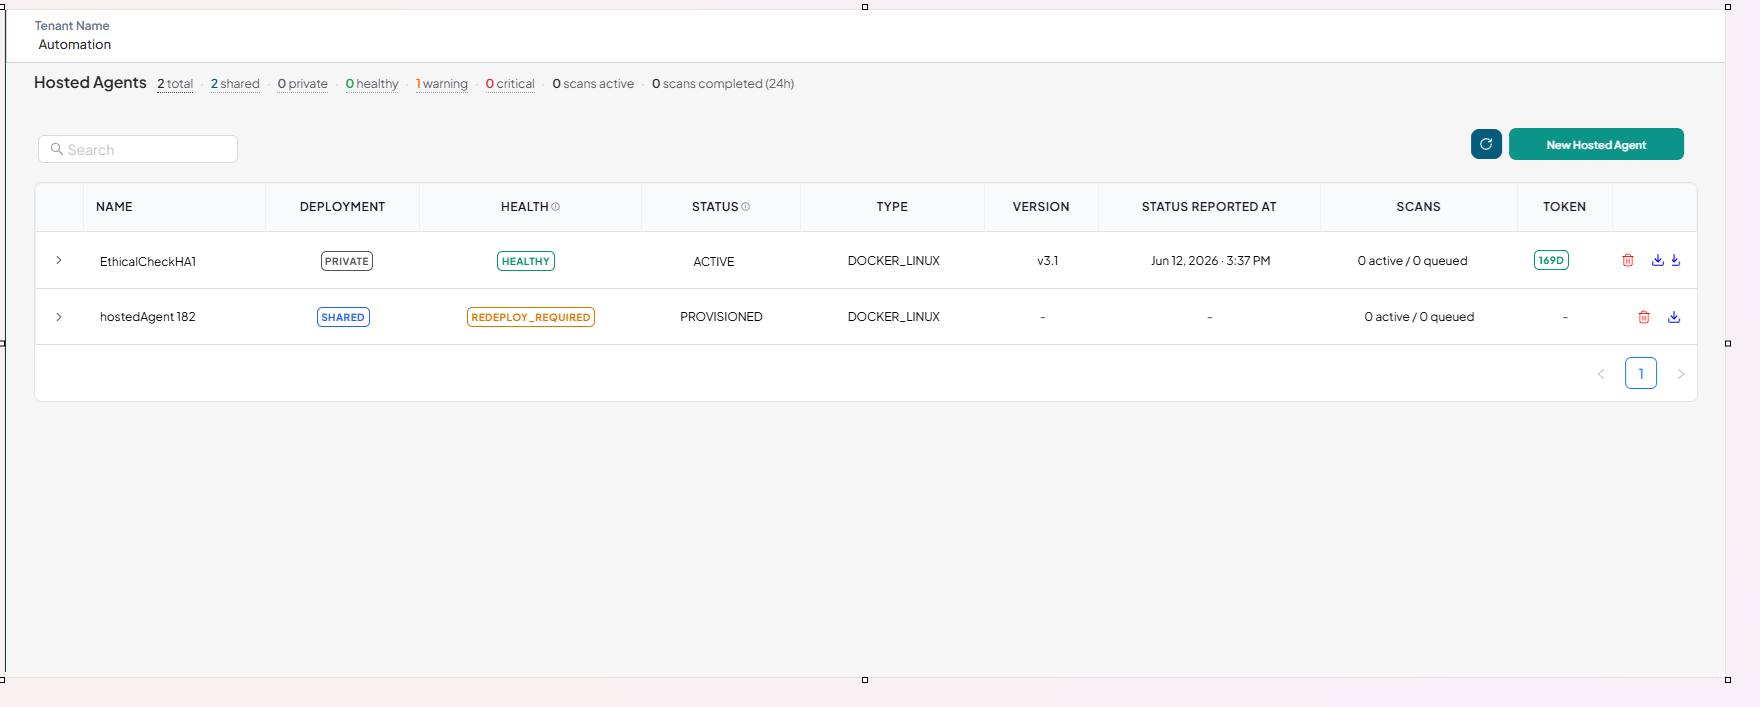
After installation of the "Hosted Agent" at your environment. the status will become as "ACTIVE"
-
Now revisit the application and check the "Reachability" status and it will show as "Reachable"