How to create BOLA attack scenarios
Navigate to URL
Open your browser and visit: https://<your-tenant>.apisecapps.com
Visit the application.
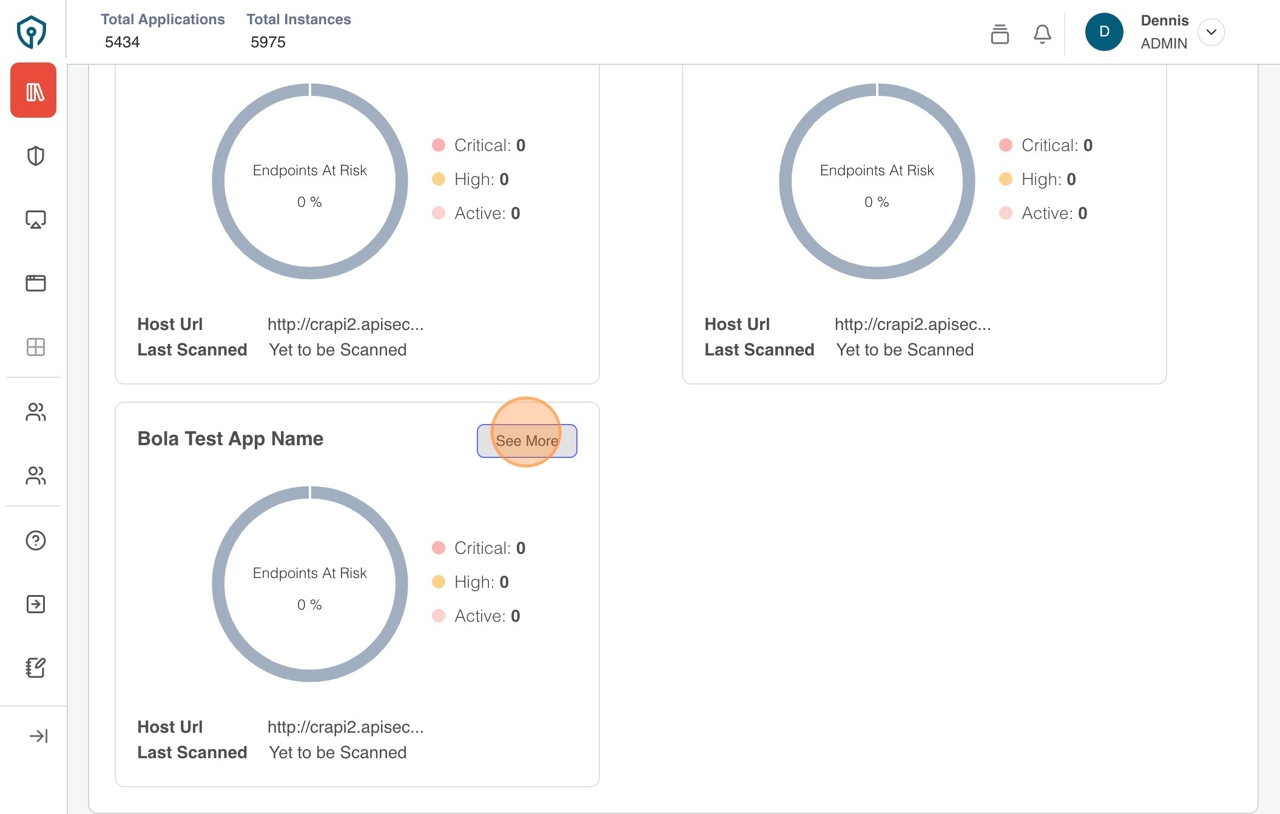
- Click on "See more" to open the application
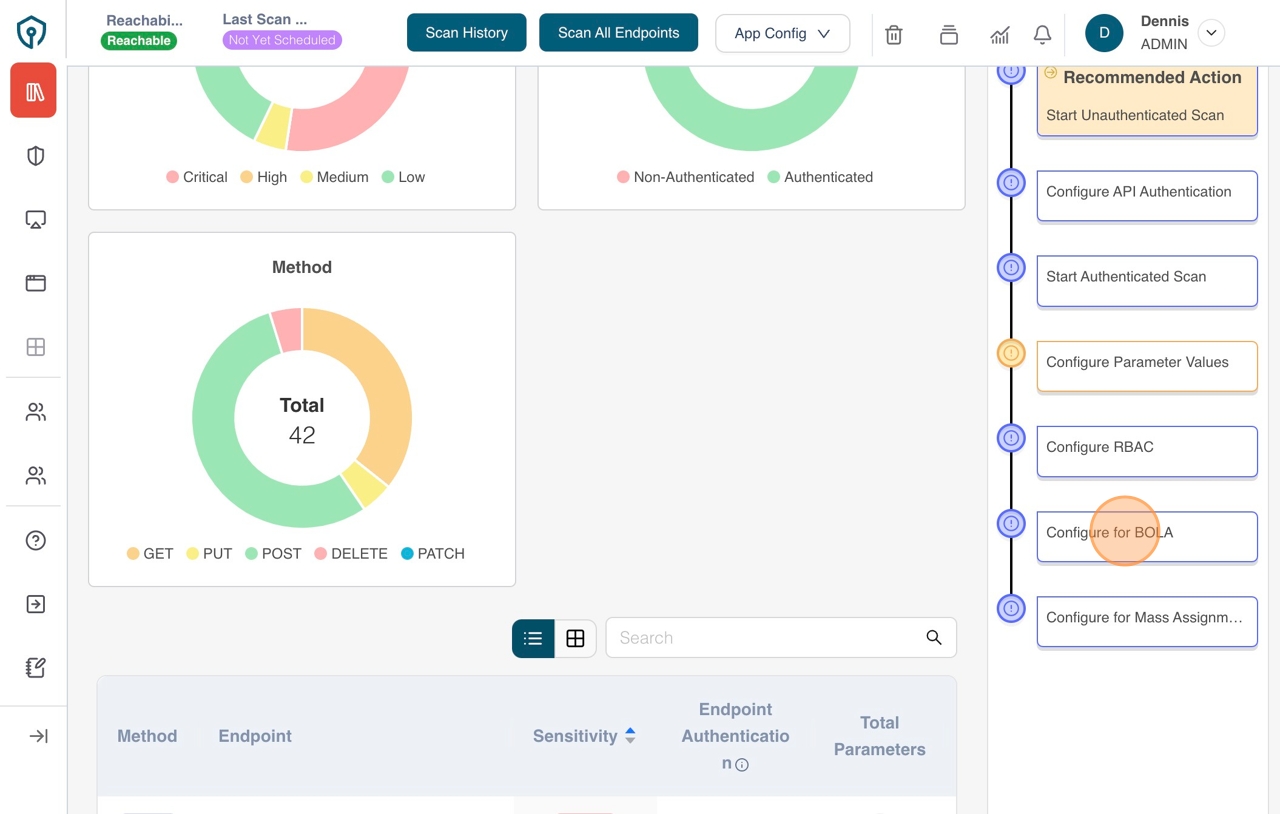
- On the Application details page click the "Configure for BOLA" item on the app modal timeline
Create an attack Scenario
-
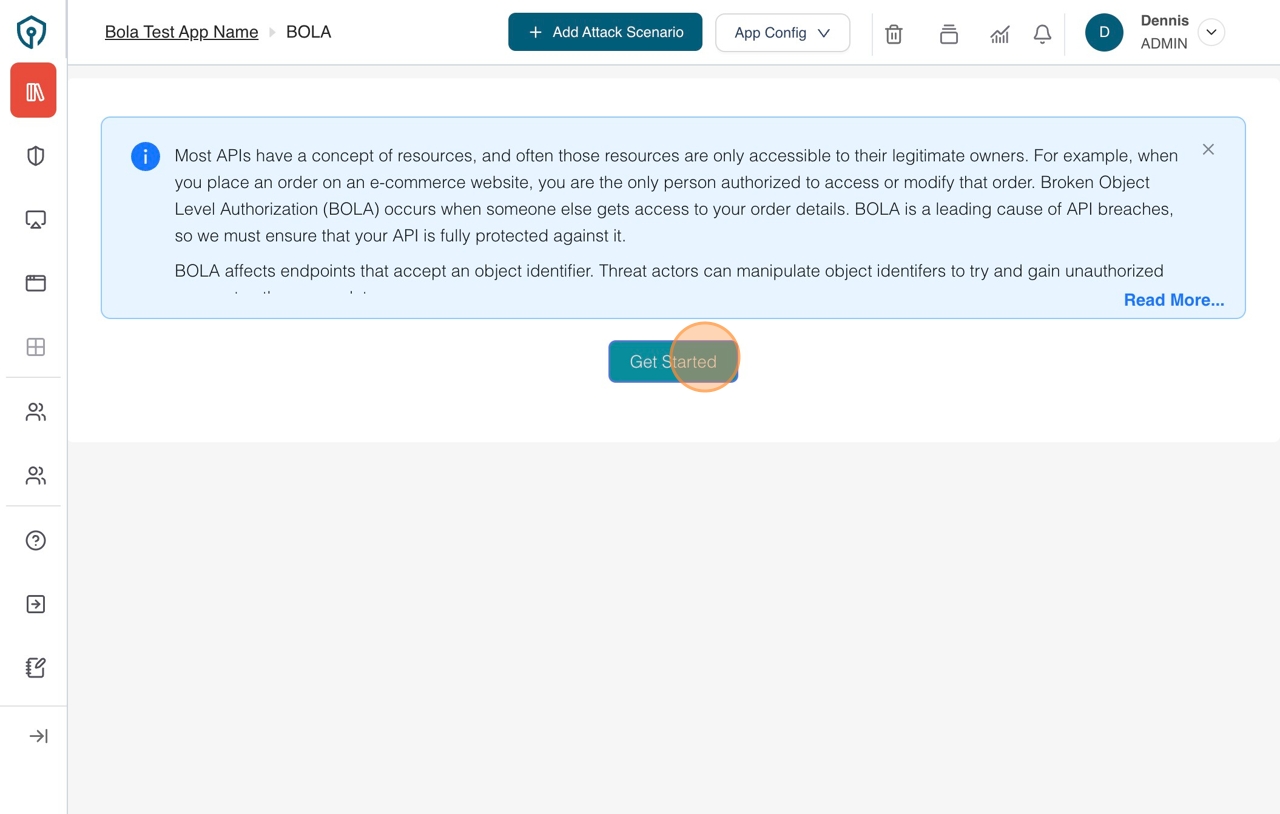
Click the "Get Started" button.
-
Enter the name of the "Attack Scenario".
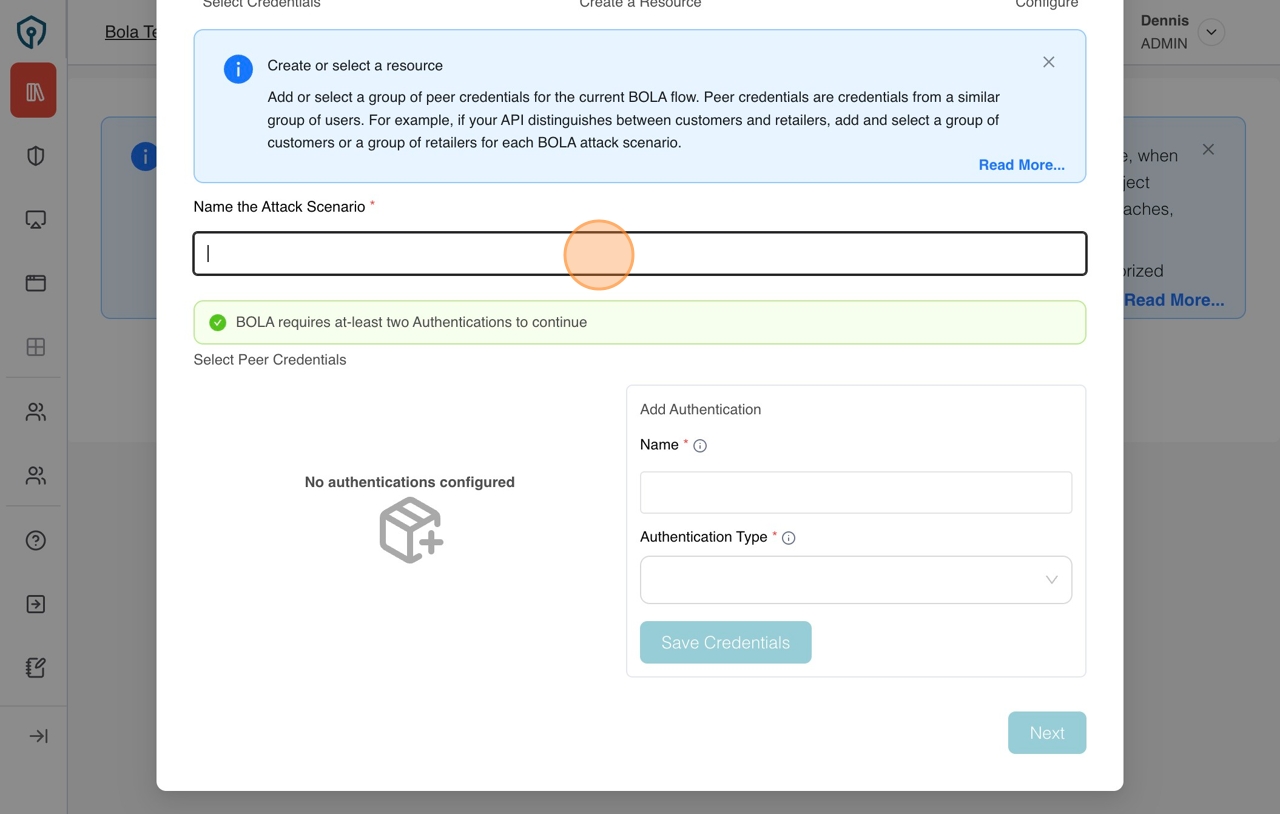
-
If user has not yet created authentications, user will be prompted to create atleast two authentications before proceeding Enter at least two "Authentications".
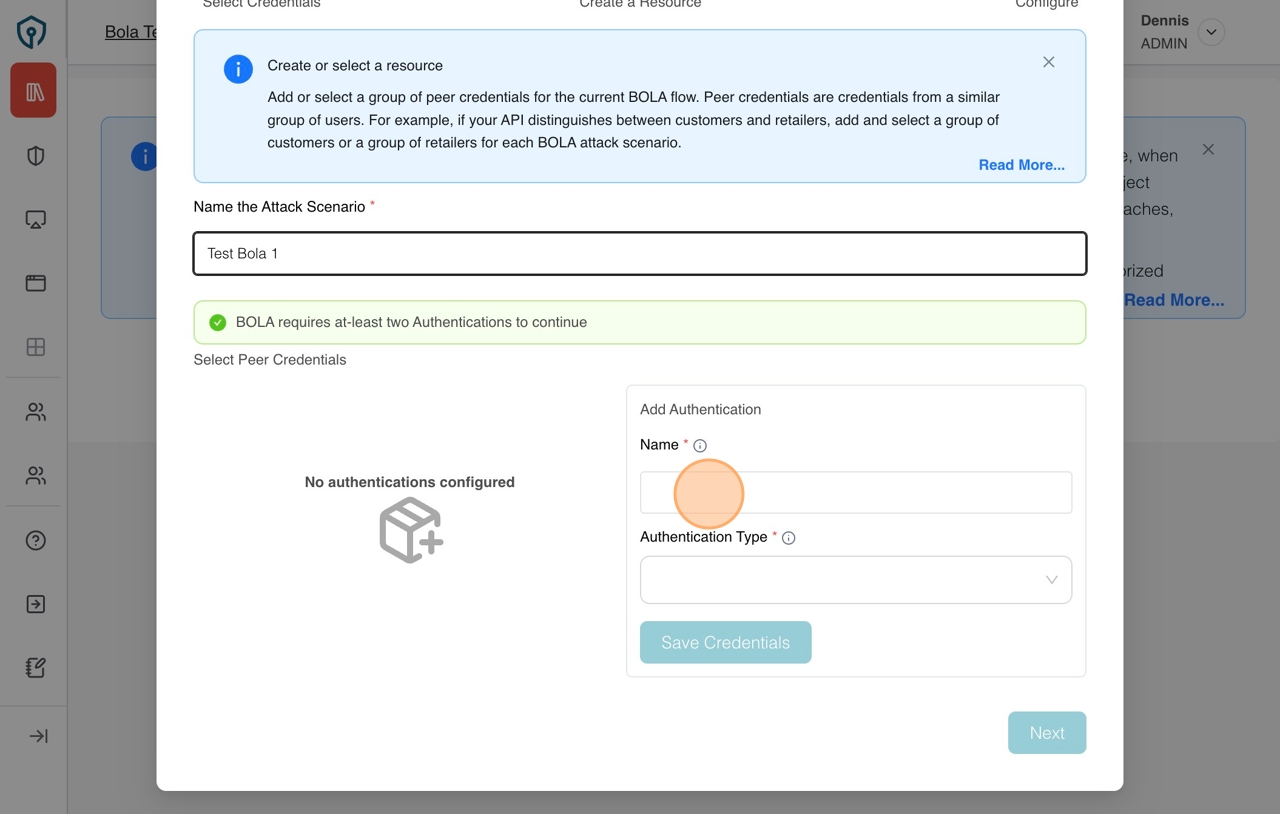
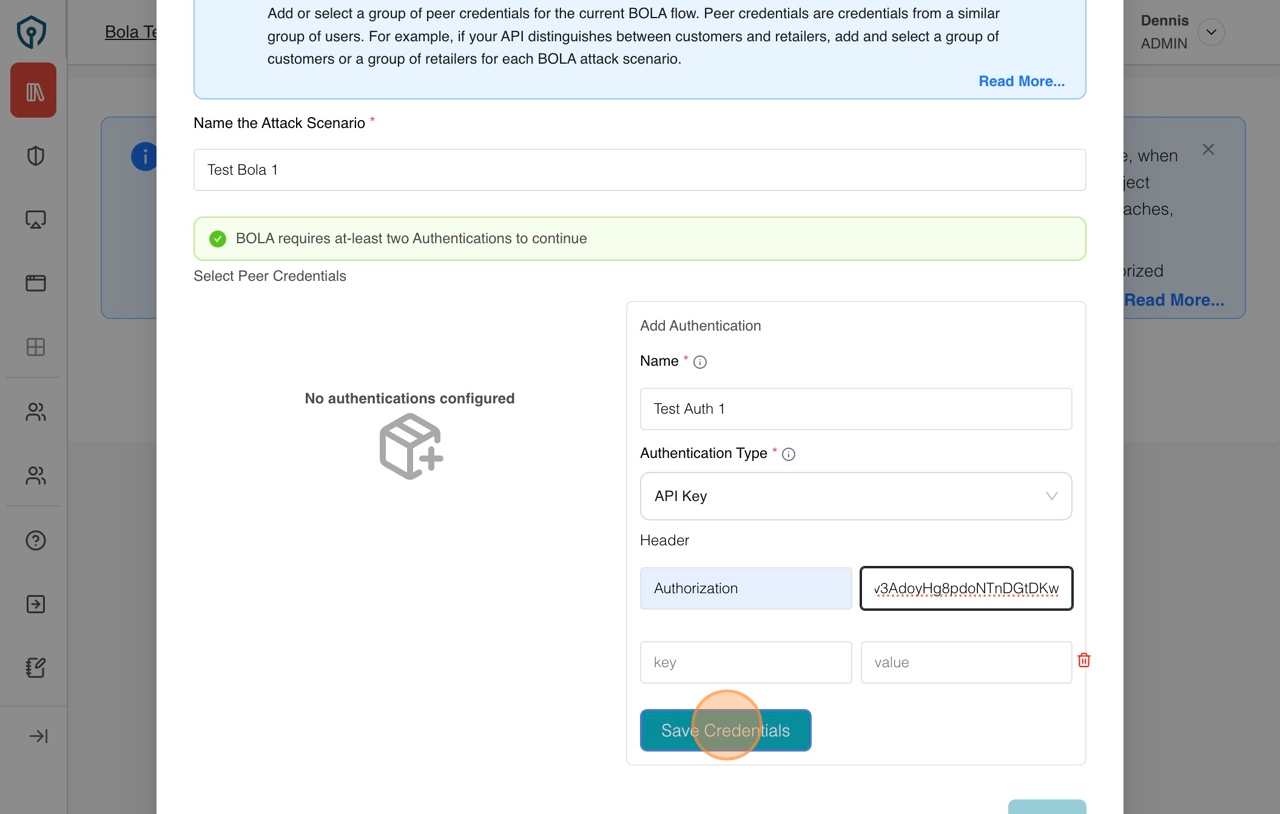
-
Select at least two of the authentications that you have created and click "Next" button to proceed to the second step
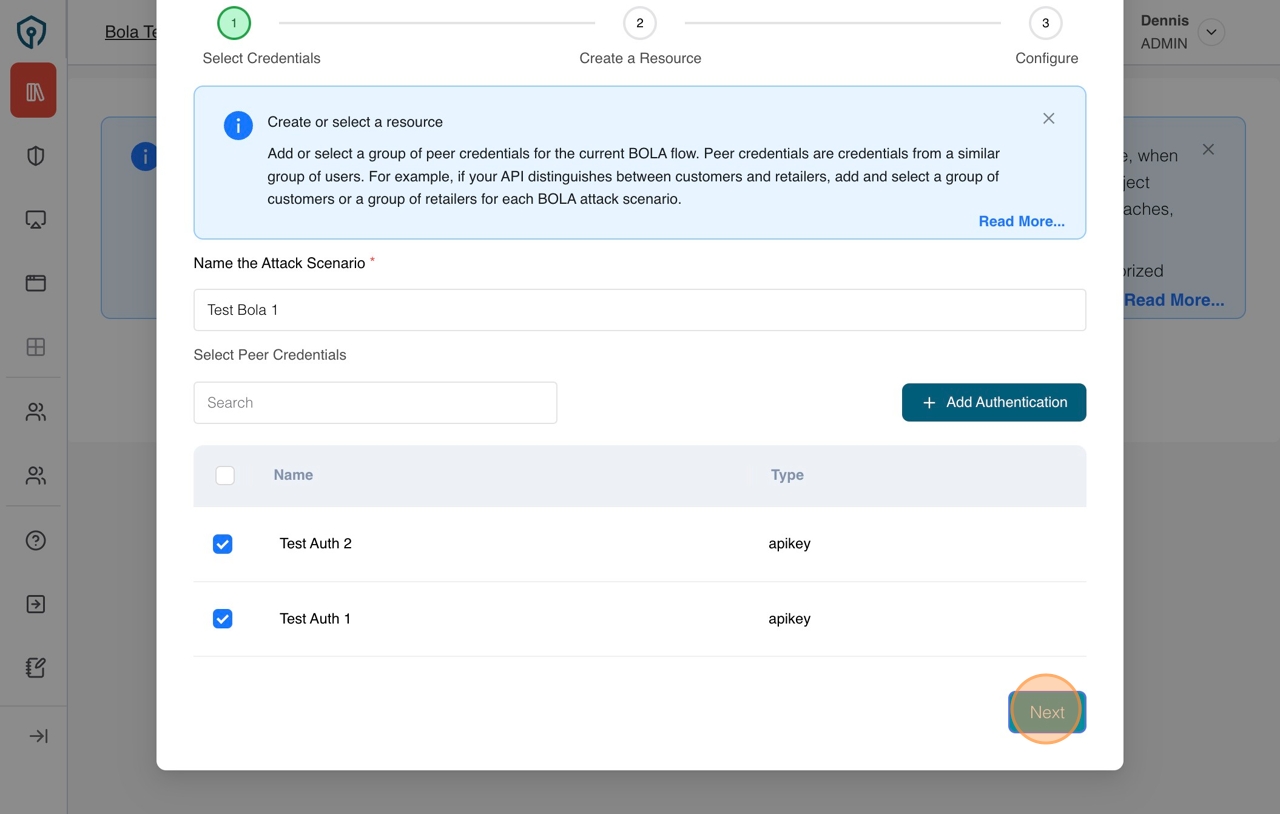
-
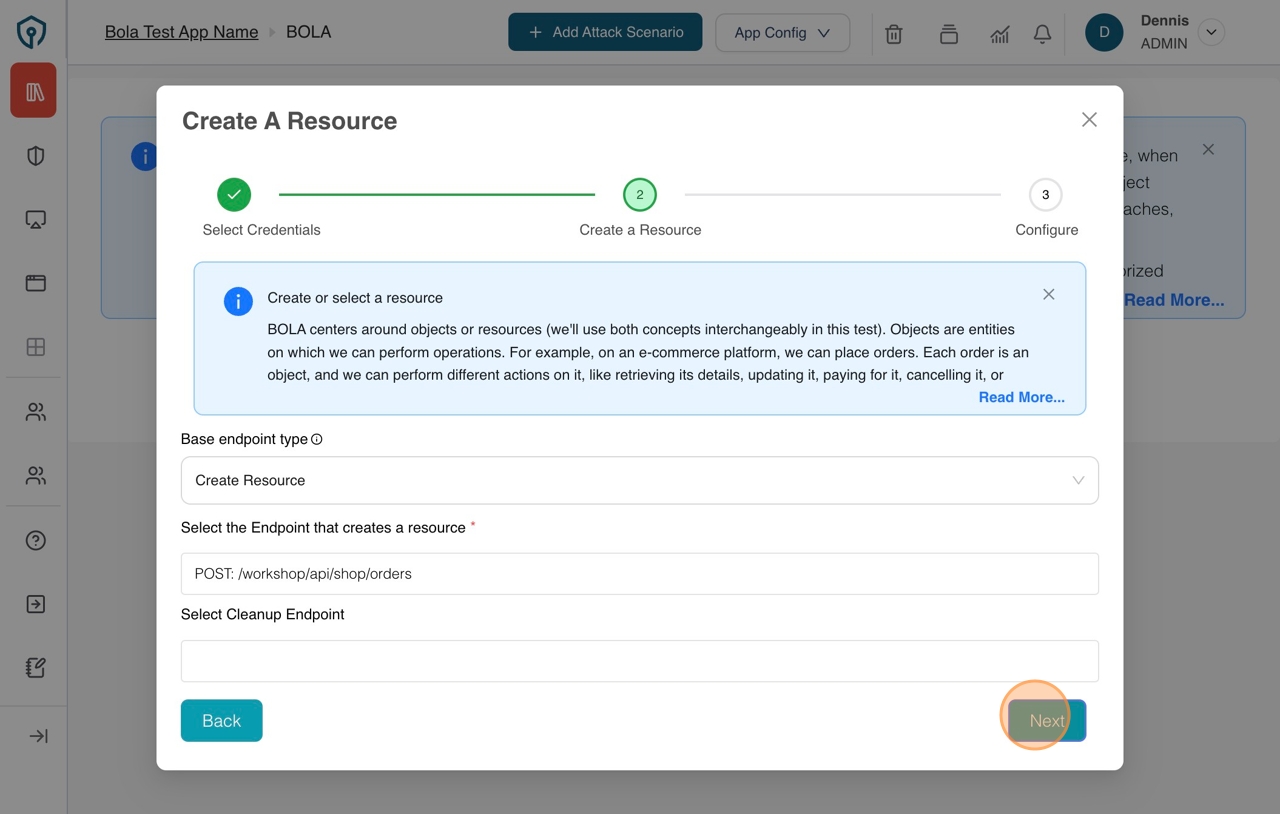
Select a "Base endpoint type"
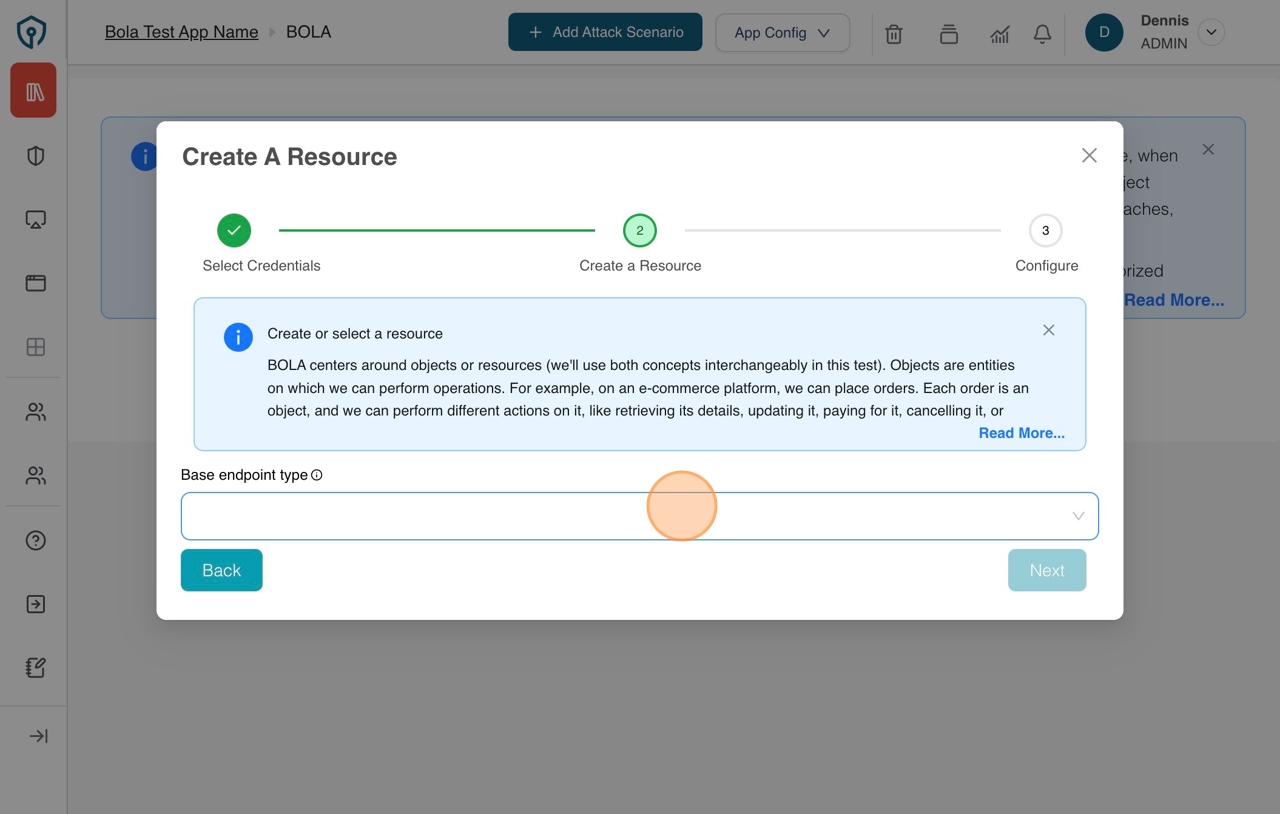
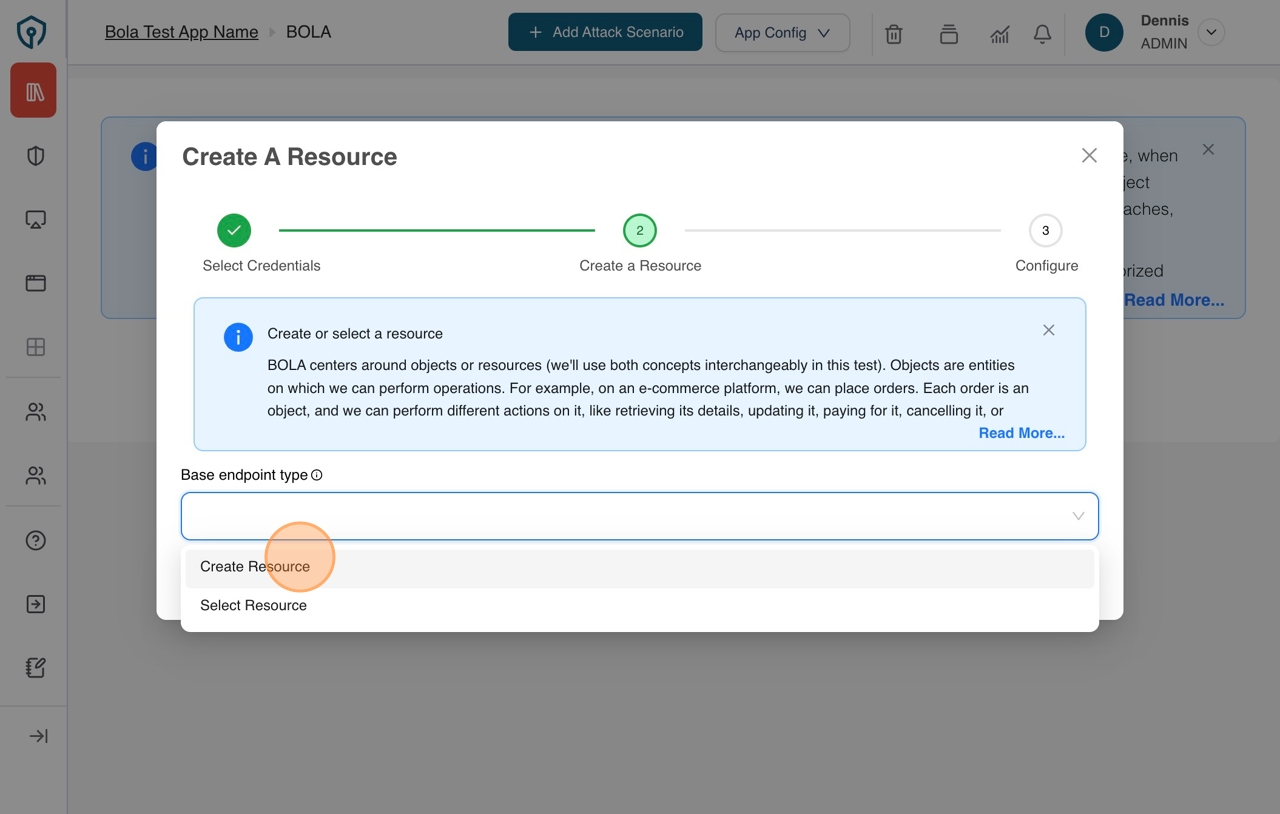
-
Select a "Base endpoint" from the list of endpoints and click "Next" button to proceed to the next step
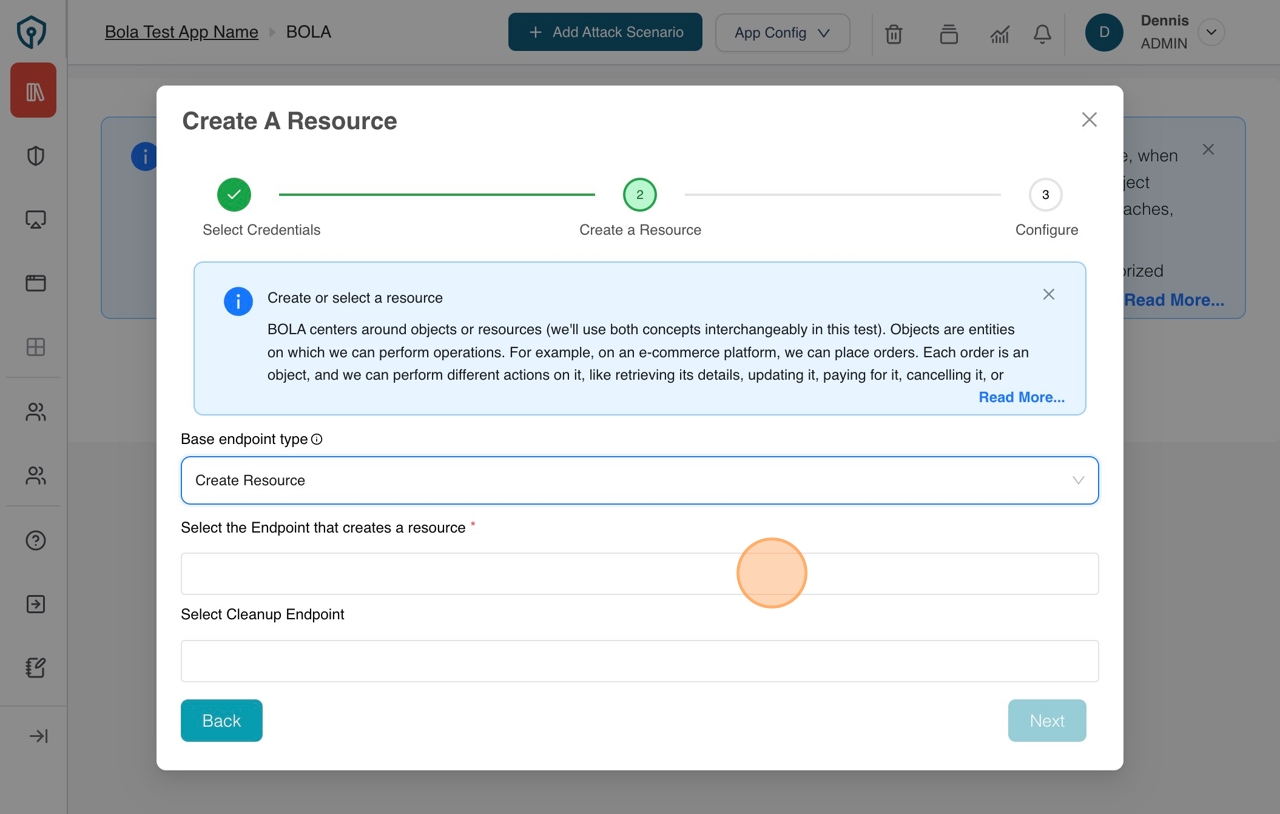
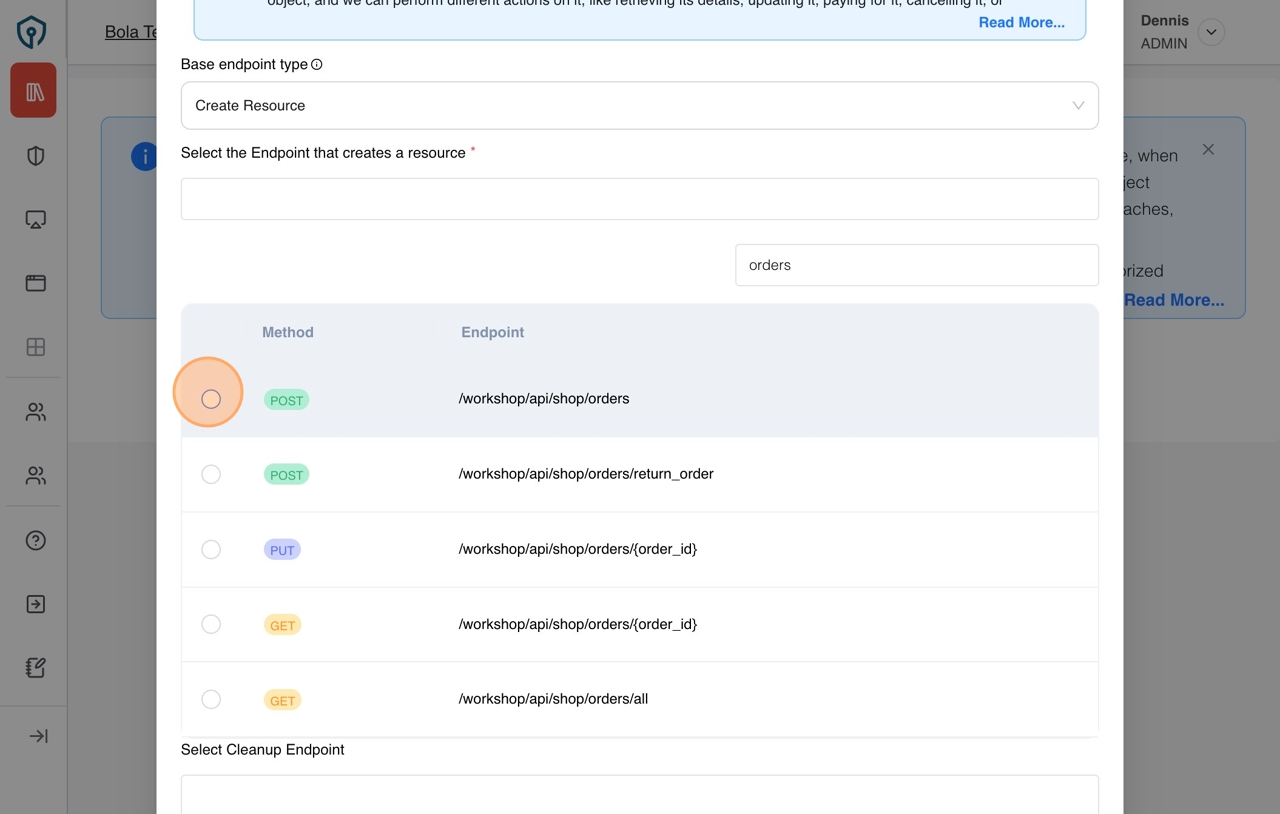
-
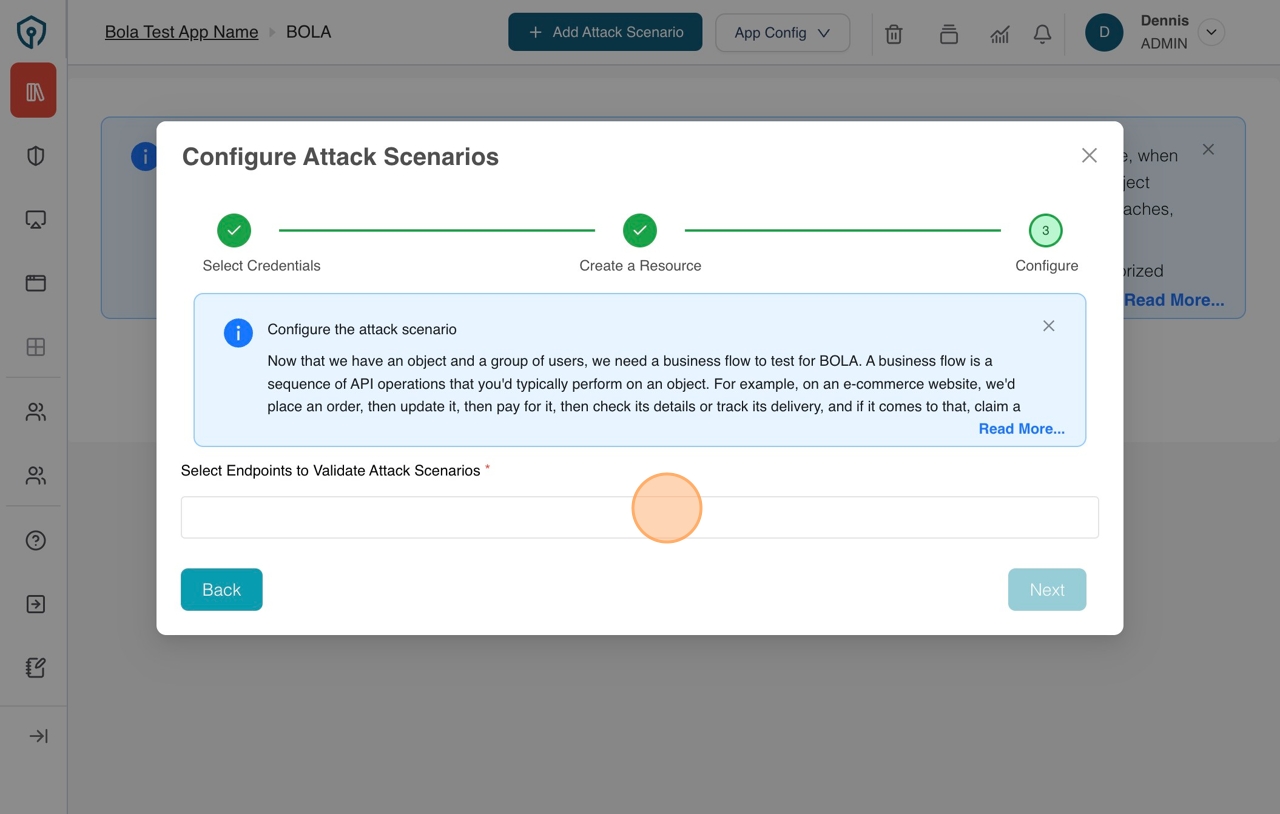
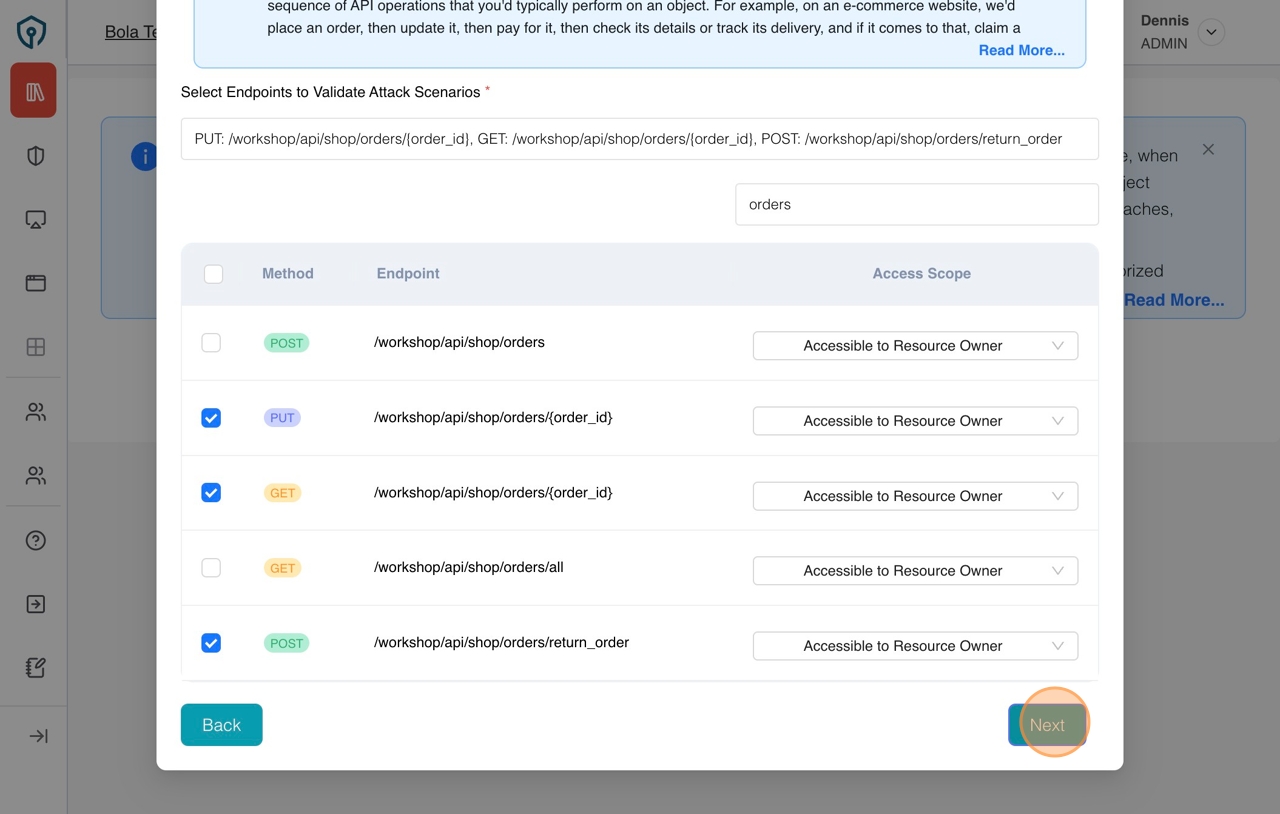
Select endpoints to validate "Attack Scenarios" and click "Next" button to proceed to the next step
-
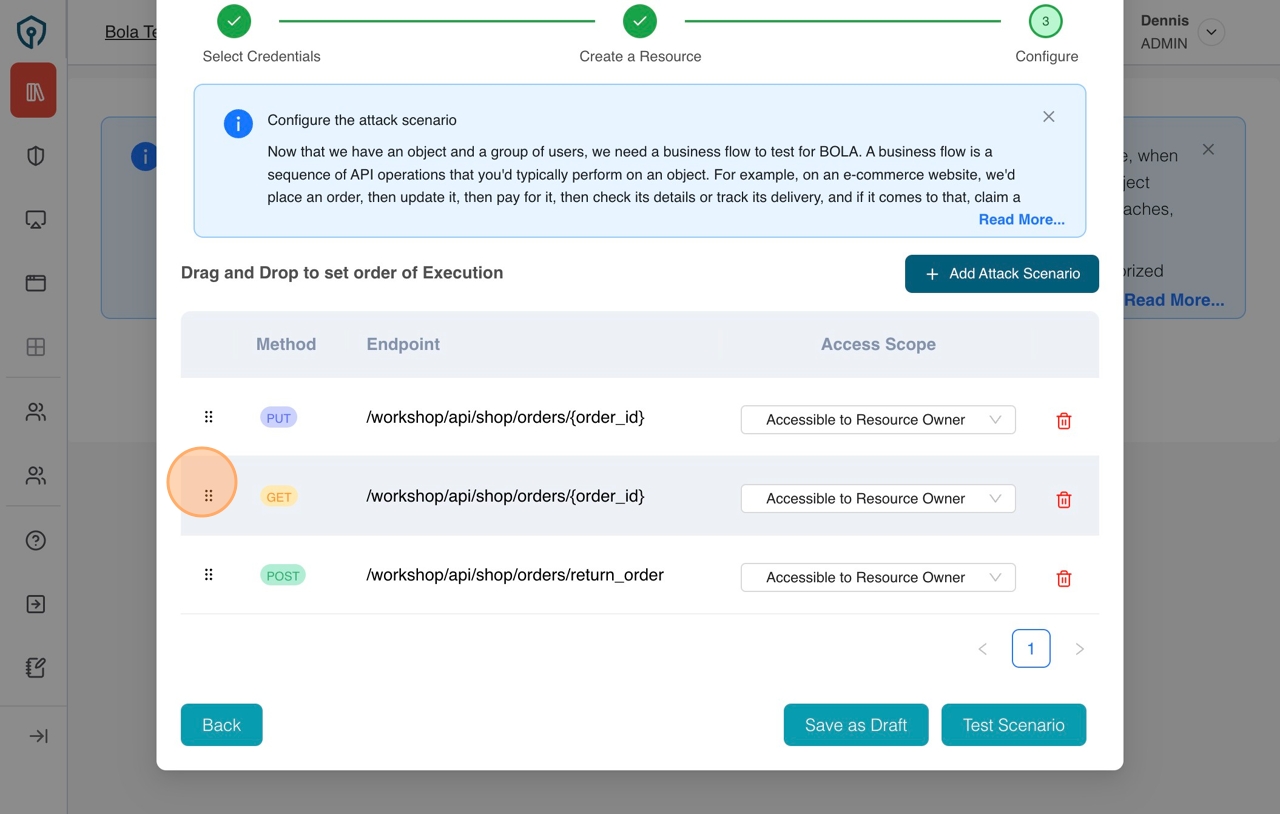
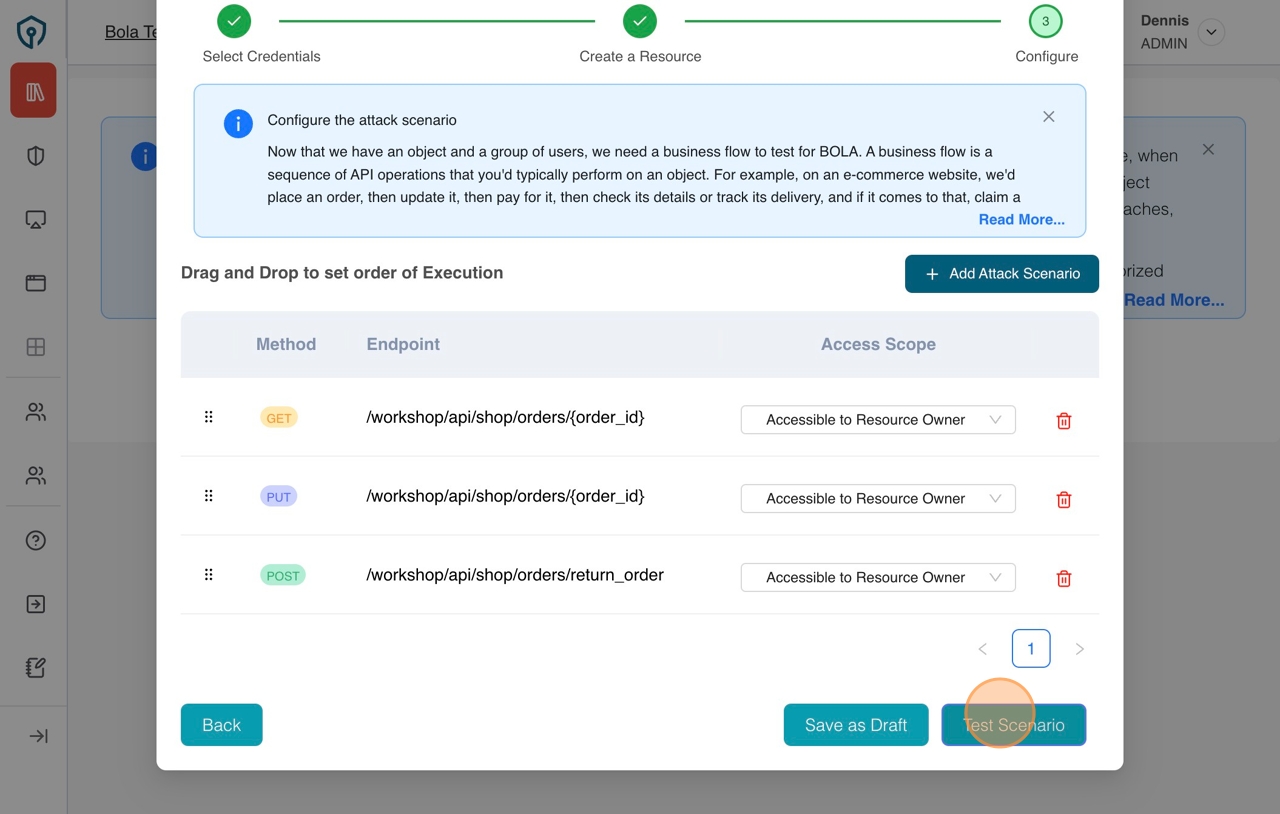
Drap and Drop endpoints to change to the preferred order of execution.
-
Click "Test Scenario" button for the execution to begin.
-
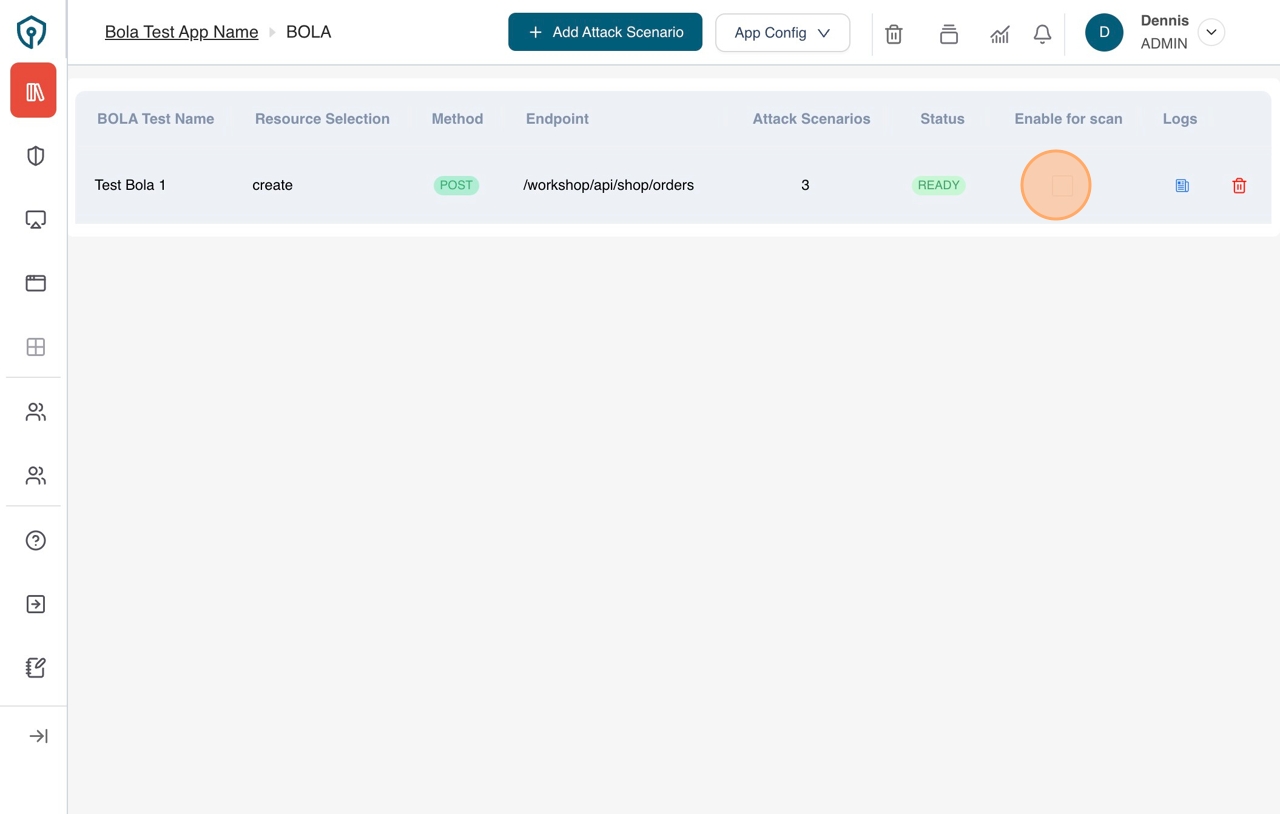
After successfully running the BOLA execution click on the checkbox under the "Enable for scan" column to confirm whether or not the created attack scenario be included in the subsequent scan results.
