APIsec Azure Entra SSO Configuration
Overview
This guide outlines the process for deploying your APIsec SaaS application to the Microsoft Entra application gallery with SAML authentication, with two groups configured for access control.
Prerequisites
- Azure Entra ID tenant with administrative access
- APIsec login with “ADMIN” user role
Implementation Steps
1. Group Provisioning
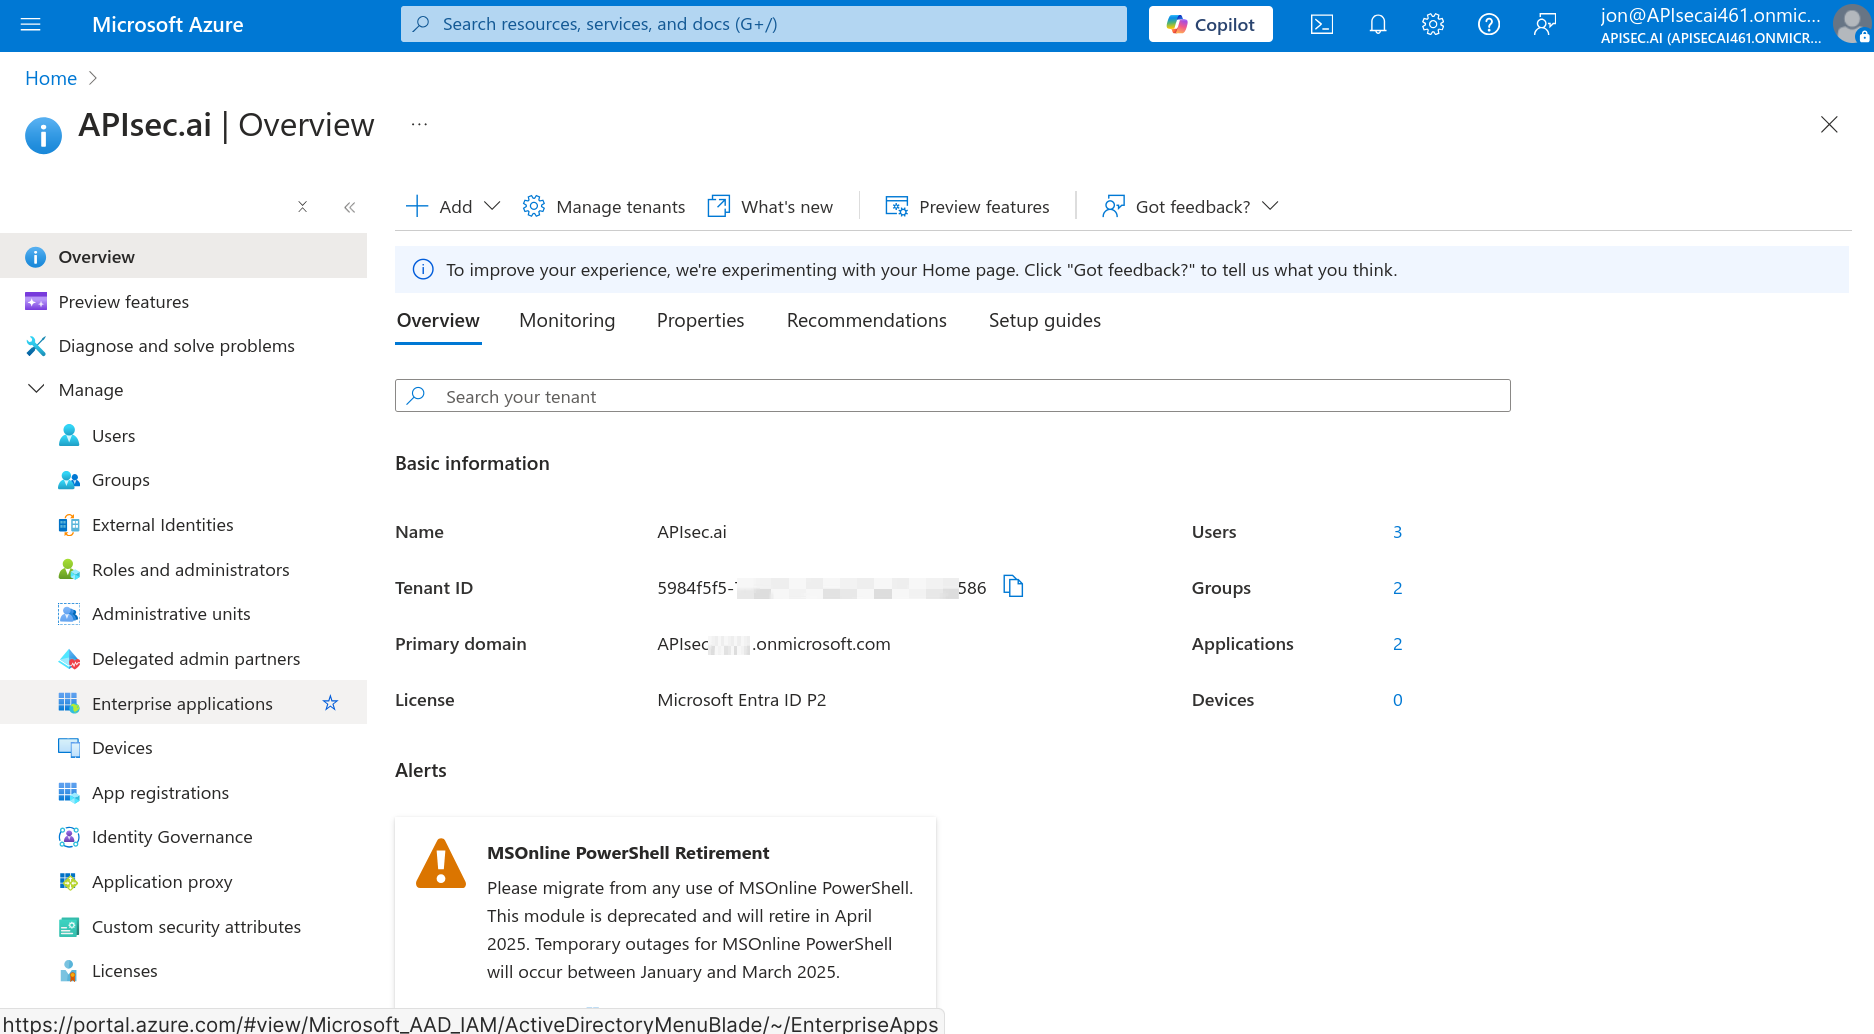
Open Microsoft Entra ID
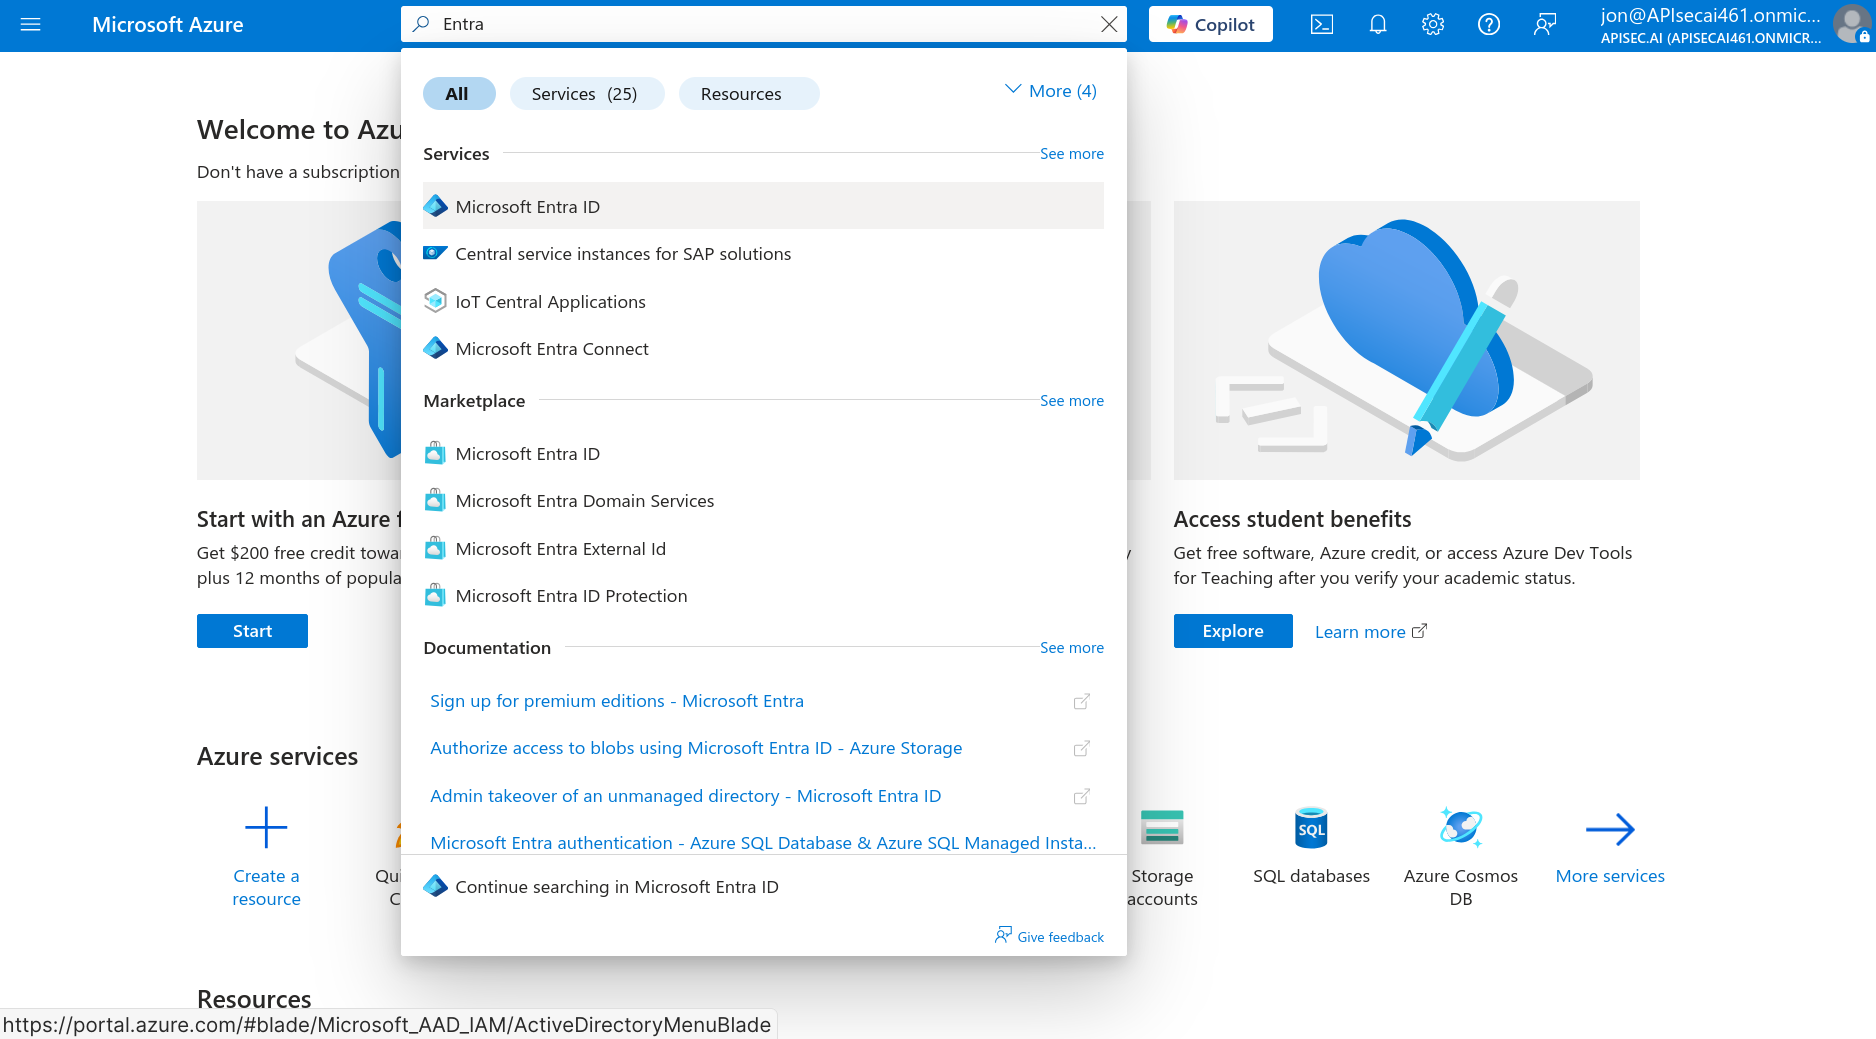
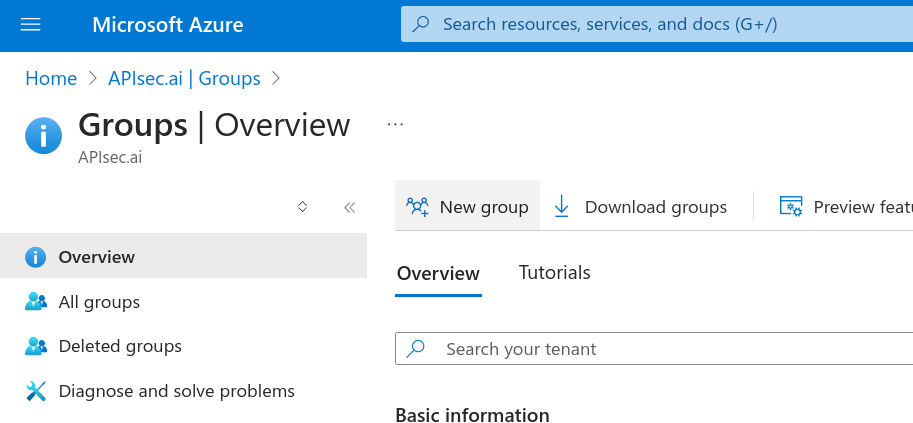
Navigate to Manage > Groups

Select "New group"
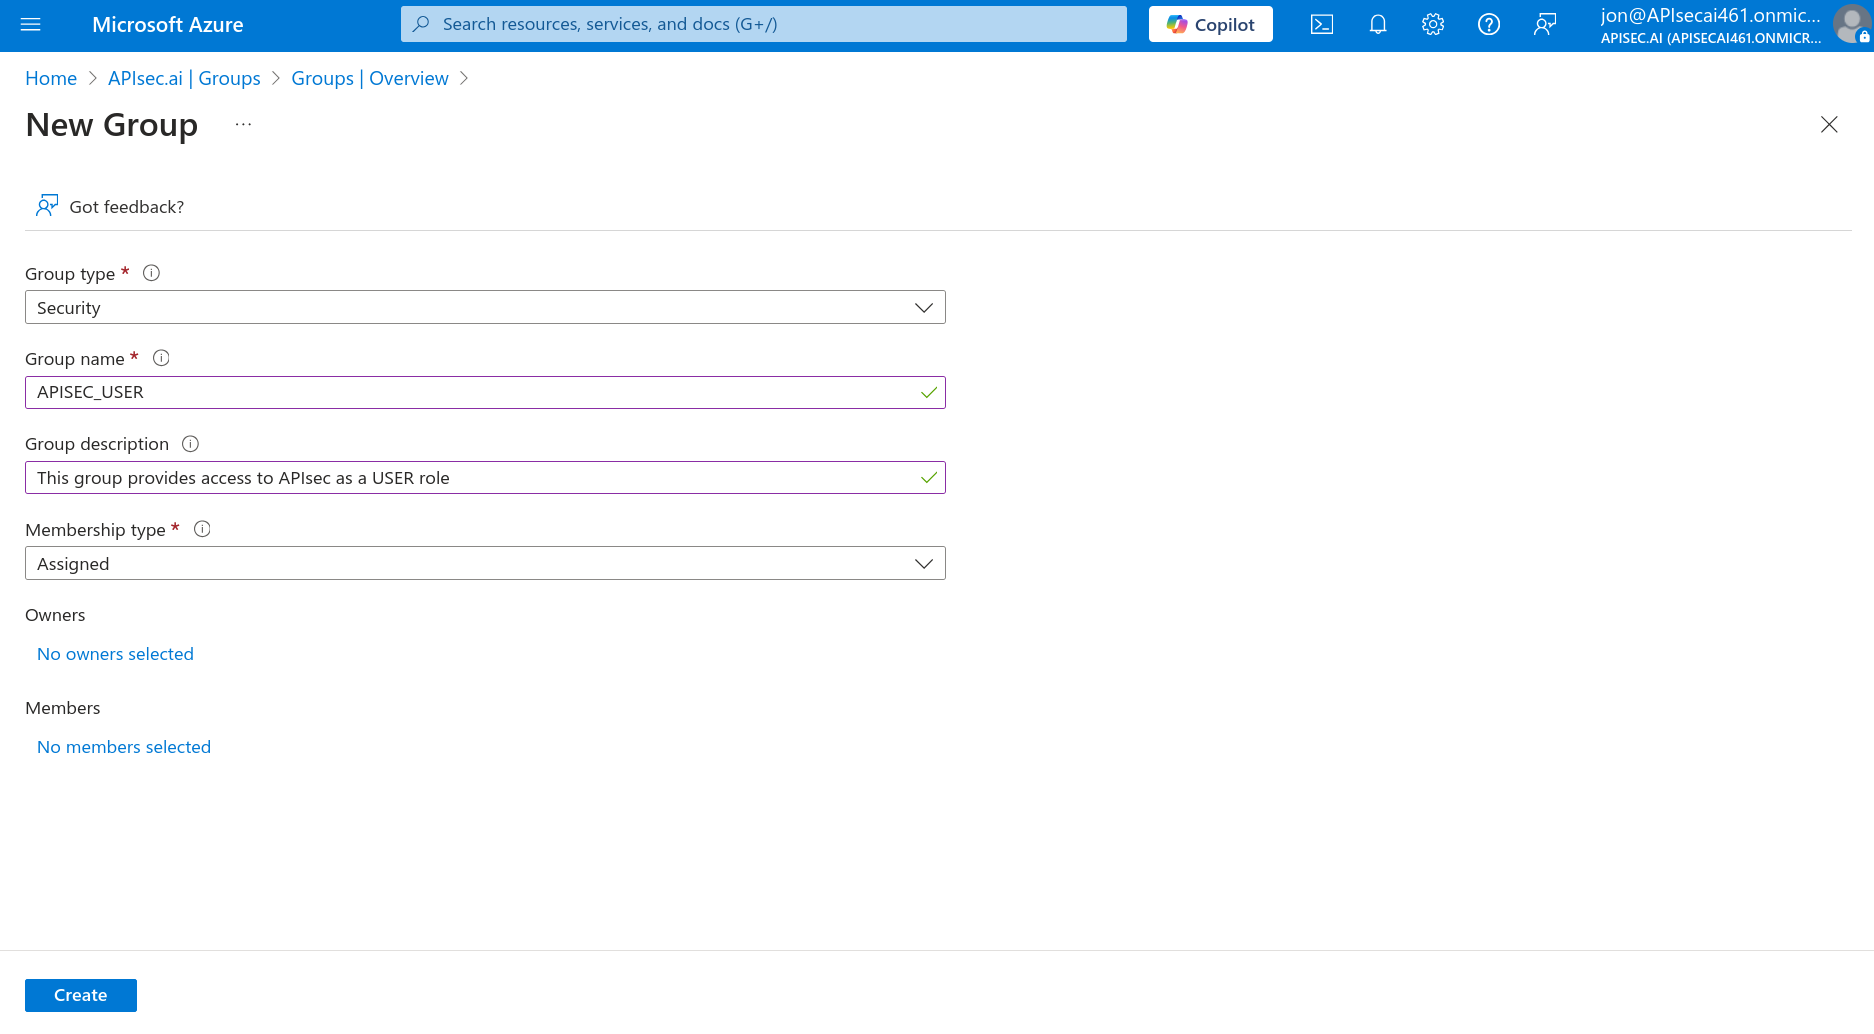
Basic information
-
Create first security group for the APIsec application USER role
- Group type: Security
- Group name: APISEC_USER
- Group description: This group provides access to APIsec as a USER role
- Membership type: Assigned
-
Create second security group for the APIsec application ADMIN role
- Group type: Security
- Group name: APISEC_ADMIN
- Group description: This group provides access to APIsec as an ADMIN role
- Membership type: Assigned
-
Create third security group for the APIsec application VIEWER role
- Group type: Security
- Group name: APISEC_VIEWER
- Group description: Users with read-only (viewer) access in APIsec.
- Membership type: Assigned
👉 Any members added to each group will gain access to your APIsec application with APIsec ADMIN or APIsec USER or APIsec VIEWER role
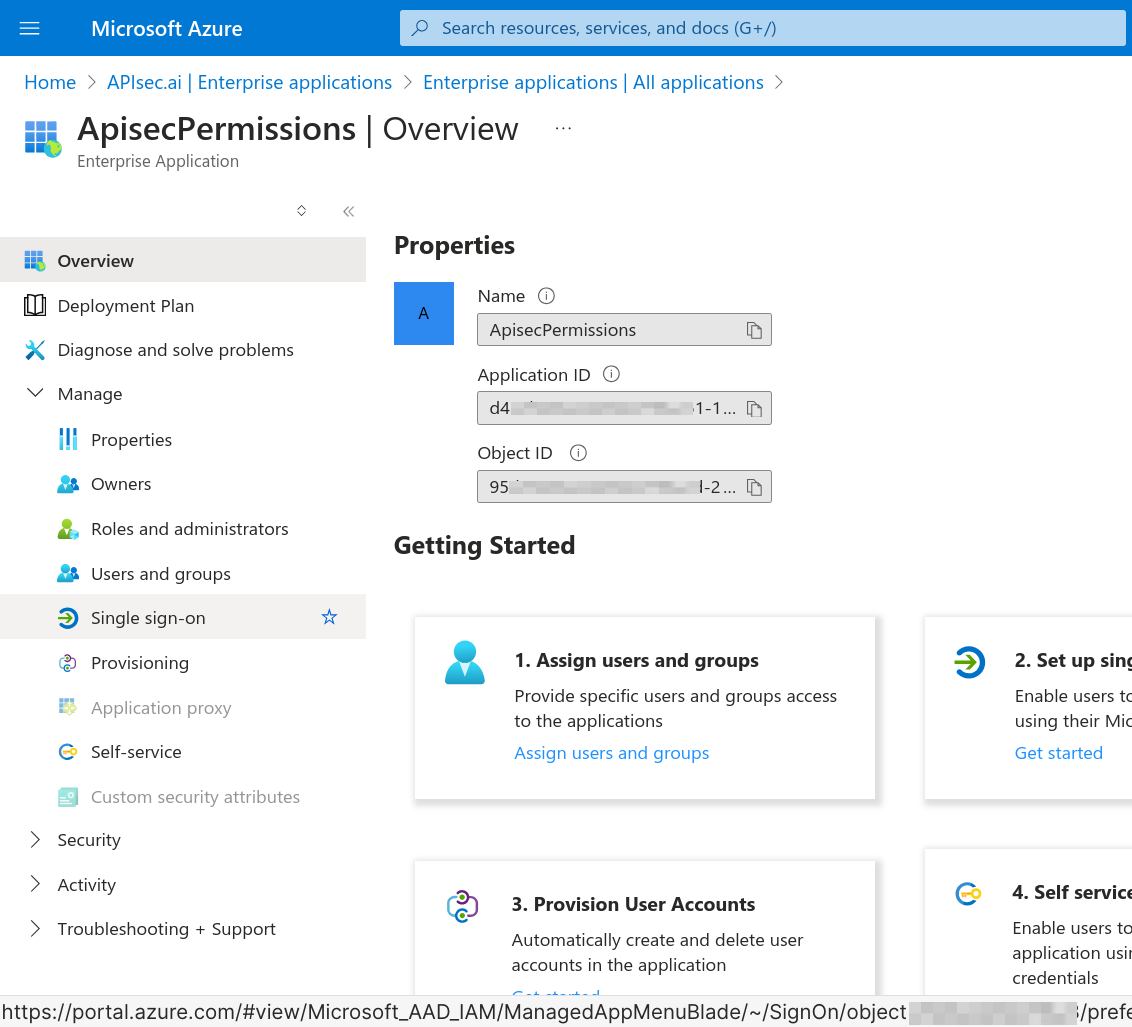
2. Application Registration
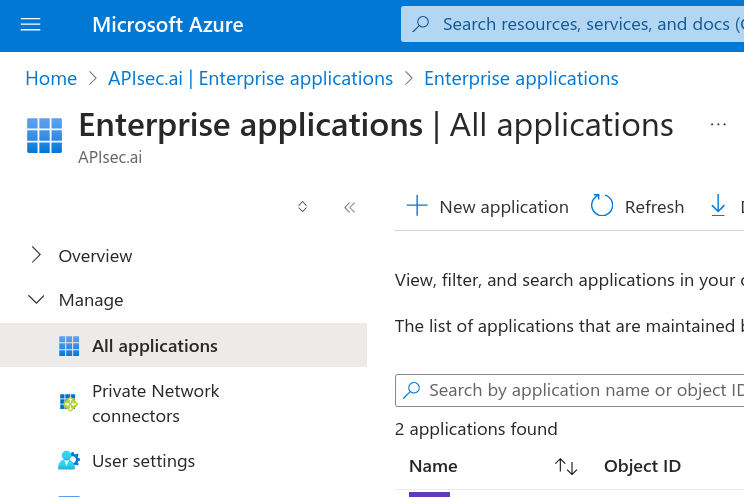
Return to Microsoft Entra ID, and register the application Select "Enterprise applications" from the menu
Basic information.

Create a "New application"
Select "Create your own application"
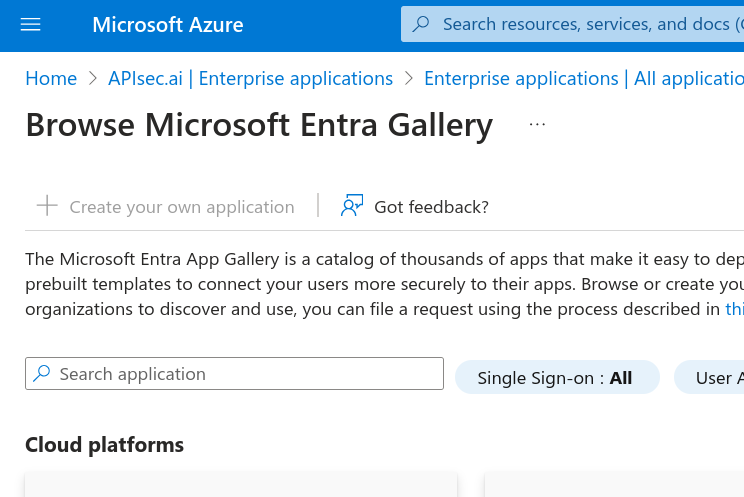
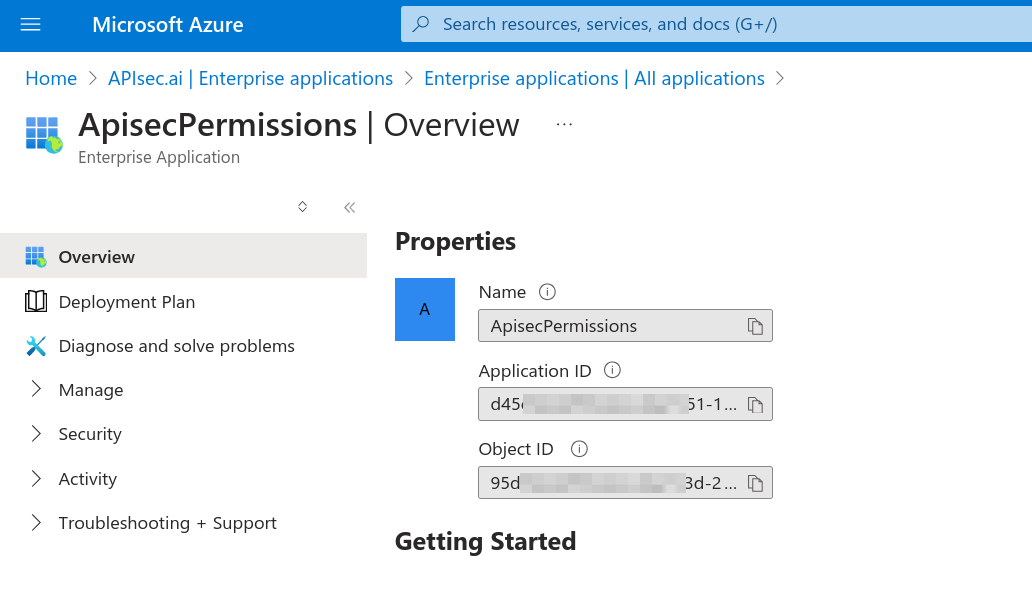
Name the application as appropriate for your organization, e.g. APIsecAccess The radio button for "Integrate any other application you don’t find in the gallery (Non-gallery)" should be selected Click the blue "Create" Configure basic properties and redirect URIs From the left navigation, select Manage then open Users and groups
Select Add user/group
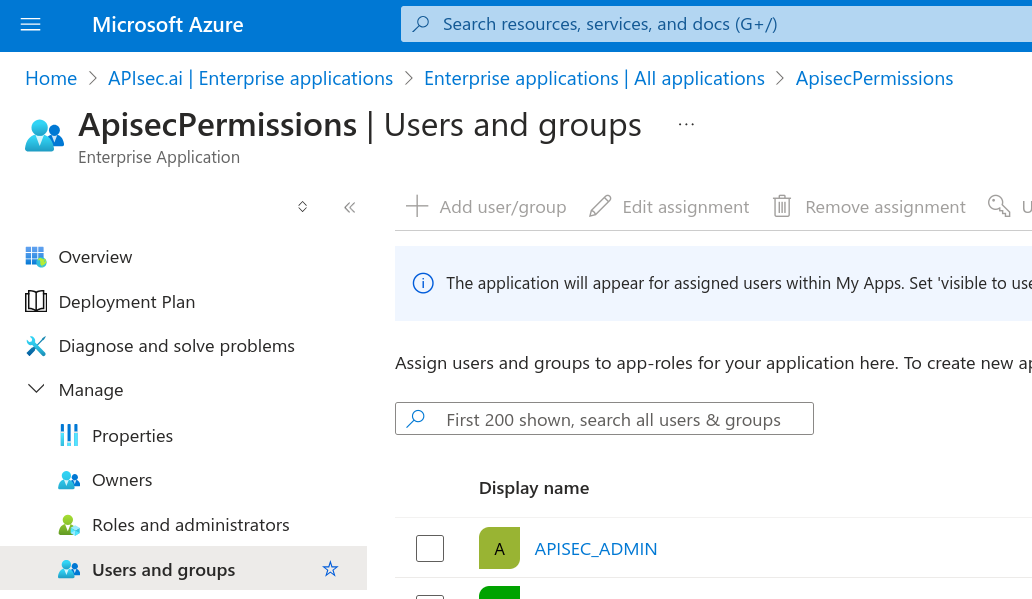
In Add Assignment
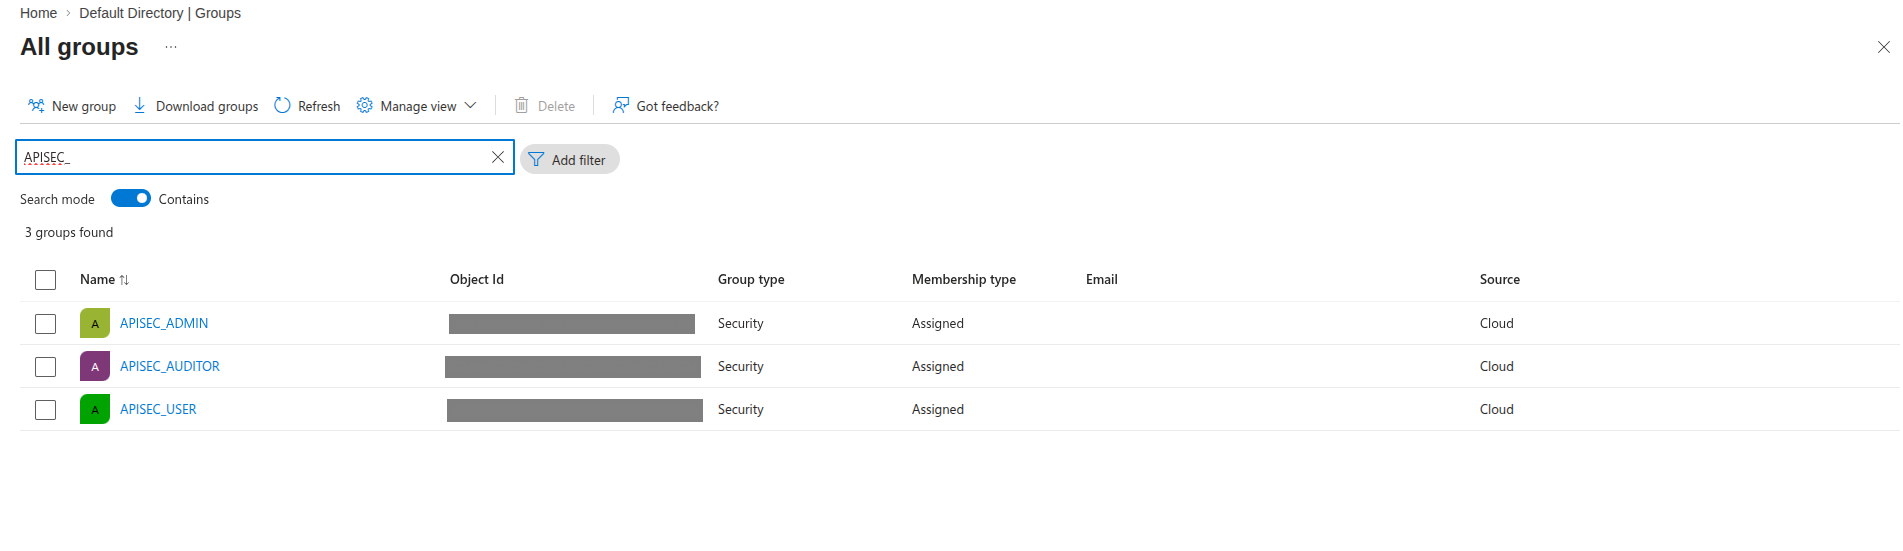
Search for APISEC* (the two groups created above)
Check the boxes for APISEC_ADMIN, and APISEC_USER
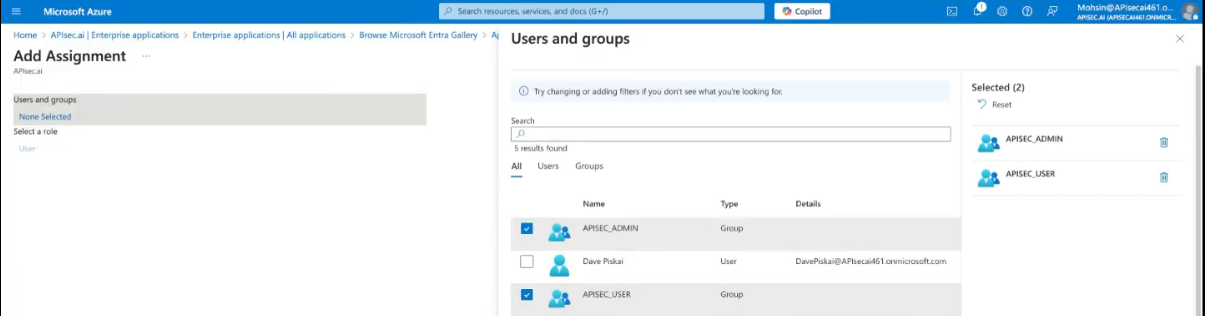
Select and then "Assign"
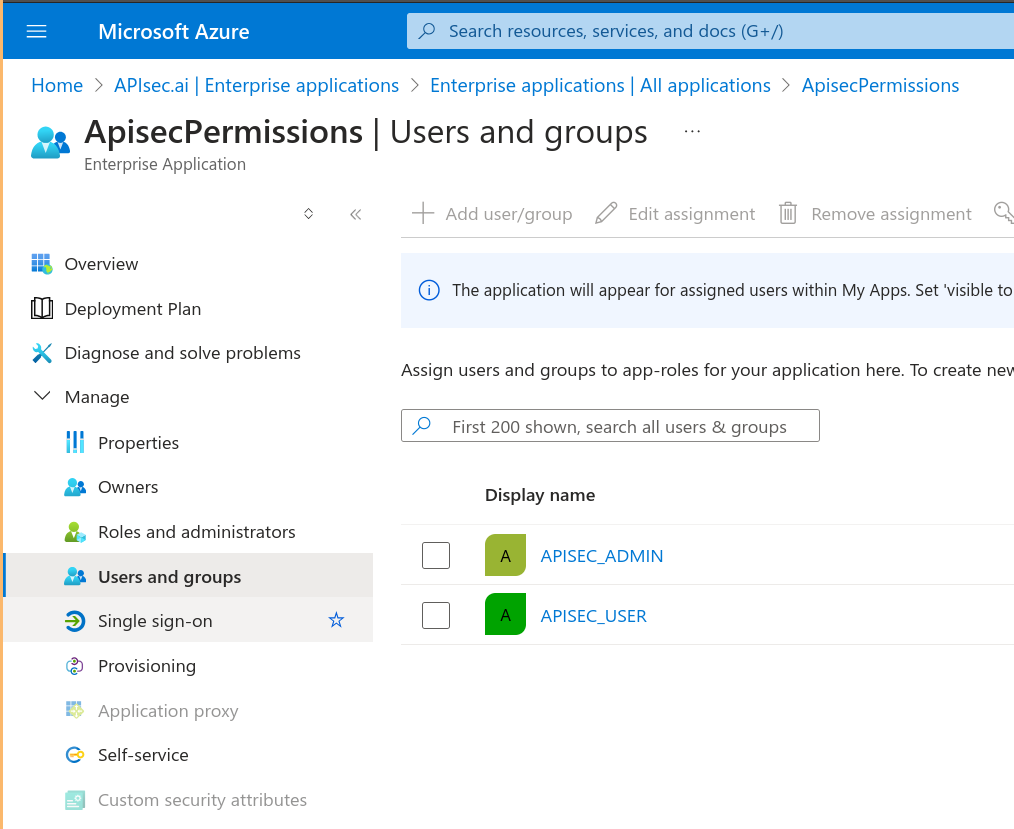
👉 These two groups are now assigned to the enterprise application
3. Single sign-on Configuration
In the Enterprise Application, select the Single sign-on menu item from the Manage menu.
Select the large SAML button (single sign-on method)
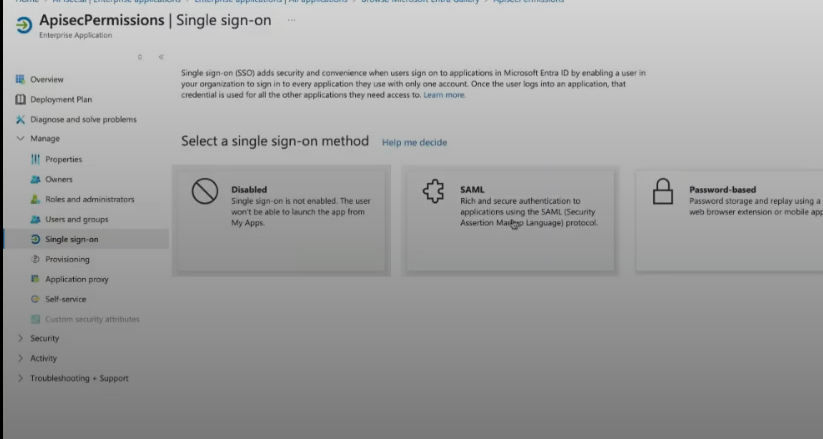
We will step-by-step configure identifiers and reply URLs in the "Set up Single Sign-On with SAML"
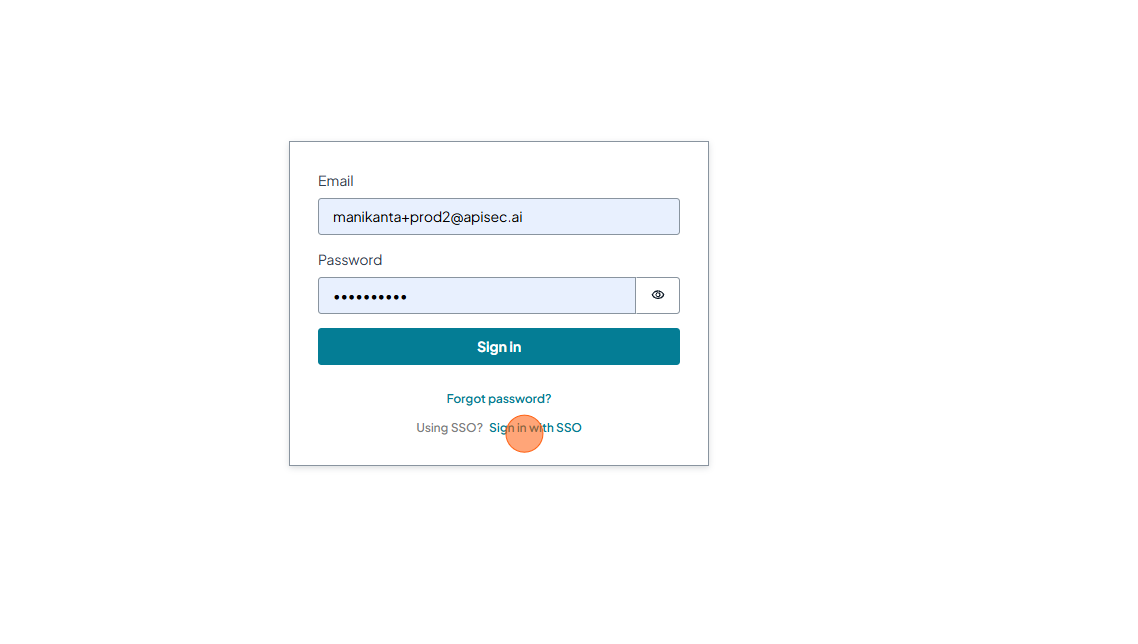
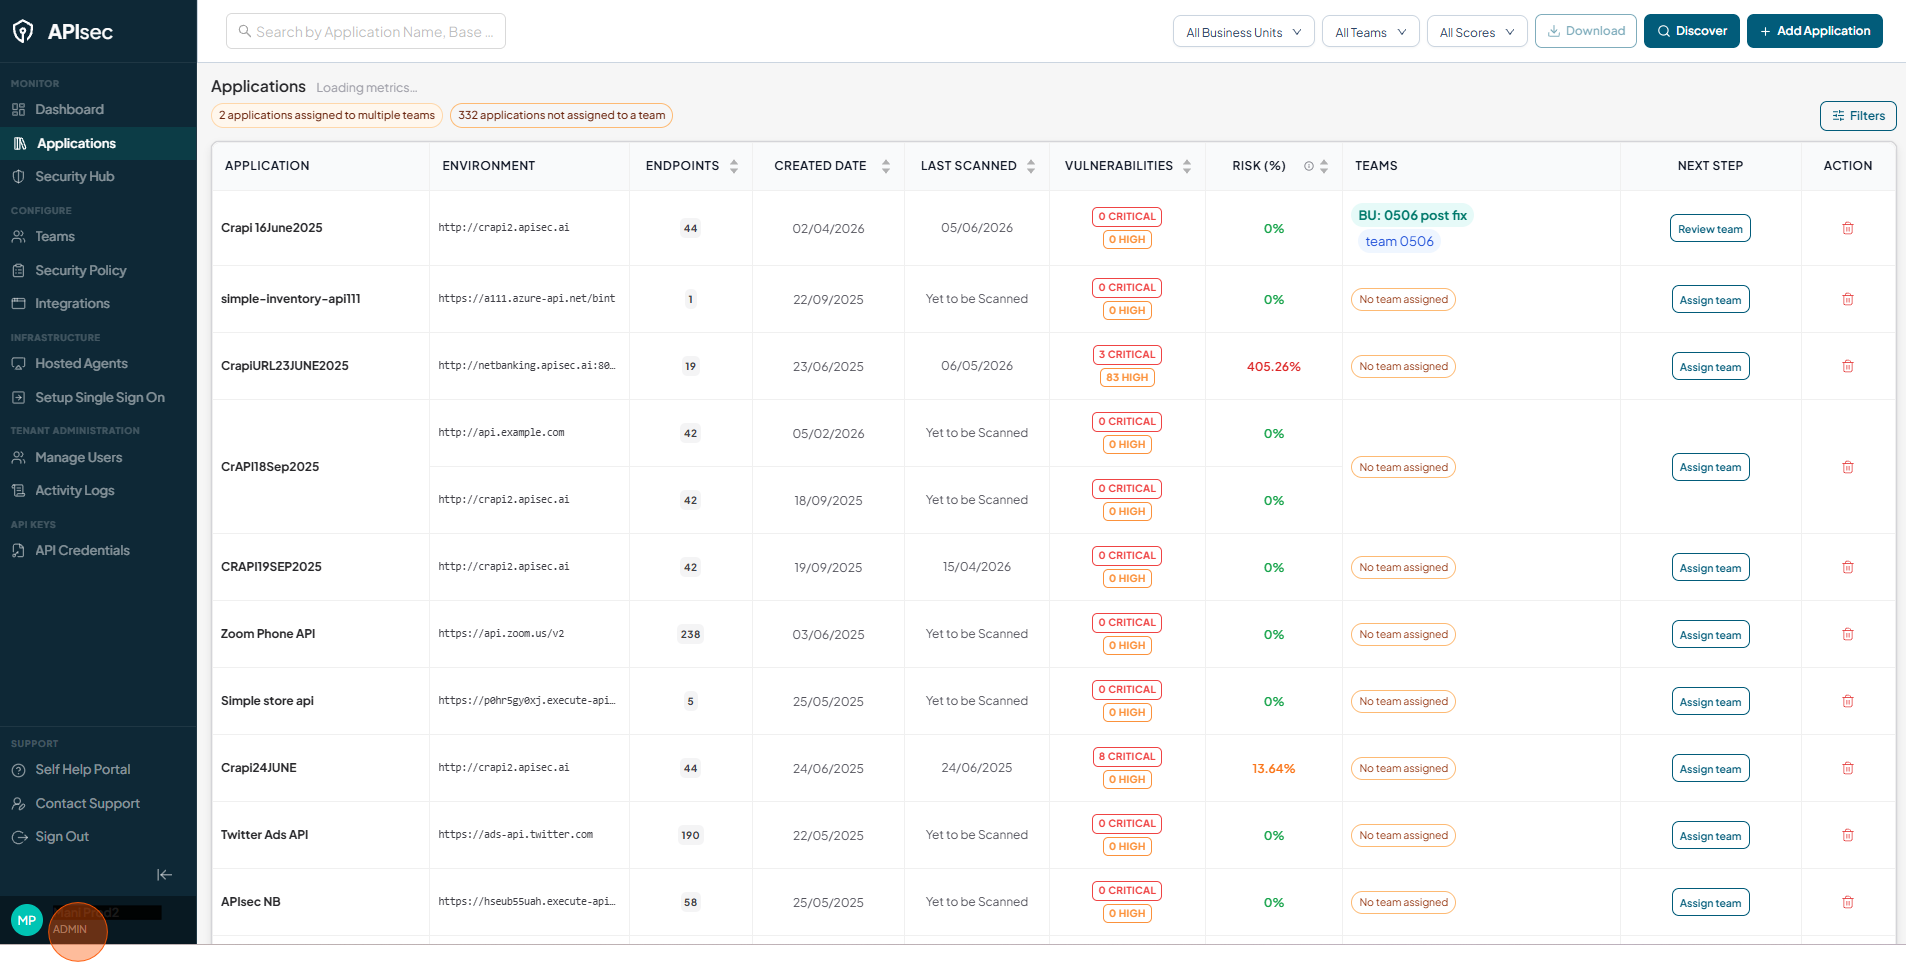
4. APISec Login with SSO and configure
-
Login to APIsec as a tenant ADMIN (first login may require new password)
-
Verify the user is ADMIN
-
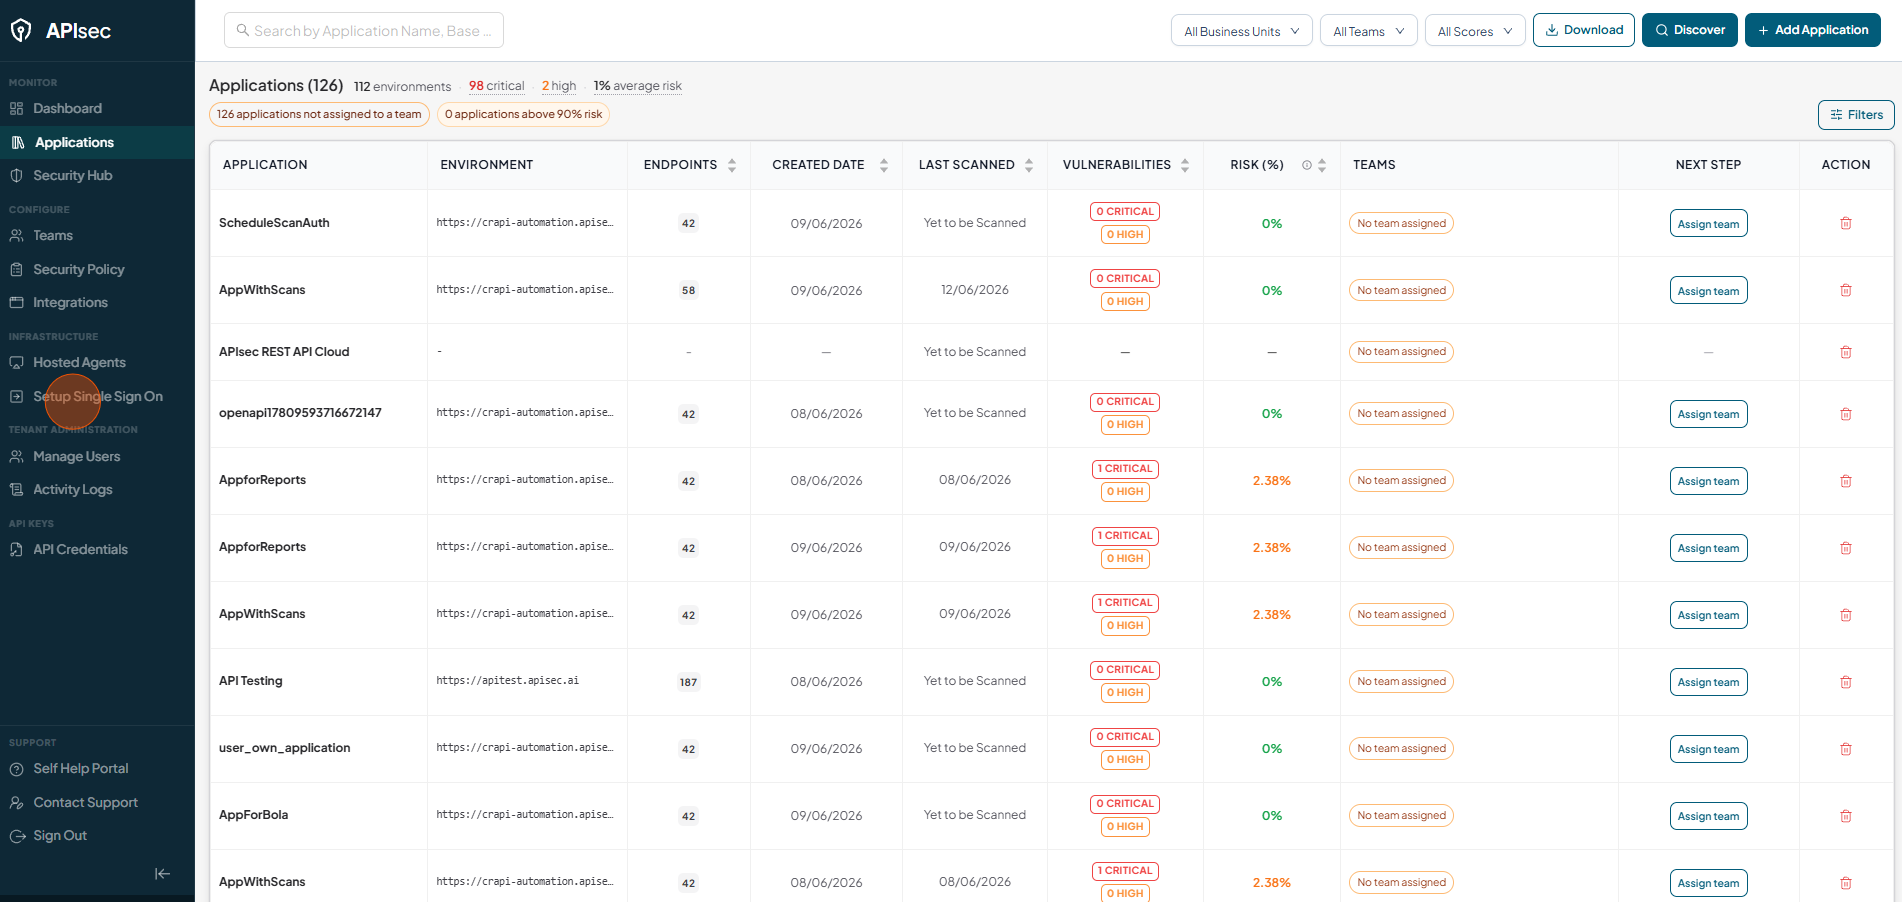
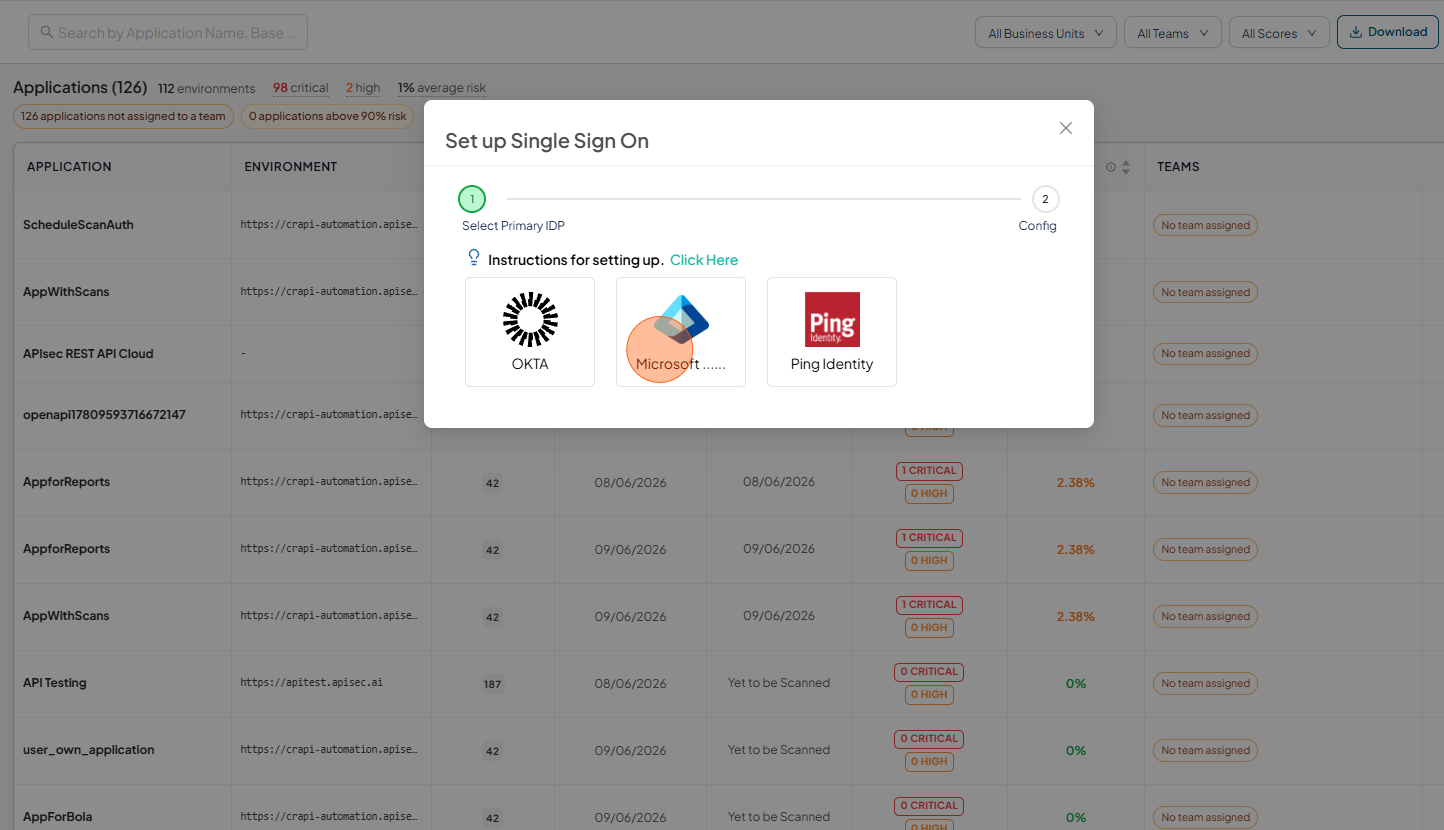
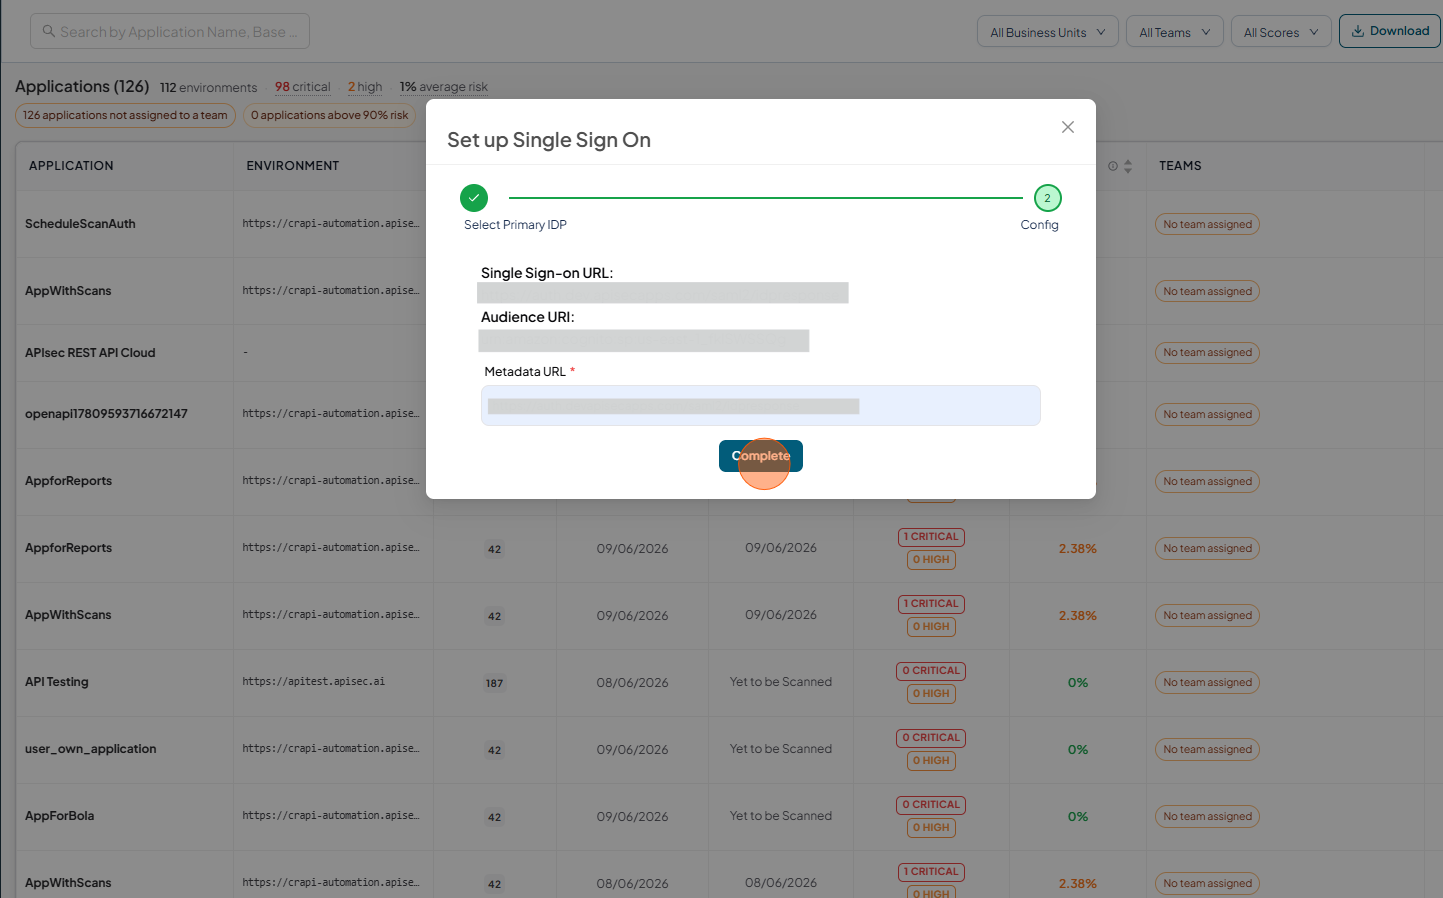
Click Setup Single Sign On
-
Select Microsoft Entra ID
👉 Copy the Single SignOn Url and the Audience URI
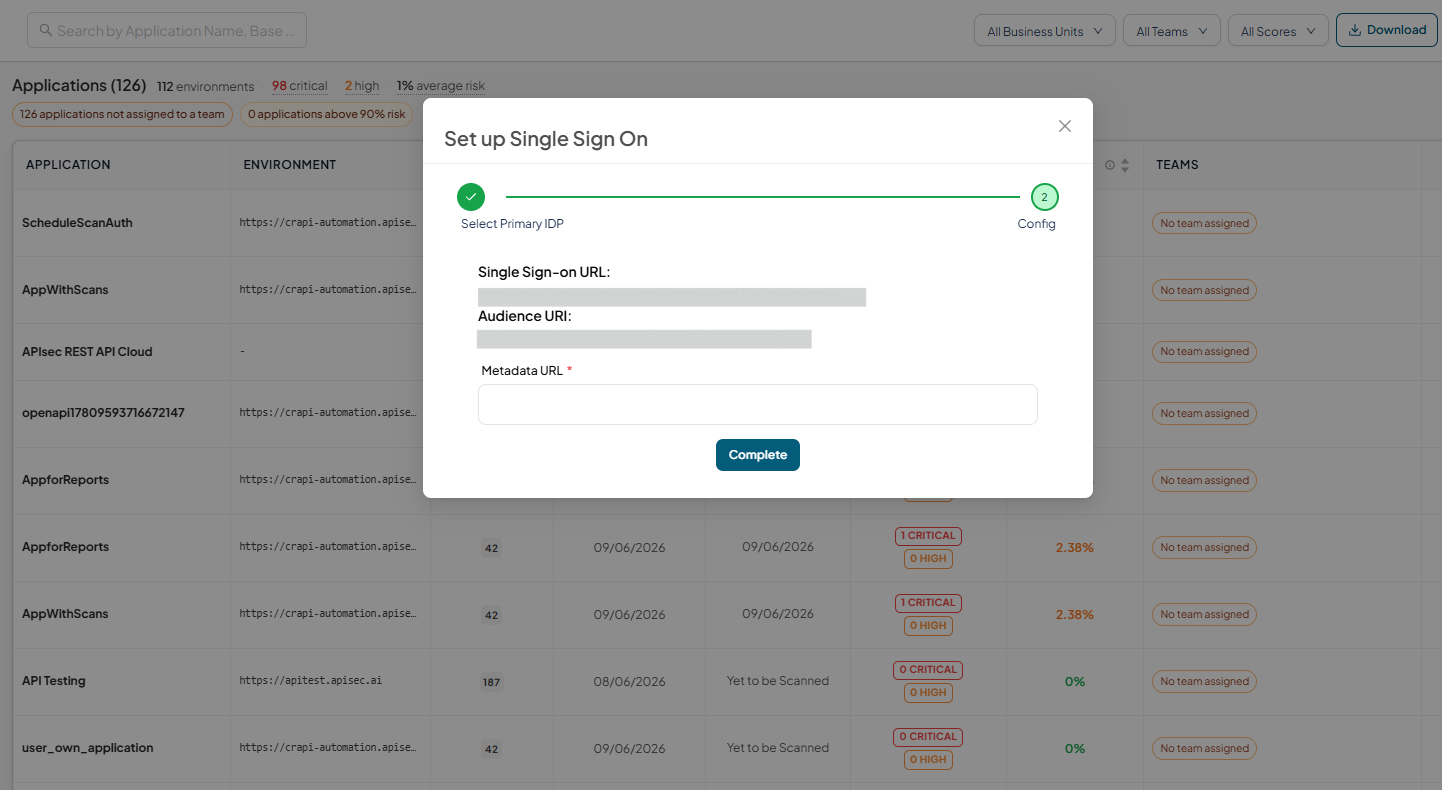
👉 Audience URI: is your Microsoft, Basic SAML Configuration, Identifier (Entity ID)
urn:amazon:cognito:sp:us-east-1_fkxxxxxg
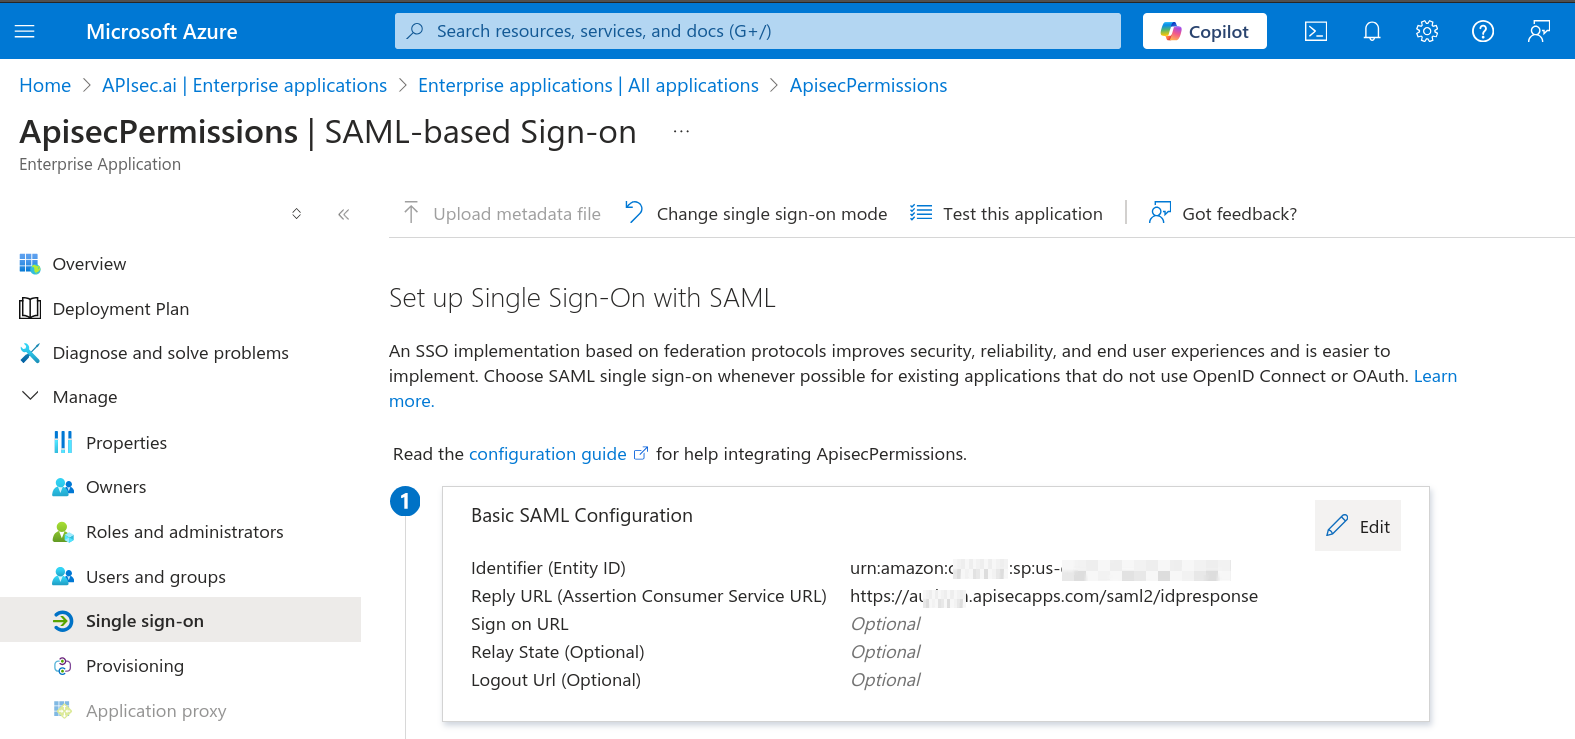
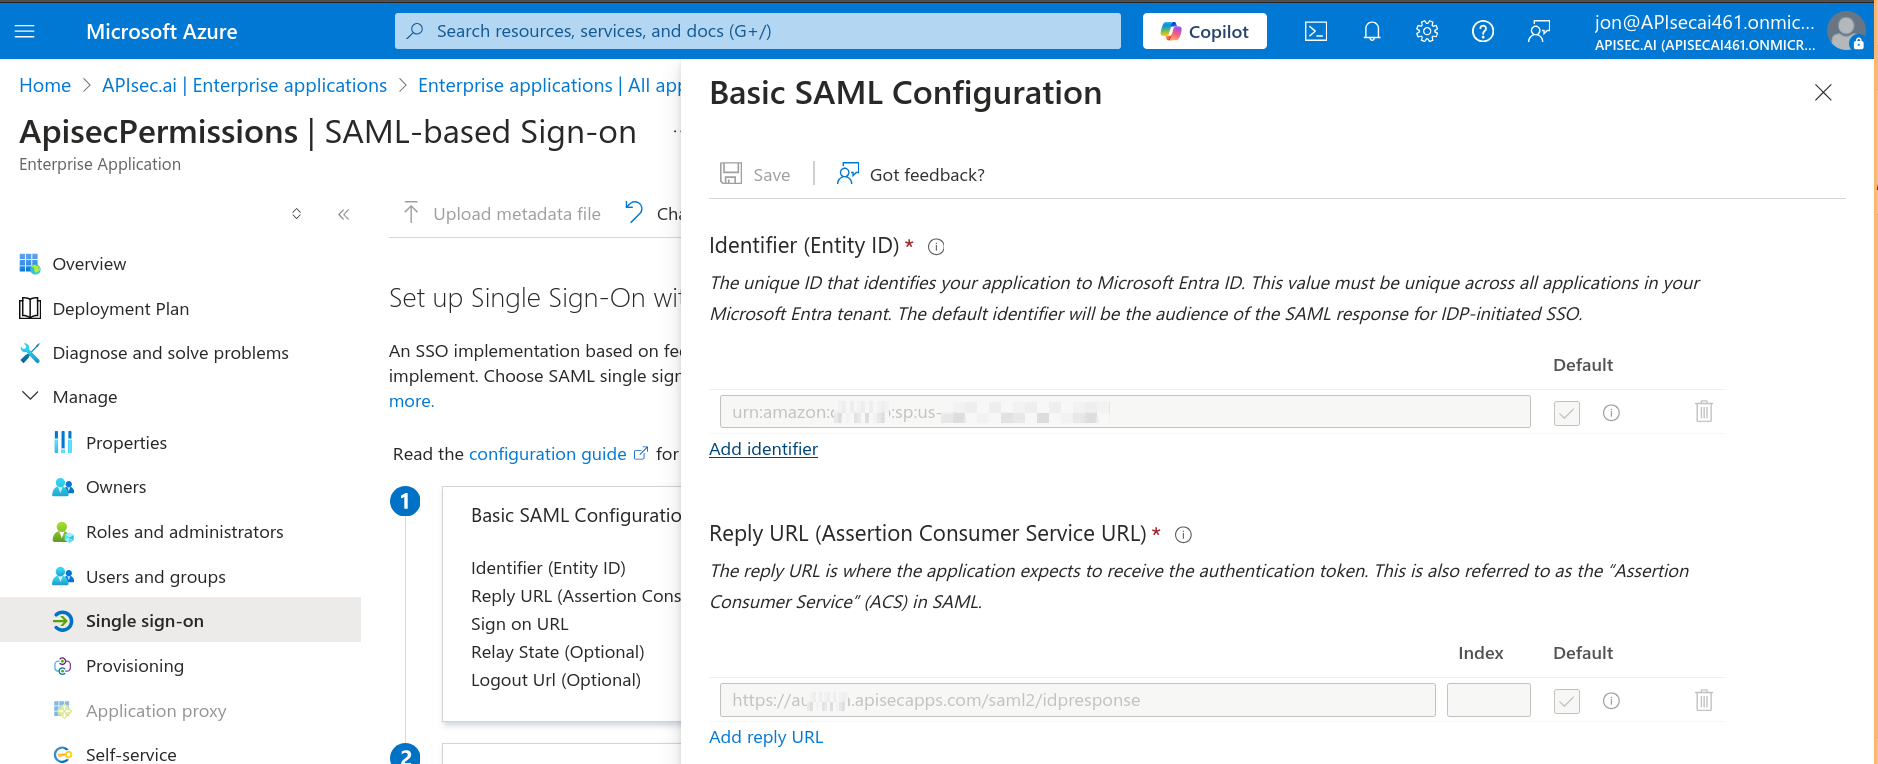
In Entra, Choose "Edit" (Step 1. Basic SAML Configuration) in the Azure portal
Click Add identifier and paste the Audience URI
👉 Single SignOn Url: is your Microsoft, Basic SAML Configuration, Reply URL (Assertion Consumer Service URL)
urn:amazon:cognito:sp:us-east-1_fkxxxxxg
In Azure Enterprise Application, Basic SAML Configuration
Click "Add reply URL"
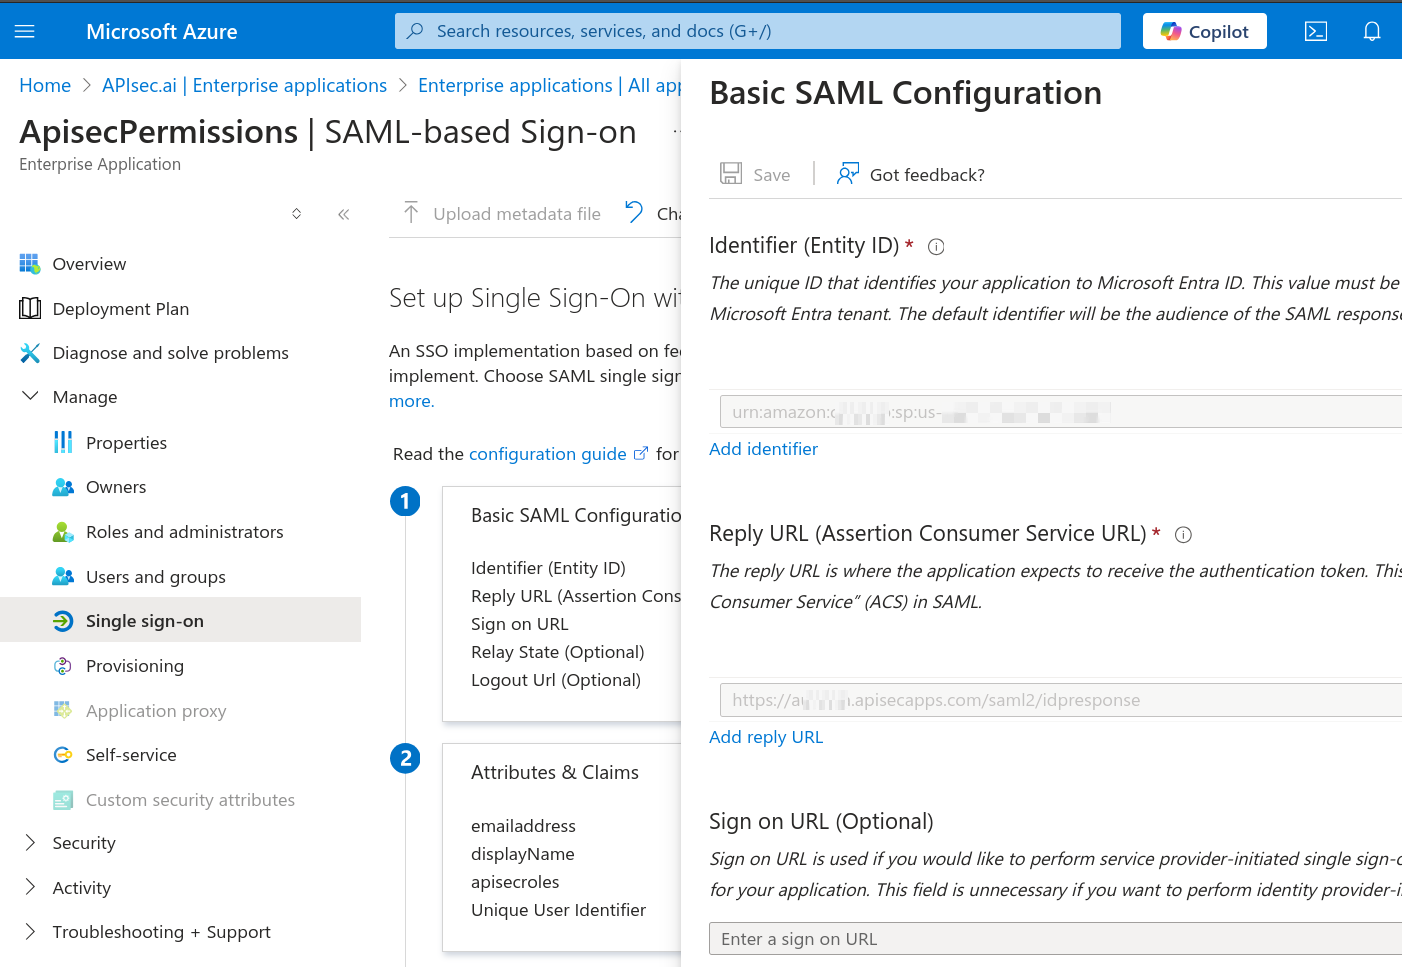
Step 1: Paste your APIsec "Single SignOn Url" as the Entra ID "Reply URL (Assertion Consumer Service URL)" Click "Save" Next we will "Edit"
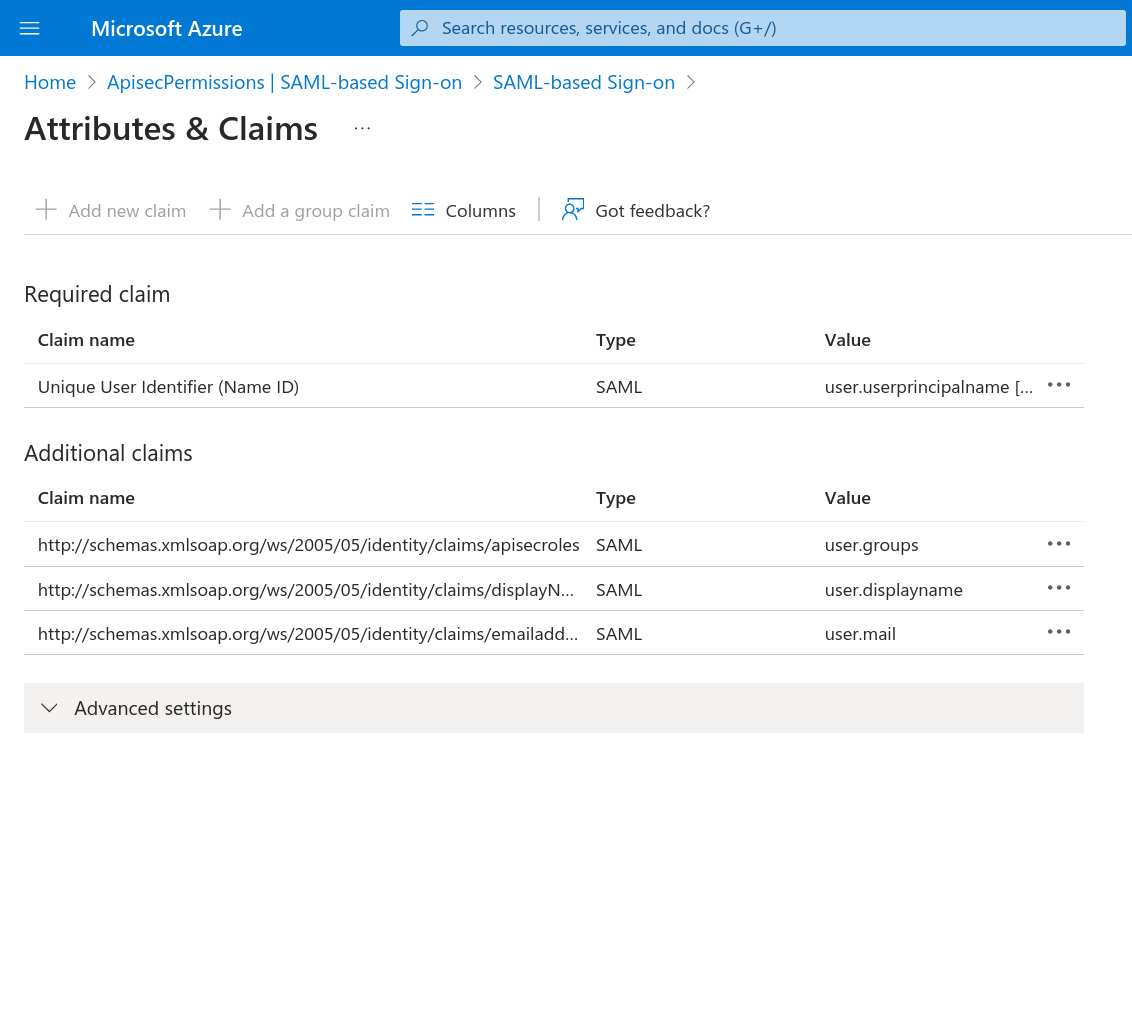
Step 2: Attributes & Claims in Entra under "Set up Single Sign-On with SAML"
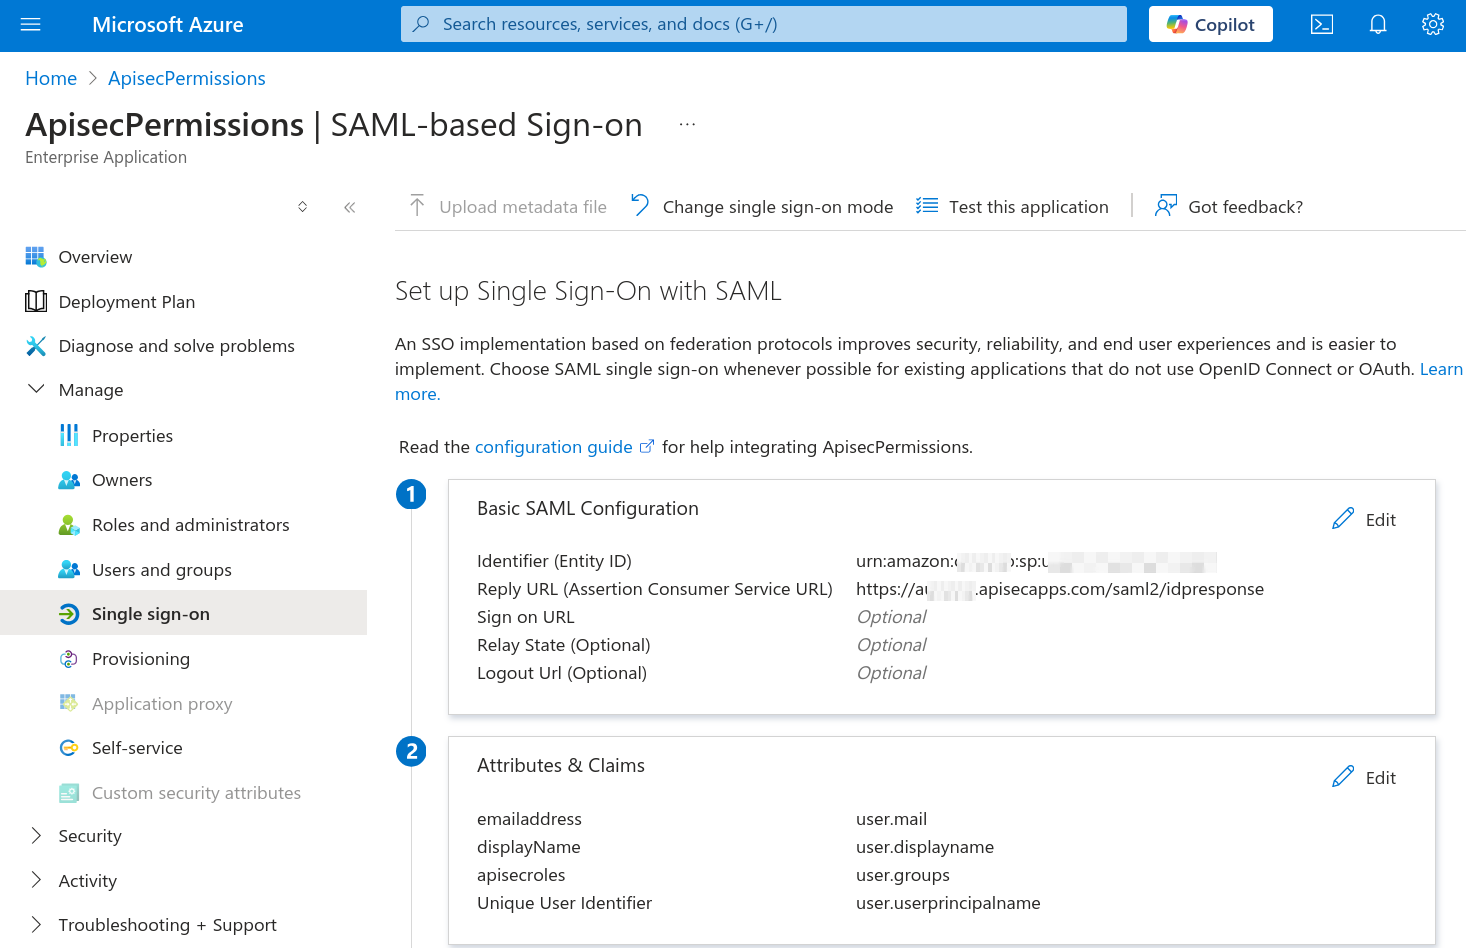
👉 The claims we need are
- user.userprincipalname
- user.groups
- user.displayname
- user.mail
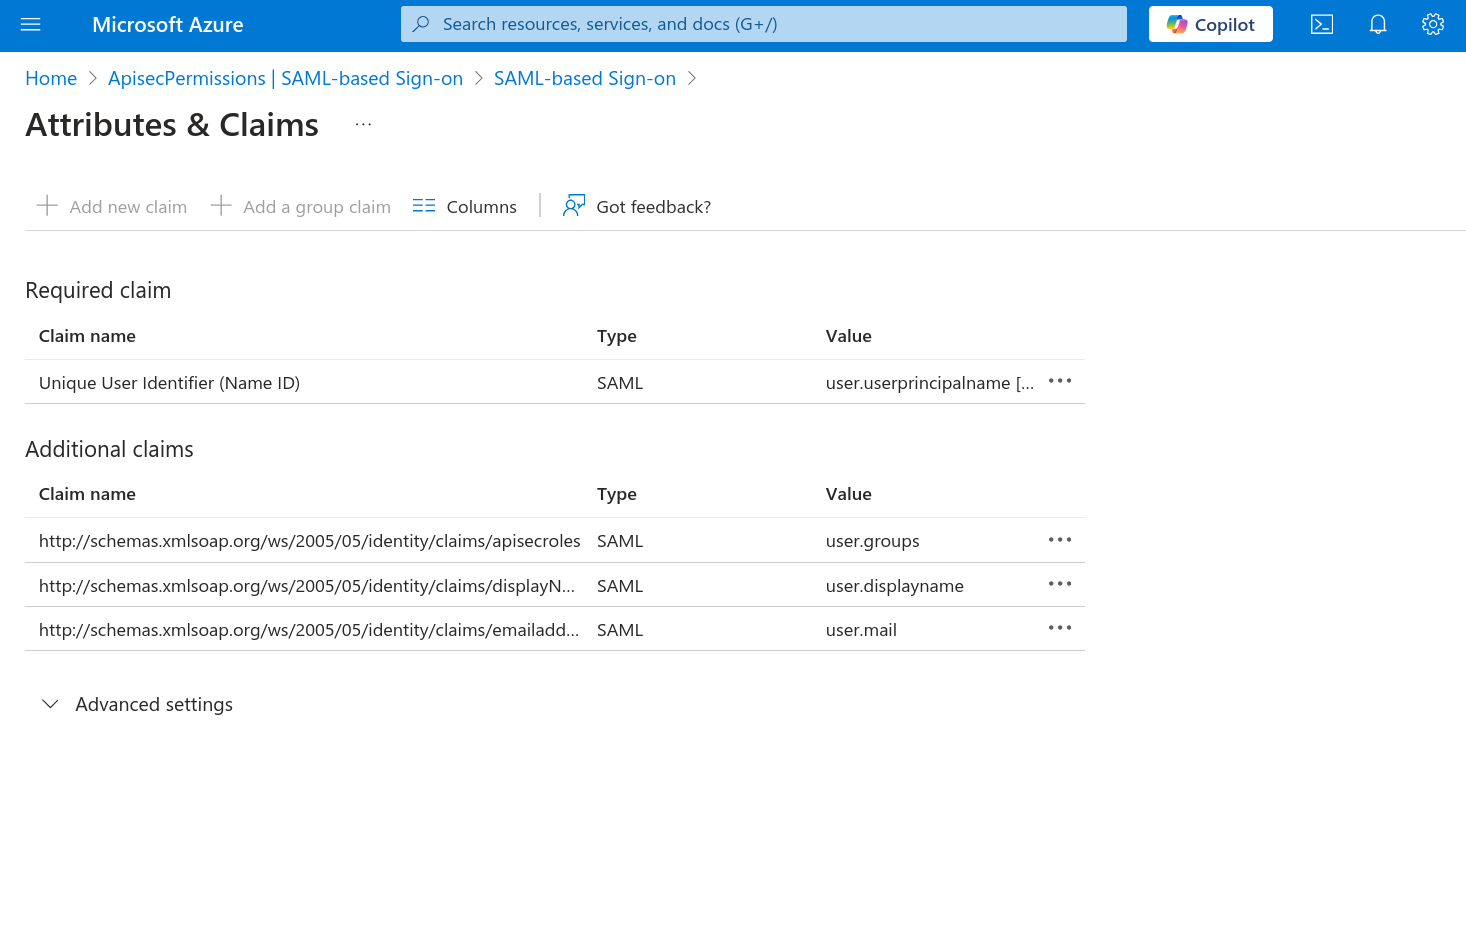
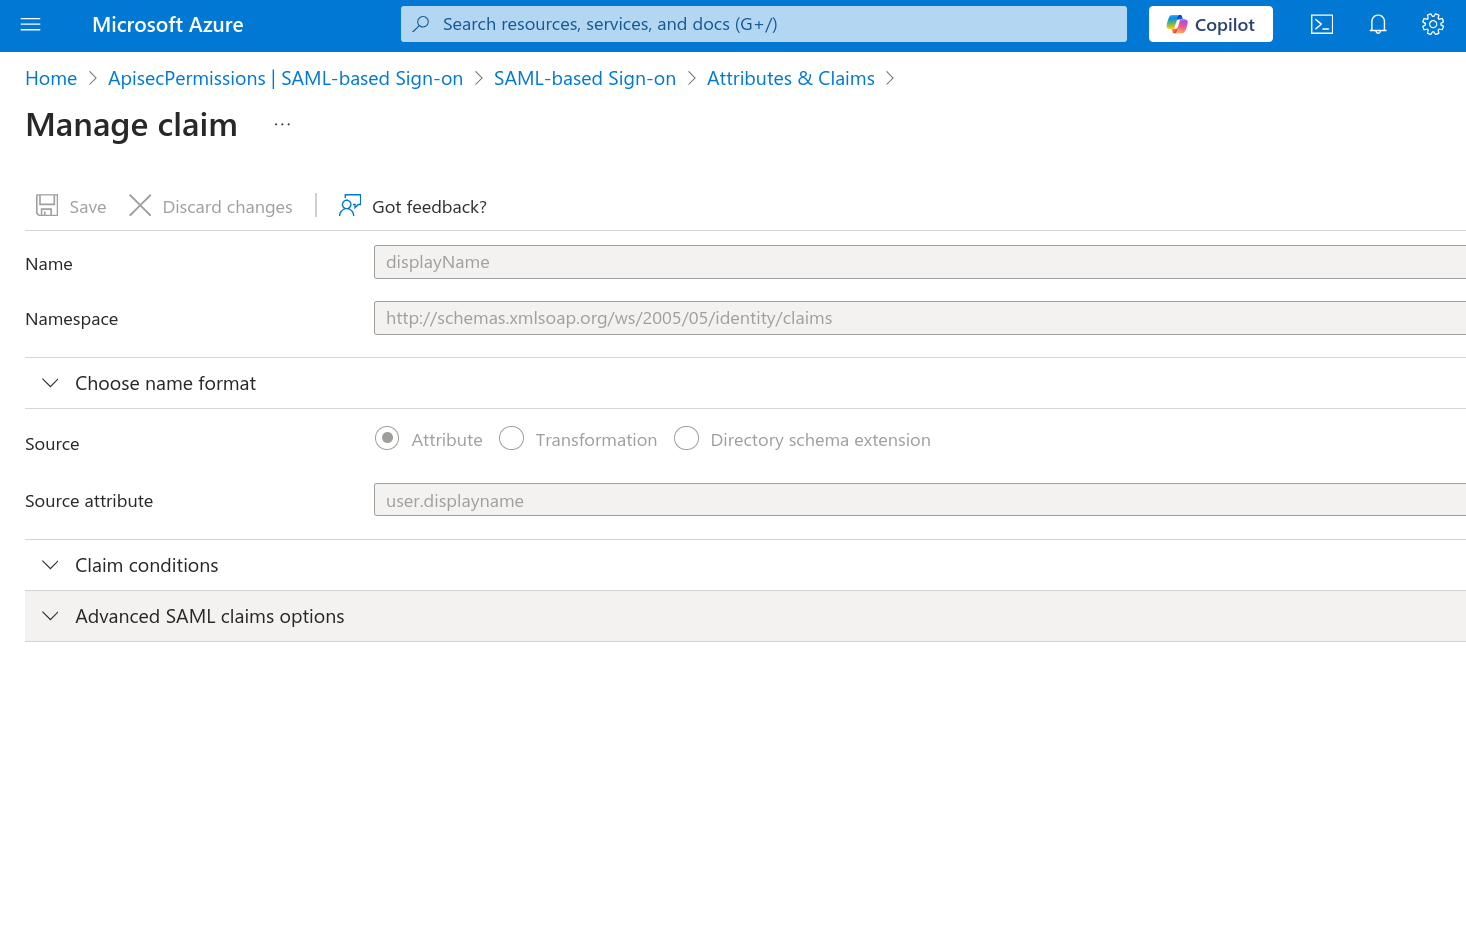
Click Add new claim
Name is displayName
Use the Namespace for claims:
http://schemas.xmlsoap.org/ws/2005/05/identity/claims
For Source, the radio button "Attribute" will allow you to select "user.displayname"
Click "Save"
Repeat for email: Click "Add new claim"
Name is "emailaddress"
Use the (same) Namespace for claims:
http://schemas.xmlsoap.org/ws/2005/05/identity/claims
The Source is Attribute "user.primaryauthoritativeemail"
Click "Save"
Please delete any additional unnecessary "Additional claims" including surname, givenname. We only need the Required claim: UUID, and Additional claims: user.groups, user.displayname, and user.mail.
We will select "Add a group claim"
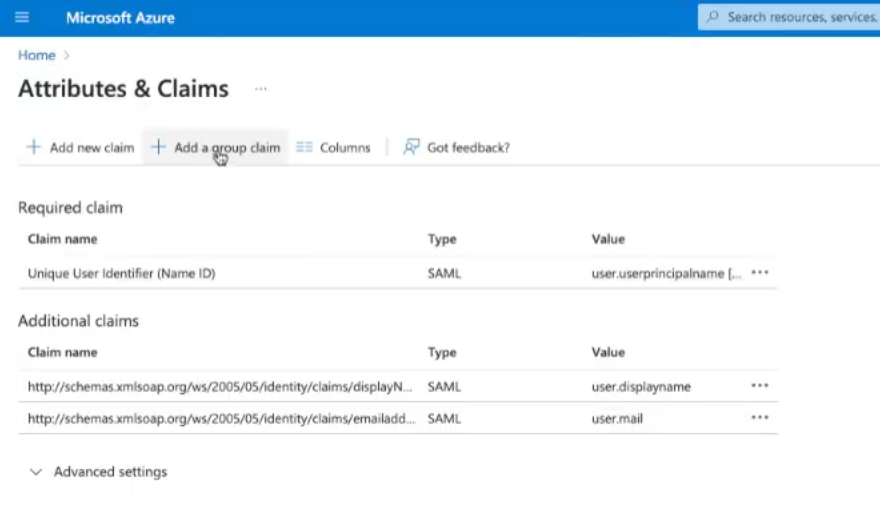
The "Group Claims" configuration will open.
Choose "Groups assigned to the application"
Select Source attribute "Cloud-only group display names"
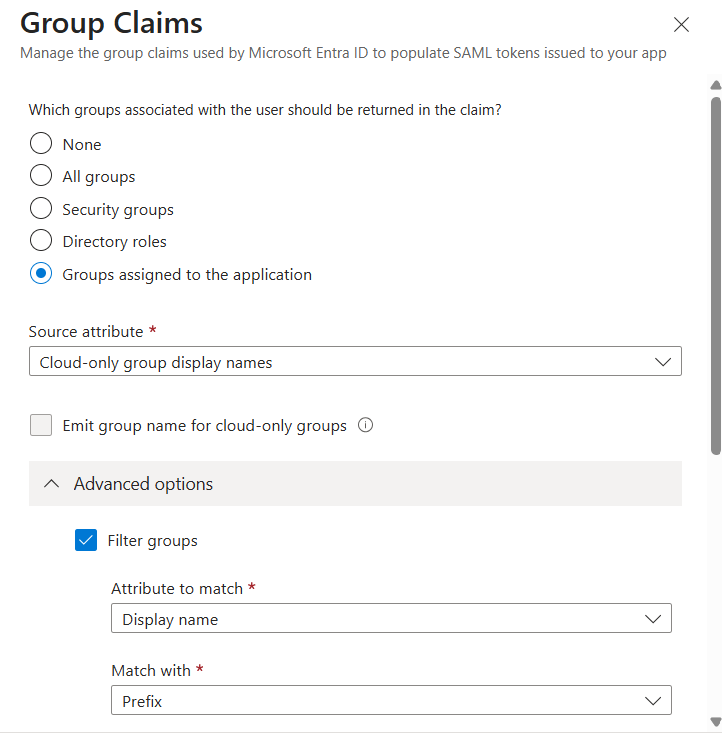
Select "Advanced options" and check "Filter groups"
Attribute to match: "Display name"
Match with String "APISEC" (should match the Group names created above)
Check "Customize the name of the group claim"
Use Name (required): "apisecroles"
Use the (same) Namespace for all claims:
http://schemas.xmlsoap.org/ws/2005/05/identity/claims
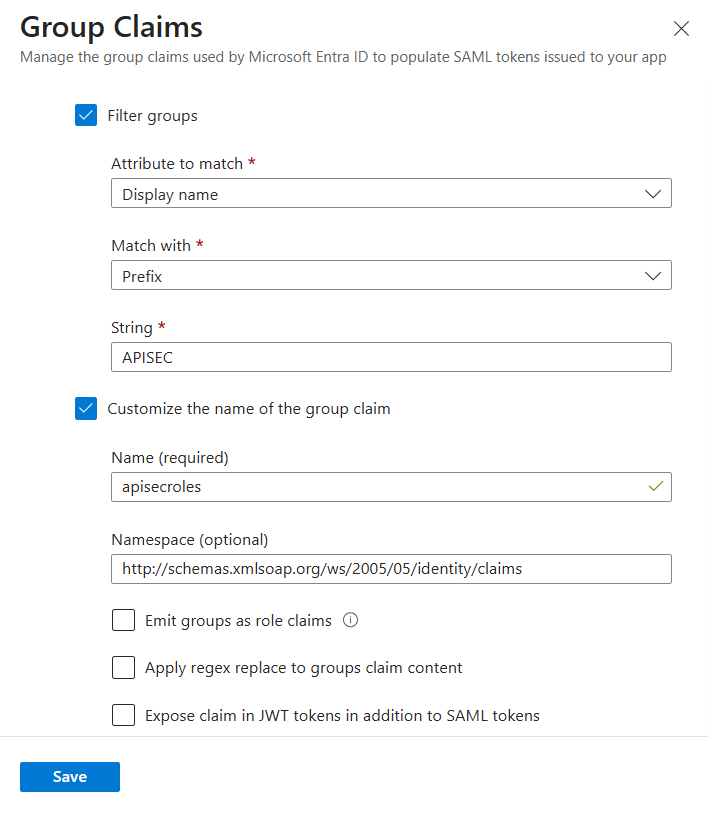
Click "Save"
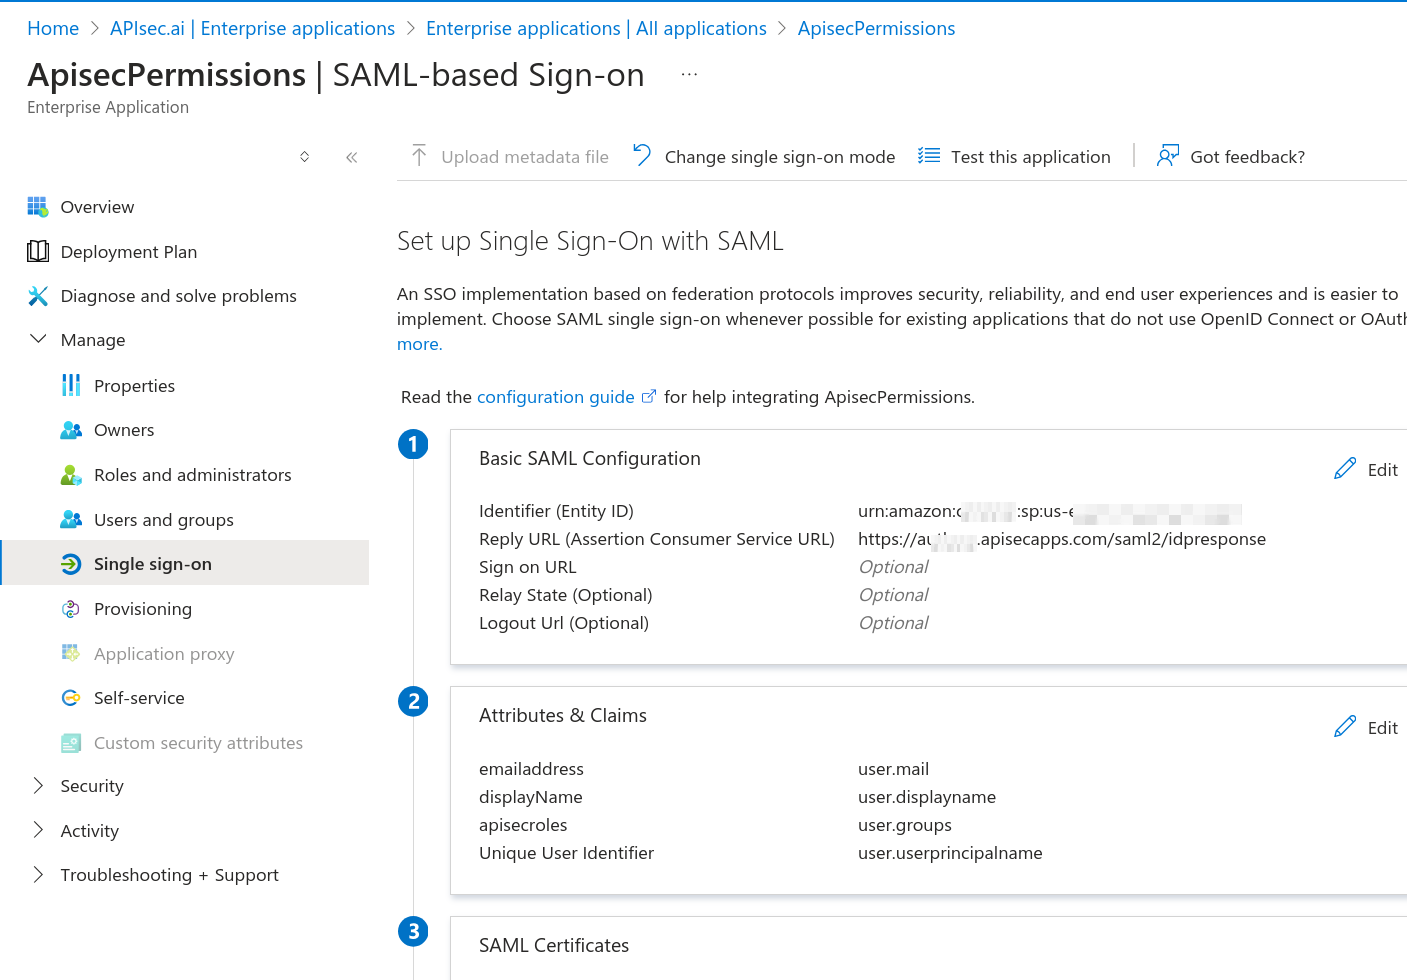
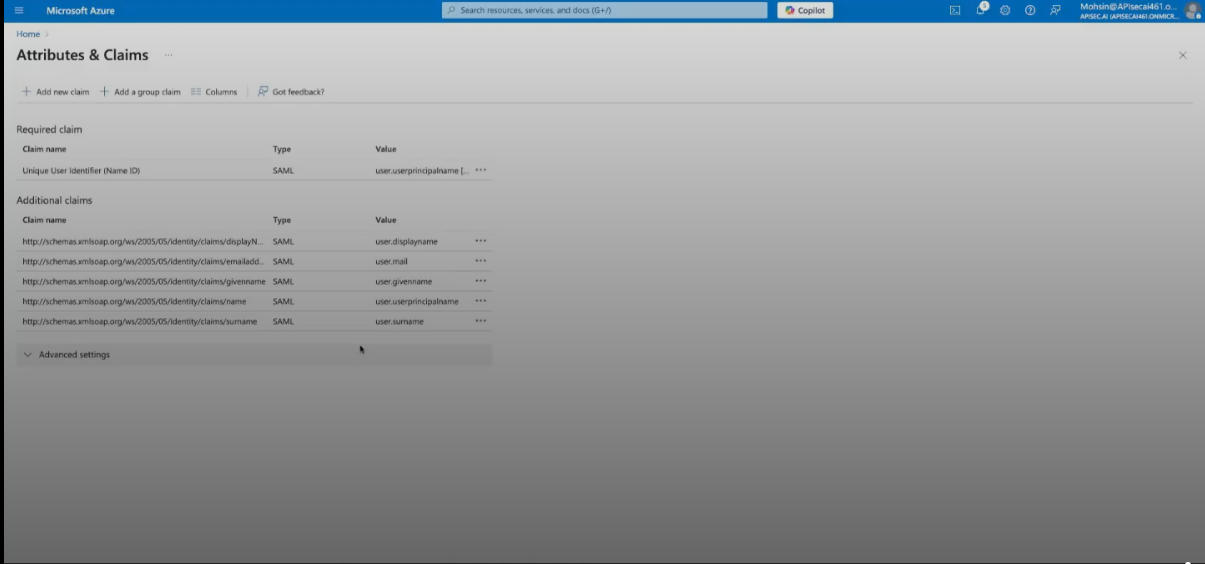
The completed SAML Configuration will have these attributes and claims
Please return to your Enterprise Applications
Select your APIsec application, select Manage, and click "Single sign-on"
We now look in Section 3, of SAML-based Sign-on for "App Federation Metadata Url"
Use the convenient "Copy to clipboard" link
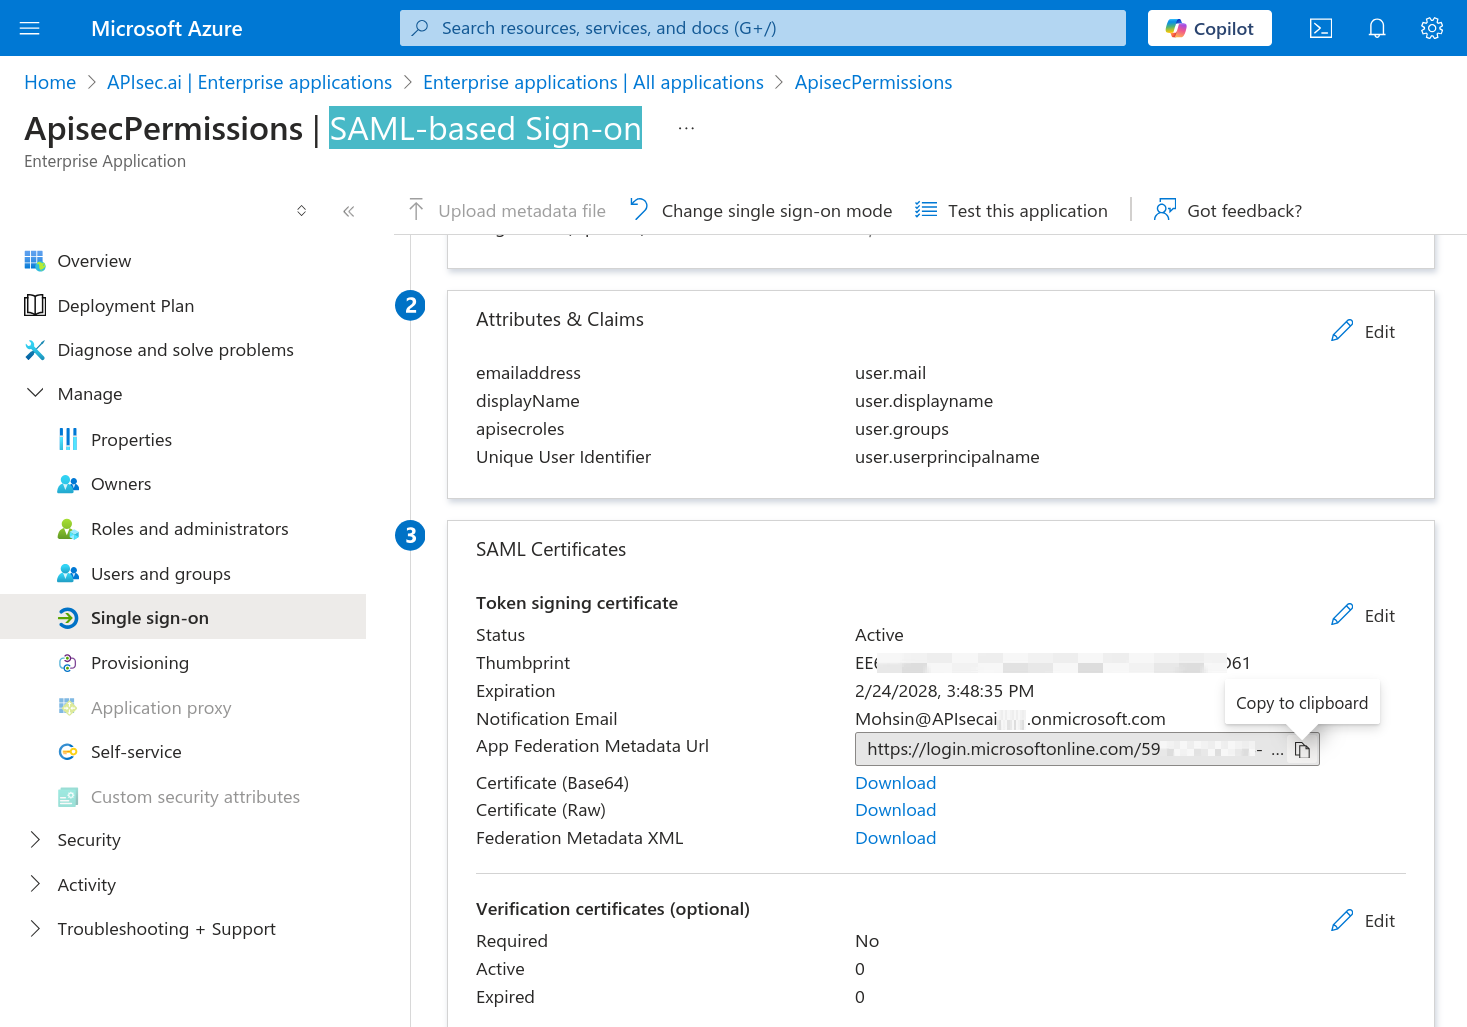
Click "Copy to clipboard"
Switch to the APIsec application and paste into the "Metadata Url" field Click "Complete"
Log out of APIsec.
👉 Test login with an Entra user provisioned to each of your Entra groups/