Configure RBAC
-
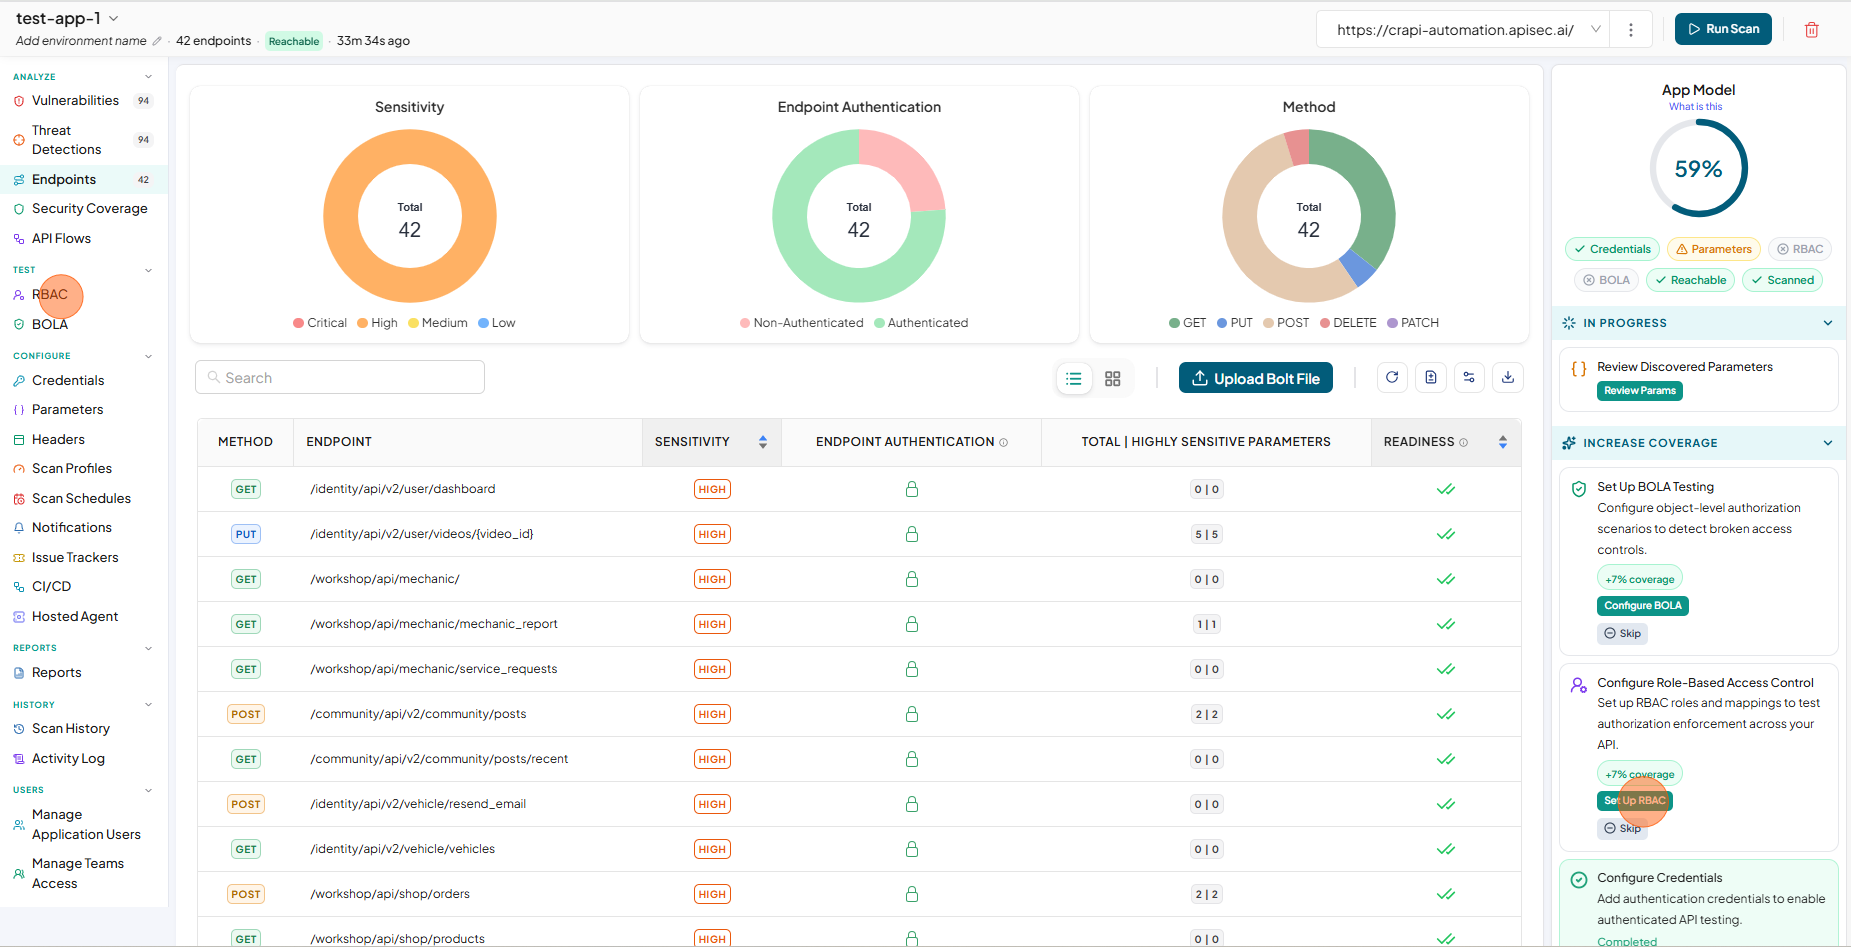
To configure RBAC, click Set Up RBAC in the App Model or select RBAC from the sidebar.
-
Now click on Set Up User Access

-
Now you will see a text You need to assign a user type (e.g., Employee, Customer) when mapping credentials to roles for access control testing, as it helps categorize and organize them. However, not all credentials require a user type.
- Enter a role for the existing credential, or click Add Credentials to create a new credential and assign a role.
- Click Next

-
Select the Role and Click Run Access Checks.

-
Wait until endpoints are loaded.

-
Endpoints with accessibility status for the selected role are displayed.

-
Click Save Access Mapping

-
In the Save Access for Roles window, Select ROLE and click Save Selection button.

-
Now check the RBAC status indicator is displayed in green in the "APP Model"
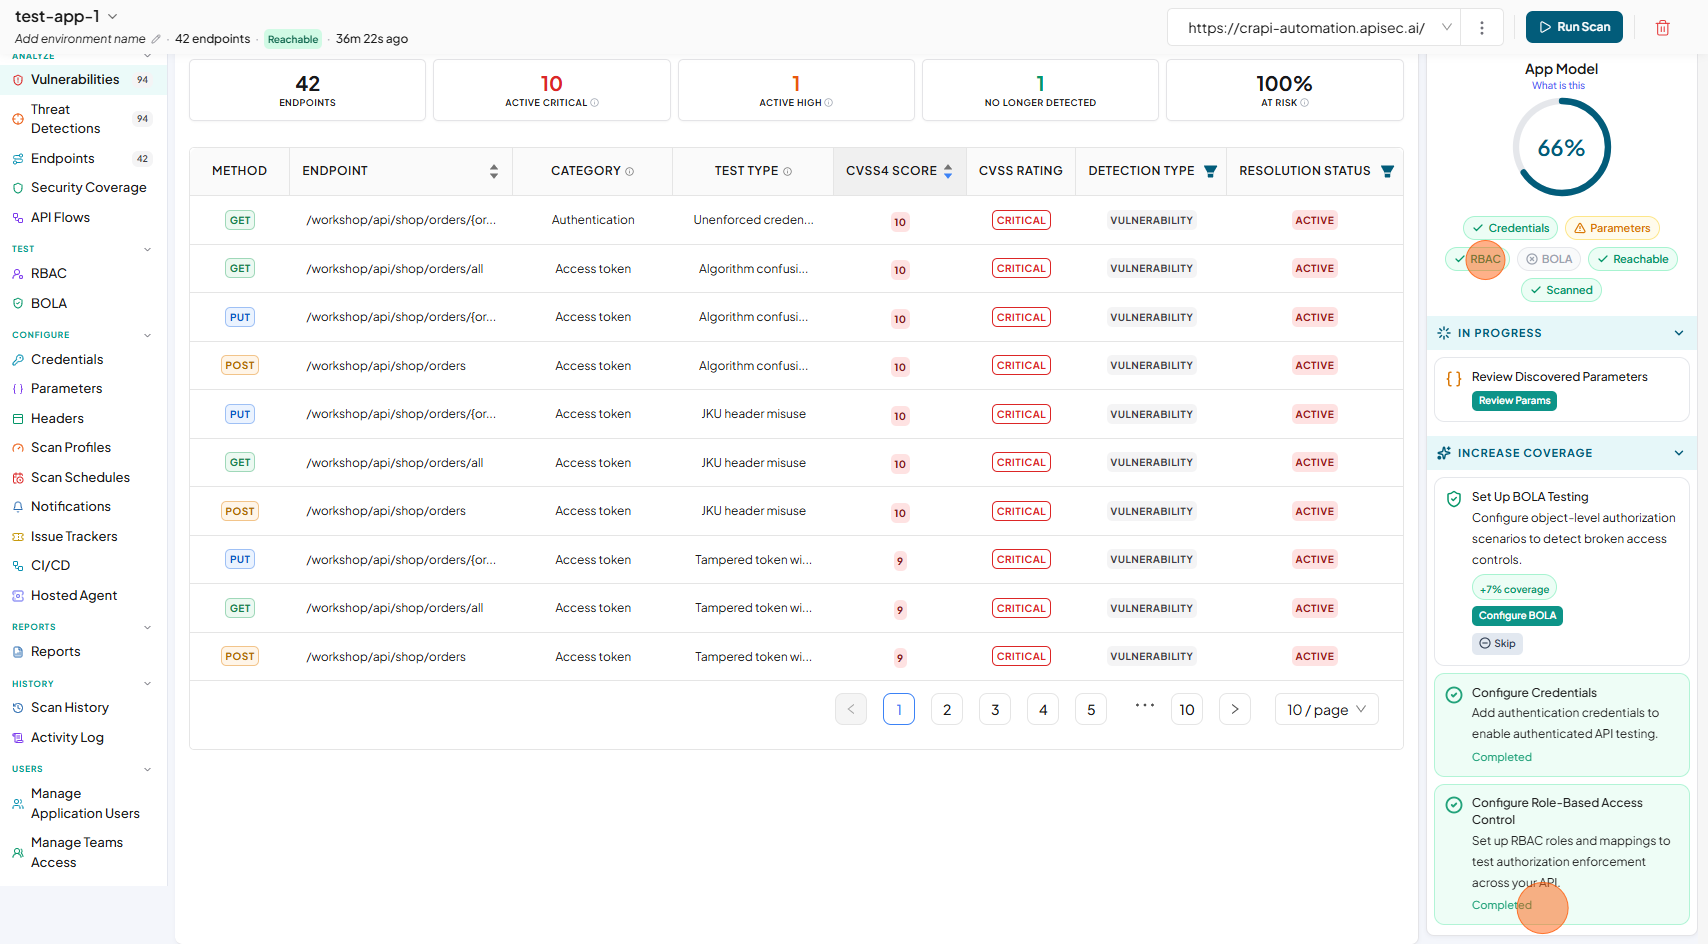
If an instance doesn't need RBAC, select Skip on the Configure RBAC step. To configure it later, select Unskip, or configure RBAC from the RBAC menu in the sidebar — configuring it unskips the step automatically and updates the App Model percentage.