How To Onboard An Application Using Boomi API Gateway
Prerequisites
- The Account ID can be obtained from the Settings page.

- User either has to provide Username and Password or Username and Token of their Dell Boomi Account to create a Boomi Connection. When providing token, this should be the format - Username - BOOMI_TOKEN.test@apisec.ai Token - _ token _
- After fetching APIs using the above credentials, you will also need the Username and Password specific to that API, as required by the Dell Boomi integration procedure.
- The process for creating these API-specific credentials is outlined below.
Create a user to access the API created.
-
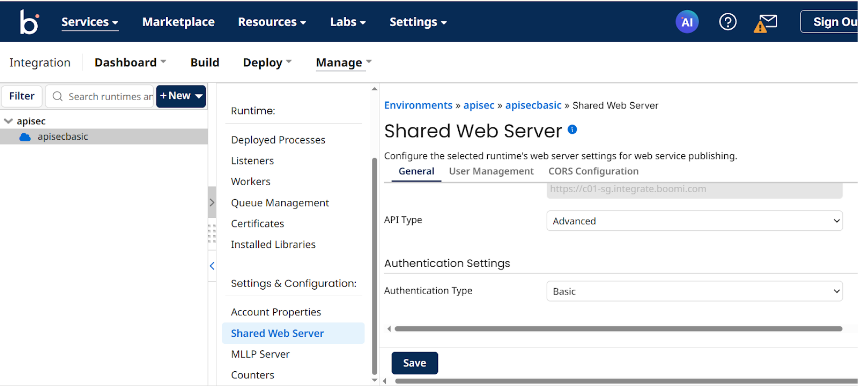
Go to Integration→ Management → Runtime Management
-
Click on the existing Environment configured on the left
-
Navigate to Shared Web Server
-
In the General Section, change the API Type to “Advanced”
-
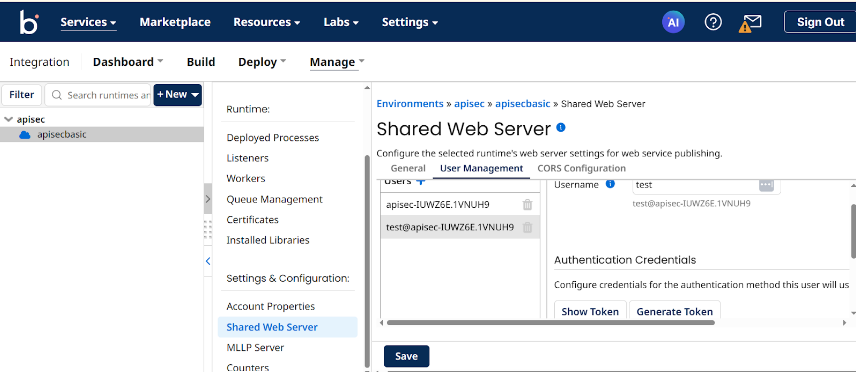
Create a User and use the generated username and token(i.e password in the platform) to access the API in the APIsec Platform.
Boomi Integration with APIsec Product
Start Adding a New Application
-
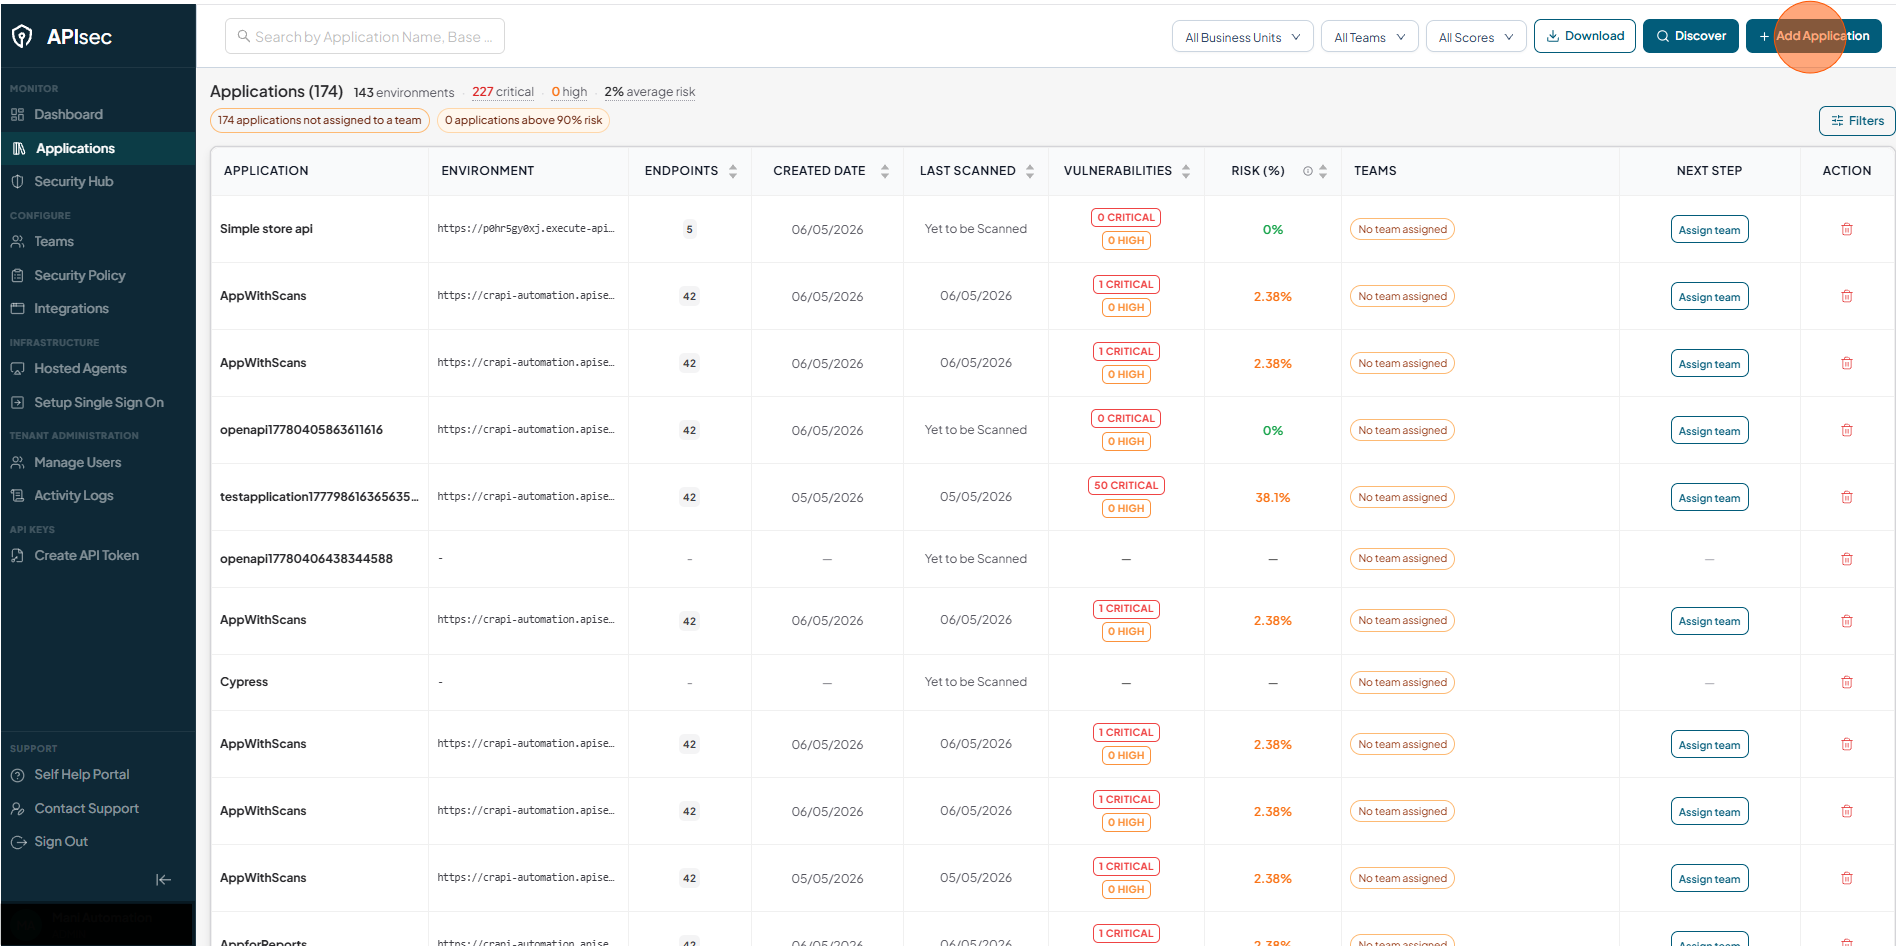
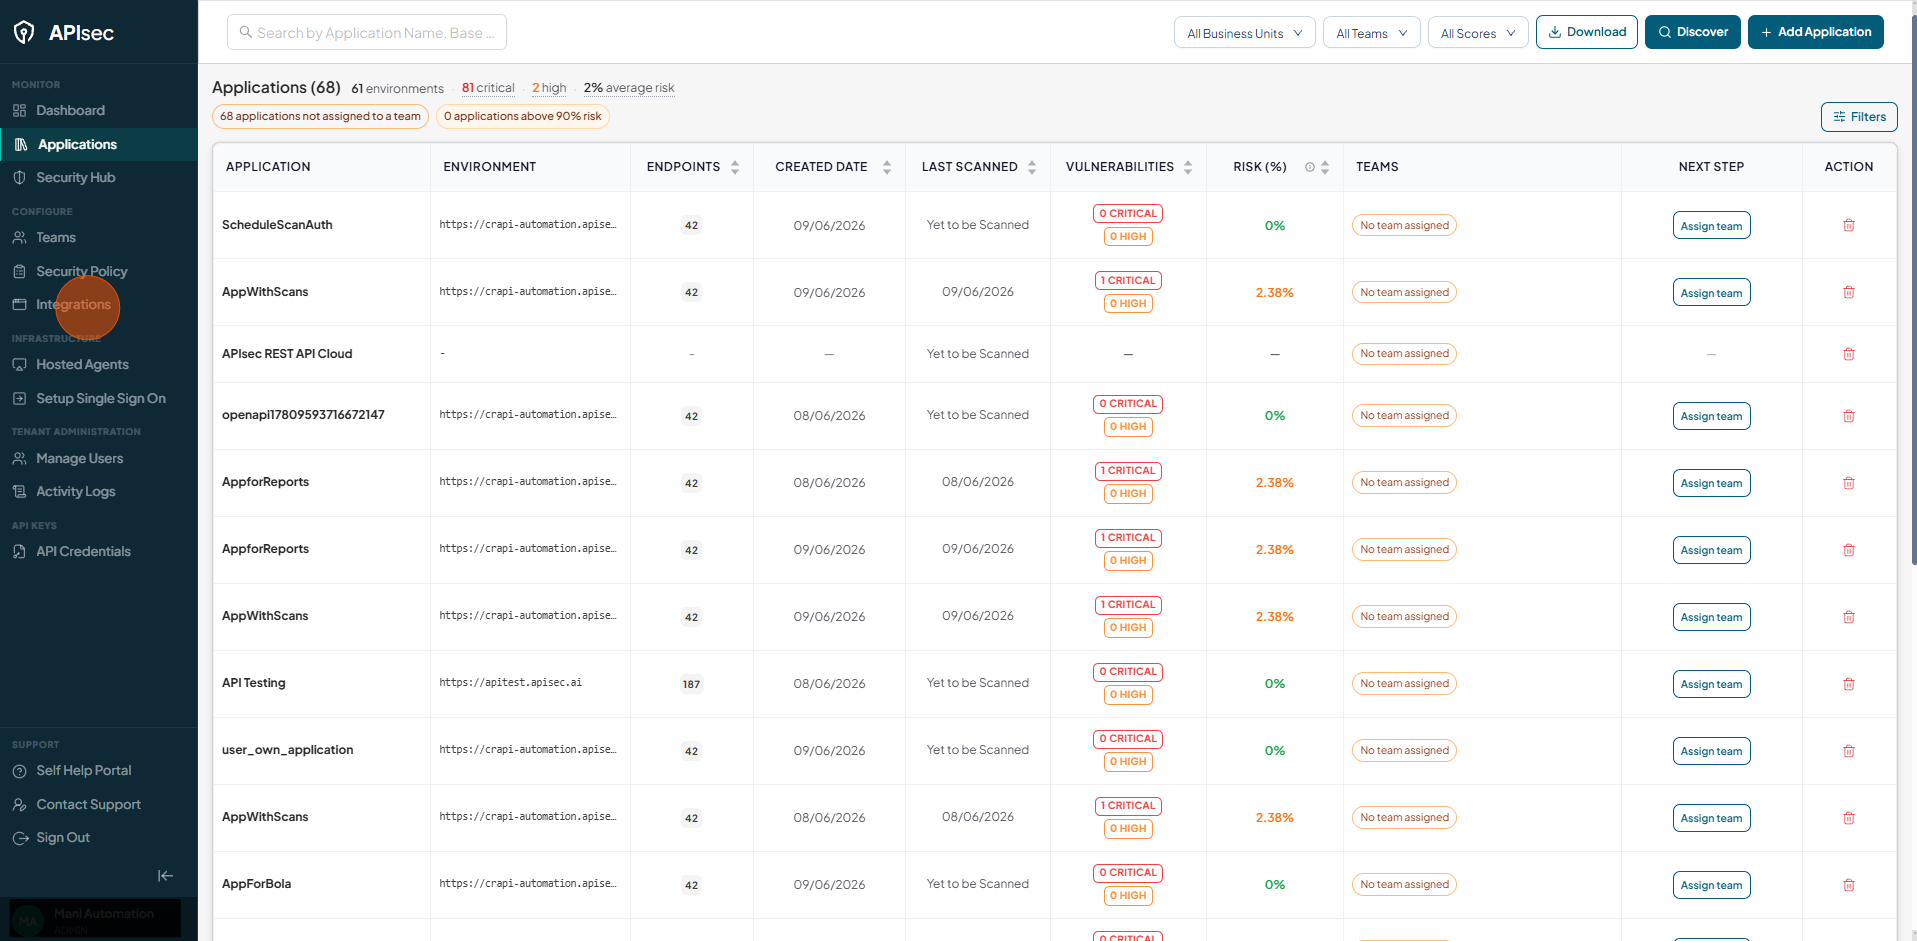
Open your browser and visit: https://<your-tenant>.apisecapps.com
-
Click on the Add Application.
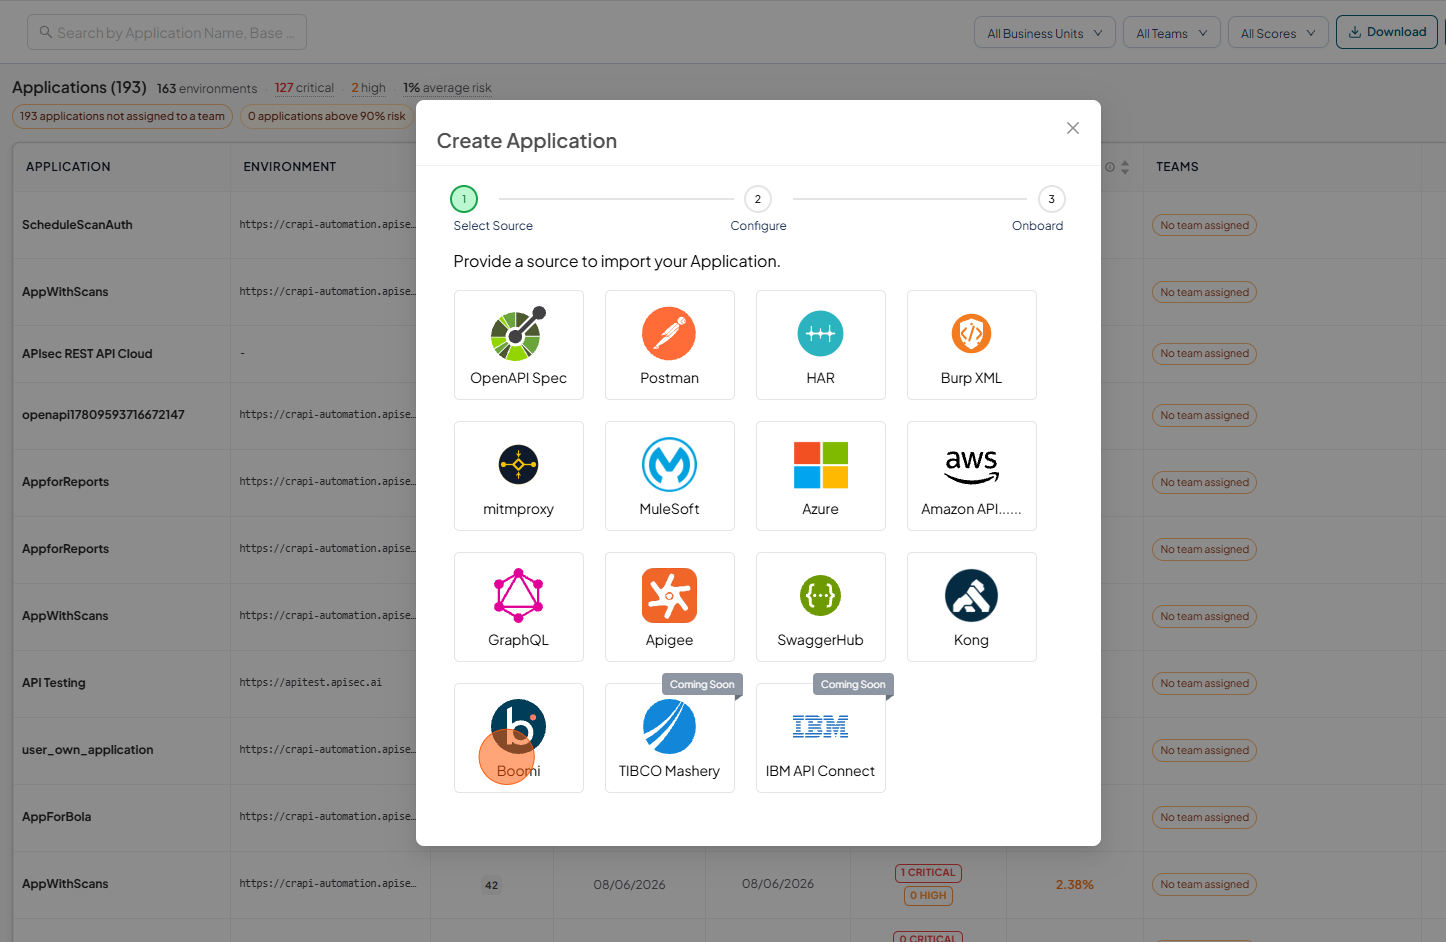
Select Boomi Gateway
-
Choose the Boomi Gateway option.
-
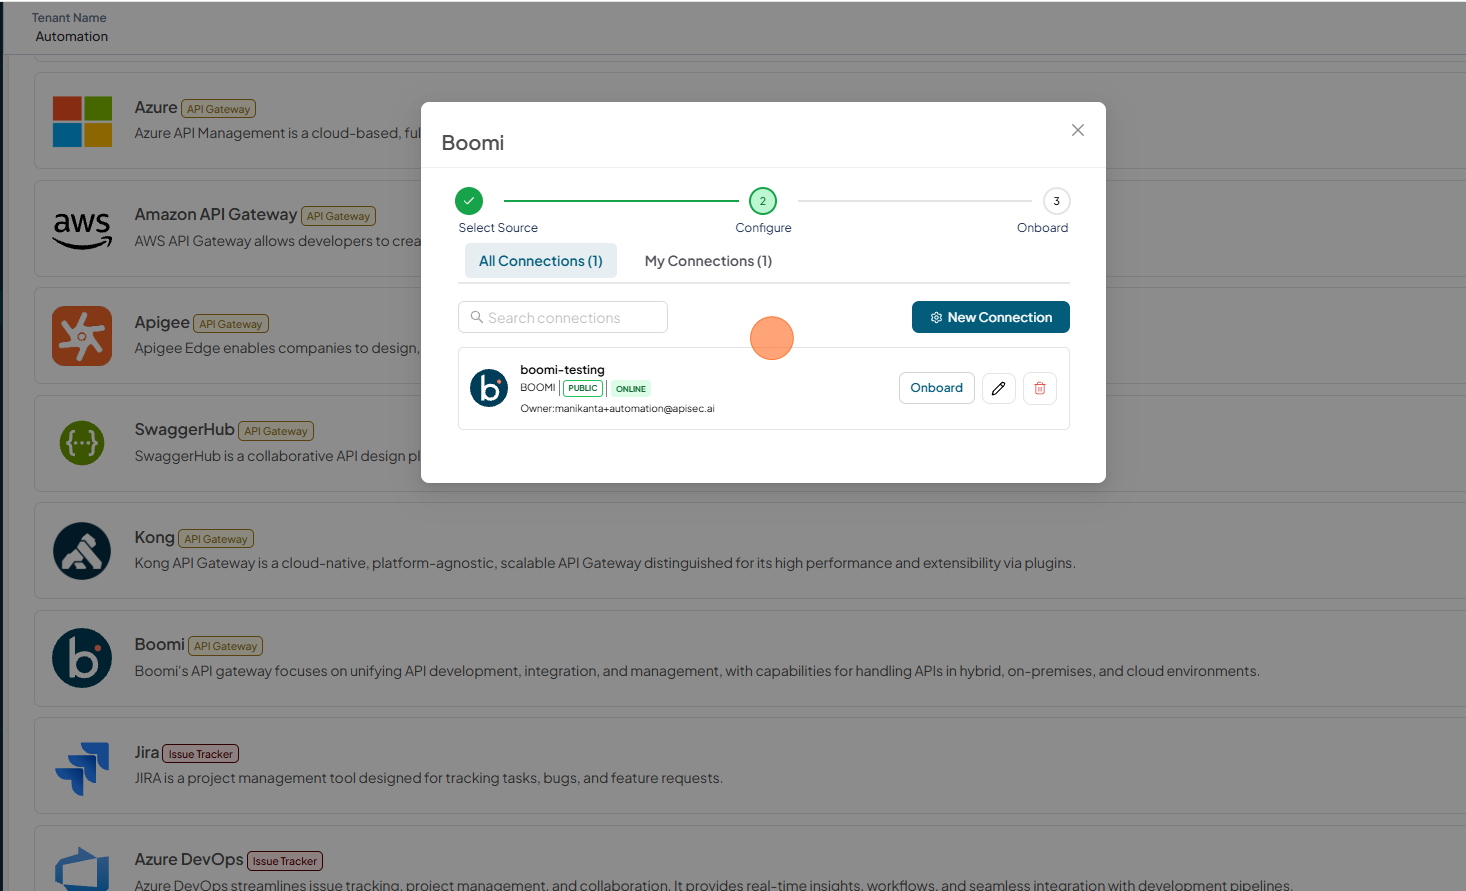
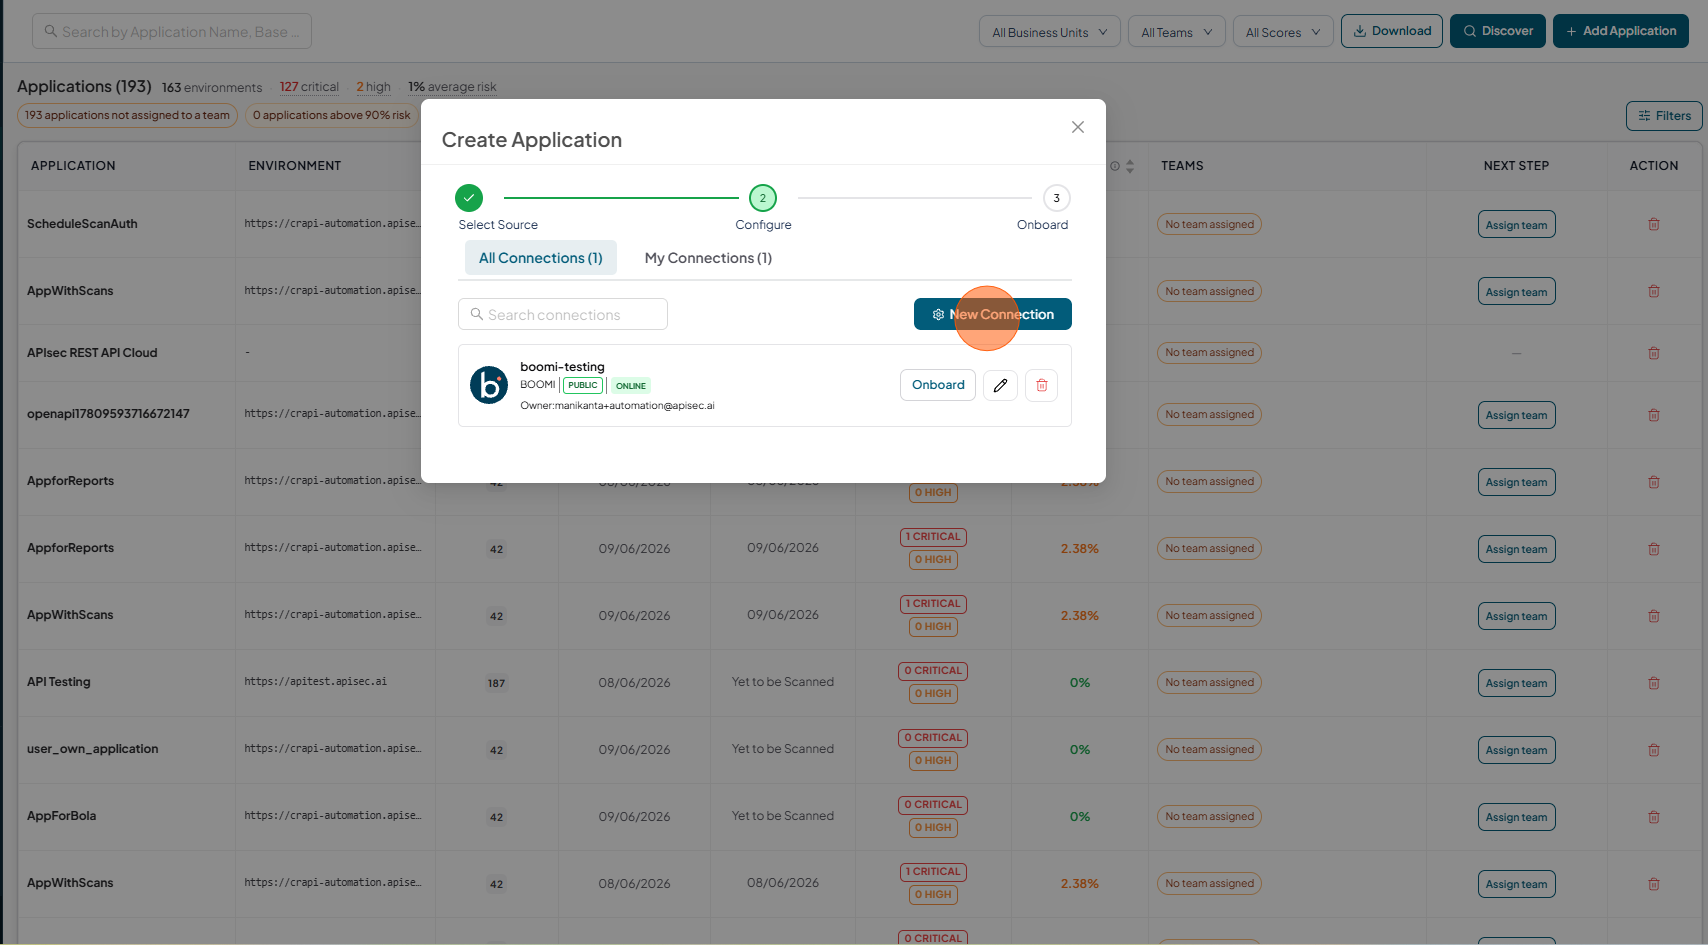
If existing connections are available, they will be displayed in the Connections list. To create a new connection, click New Connection.
-
If no connections exist, a connection form is displayed, allowing you to enter the required details and create a connection.
-
Click New Connection
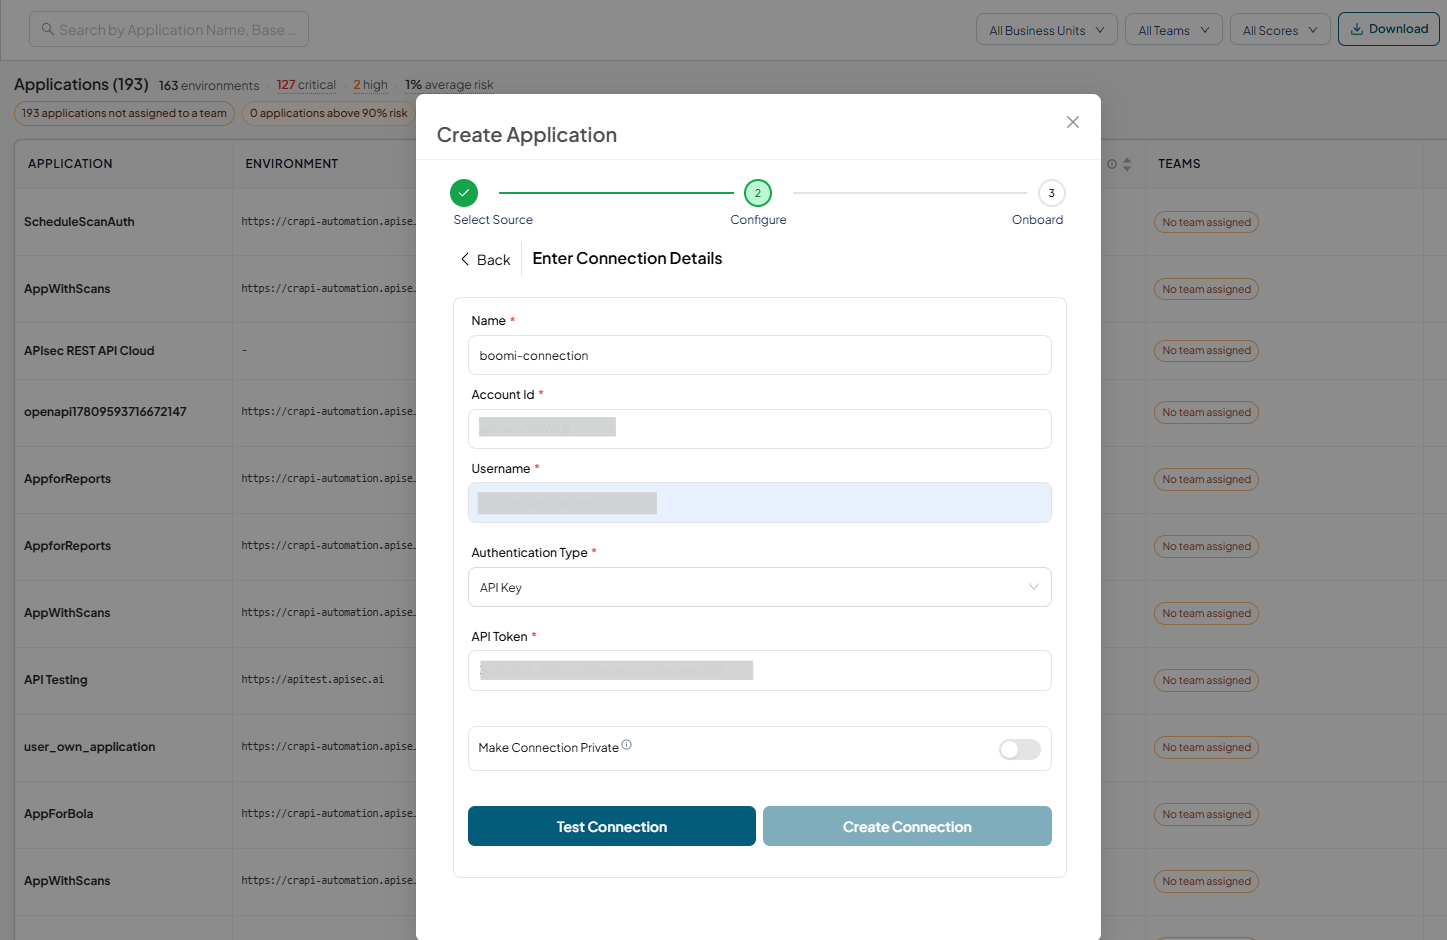
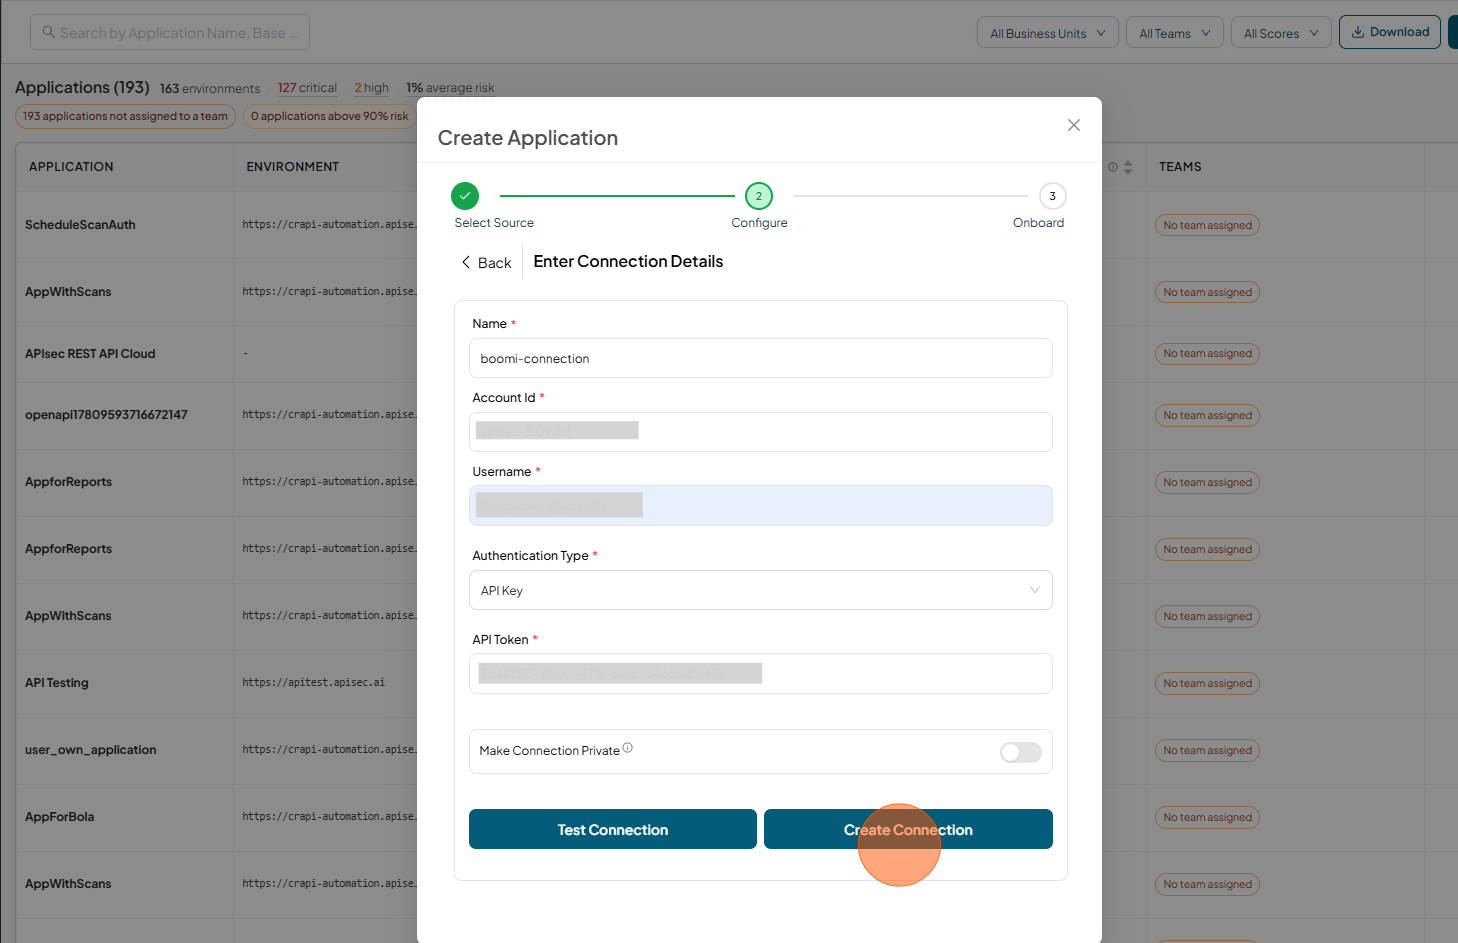
Enter Application Details
-
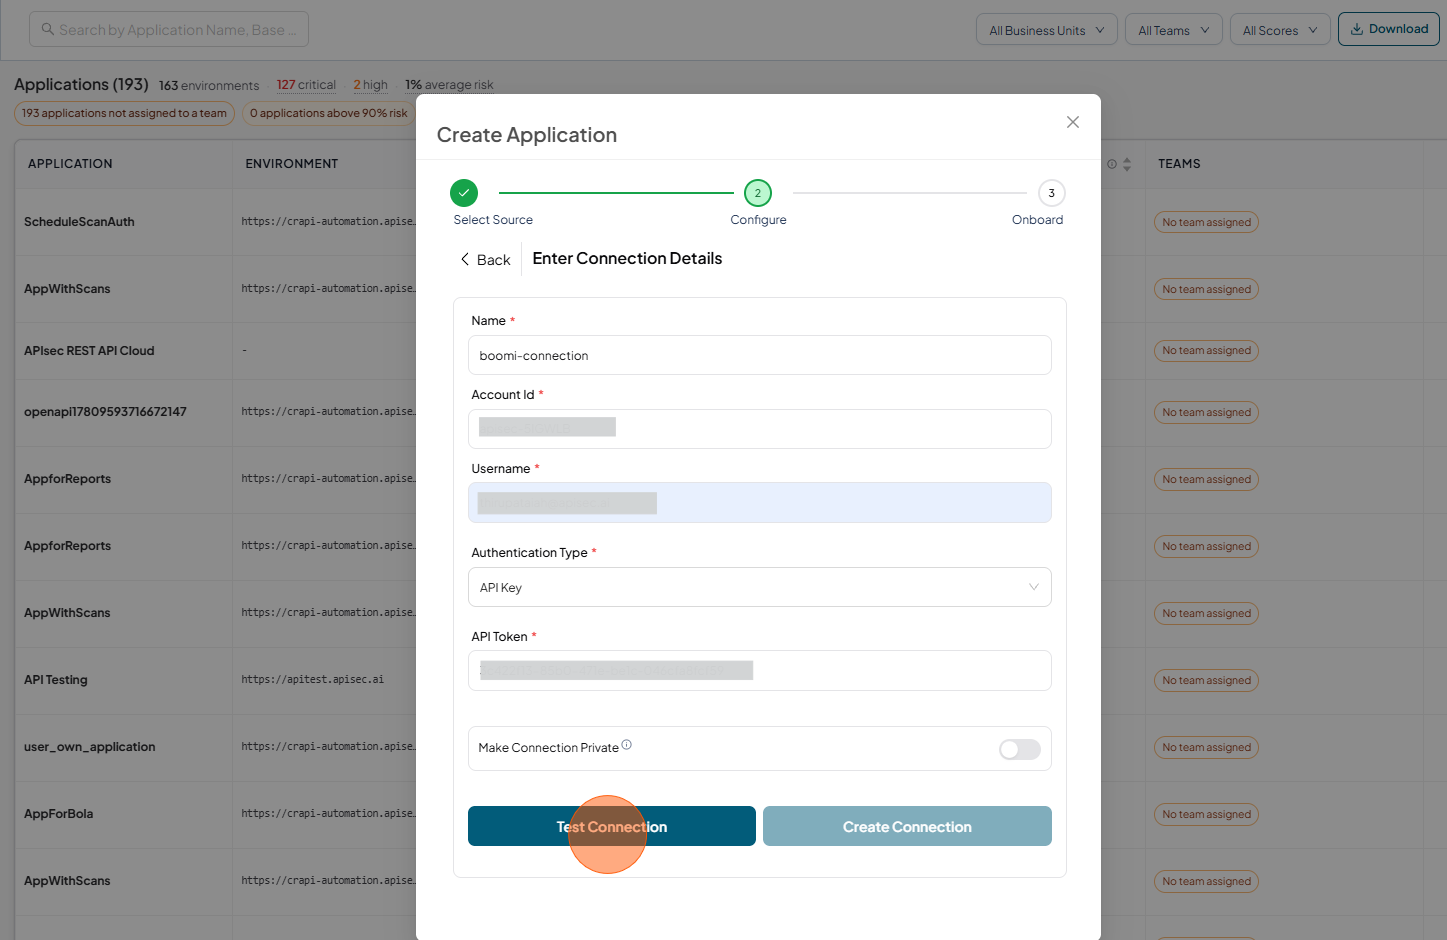
Fill the Form Name, Account Id, Username, Select API Key as Authentication Type and enter API Token.
-
Click Test Connection
-
Test Connection Success

-
Click Create Connection
-
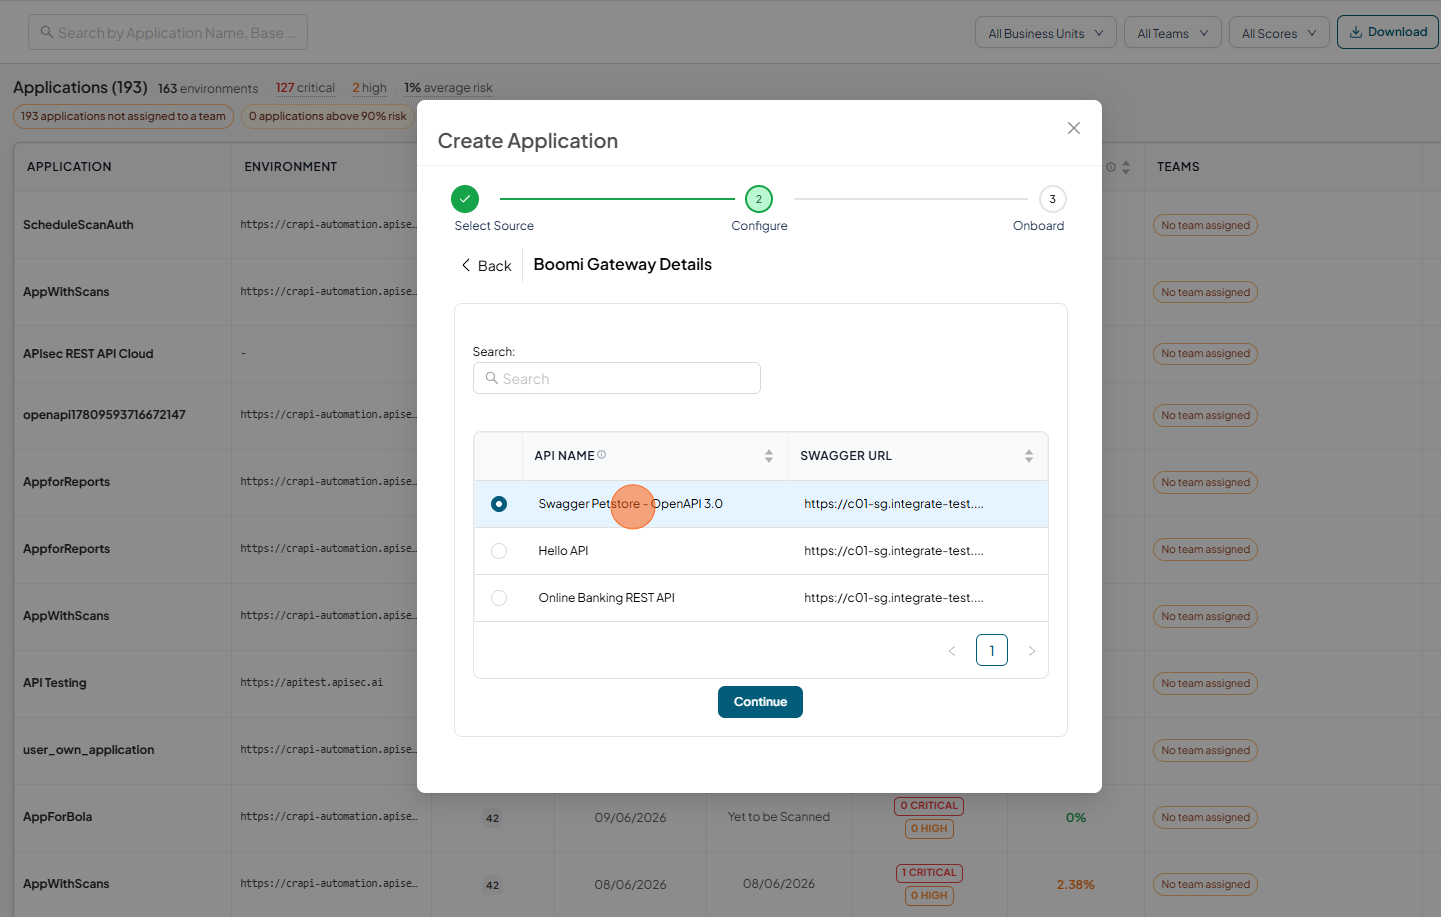
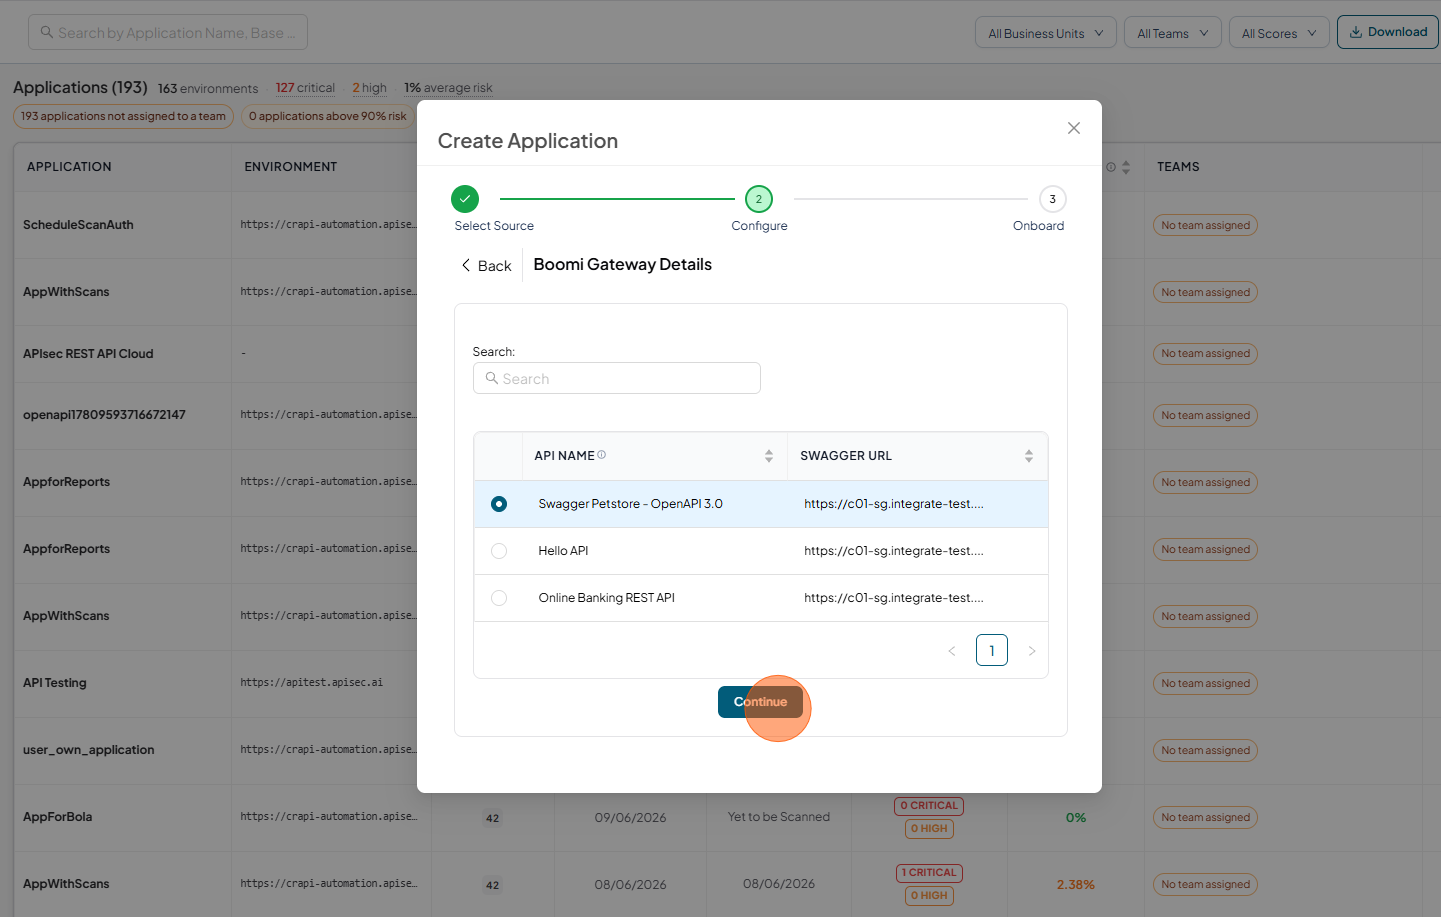
Select API
-
Click Continue
-
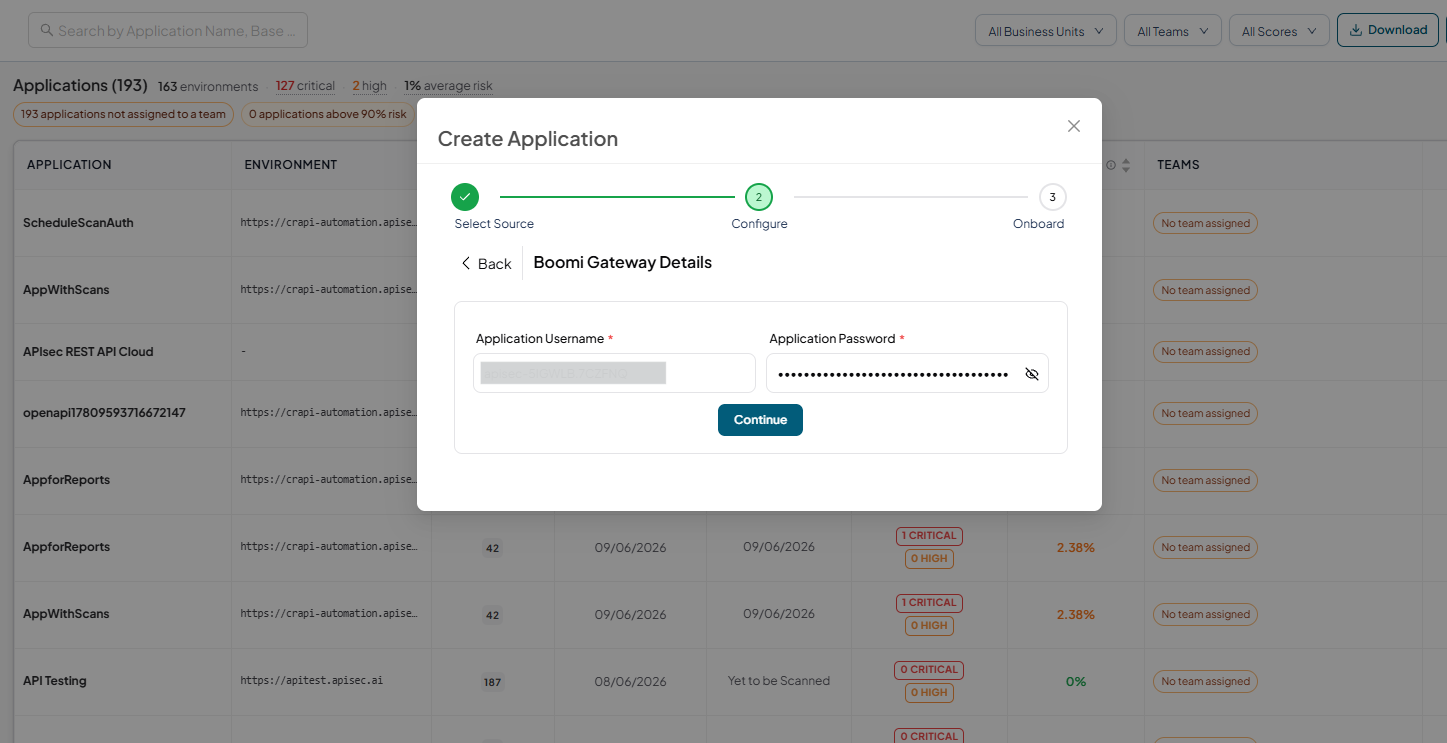
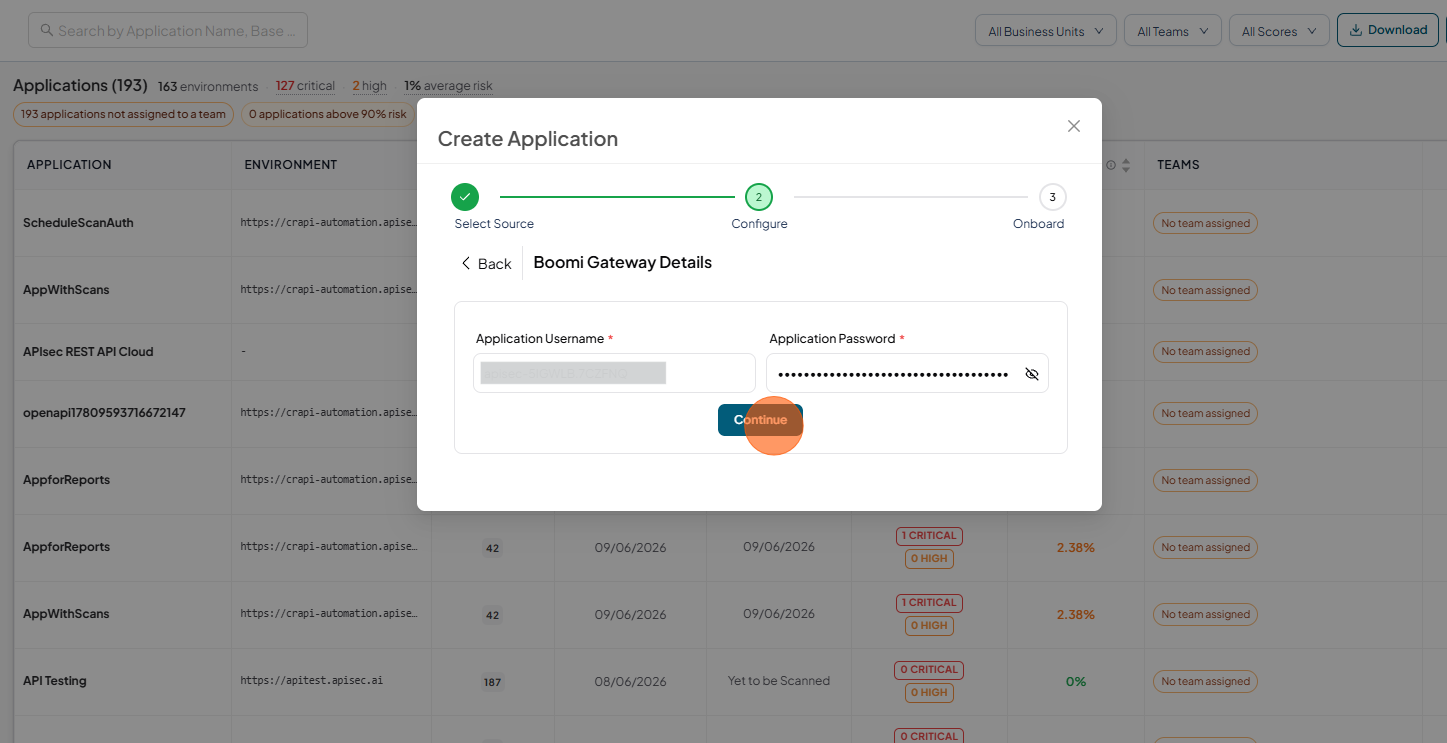
Fill Application Username and Application Password
-
Click Continue
-
Click Onboard
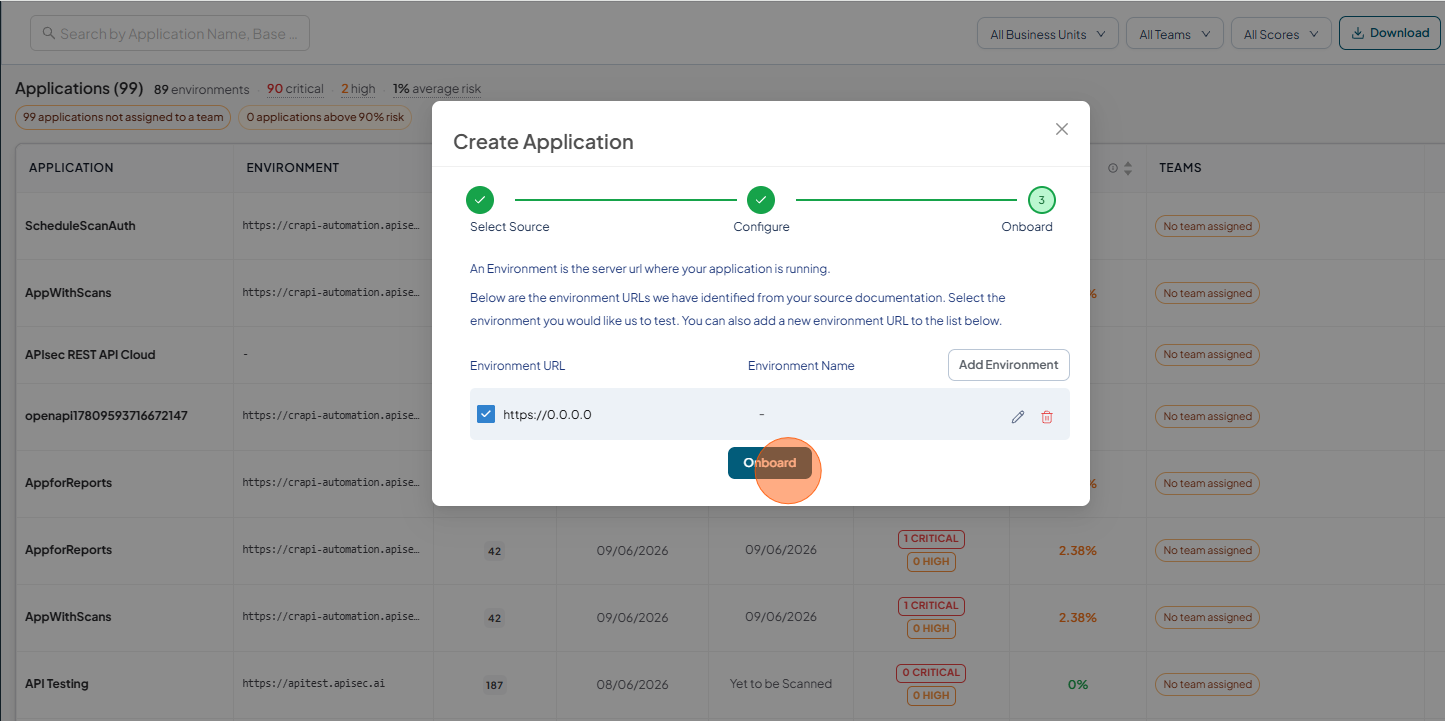
-
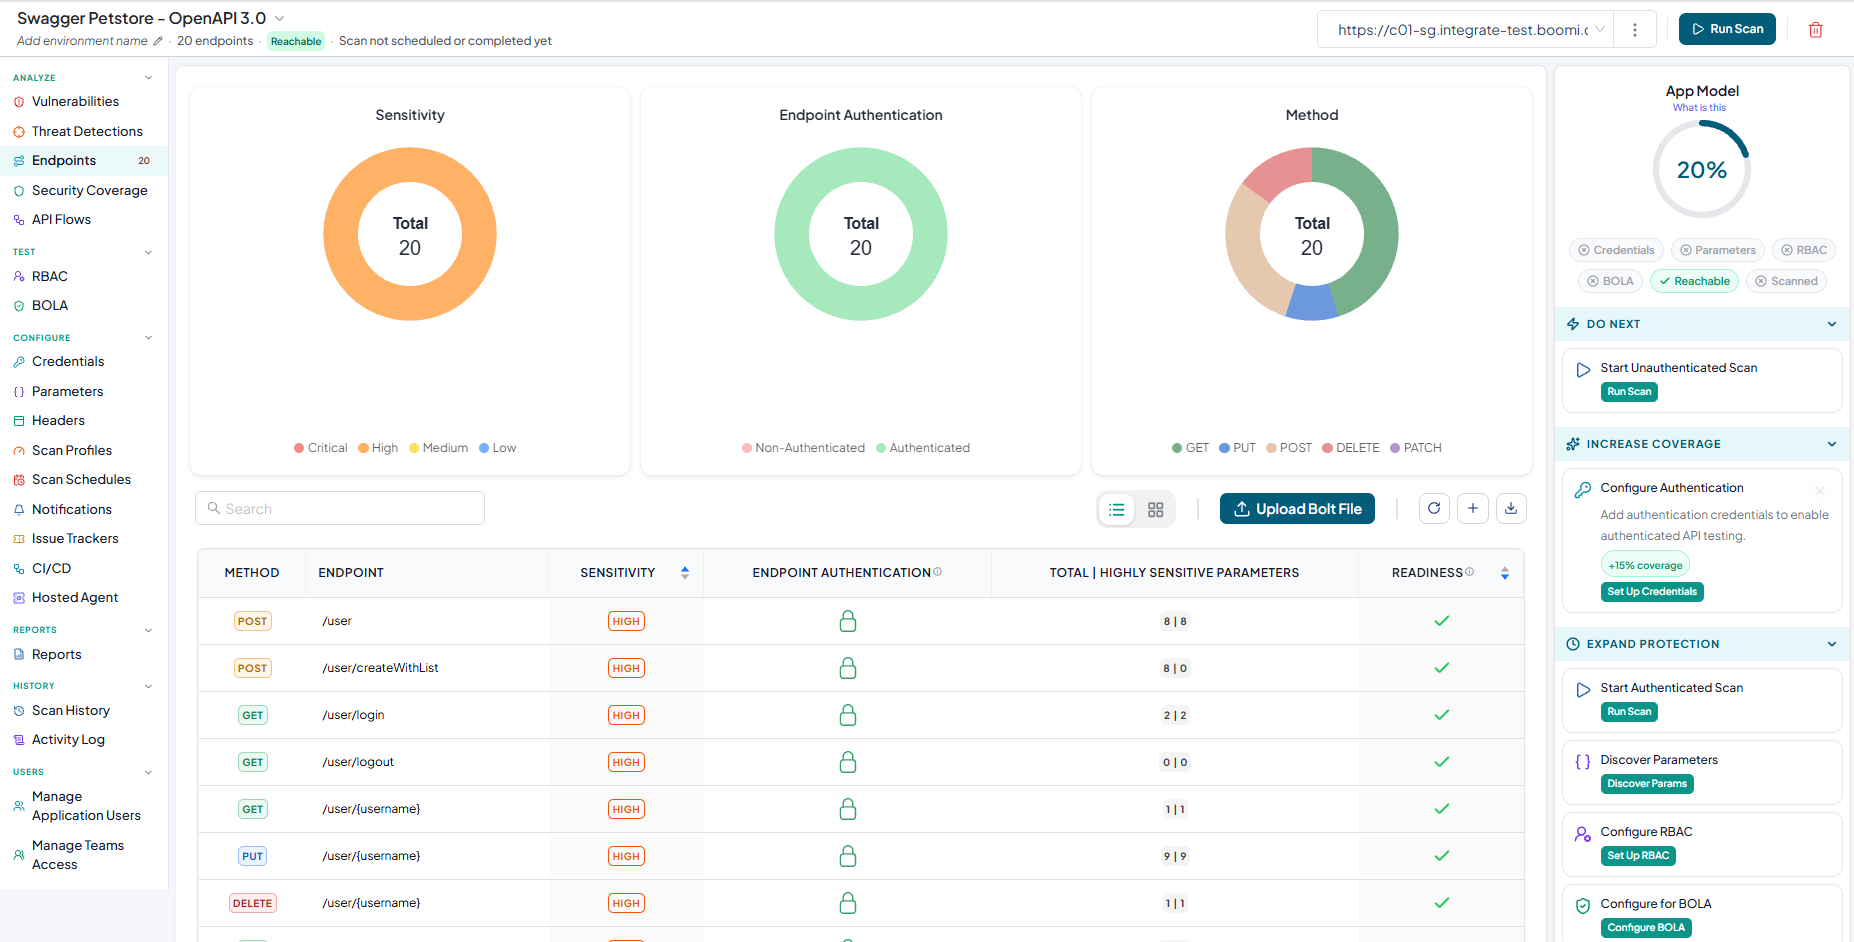
Boomi application Dashboard.
Edit Boomi Connection
-
Open your browser and visit: https://<your-tenant>.apisecapps.com
-
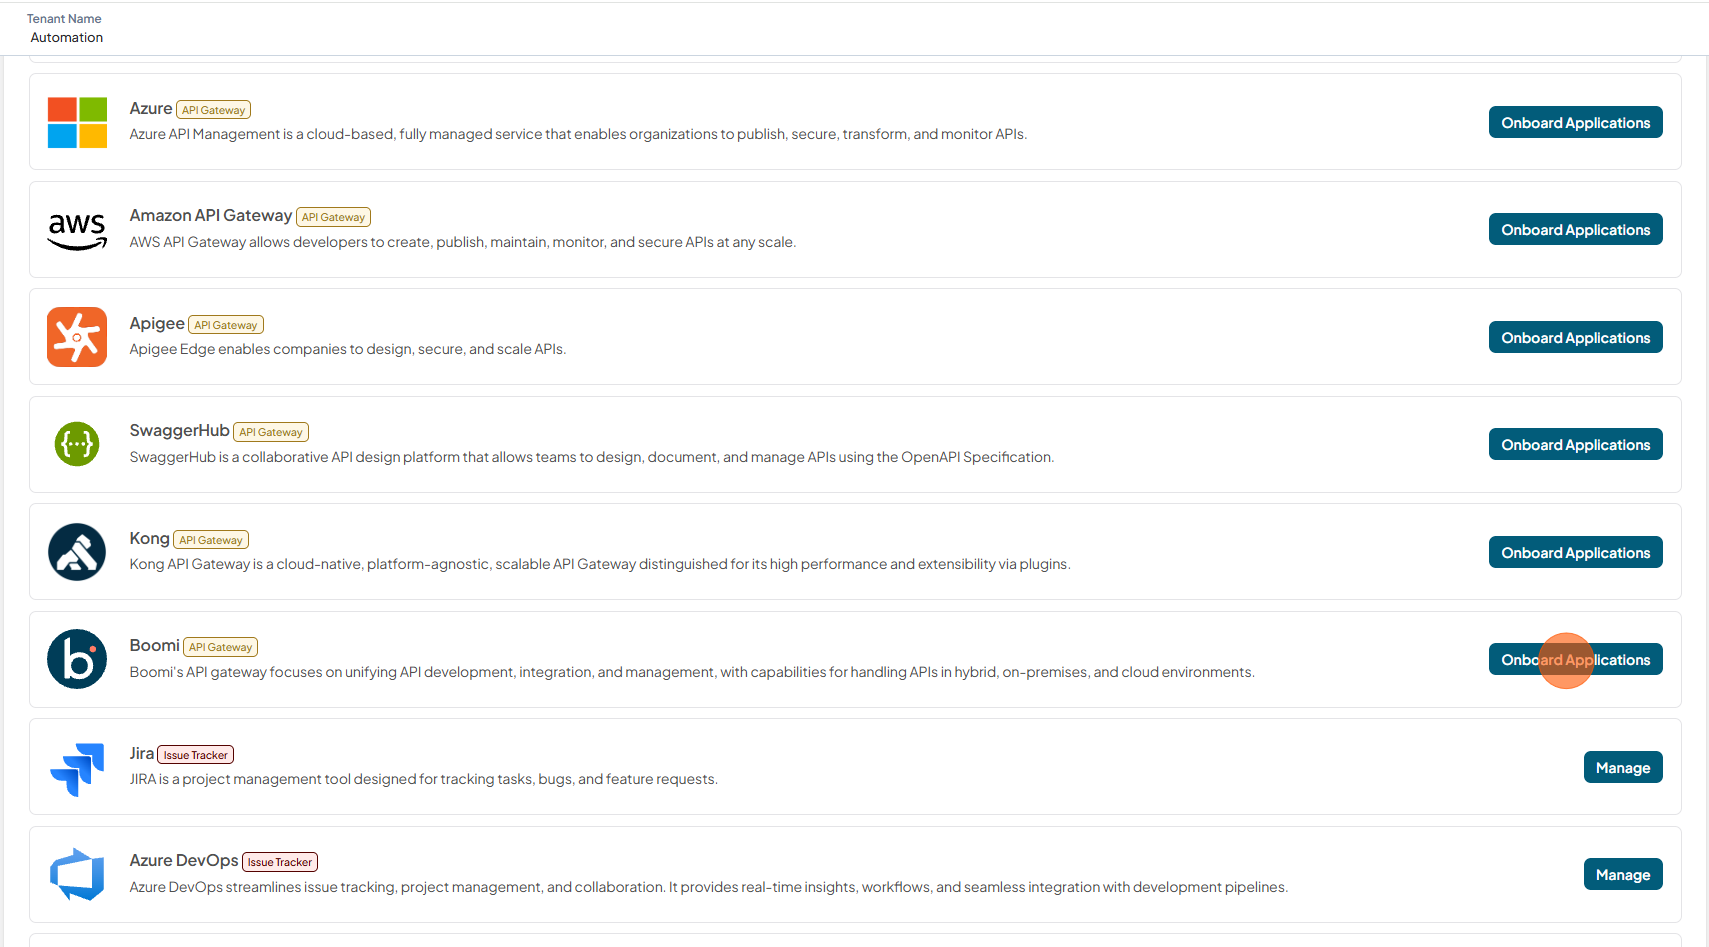
Click Integrations tab
-
Click Onboard Applications adjacent to the Boomi
-
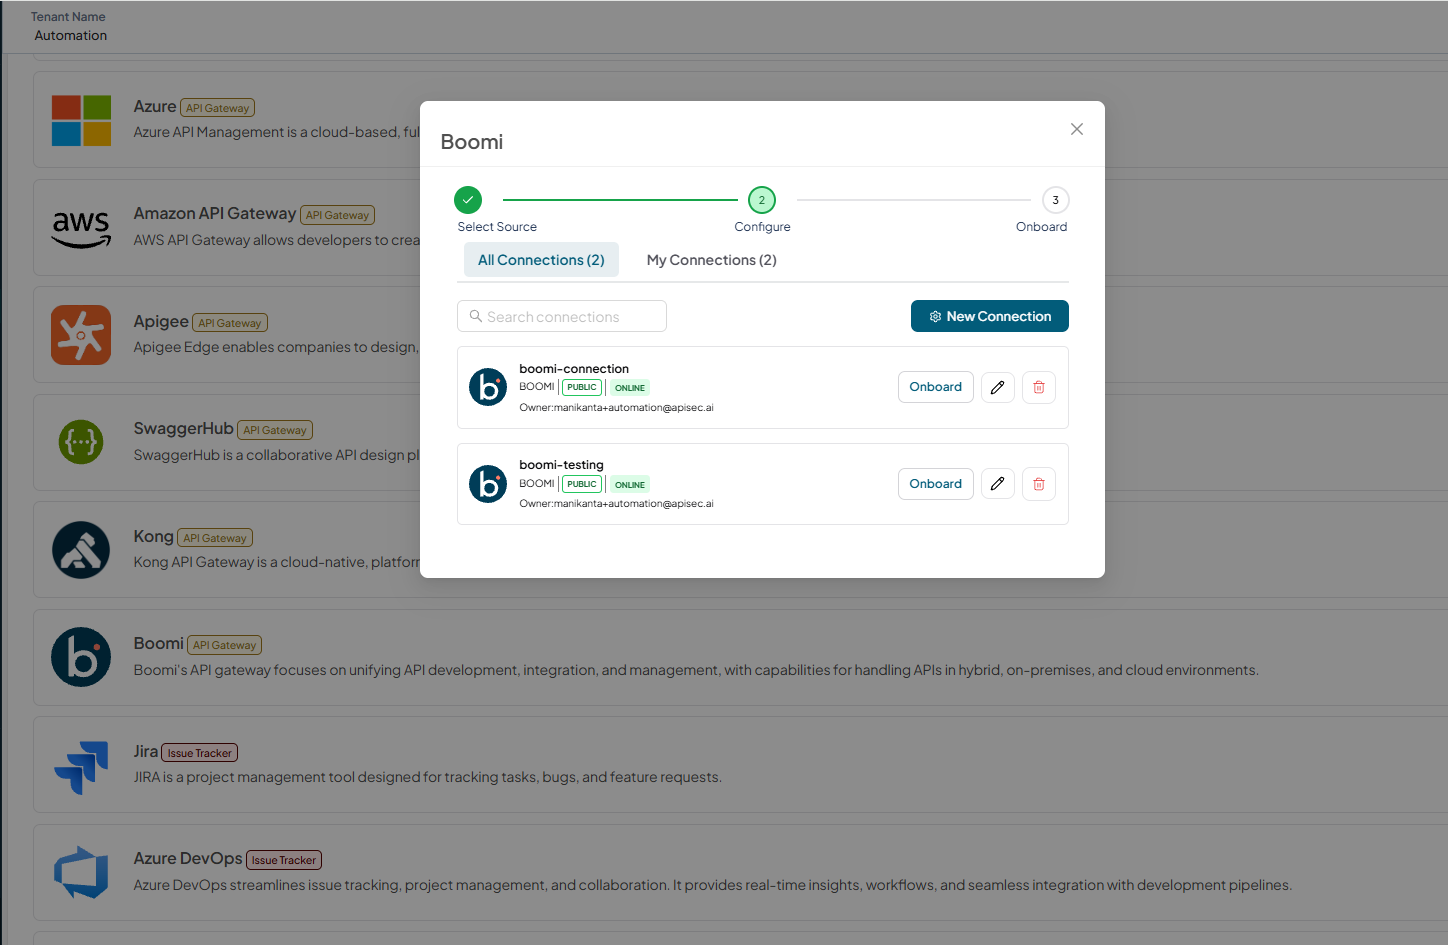
A list of existing Boomi connections is displayed.
-
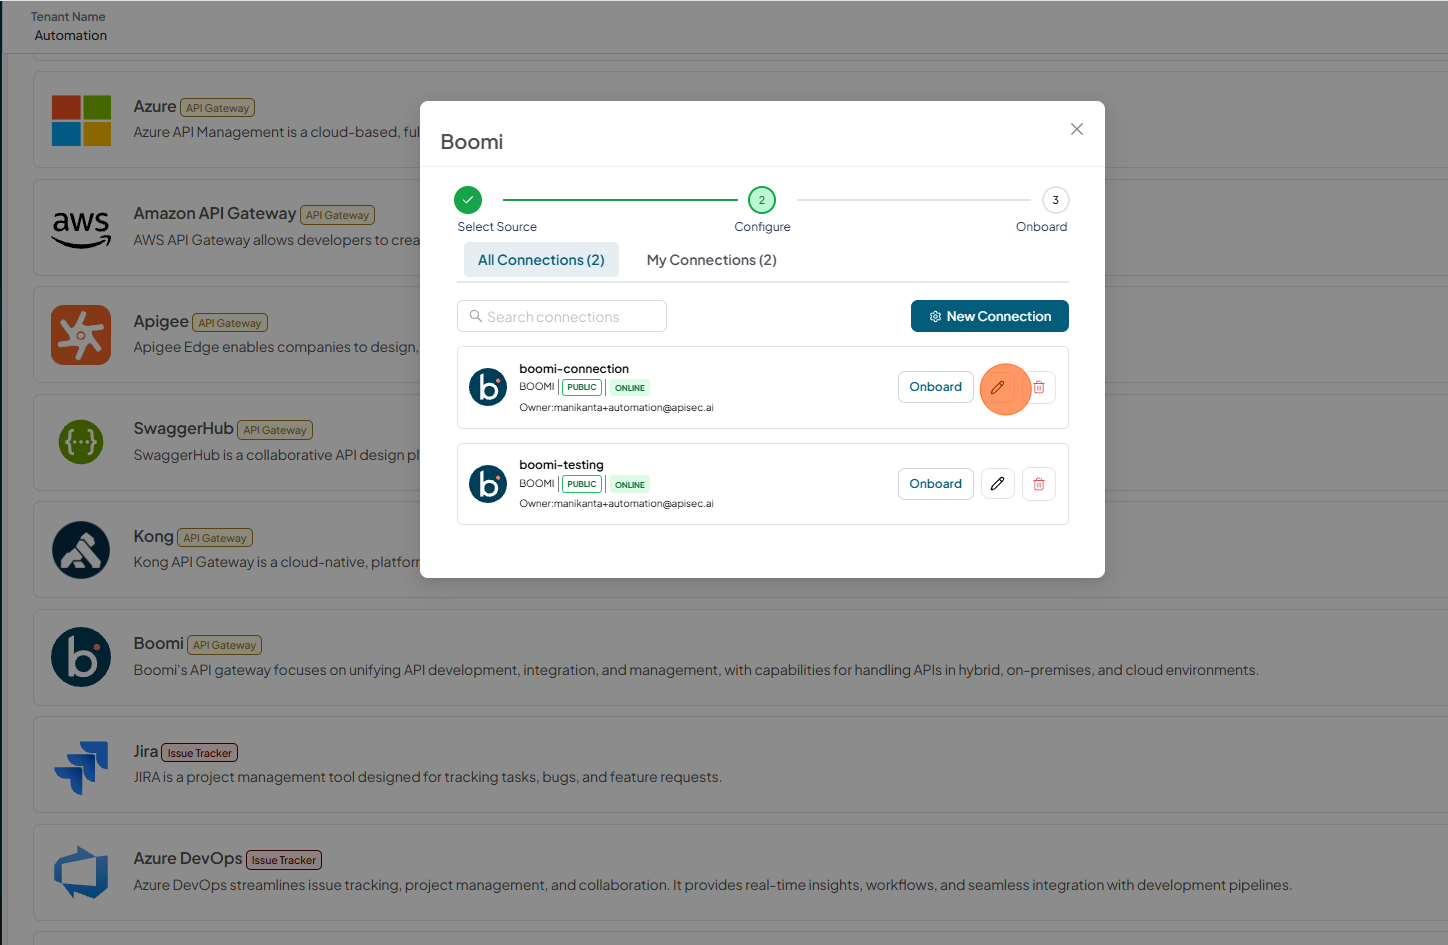
Select the Pencil icon next to the connection you want to edit.
-
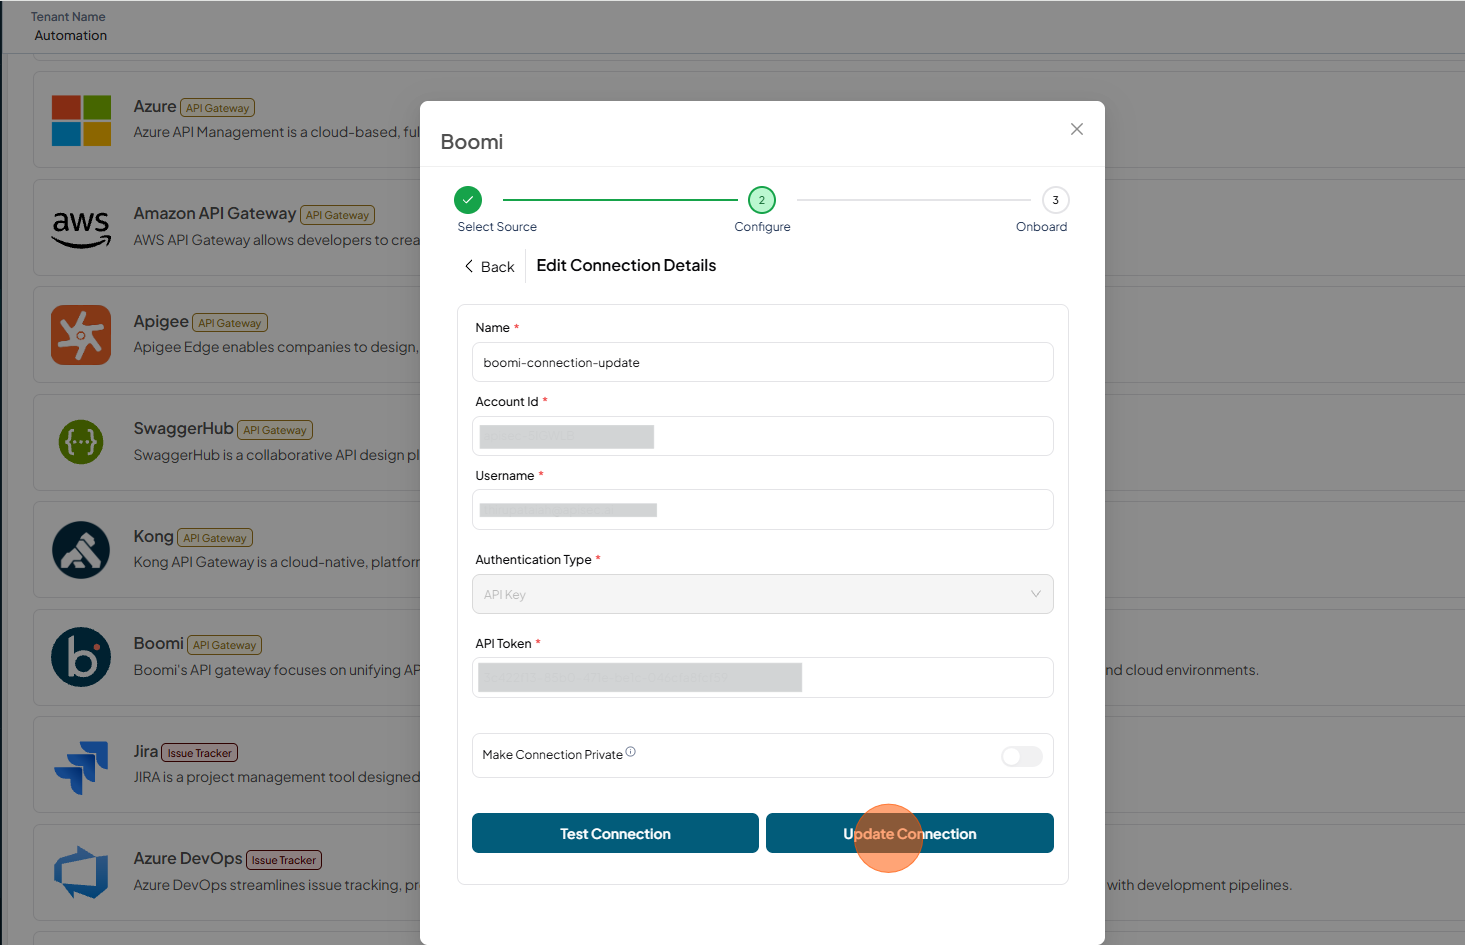
Update the required details and Click on Test Connection

-
Once Test connection successfull then Click on Update Connection
-
The updated connection is now displayed in the connections list.
Delete Boomi Connection
-
Open your browser and visit: https://<your-tenant>.apisecapps.com
-
Click Integrations tab
-
Click Onboard Applications adjacent to the Boomi
-
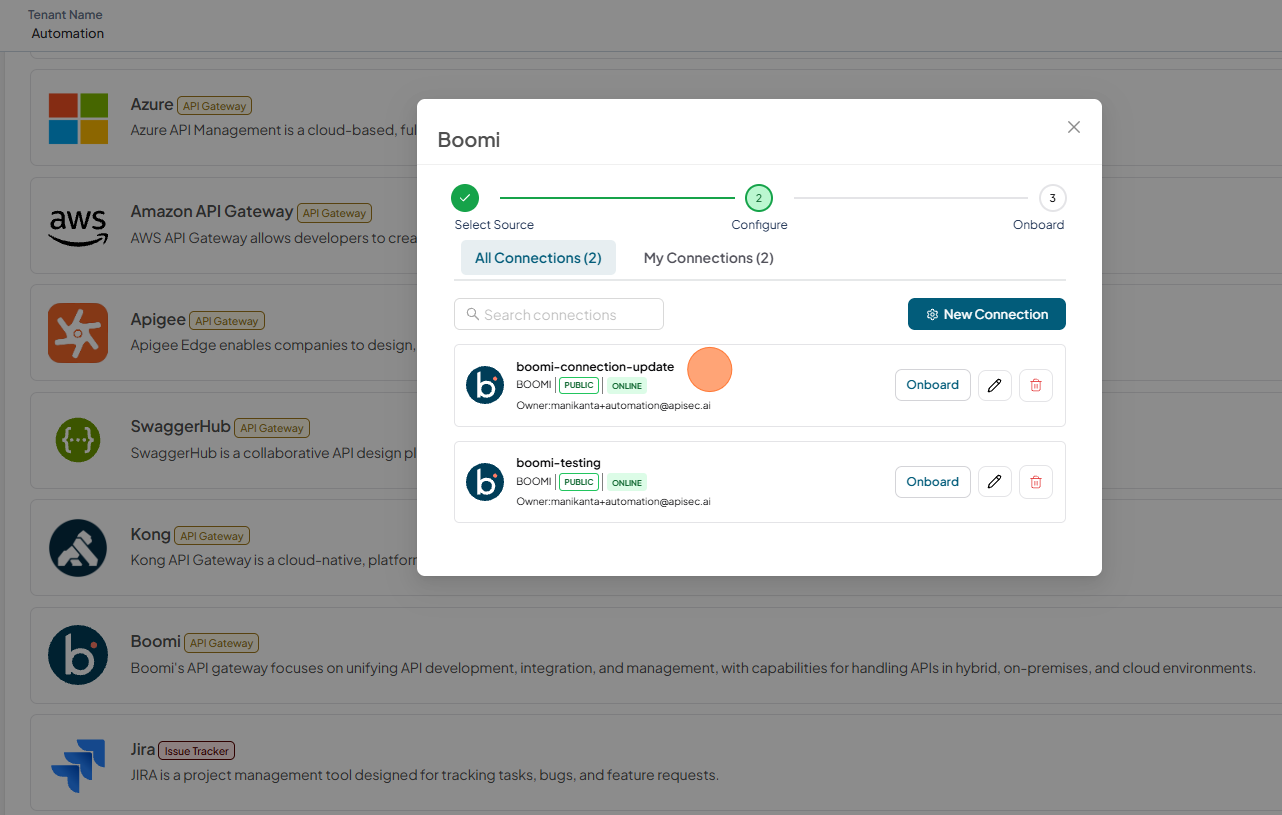
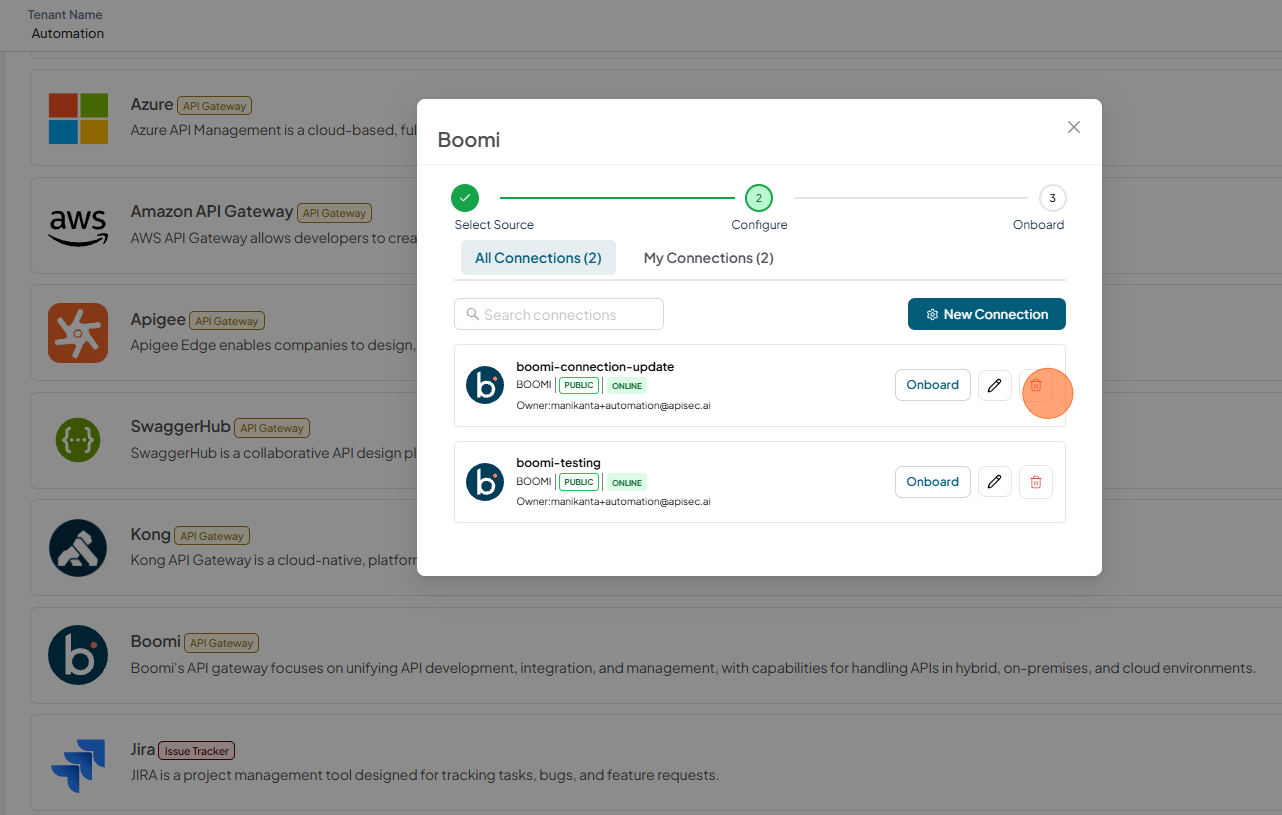
A list of existing Boomi connections is displayed.
-
Select the Delete icon next to the connection you want to delete.
-
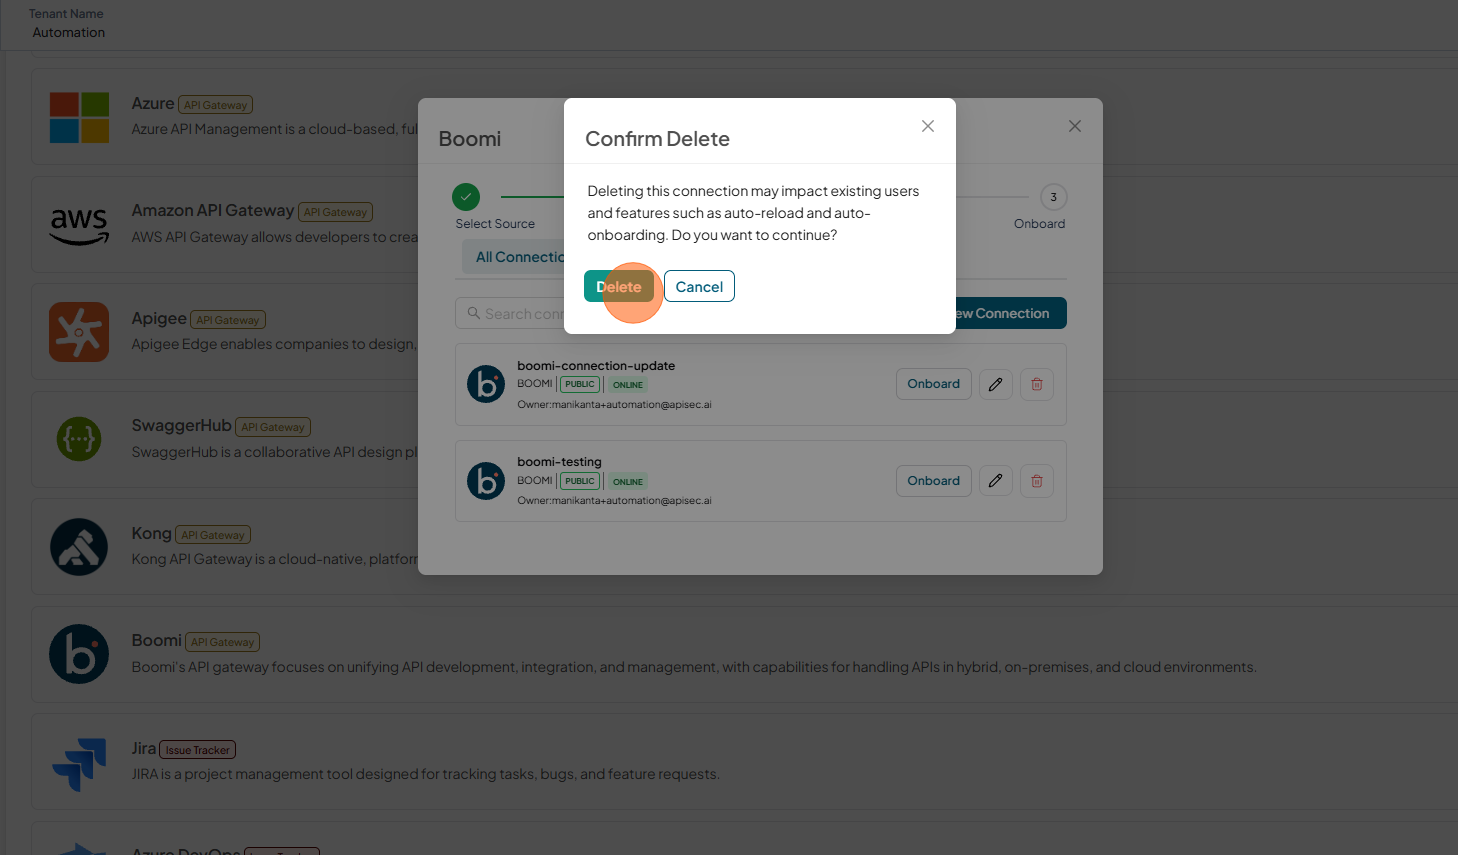
Click Delete to confirm
-
The deleted connection is no longer displayed in the connections list.