How To Onboard An Application Using MuleSoft API Gateway
Prerequisites
Create a Connected App in the MuleSoft API Gateway(Anypoint)
-
Log in to https://anypoint.mulesoft.com/
-
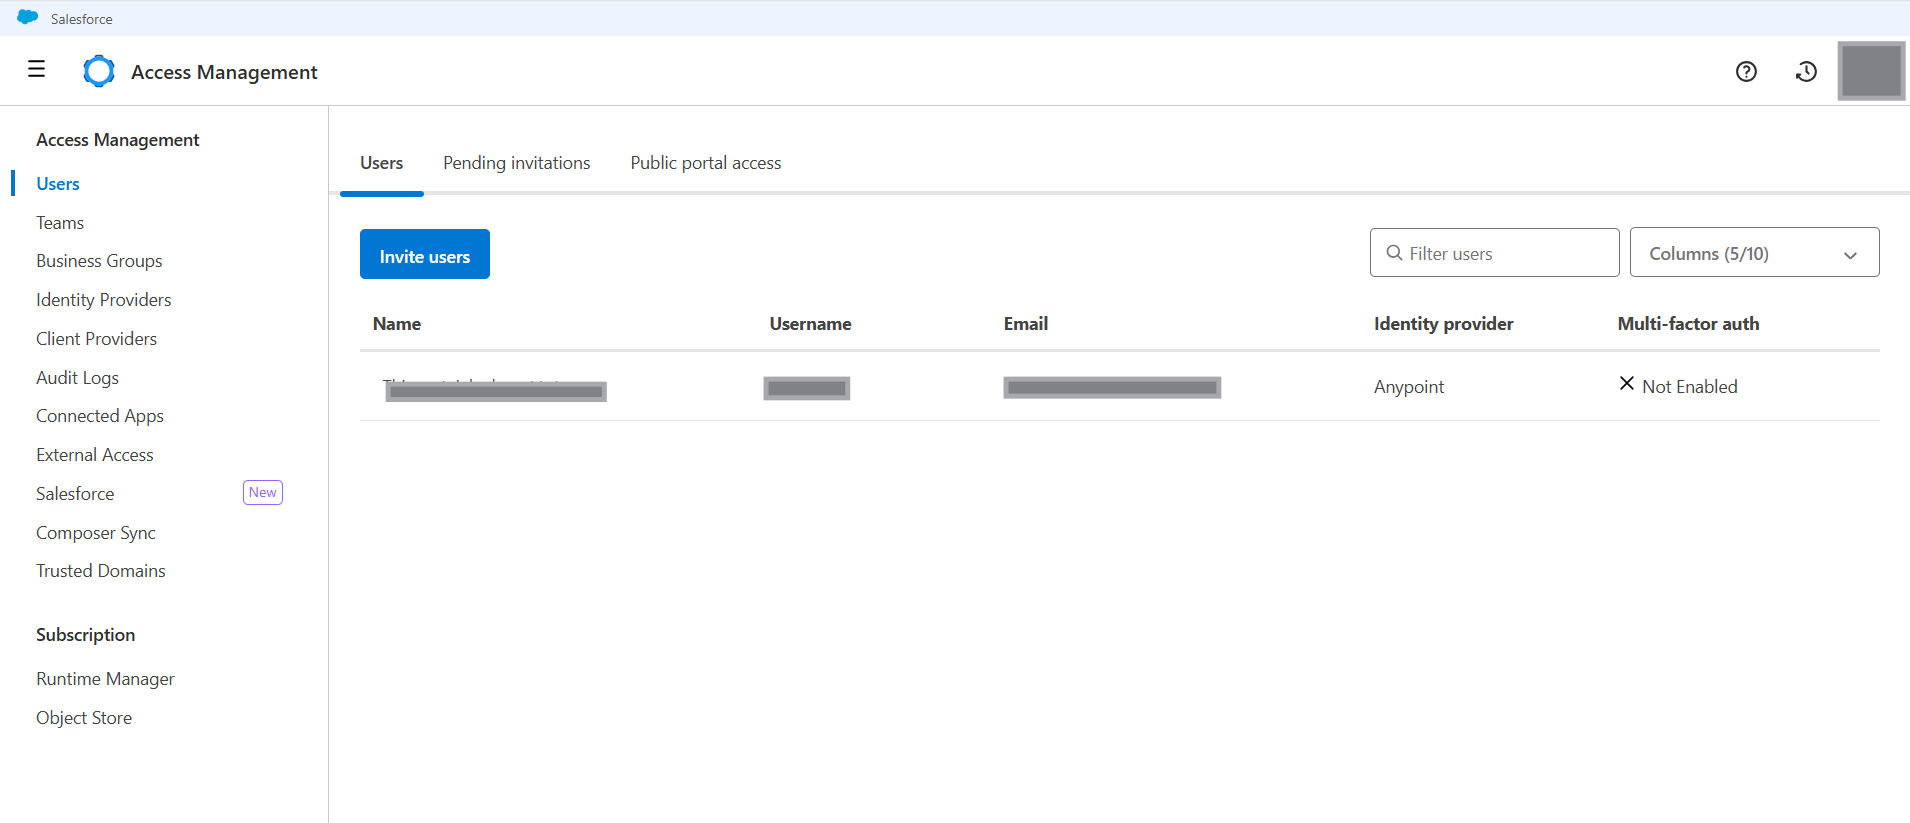
Visit Access Management
-
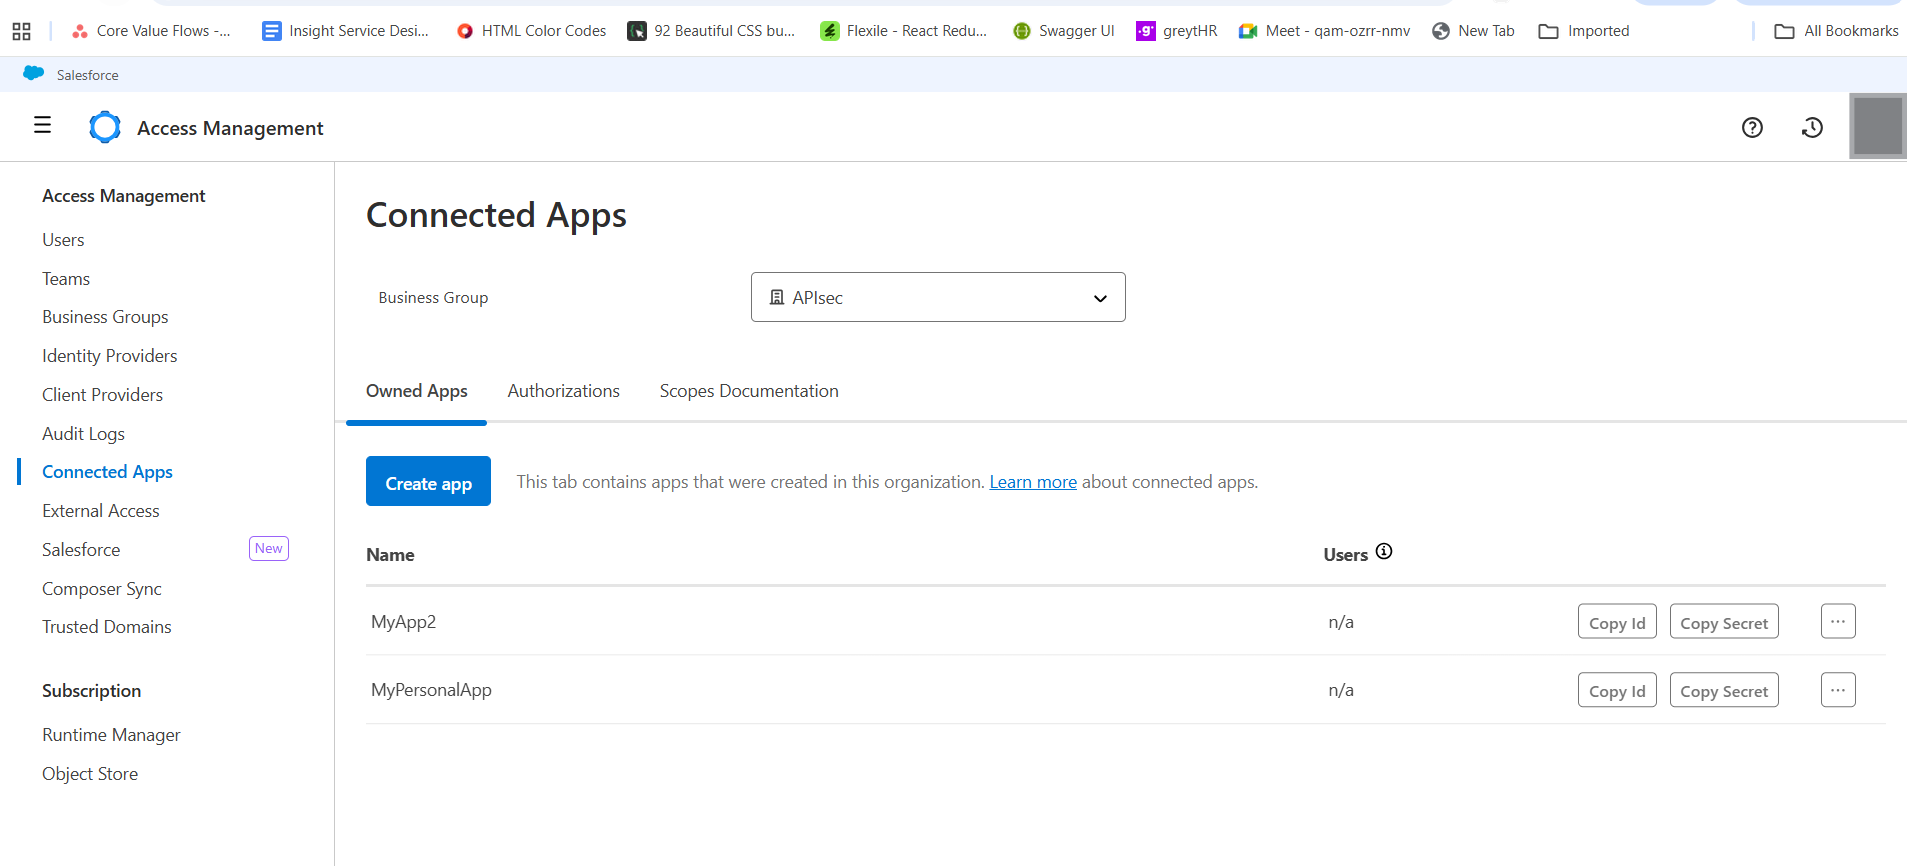
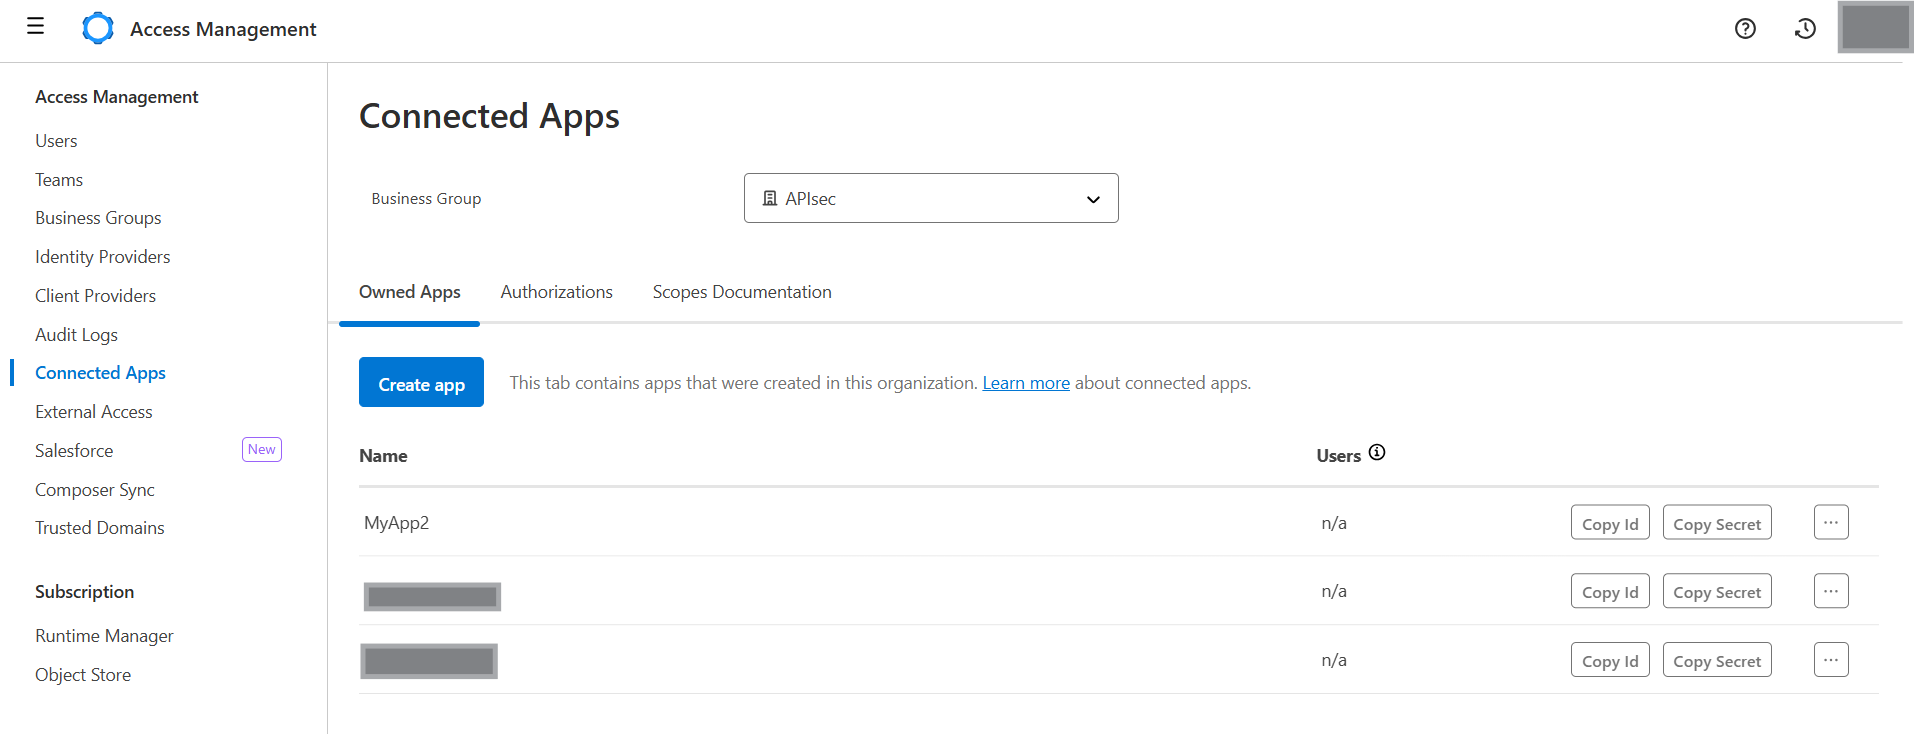
Click Connected Apps
-
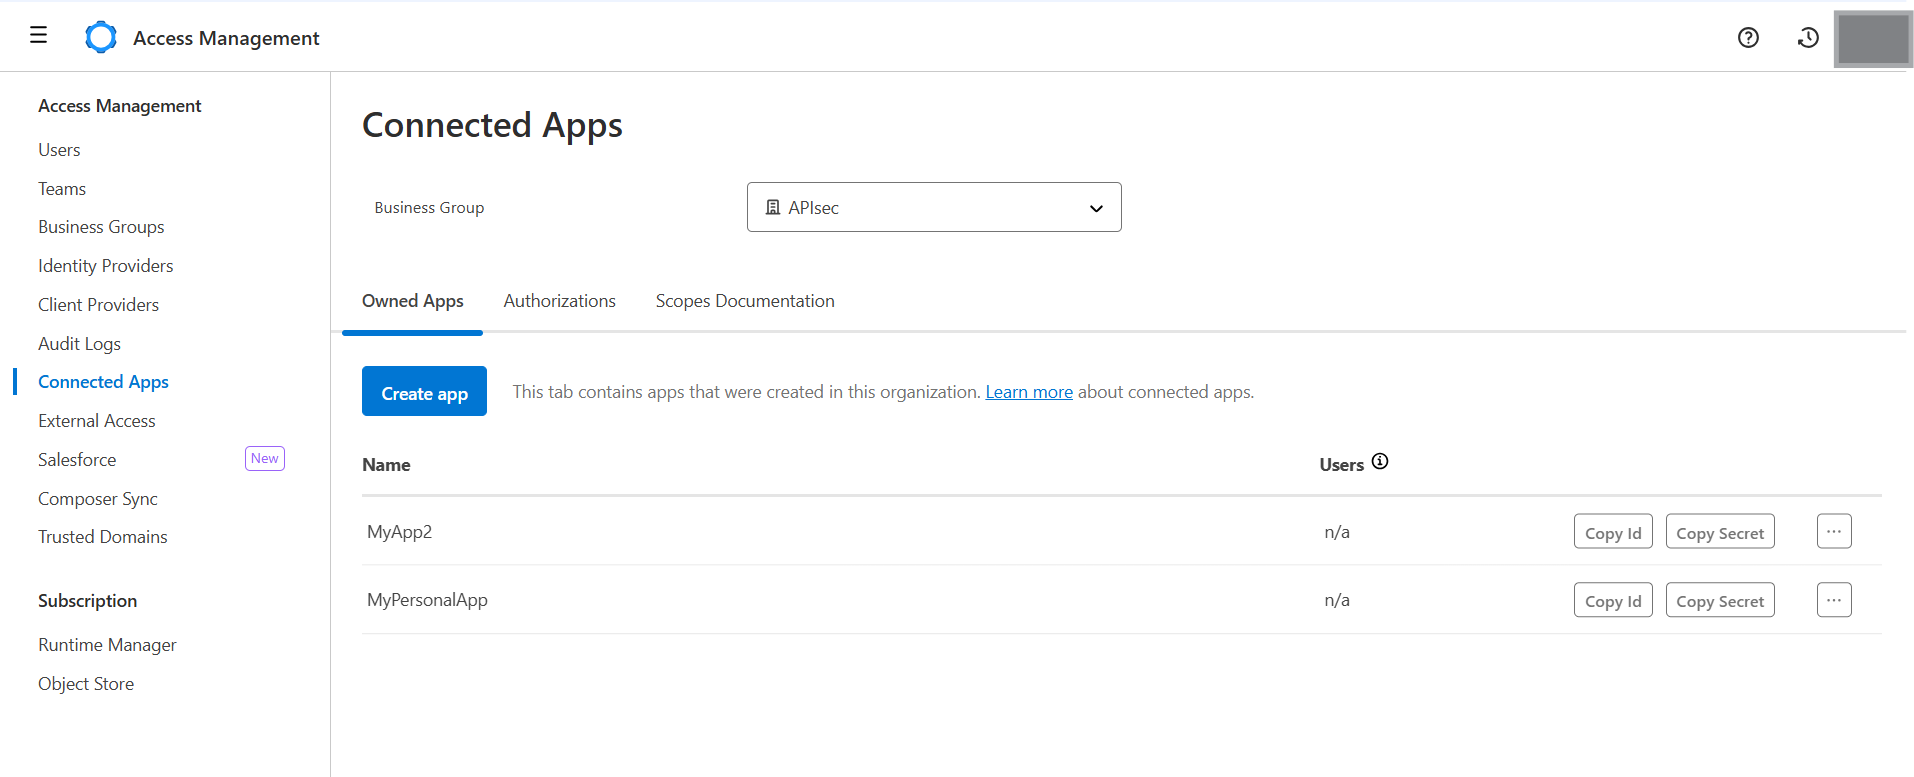
Click Create App
-
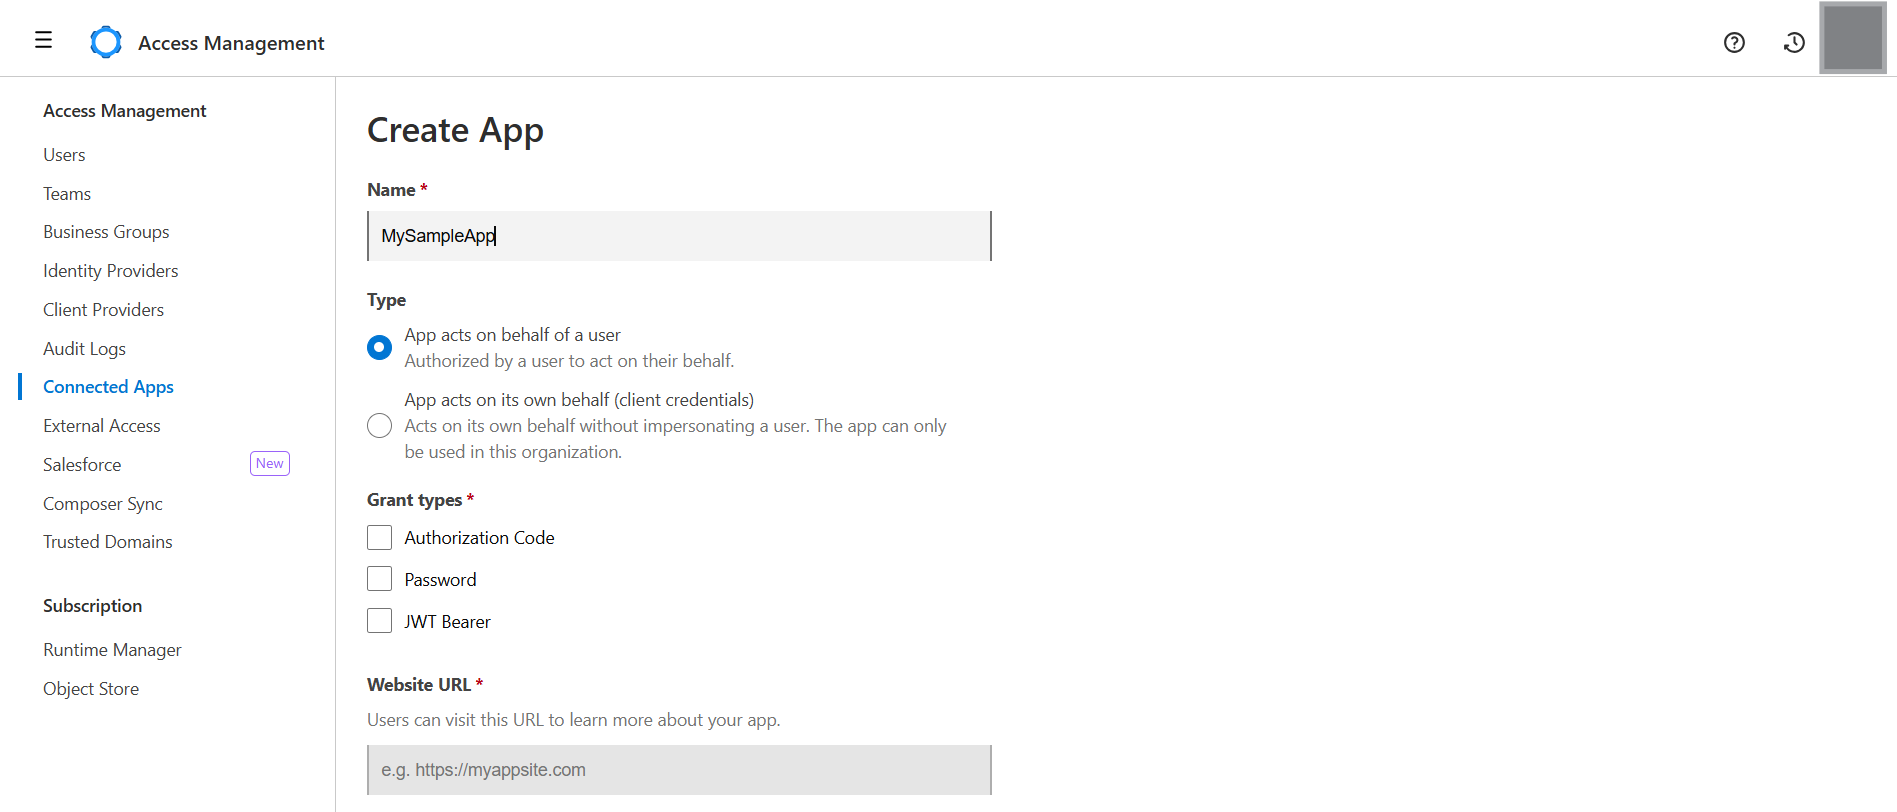
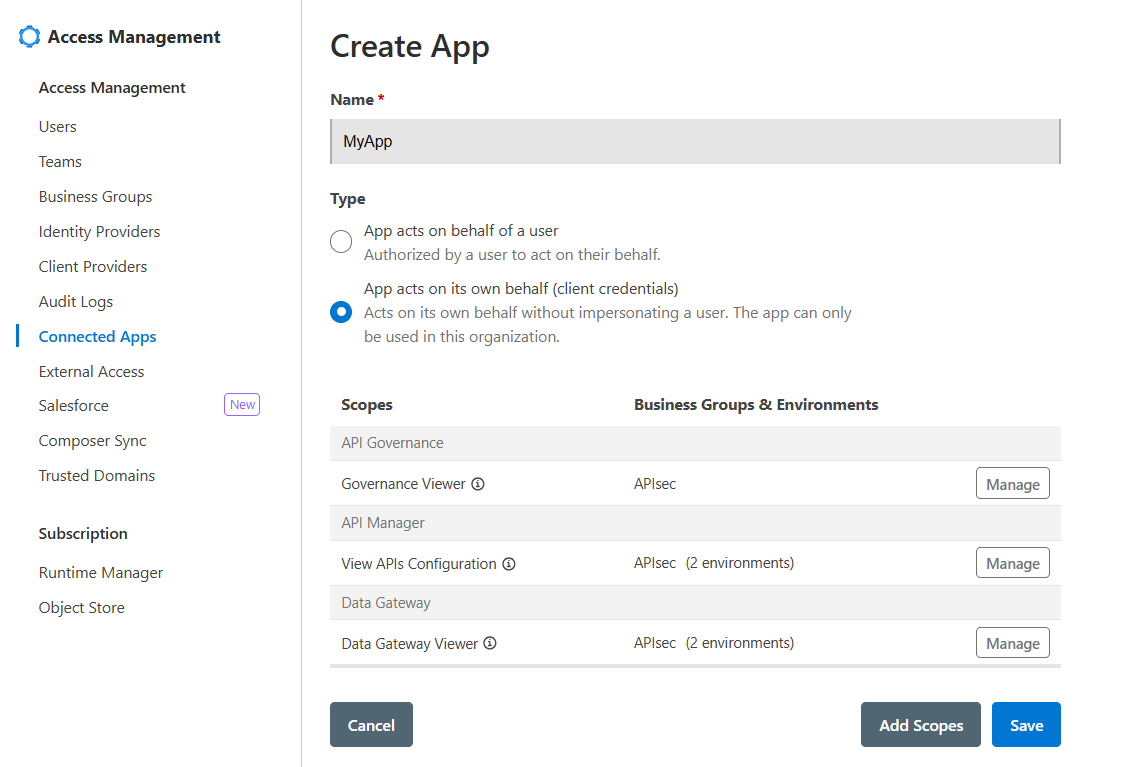
Enter App name
-
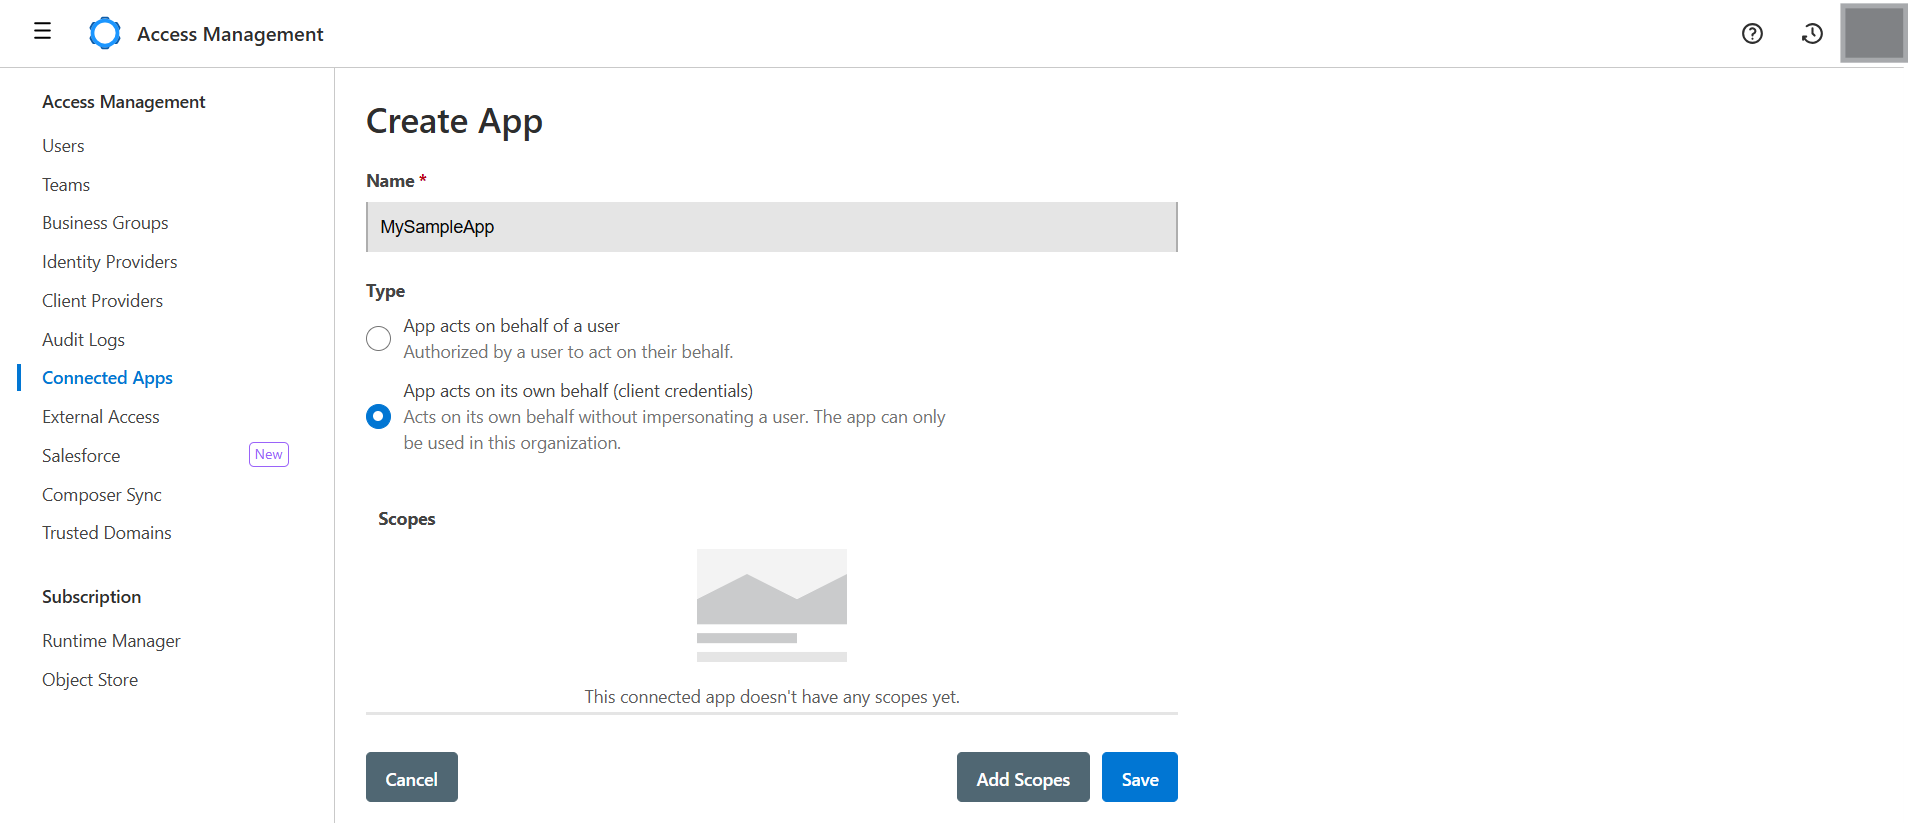
Select App is of type App acts on its own behalf (client credentials)
-
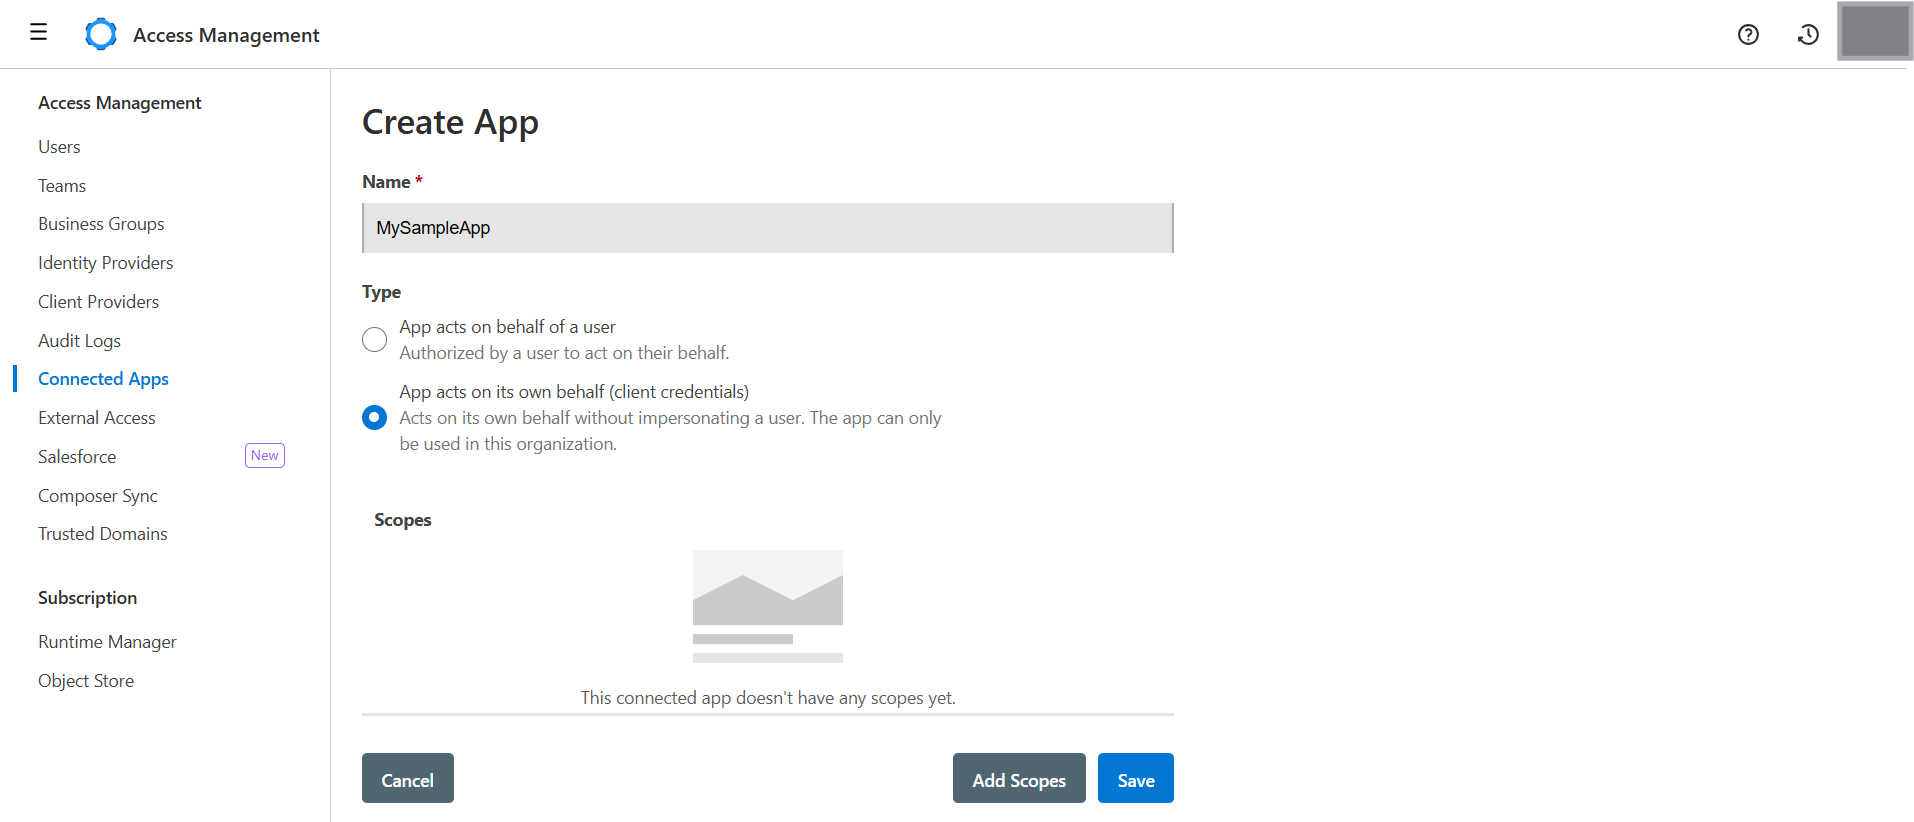
Click Add Scopes
-
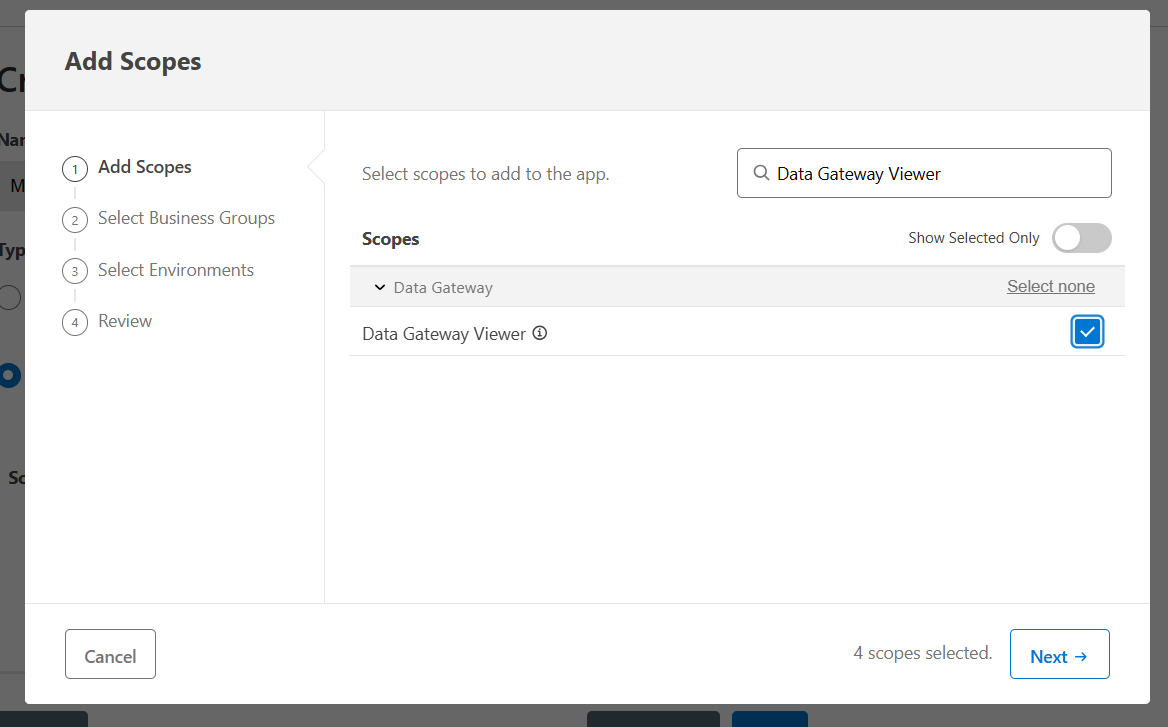
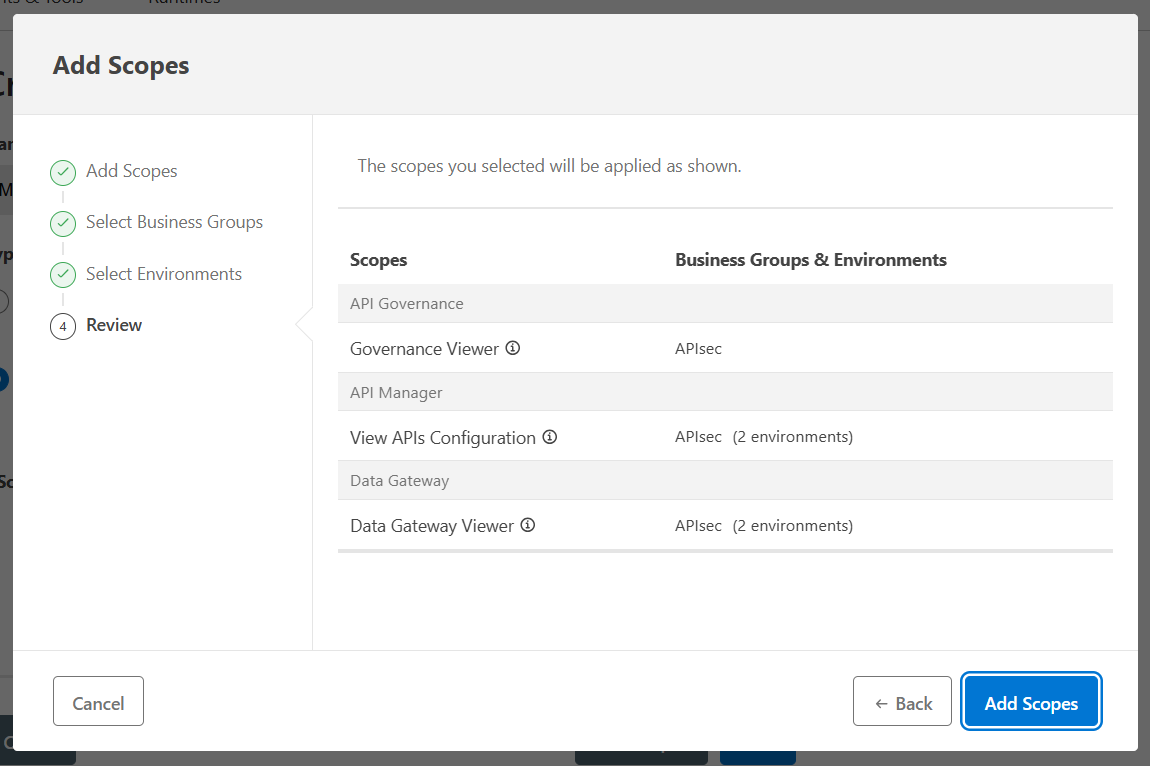
Assign the required scopes/permissions in the Connected App and click Next
- API Governance → Governance Viewer
- API Manager → View APIs Configuration
- Data Gateway → Data Gateway Viewer
-
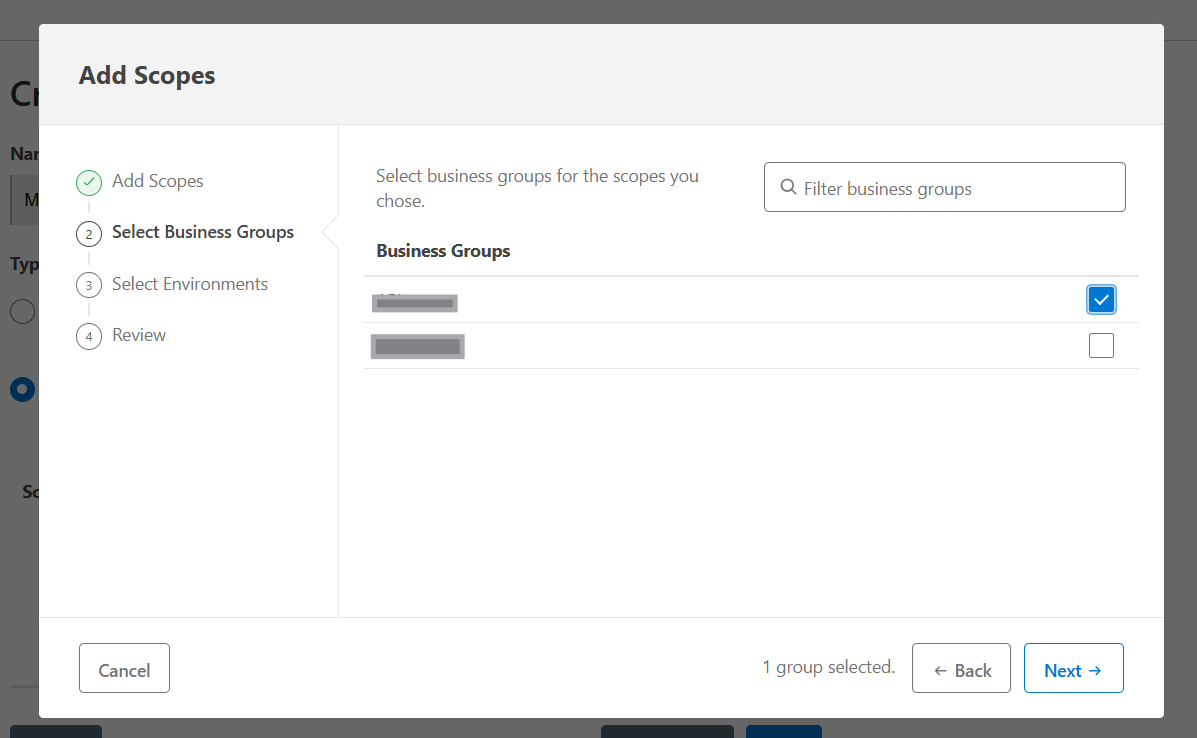
Select Business Groups for the scopes you choose to control which teams or organizational units have access to specific API permissions and Click Next
-
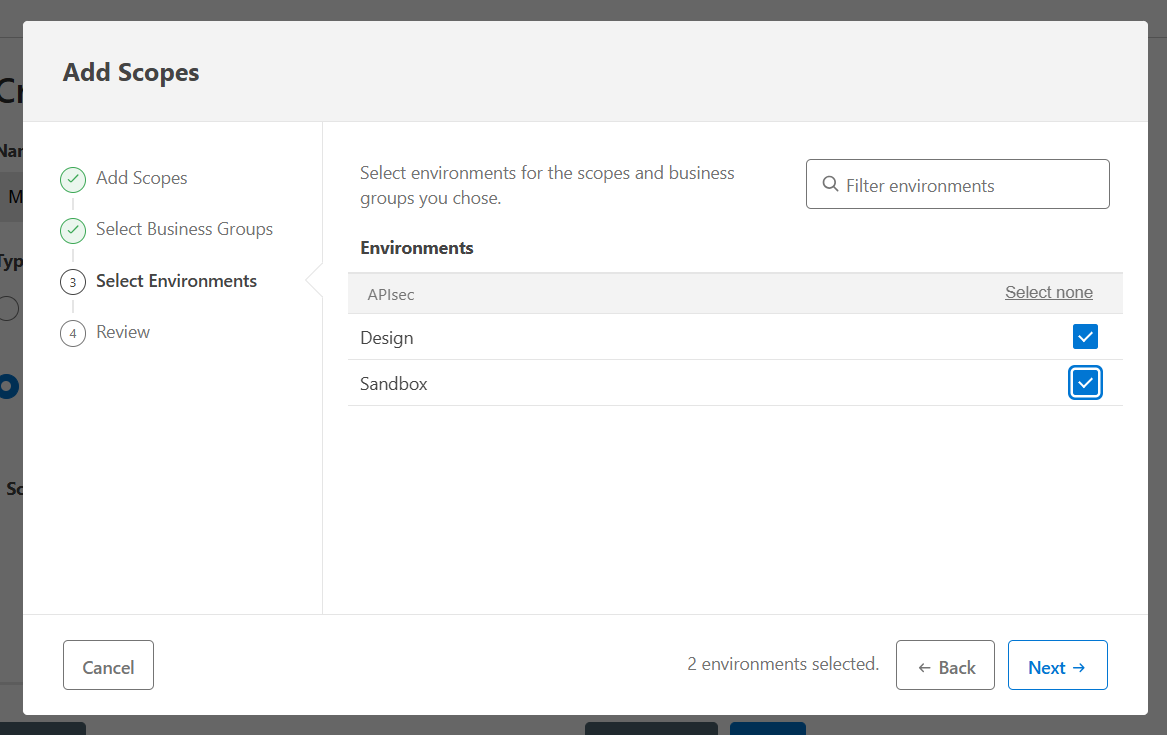
Select the Environments to deploy or manage an API, ensuring proper separation and control across development, testing, and production stages and Click Next
-
Review the scopes/permissions and click Add Scopes
-
Click Save
-
Retrieve the Client ID and Client Secret from the Connected App.
Mulesoft Gateway Integration with APIsec Product
Navigate to URL
Open your browser and visit: https://<your-tenant>.apisecapps.com
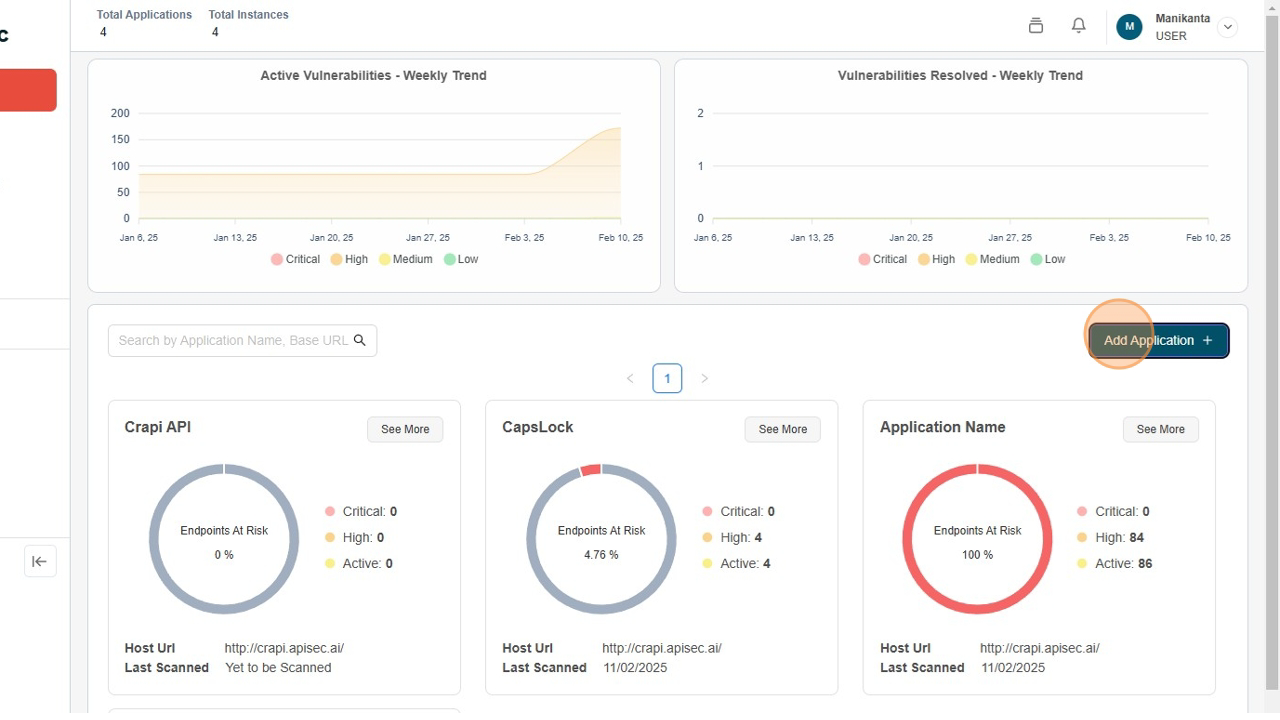
Start Adding a New Application
Click on the "Add Application" button.
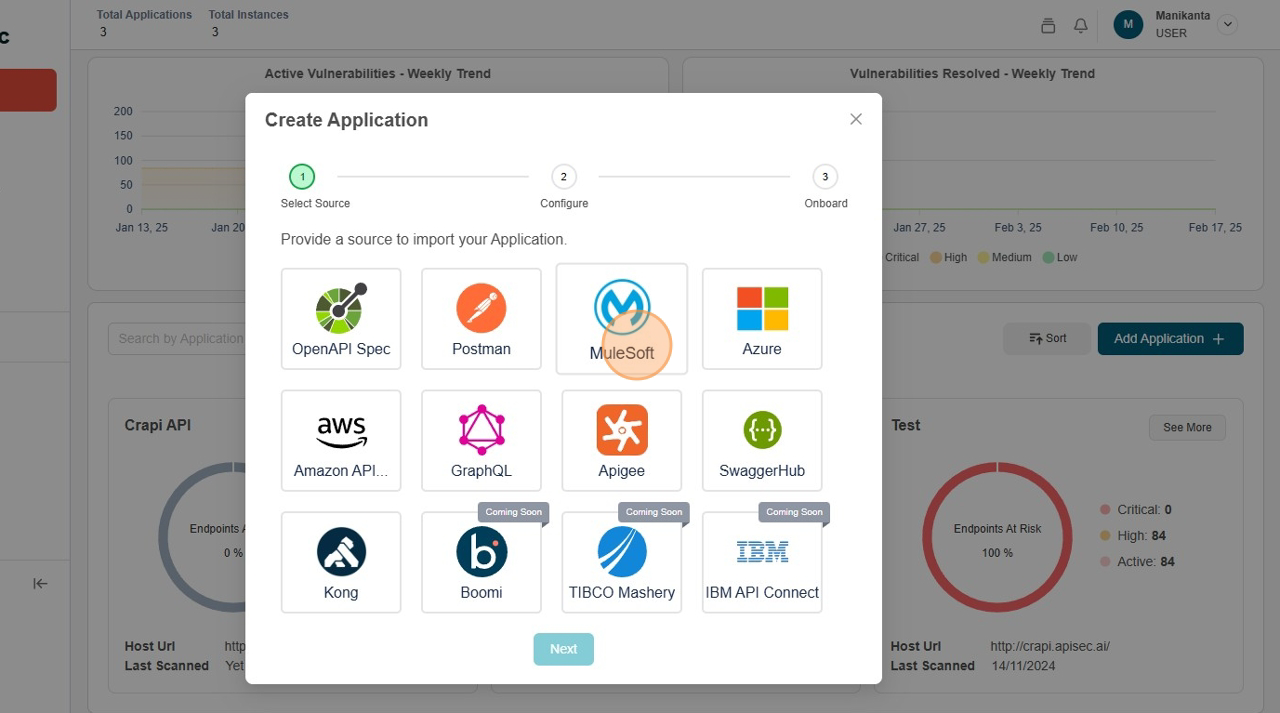
Select MuleSoft Gateway
-
Choose the "MuleSoft Gateway" option.
-
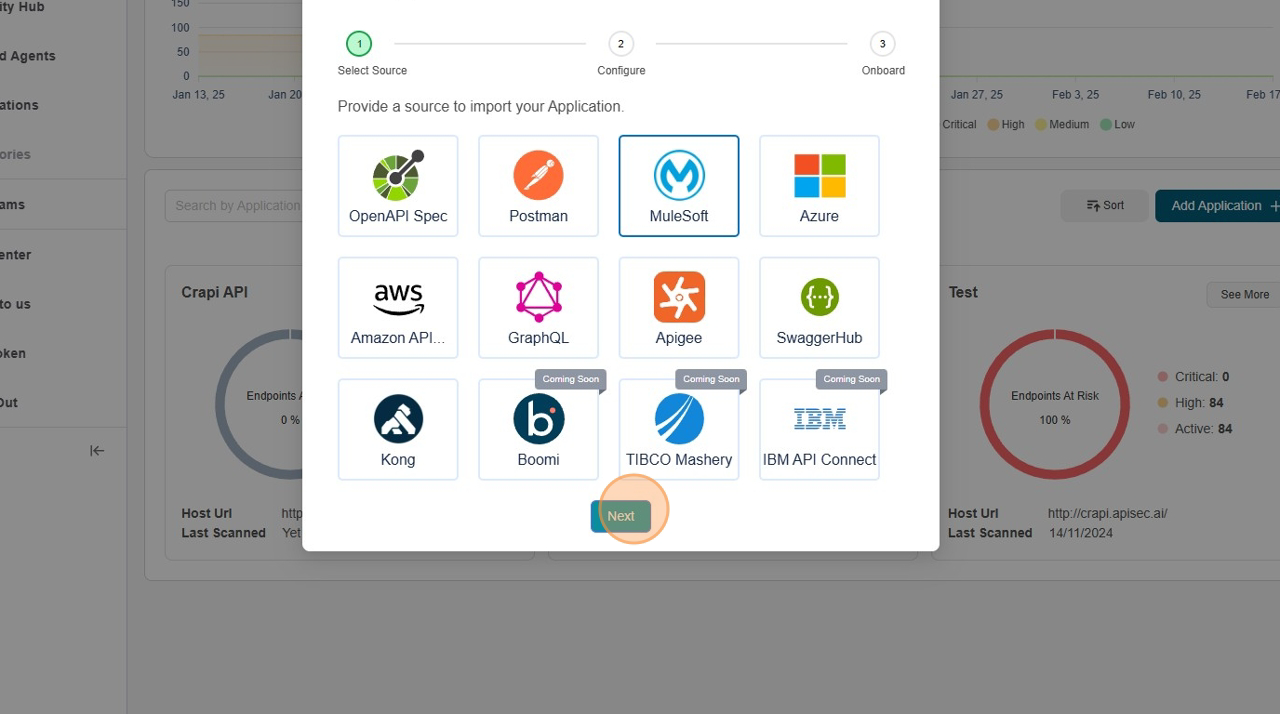
Click "Next" to proceed.
Enter Application Details
-
Fill the Form Name, Id, and Secret.
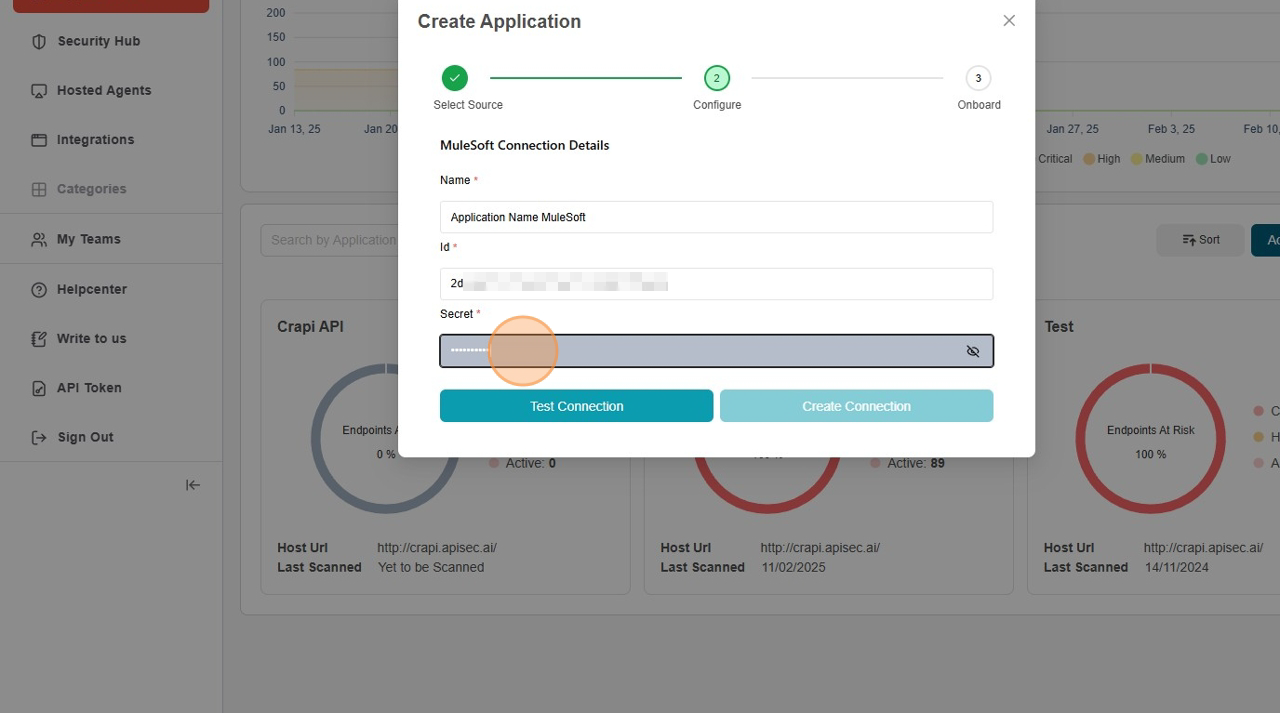
-
Click "Test Connection"
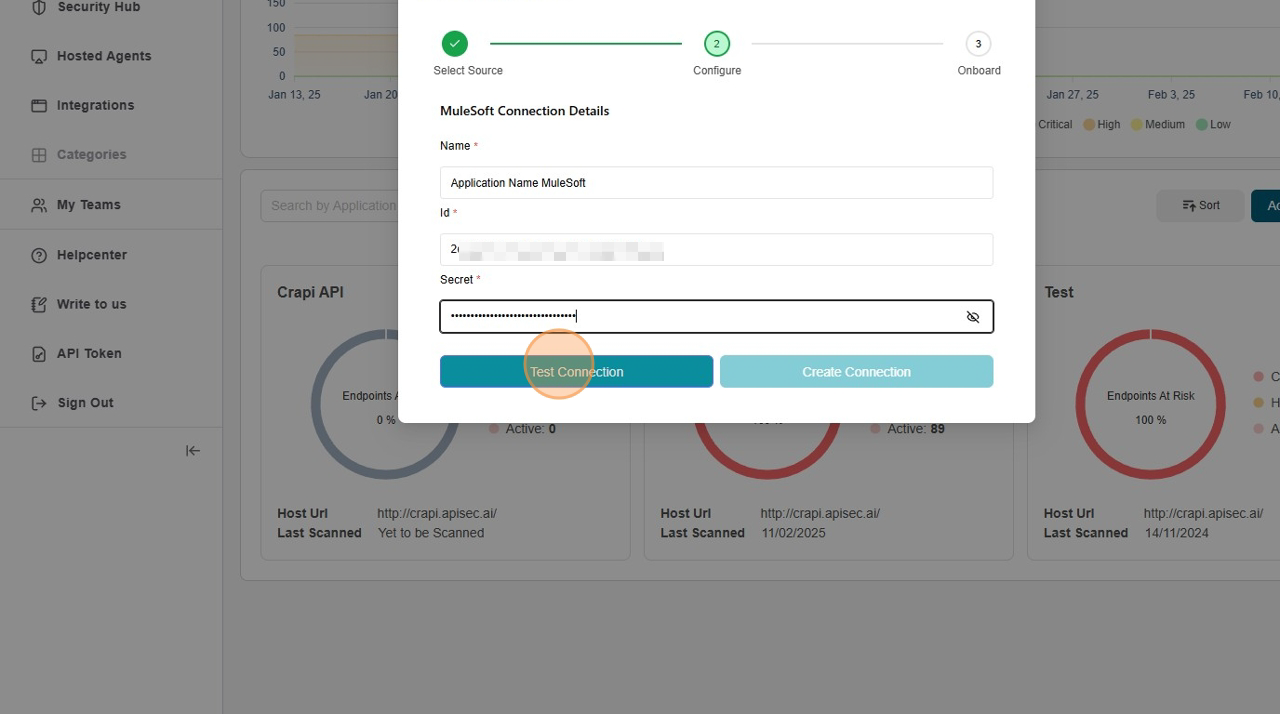
-
Test Connection Success
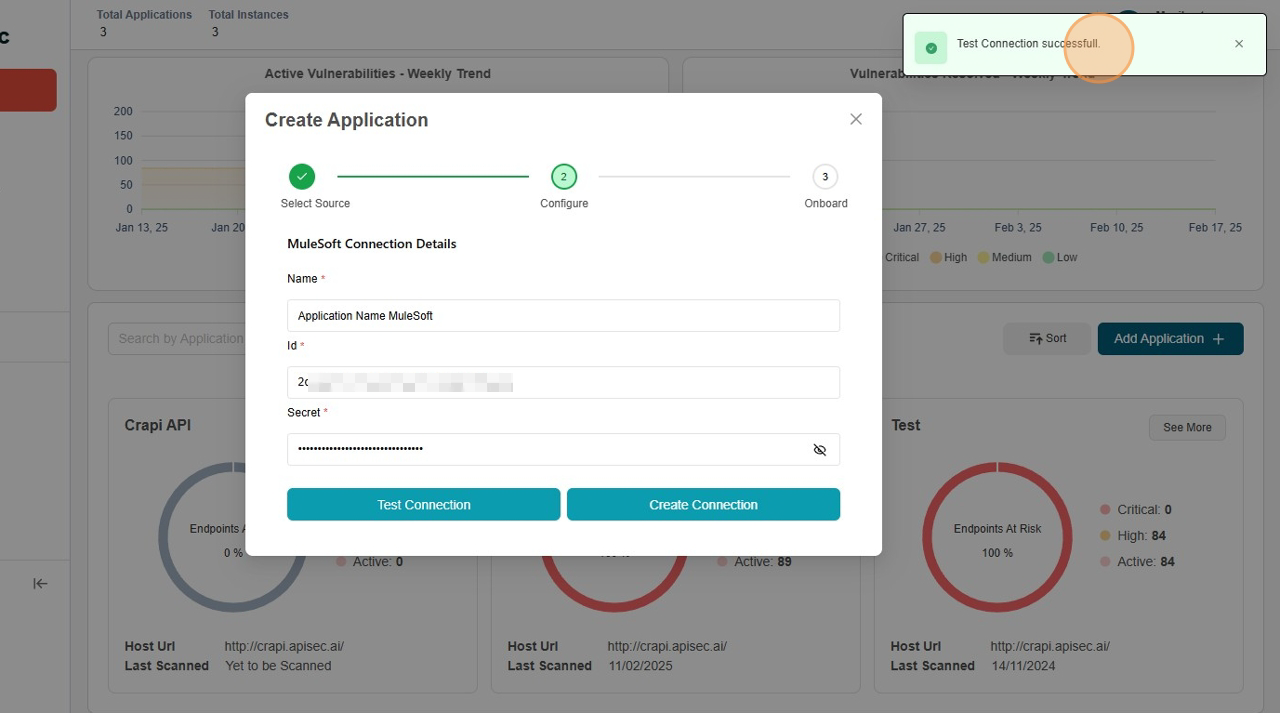
-
Click "Create Connection"
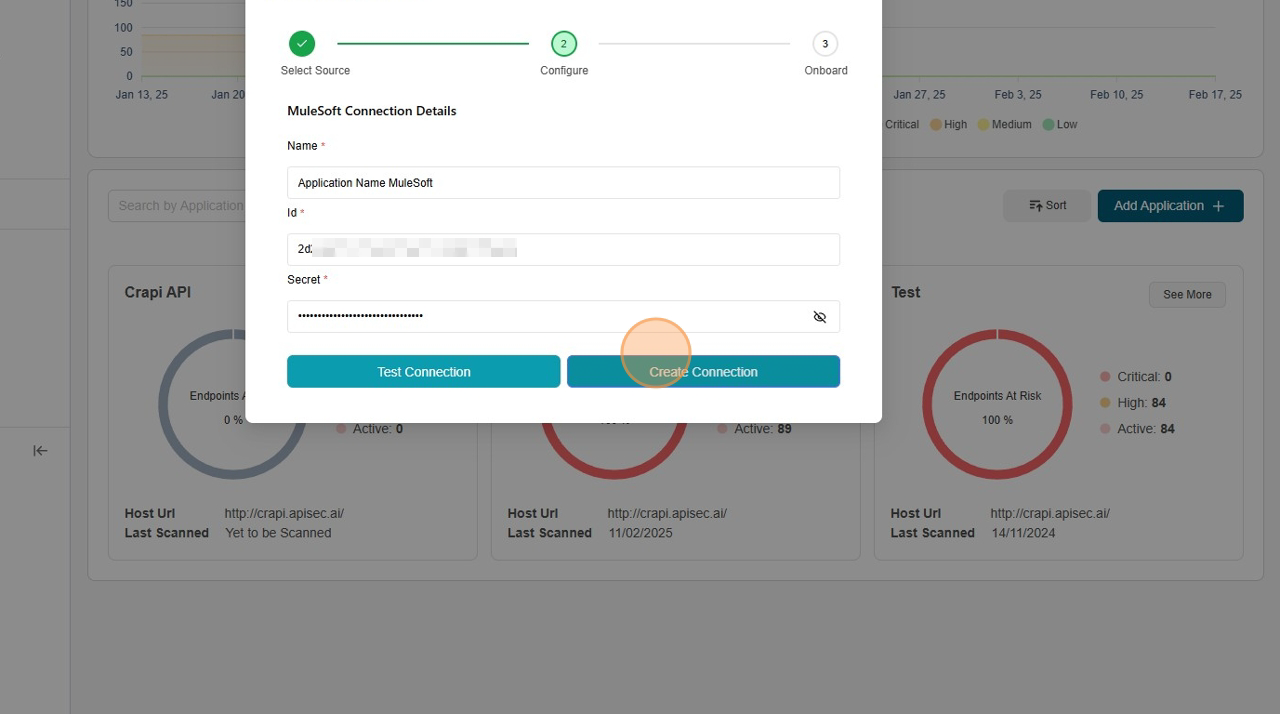
-
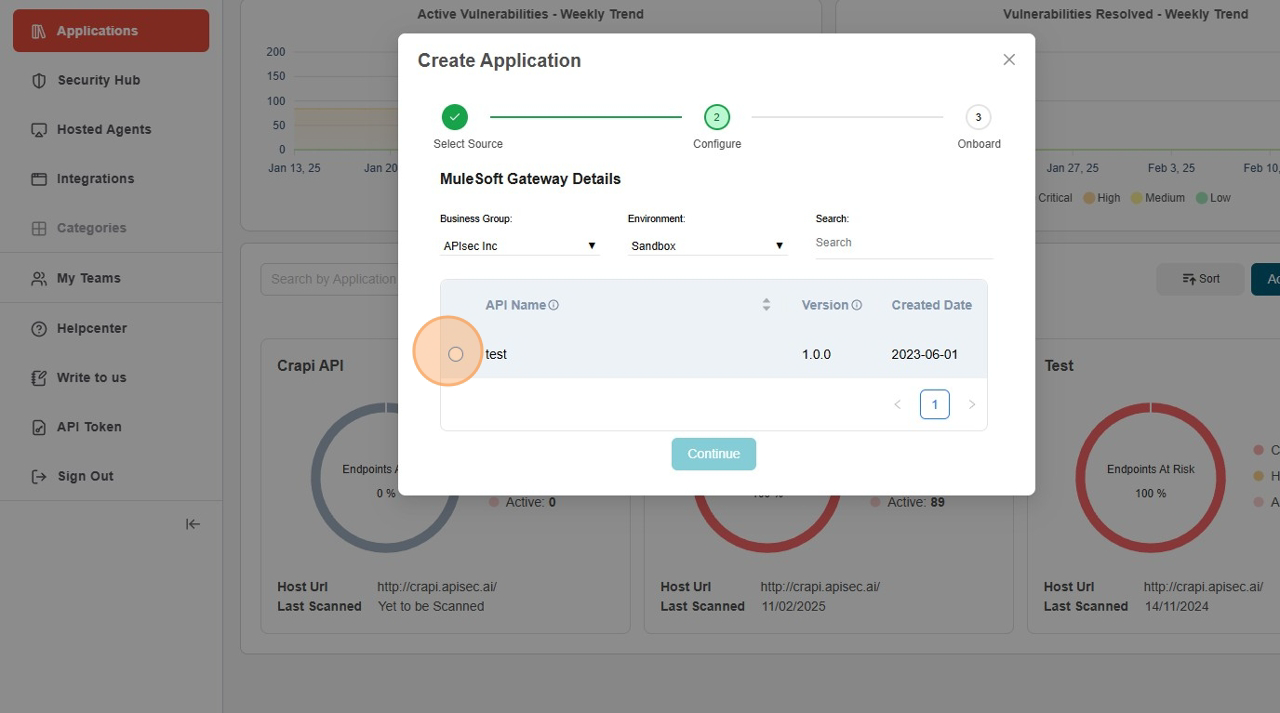
Select Business Group and Environment then select correct API
-
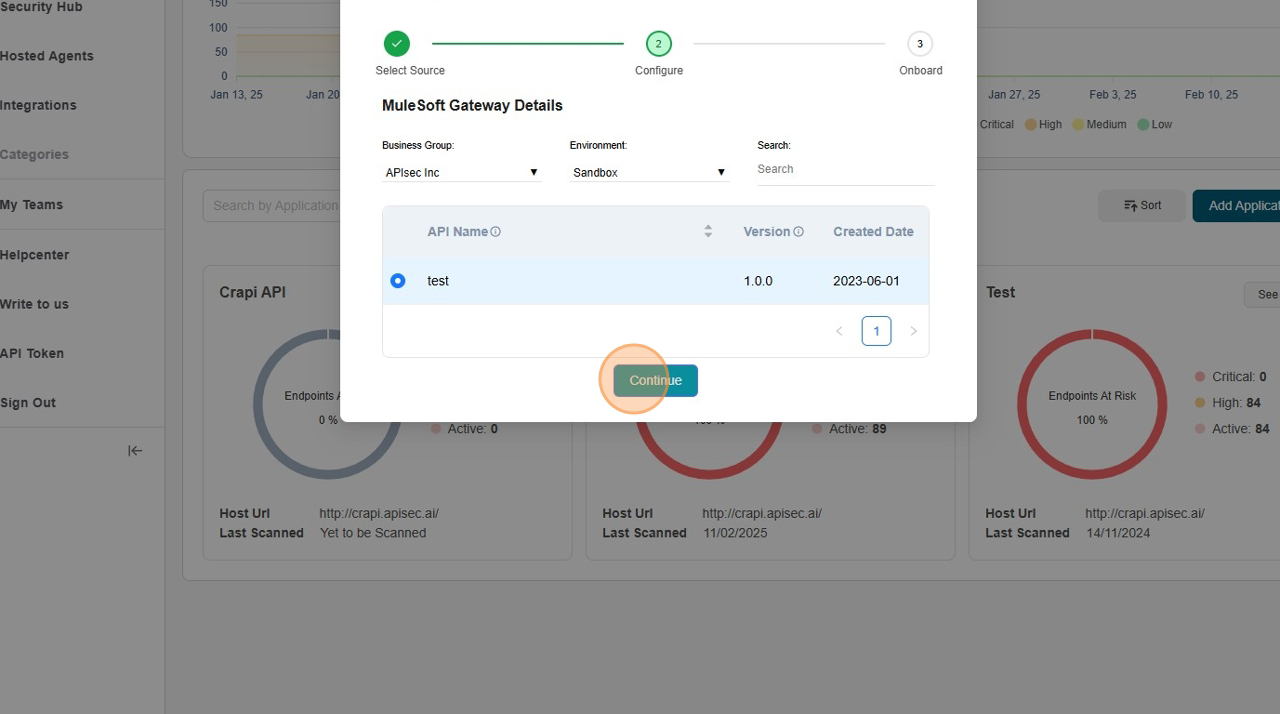
Click "Continue"
-
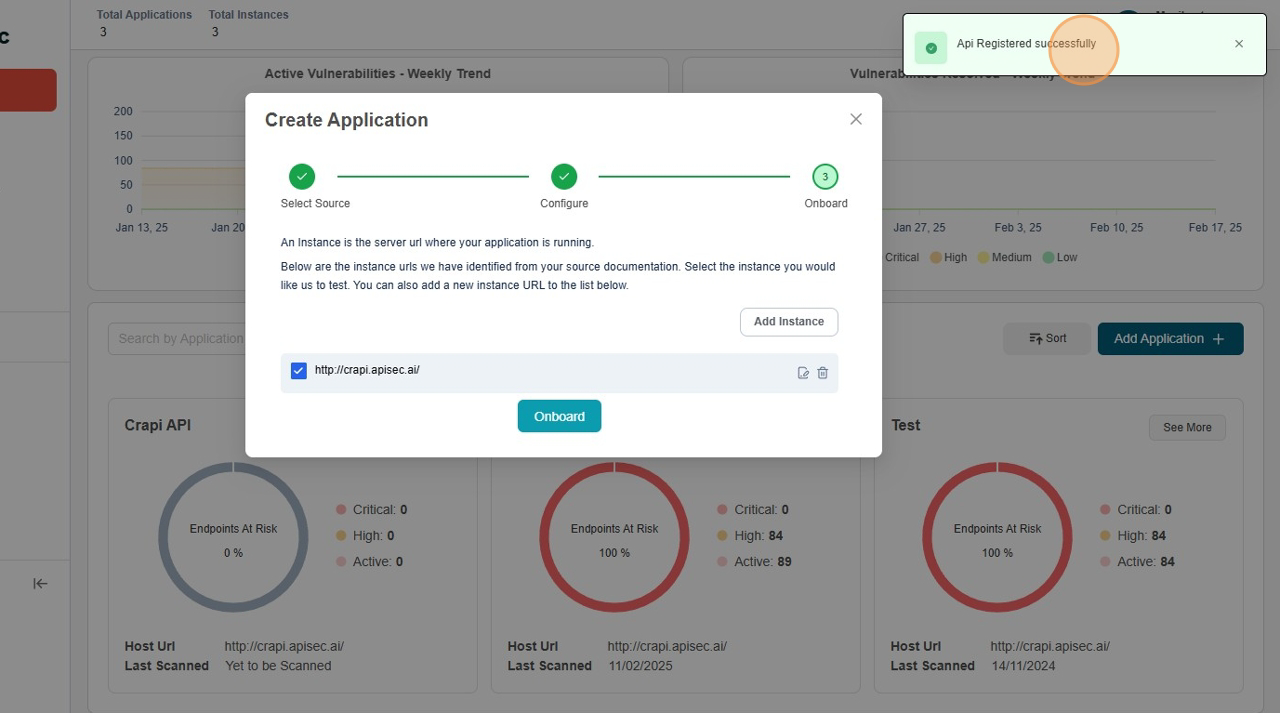
API Registered Successfully
-
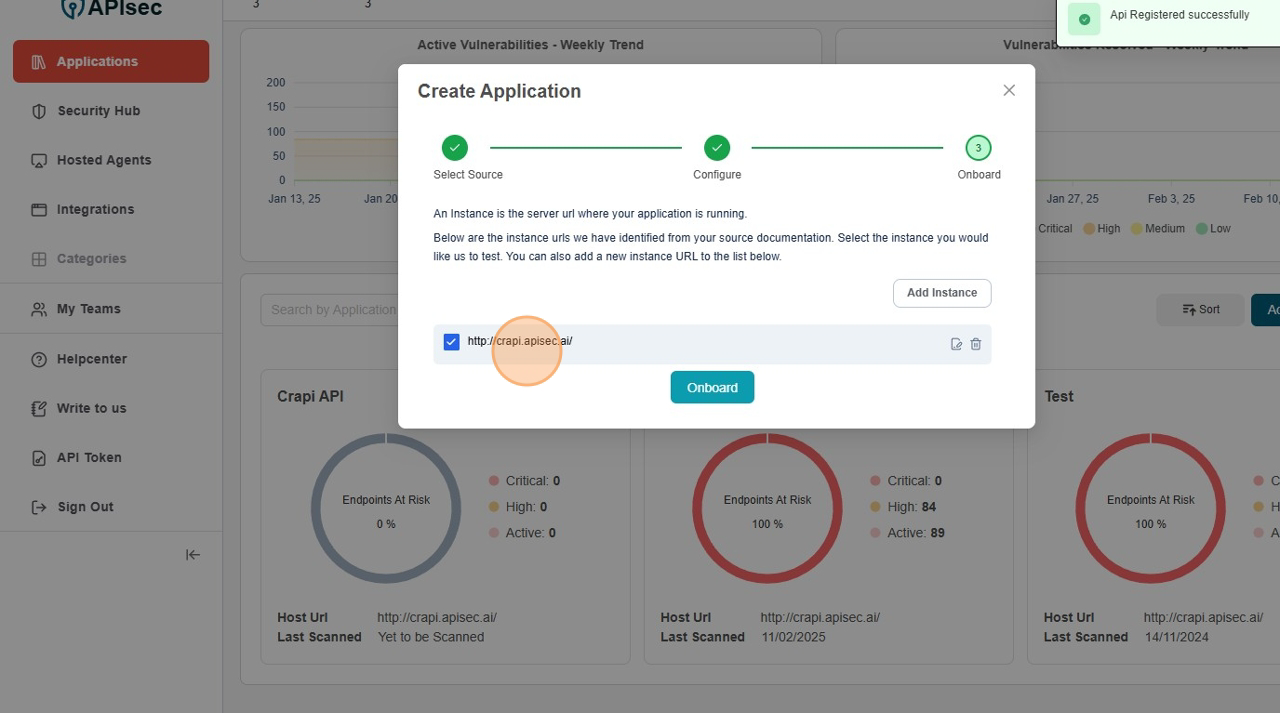
Select Endpoints
-
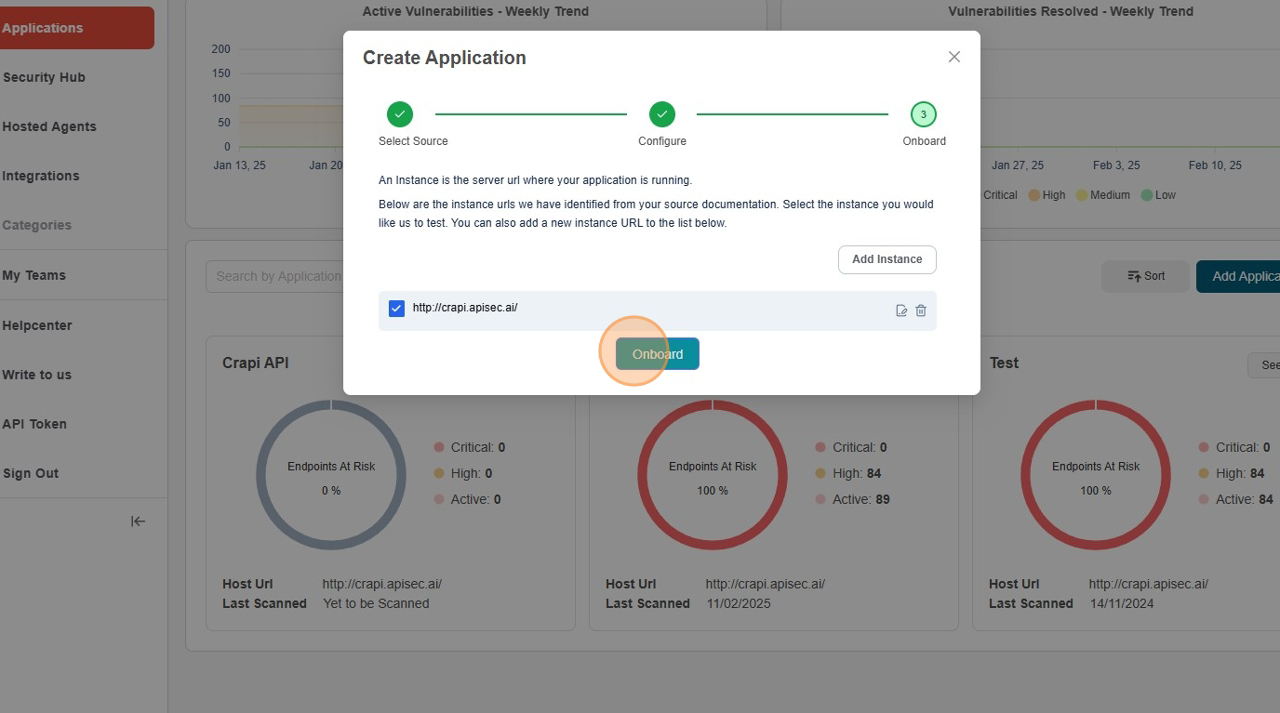
Click "Onboard"
-
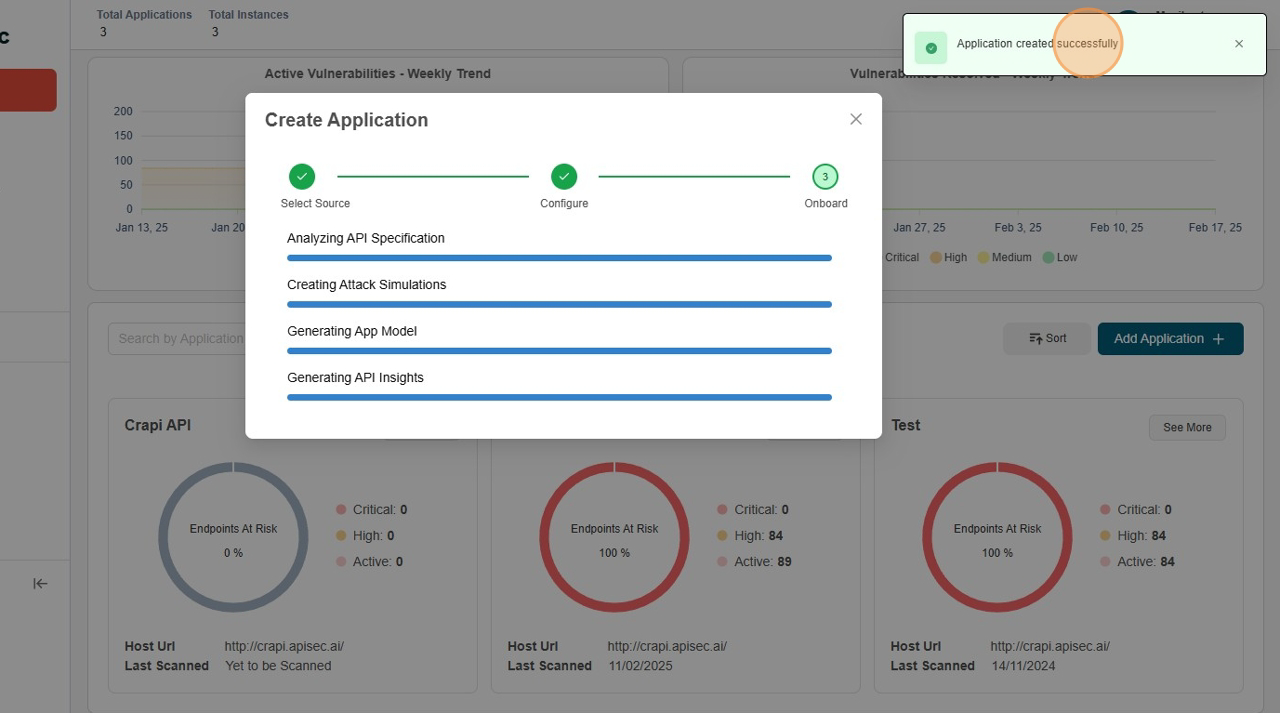
Application creation successful
-
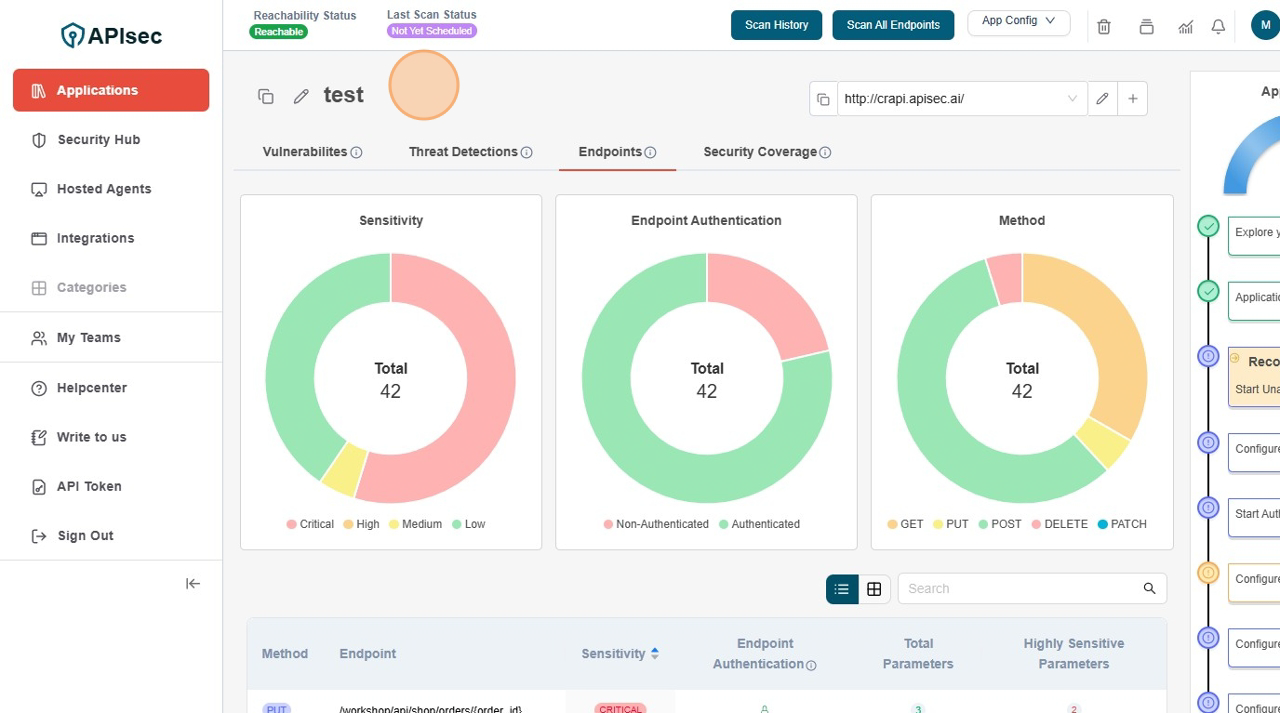
MuleSoft API Integrations Application Dashboard
Auto-Onboard
The Auto-Onboard feature streamlines API onboarding by automatically detecting and registering unregistered APIs from Mulesoft Gateway. This ensures that all APIs, including newly published ones, are consistently onboarded and tested for vulnerabilities with minimal manual effort.
Enable Auto-onboard
-
Open your browser and visit: https://<your-tenant>.apisecapps.com
-
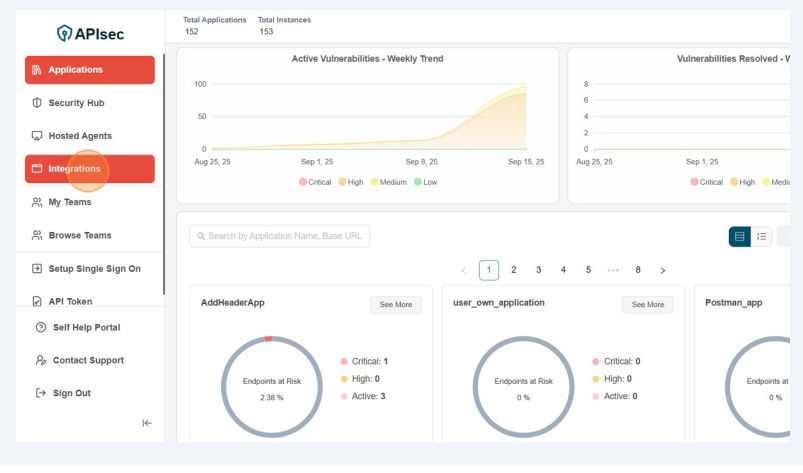
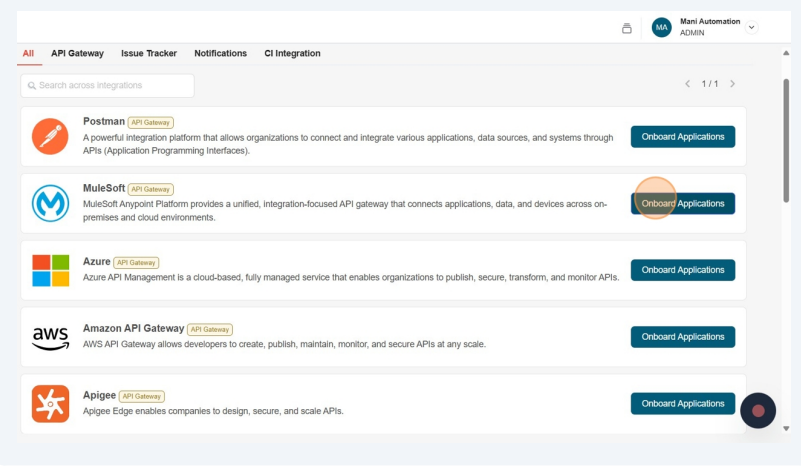
Click Integrations tab
-
Click Onboard Applications adjacent to the Mulesoft
-
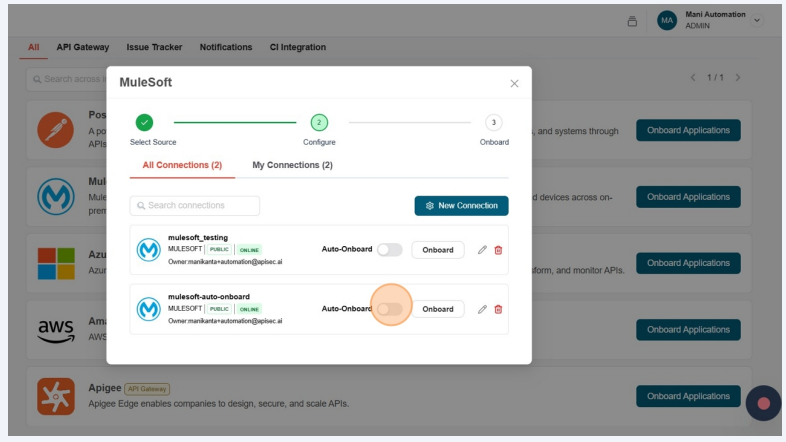
Enable Auto-Onboard of any existing Mulesoft connection.
-
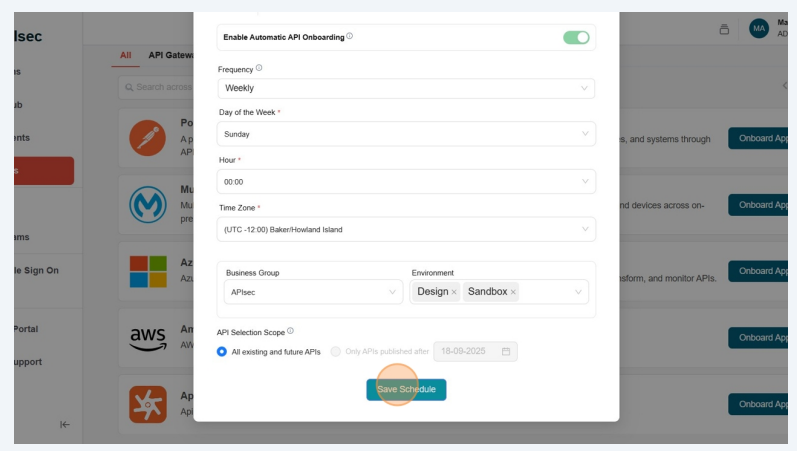
Fill the Mulesoft AutoOnboard Details and click on Save Schedule
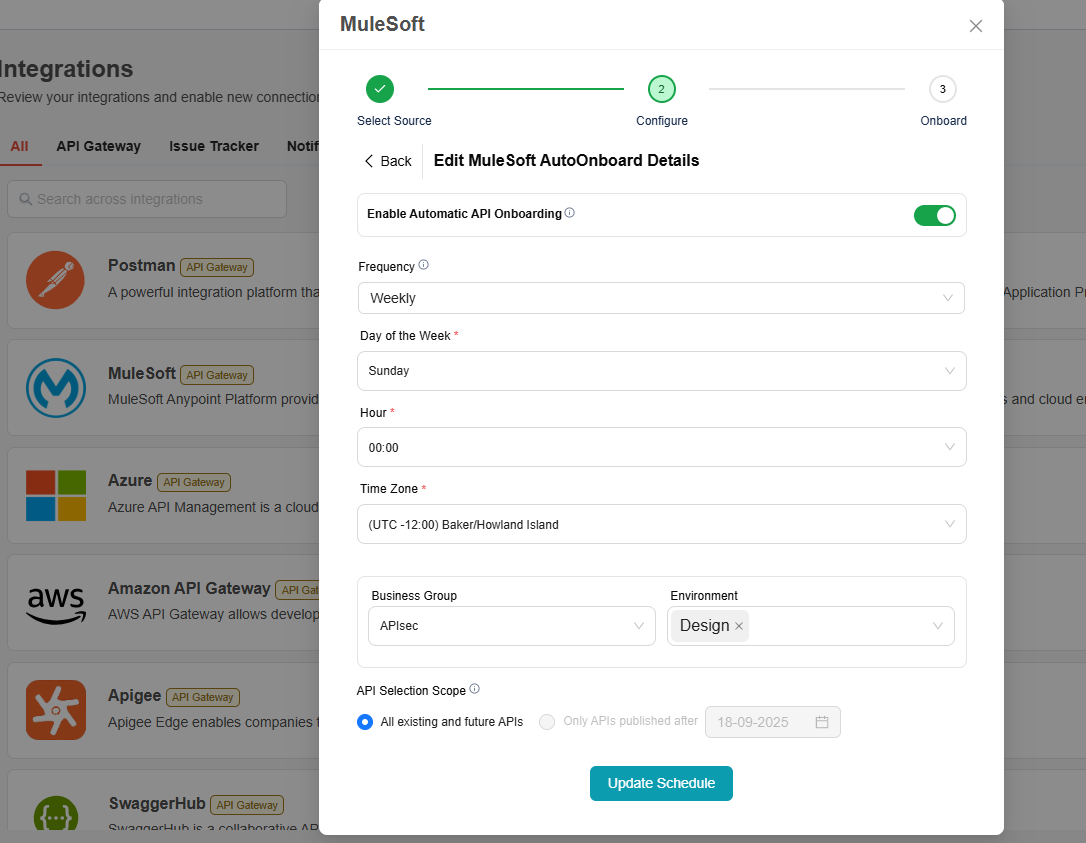
- Frequency – How often the onboarding should occur. By default it is weekly.
- Day of the Week – Select the specific day for onboarding.
- Hour – The exact time (in hours and minutes) when the onboarding should start.
- Timezone – The timezone in which the schedule should be applied
- Business Group - Select Business Group
- Environment - Select Environment
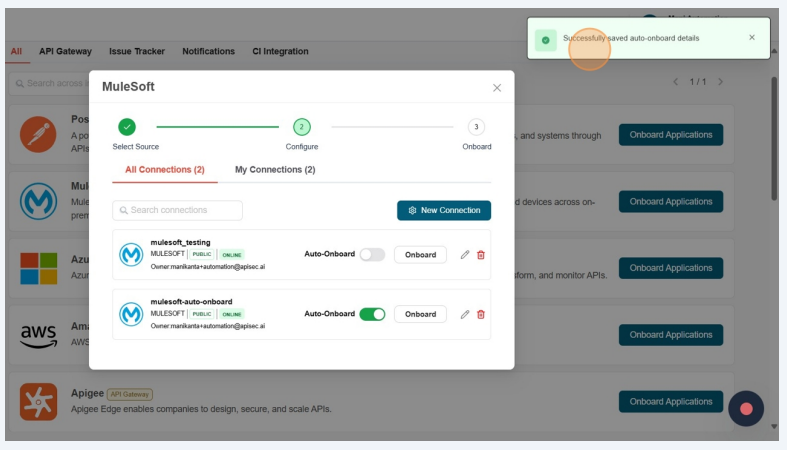
- Successfully saved auto-onboard details
Update Schedule
-
Open your browser and visit: https://<your-tenant>.apisecapps.com
-
Click Integrations tab

-
Click Onboard Applications adjacent to the Mulesoft

-
Click Auto-Onboard
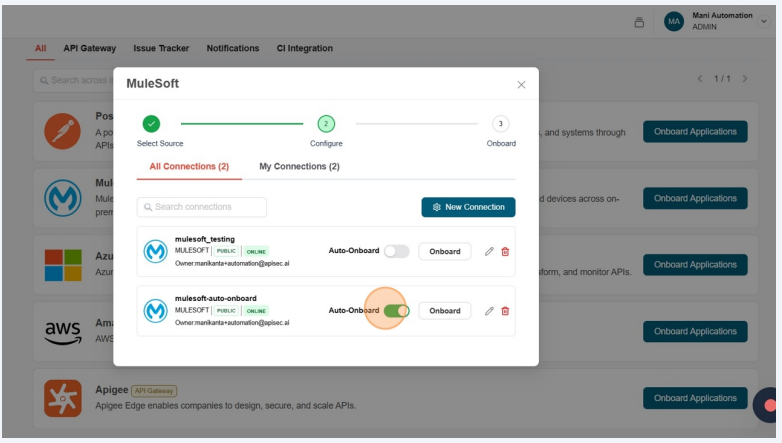
-
Update the details and Click on Update Schedule
Disable Auto-Onboard
-
Open your browser and visit: https://<your-tenant>.apisecapps.com
-
Click Integrations tab

-
Click Onboard Applications adjacent to the Mulesoft

-
Click the Auto-Onboard

-
In Edit Mulesoft AutoOnboard Details, disable the Enable Automatic API Onboarding.
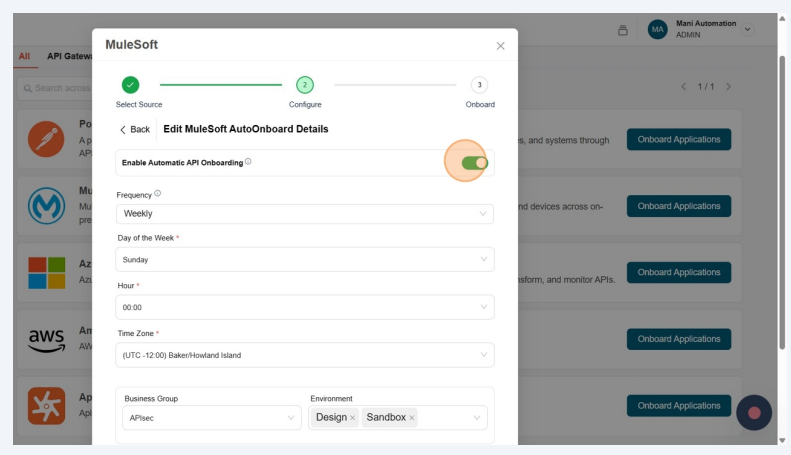
-
Click Yes
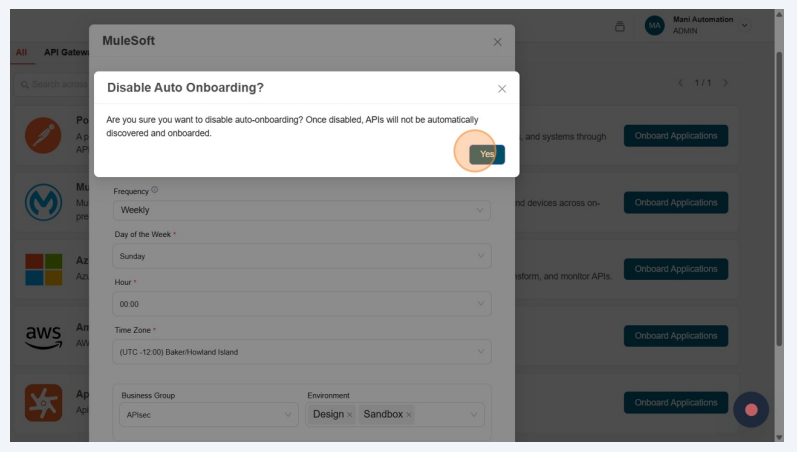
-
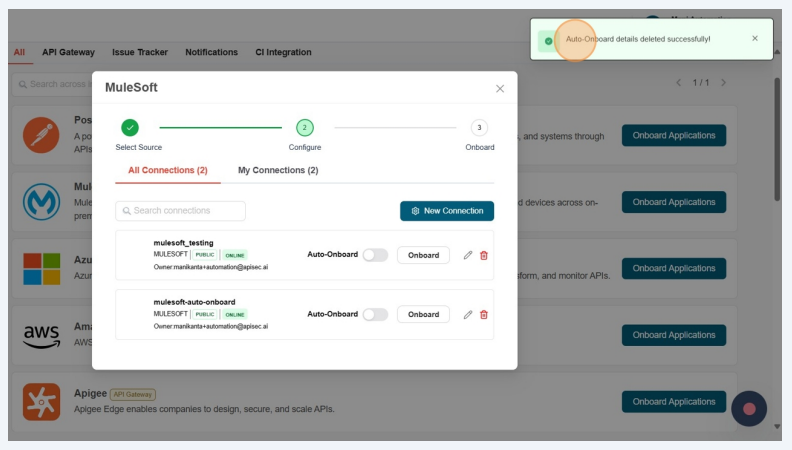
Auto-Onboard details deleted successfully!
